

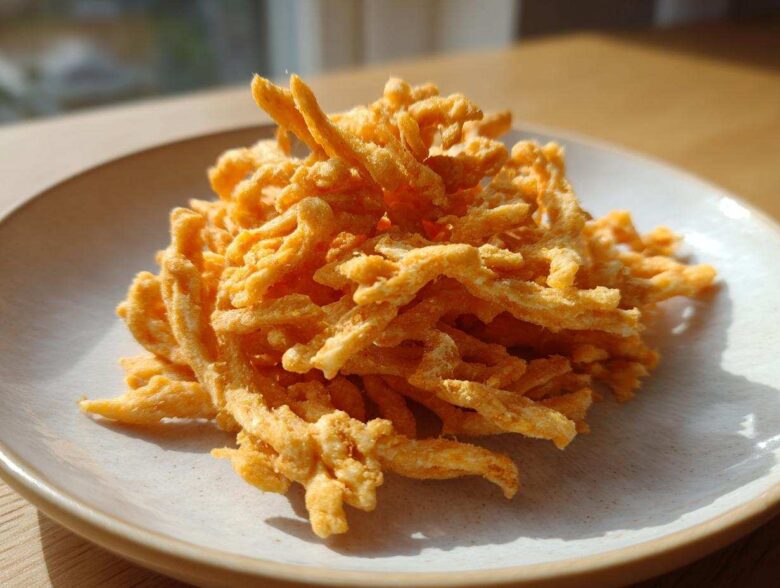
Oh, honey, if you want to truly nail Southern entertaining, you absolutely must master the cheese straw. Forget fancy dips or complicated little canapés; nothing disappears faster than a warm tray of these savory little beauties! When folks talk about that perfect, addictive bite—sharp, buttery, slightly spicy—they’re talking about the ultimate batch of cheese straws. I spent ages trying to replicate my Aunt Carol’s batch because hers were impossibly crisp, and I finally figured out her secrets.
Mastering these isn’t just about baking; it’s about knowing how to make something simple taste truly special. Trust me, once you get that savory, sharp cheddar flavor locked down, everyone will be begging you for the recipe. It feels like such an accomplishment!
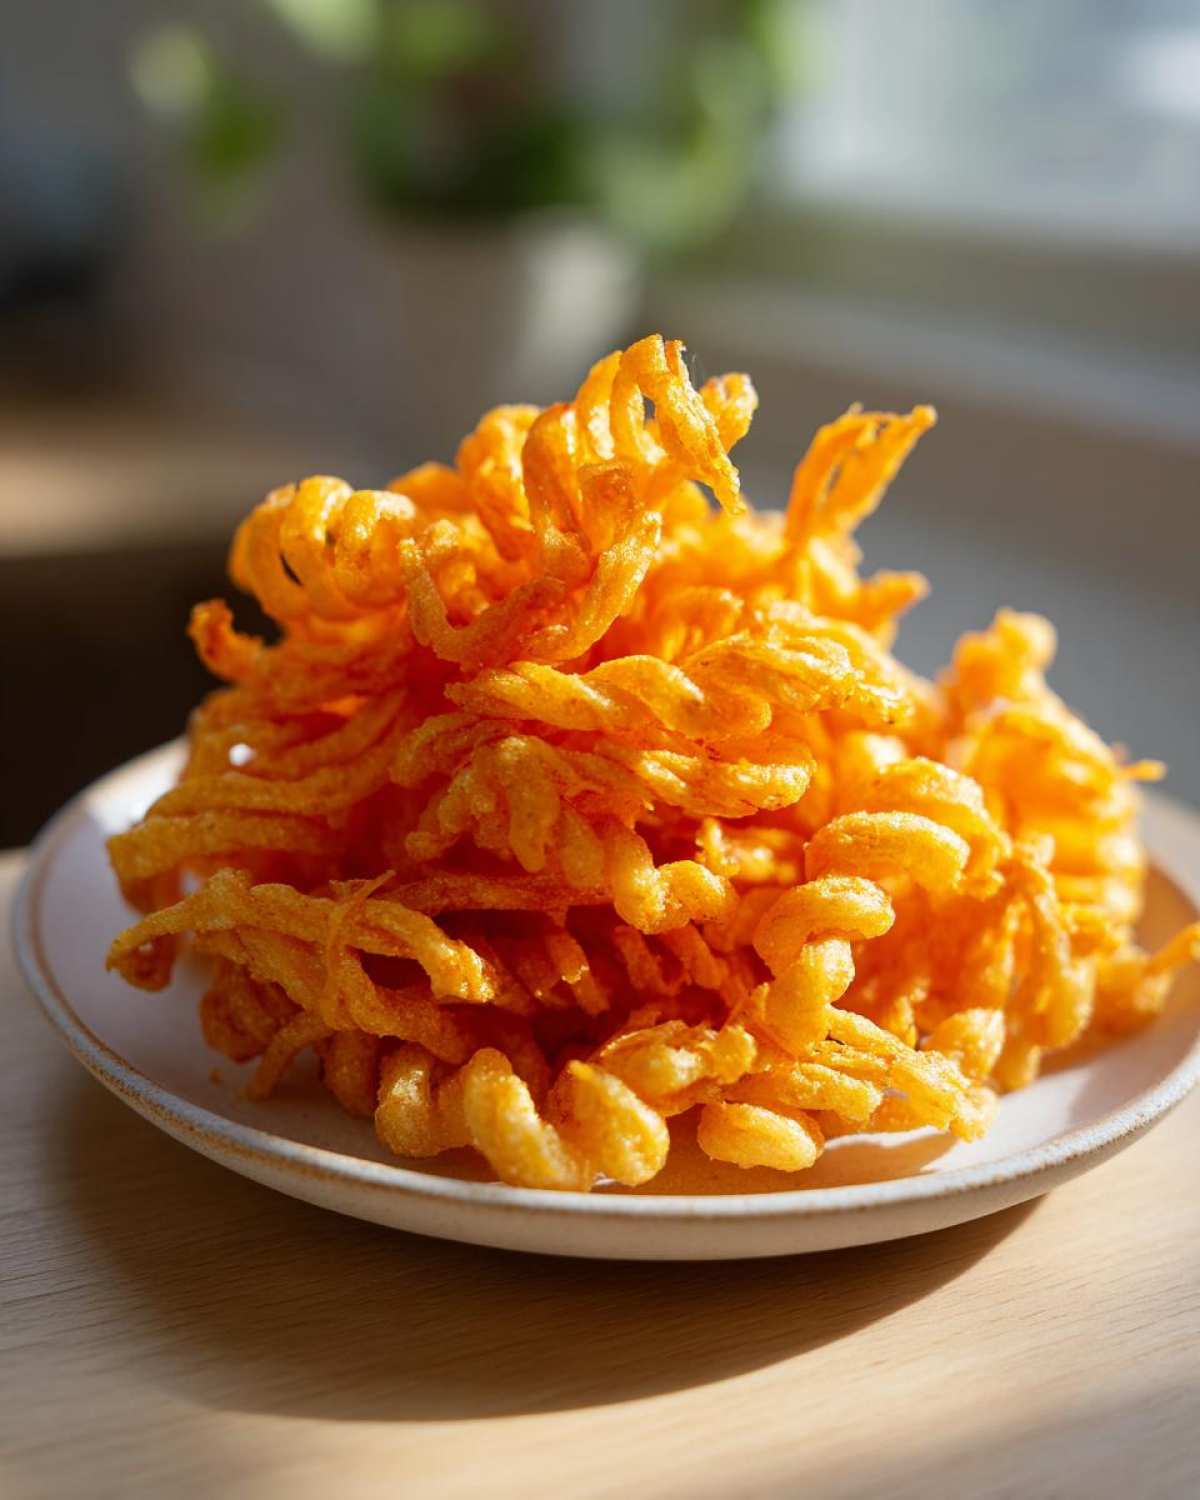
If you happen to be looking for another appetizer legend that flies off the platter, you might want to check out my recipe for Bisquick Sausage Balls, too. They travel well together!
Why These Are the Best Crispy Cheese Straws
So, what makes this version the star of the appetizer table? It all comes down to keeping things cold and resisting the urge to fiddle with the dough too much. That’s the secret to achieving truly crispy cheese straws that snap when you bite them, not bend annoyingly.
- The ultra-sharp cheddar cheese gives you that classic, necessary bite.
- Keeping the butter ice-cold guarantees those beautiful, flaky layers characteristic of great Southern cheese straws recipe versions.
- Using ice water instead of room temperature liquid helps keep the gluten development down, which is crucial!
Achieving the Perfect Flaky Texture in Your Cheese Straws
Listen closely about the temperature, because this is where amateurs go wrong! You absolutely must use butter straight from the fridge, cut up small. When it hits the flour, it creates tiny pockets of fat. Those pockets turn to steam while baking, giving you those lovely air gaps and resulting in those super satisfying flaky cheese bites. If your dough gets warm while you’re mixing or rolling, stop! Put it back in the fridge until it firms up again. Patience here pays off big-time.
Gathering Ingredients for Classic Cheddar Cheese Straws
Okay, let’s talk about the goodies you’ll need. When we make cheddar cheese straws, every single ingredient matters because we aren’t hiding the flavor behind heavy sauces or tons of spices. We want that pure, rich cheese flavor to shine. So, the butter needs to be cold, the water needs to be icy, and the cheese—oh, the cheese—it has to be the real deal.
You’ll notice I call for about two cups of flour, which gives us the structure we need for these savory sticks, and just a tiny pinch of cayenne if you like a barely-there little kick in the background. Don’t skip that cold butter, though; it’s the heart of these snacks! If I’m serving these at a big holiday party, I always make sure to have a bowl of Caramelized Onion Dip on standby, but honestly, these straws stand proudly on their own.
Ingredient Notes and Sharp Cheddar Substitutions
This is the most important note I can give you: please, please, please grate your cheese fresh off the block. Pre-shredded bags are coated in starches so they don’t clump together, but those starches prevent our cheese from melting beautifully and binding right into the dough. That’s the key to fantastic Southern cheese straws recipe texture!
If you absolutely can’t get sharp cheddar, you can try a mix—maybe half cheddar and half Gruyère for great meltability, or even add a little Parmesan. But for that authentic, punchy flavor that defines the classic version, stick with the sharpest cheddar you can find. That sharp edge balances out the richness of the butter perfectly.
Step-by-Step Guide to Making Homemade Cheese Straws
Now for the fun part, watching this shaggy, cheesy mess turn into true, crispy gold! Making these homemade cheese straws is straightforward once you respect the chilling times. I’m going to walk you through how I mix up my dough before getting those baking sheets ready—just make sure you have a good hour blocked out for the dough to rest before you start cutting. If you need a quick savory bake idea once these are done, perhaps check out this amazing Olive Oil Bread Dip recipe!
Mixing and Chilling the Dough for Buttery Cheese Straws
First, we treat this more like a pastry dough than a cookie. We cut that cold butter right into the flour and cheese until it looks like rough cornmeal. You only want to add the ice water—and I mean *ice*—just until the dough barely holds together. Stop mixing immediately! Overworking this dough is how you accidentally make crackers instead of these lovely, buttery cheese straws. Then, divide it, flatten it into disks, wrap it tight, and let it chill for at least 60 minutes in the fridge. Don’t rush this; that rest time sets the structure for flakiness.
Cutting and Twisting Your Cheese Straws
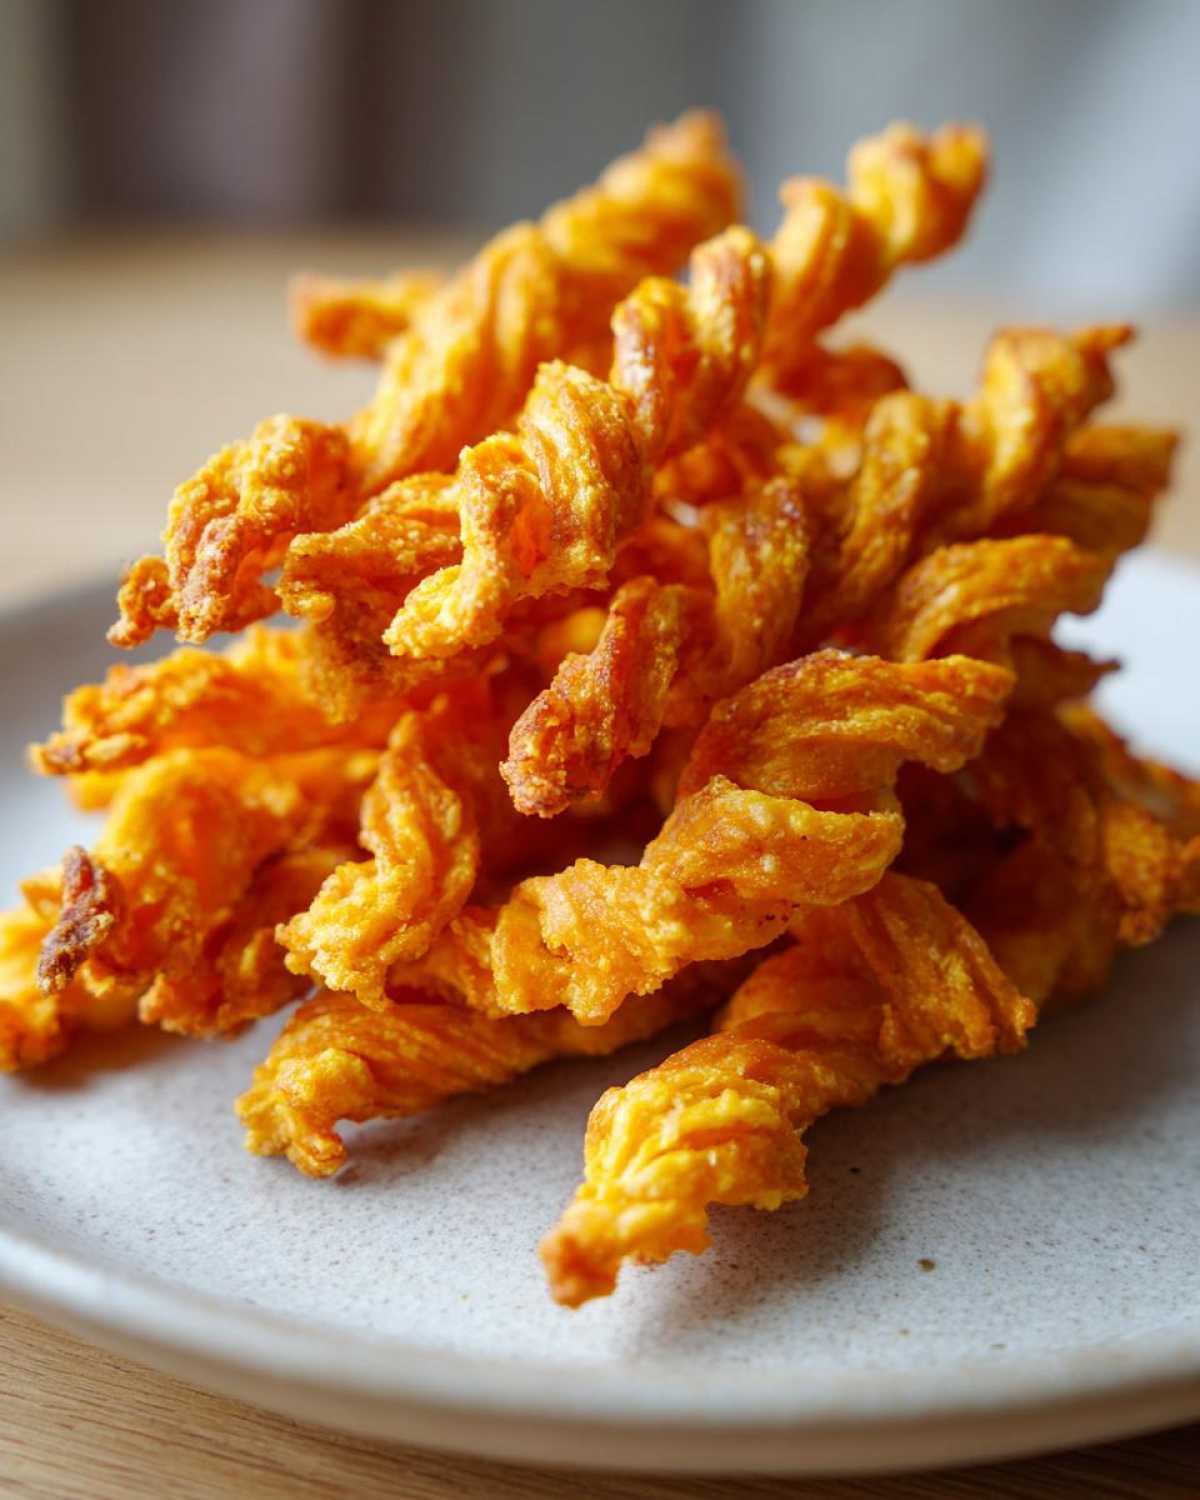
When the dough is firm, get your work surface floured lightly. We’re rolling this thin—about 1/8 of an inch—so they bake up nice and crisp. Cut those rolled-out sheets into strips, maybe half an inch wide and about four to six inches long. If you want that beautiful, classic look, just gently twist each strip once or twice before laying it on the parchment. Honestly, even plain sticks work great, but the twist makes these cheese straws look instantly party-ready!
Baking Tips for Perfect Crispy Cheese Straws
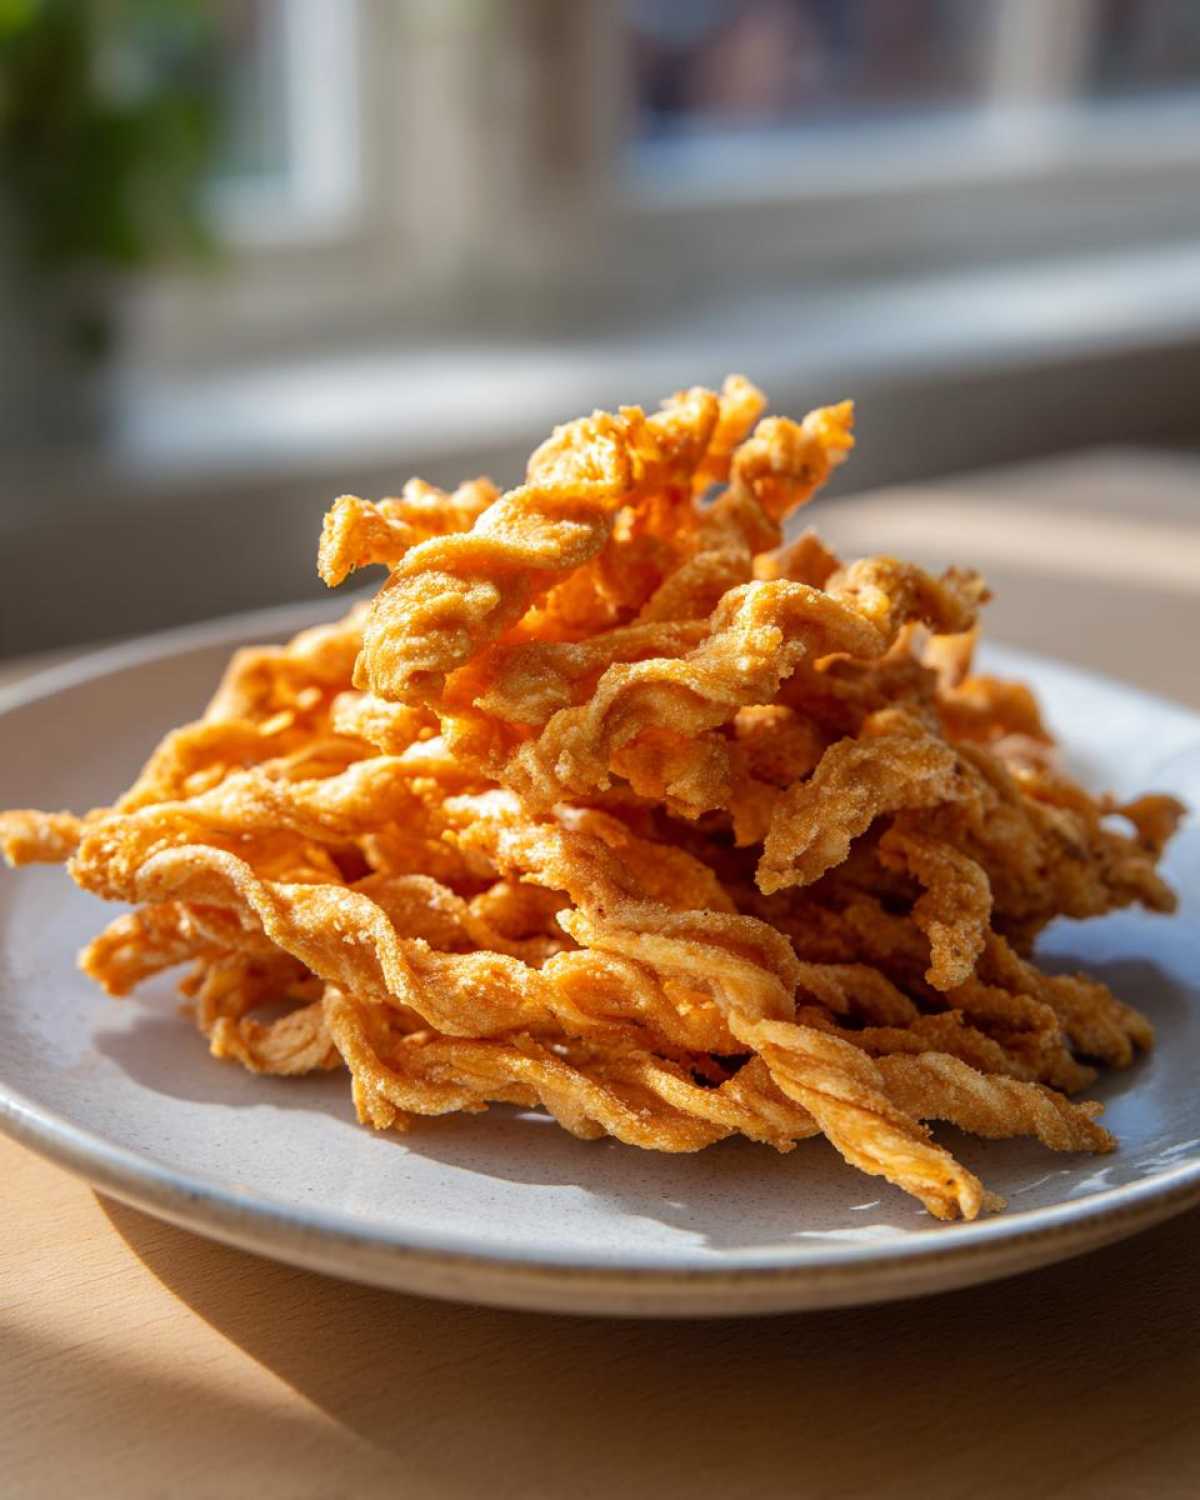
This is the moment of truth, determining whether you’ve got a soft, greasy snack or the snap that everybody craves! You want to preheat your oven to 400 degrees F; these bake hot and fast. Watch them closely, because they go from perfect to slightly overdone quickly. We’re looking for a beautiful, even golden brown across the tops.
If you’re cooking a big batch, you might check out my guide on Air Fryer Whole Chicken timing because that high heat is what gives us the best results! Once they come out, resist the urge to stack them or move them right away.
Here’s the secret for truly awesome crispy cheese straws: they firm up as they cool. Let them sit right on that baking sheet, untouched, until they are totally cool to the touch. That final bit of cooling allows all the residual moisture to bake off and guarantees that satisfying crunch you’re after. It’s worth the wait, I promise!
Variations on Classic Cheese Straws for Entertaining
While the classic sharp cheddar version is unbeatable for its sheer addictiveness, these savory sticks are basically begging you to get creative! After all, you need variety when you’re hosting lots of folks, and mixing up the flavors makes them perfect savory party appetizers. It’s still super fast, too, so you don’t sacrifice precious hosting time.
The great thing is that the base dough—just flour, butter, cheese, and water—is remarkably sturdy. You can easily bump up the heat level if you’re catering to people who like a little fire with their crunch. I love making big batches of regular ones and mixing a small batch just for the spice lovers; these end up being my personal favorite batch of spicy cheese straws.
Creating Rosemary Parmesan Straws and Other Savory Bites
If you want a flavor that feels a bit more grown-up or elegant, I absolutely adore adding fresh, finely chopped rosemary to the dough along with swapping out half the cheddar for Parmesan. That sharp, salty cheese combined with the piney herb makes them taste incredibly gourmet.
For a spicy option that’s different from just adding cayenne, try using smoked paprika in the dry mix instead. It gives the straws a warm, smoky depth without overwhelming the cheese. They are such easy, elegant savory party appetizers that everyone just munches right through!
Speaking of great party fare, if you need another cheese hit for your spread, you have to try my Cranberry Pecan Cheese Ball recipe next time. It handles the sweet side of things!
Storing and Making Ahead Appetizer Sticks
The absolute best part about these cheese straws? They are fantastic for planning ahead! Since they are so low in moisture once baked, they hold up like champions. You can definitely bake them a day or two early. Just make sure they are completely cool—and I mean stone cold—before you store them. Humidity is the enemy of crispiness, so you’ll want to place your finished appetizer sticks in a true airtight container.
They should stay perfectly snappy for three to four days on the counter. If you’re worried about freezer burn (which rarely happens with these), you can freeze them! Just wrap them tightly. If you need a refresh, spread them out on a baking sheet at 300 degrees F for about five minutes. Honestly, that just brings them right back to life! If you love making food for parties ahead of time, you should definitely check out my guide on Make Ahead Appetizers!
Frequently Asked Questions About Perfect Cheese Straws
I get so many questions popping up about the dough, which just proves how many of you are trying these out for your own parties! That’s wonderful. Here are a few things I hear asked most often when people are tackling their first batch of snacks.
Troubleshooting Soft Cheese Straws
If your straws came out soft instead of snapping, don’t toss them! First, check your baking time. Did you let them bake until they were genuinely golden brown? Second, and this is more common with an easy cheese straws recipe, they need to cool completely on the baking sheet. If you pile them up while they are even slightly warm, the steam gets trapped and softens them right up. Try popping them back into a 300-degree oven for about 8 minutes and letting them cool fully again; that usually fixes the texture!
Are These Cheese Straws Similar to Savory Shortbread?
That is such a great observation! Yes, they absolutely share DNA with a savory shortbread recipe. Because we use such a high ratio of cold butter to flour, the texture ends up rich, crumbly, and incredibly buttery, just like a good shortbread. The cheese is what elevates it beyond just a simple shortbread cookie, giving it that sharp, salty complexity that makes them so addictive.
Estimated Nutritional Data for These Addictive Cheese Snacks
Now, listen, I’m a cook, not a nutritionist, so take these numbers with a giant grain of salt! These addictive cheese snacks are made with butter and sharp cheddar, so they aren’t exactly diet food. But for a party treat, they are worth every single cheesy, buttery bite.
Based on standard measurements, you’re looking at about 110 calories per three straws, with 8 grams of fat. They are nice and low carb (only 7g), but pack a satisfying 4 grams of protein to balance things out. Enjoy them guilt-free—or at least, enjoy them thoroughly!
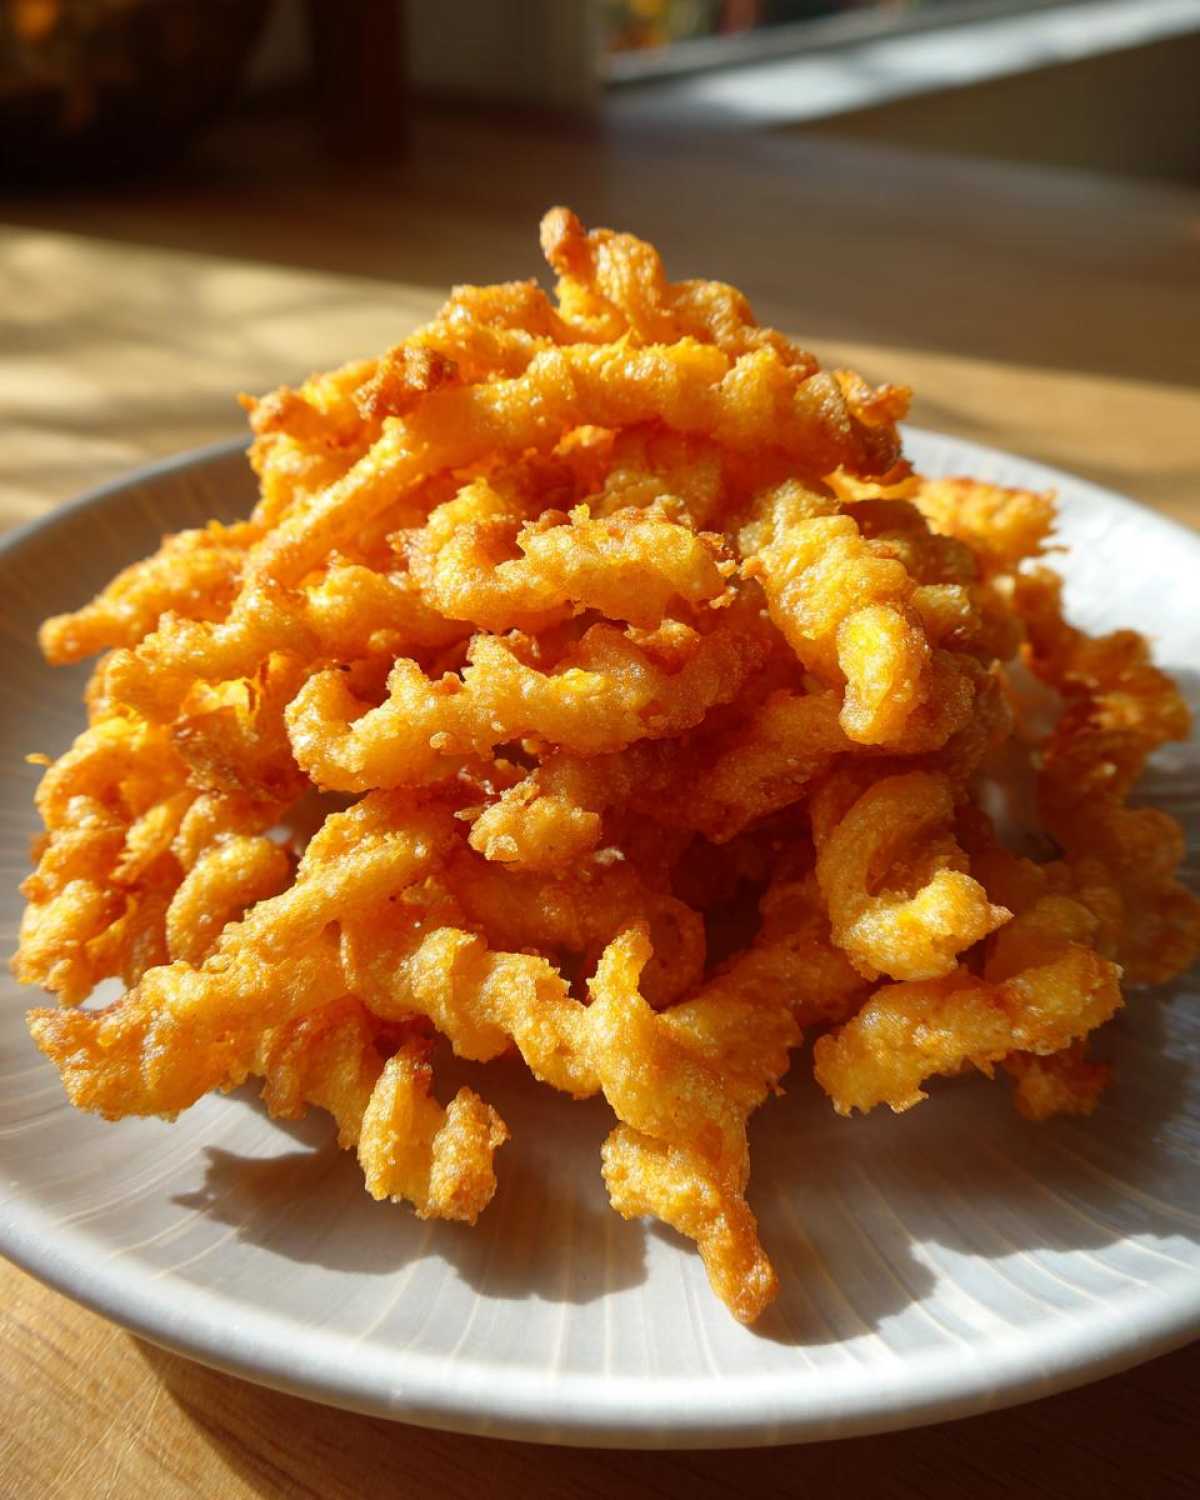
Share Your Experience Making These Southern Cheese Straws Recipe
I truly hope you and your guests fall head over heels for these as much as my family does. There is nothing I love more than seeing kitchen creations shared! I’d be absolutely thrilled if you took a moment to rate this Southern cheese straws recipe down below if you tried it out. Even a quick star rating helps other bakers know they are in good hands!
And please, tell me about your batch! Did you stick strictly to the sharp cheddar? Or did you sneak in some smoked paprika for a deeper kick? If you tried that rosemary Parmesan variation we talked about, I need all the details!
If you ran into any confusion at all while mixing, rolling, or chilling, drop your final questions in the comments too. I check back often and I love helping fellow cooks troubleshoot tricky doughs. Happy baking, and enjoy serving up the undisputed champion of savory snacks!
If you want to read more about how we keep this blog running with all these tested-and-true family favorites, you can check out our page About Us!
PrintClassic Crispy Southern Cheddar Cheese Straws

A recipe for making sharp, buttery, and crispy cheese straws perfect for parties or snacking.
- Prep Time: 25 min
- Cook Time: 15 min
- Total Time: 100 min
- Yield: About 4 dozen
- Category: Appetizer
- Method: Baking
- Cuisine: American
- Diet: Vegetarian
Ingredients
- 2 cups all-purpose flour
- 1 teaspoon salt
- 1/2 teaspoon cayenne pepper (optional)
- 1 cup (2 sticks) cold unsalted butter, cut into small pieces
- 10 ounces sharp cheddar cheese, freshly grated
- 1/4 cup ice water
- 1 large egg, beaten (for egg wash)
Instructions
- In a large bowl, whisk together the flour, salt, and cayenne pepper.
- Cut the cold butter into the flour mixture using a pastry blender or your fingers until the mixture resembles coarse crumbs.
- Stir in the grated sharp cheddar cheese until evenly distributed.
- Gradually add the ice water, mixing just until the dough comes together. Do not overmix.
- Divide the dough in half, shape each half into a flat disk, wrap in plastic wrap, and chill for at least 1 hour.
- Preheat your oven to 400 degrees F (200 degrees C). Line baking sheets with parchment paper.
- On a lightly floured surface, roll out one disk of dough to about 1/8 inch thickness.
- Cut the dough into strips about 1/2 inch wide and 4 to 6 inches long. You can twist the strips slightly for a classic look.
- Place the strips on the prepared baking sheets. Brush lightly with the beaten egg wash.
- Bake for 12 to 15 minutes, or until golden brown and crisp.
- Let the straws cool completely on the baking sheet; they crisp up as they cool.
Notes
- Use freshly grated cheese; pre-shredded cheese contains anti-caking agents that prevent the best melt and texture.
- Chilling the butter and the dough thoroughly is key to achieving a flaky, crispy result.
- For a savory shortbread texture, do not overwork the dough once the water is added.
Nutrition
- Serving Size: 3 straws
- Calories: 110
- Sugar: 0.2
- Sodium: 180
- Fat: 8
- Saturated Fat: 5
- Unsaturated Fat: 3
- Trans Fat: 0.2
- Carbohydrates: 7
- Fiber: 0.3
- Protein: 4
- Cholesterol: 25