

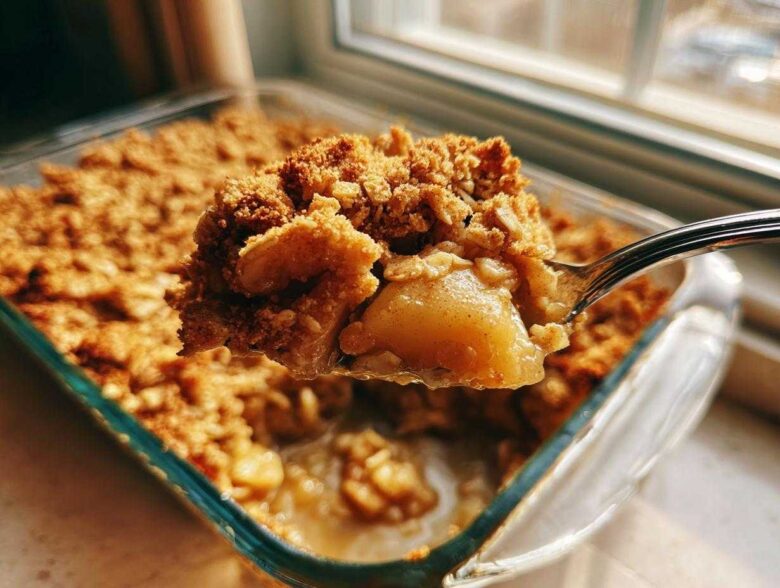
Oh, honestly, is there anything in this world more instantly comforting than that smell? You know, the one that fills your whole kitchen when apples, butter, and cinnamon start mingling in the hot oven? It just screams cozy Fall nights! If you’ve ever tried a crisp where the apples were mush or, worse, the topping turned into a soggy, buttery mess, well, you know the disappointment. Trust me; I’ve been there more times than I care to admit!
But stop worrying, because I finally cracked the code. This isn’t just any dessert; this is The Ultimate Classic Apple Crisp recipe. We’ve nailed the ratio here—enough tender, spiced apples to make it satisfying, balanced against a thick layer of buttery, golden, crispy oat topping. My secret weapon is using chilled butter cut into tiny cubes for the topping; it keeps everything spectacularly separate and crunchy. It’s my go-to weeknight dessert when I need real comfort fast.
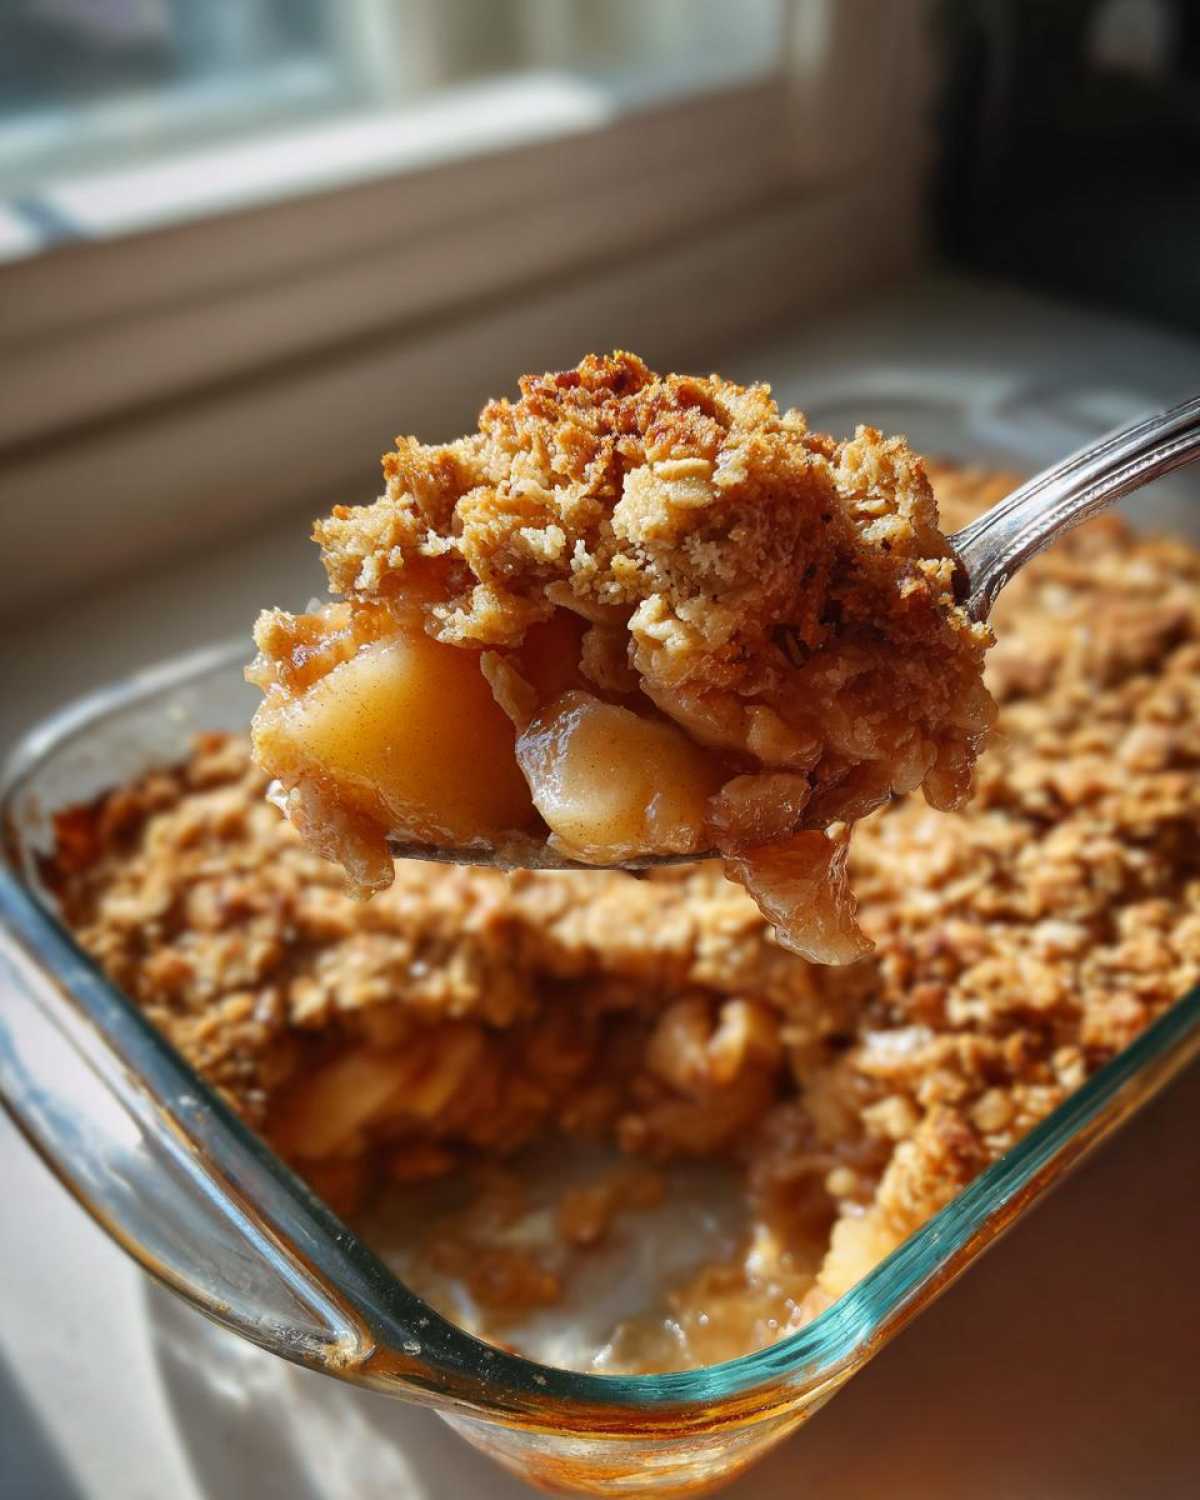
Why This Is the Best Apple Crisp Recipe You Will Ever Make
Listen, I’ve tinkered with fruit crumbles for years. I wanted something fast, reliable, and absolutely zero-fuss. This recipe is truly the best because it eliminates all the guesswork. It’s actually an Easy Apple Crisp Recipe if you follow my lead!
Here’s what makes this one win every time:
- The topping stays perfectly crispy; we hate soggy bottoms around here!
- The apples underneath are tender but still hold their shape—never mushy.
- It comes together in under 20 minutes of prep time, seriously!
- We rely on simple, everyday ingredients we always have on hand.
If you need a stellar dessert for unexpected company or just a giant hug in a dish, this is it. You’ll be reaching for this recipe often. Don’t forget to check out my recipe for Apple Bundt Cake if you want a full, moist experience next time!
Ingredients for the Ultimate Apple Crisp
Alright, the ingredients list is short and sweet, which is why this whole thing comes together so fast! I always lay mine out first, making sure my butter for the topping is super cold. Grab your ingredients now so you’re ready to go when you get to the mixing step!
You’ll need two distinct sets of items:
For the Apple Filling
- 6 medium apples (Granny Smith, Honeycrisp, or a mix works best!)
- 1/4 cup granulated sugar
- 1 tablespoon all-purpose flour
- 1 teaspoon ground cinnamon
- 1/4 teaspoon ground nutmeg
- 1 tablespoon lemon juice (keeps them bright!)
For the Crispy Oat Topping
This is where the magic happens. Remember, the butter must be cold!
- 1 1/2 cups all-purpose flour
- 1 cup rolled oats (and please, no instant ones! We need texture.)
- 3/4 cup packed light brown sugar
- 1/2 teaspoon ground cinnamon
- 1/4 teaspoon salt
- 1/2 cup (1 stick) cold unsalted butter, cut into small cubes
How To Make Apple Crisp: Step-by-Step Instructions
Okay, let’s get this beautiful autumn dessert in the oven! I think following the steps precisely is why this is such a reliable, Homemade Apple Crisp. Don’t rush the prep; that’s when we get the best results for our effort.
Preparing the Apple Filling for Your Apple Crisp
First things first, get your oven heated up to 375 degrees F and grease that 8×8 baking dish lightly. Now, attack those apples! You need to peel, core, and slice them all to about 1/4-inch thickness. Toss the slices right into a big bowl. Now, add your sugar mixture: the small amount of granulated sugar, that tablespoon of flour, one teaspoon of cinnamon, nutmeg, and the lemon juice. You want everything coated gently, so give it a good toss until those spices are everywhere. Spread those bright, spiced apples evenly in your prepared dish.
Creating the Crispy Oat Topping for Your Apple Crisp
This next part is critical for that incredible crunch on top of your Apple Crisp! In a separate bowl, whisk together the flour, the rolled oats (I use old-fashioned, never instant!), brown sugar, the second dose of cinnamon, and salt. Now, drop in those cold butter cubes. You are going to cut that butter in using a pastry blender if you have one, or just use your fingertips. You’re working that butter into the dry mix until it looks like coarse crumbs—and don’t panic if you still see some pea-sized bits of butter. That’s perfection! Those chunks melt down and create those unbeatable crispy spots.
Baking and Resting the Homemade Apple Crisp
Sprinkle that crumbly topping evenly over your apples; try not to press it down too much. Pop it into the oven for about 40 to 50 minutes. You’ll know it’s done when the topping is deeply golden brown and you can see the apple filling bubbling right up around the sides. This bubbling means those apples are perfectly tender. When you pull it out, you absolutely must let your Homemade Apple Crisp rest for at least 15 minutes. It sets up the filling so it doesn’t just run everywhere when you try to scoop it. You can find a great guide on how to bake apples perfectly if you want to practice the fruit base separately!
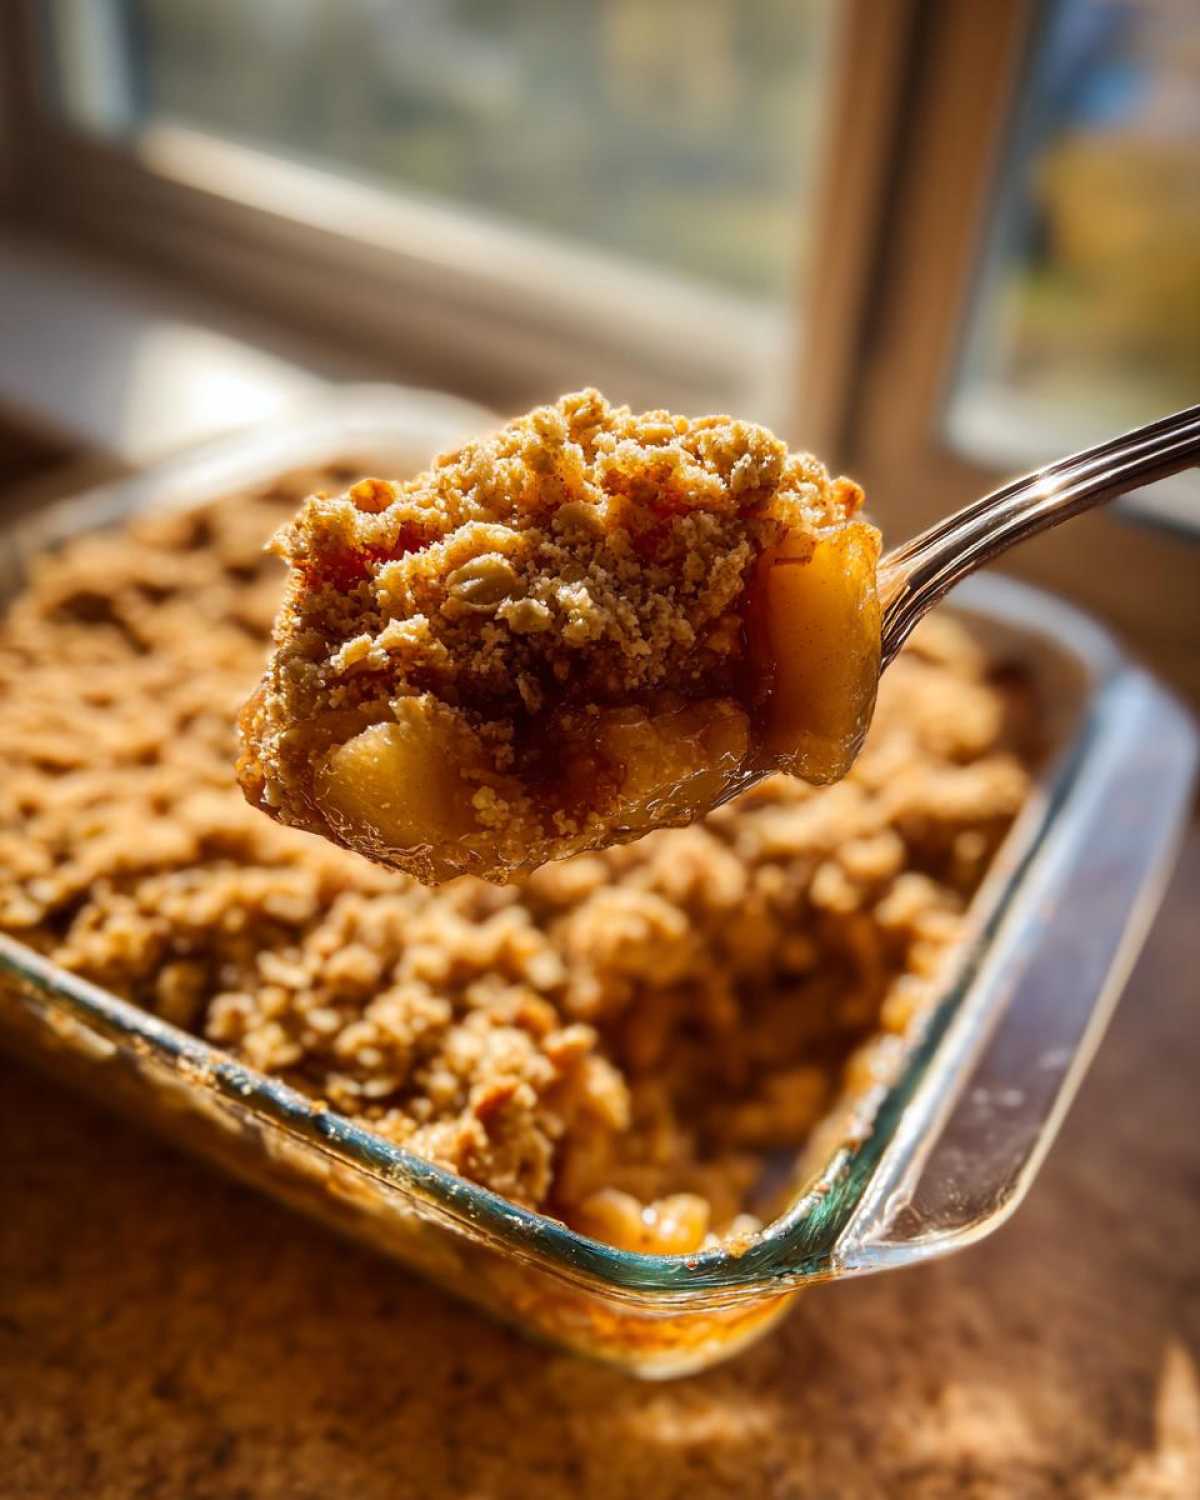
Expert Tips for the Perfect Apple Crisp
You followed the steps, but sometimes baking still throws you a curveball, right? That’s natural! When it comes to a stunning fruit crisp—especially one with flaky oats—a few pro moves make all the difference. This is where we elevate it from a good crumble to the Perfect Crumble Recipe. I’ve learned these tricks the hard way, usually involving an undercooked middle or sad, slimy apples.
My biggest piece of advice is always about the base layer. If you struggle with a soggy bottom, try this: Before you even put the apple mixture in the pan, brush the bottom of the dish lightly with a teaspoon of melted butter. It sounds tiny, but that little act creates a moisture barrier! Also, make sure your oven is truly up to temperature before that dish goes in.
Choosing the Right Apples for Your Apple Crisp
This is probably the most crucial decision you’ll make before you even turn on the oven. You want apples that are sturdy! Softer apples, like McIntosh, break down into applesauce while baking. We don’t want applesauce; we want distinct, tender pieces that stand up to that sweet, buttery topping.
The workhorses here are Granny Smith—they bring that wonderful tartness that cuts through all the sugar, plus they hold their shape like magnets. If you want sweeter apples, go for Honeycrisp or even Fuji. Honestly, I usually mix half Granny Smith and half Honeycrisp. It gives you the perfect flavor combination and the best structural integrity for your fantastic Apple Crisp.
If you’re looking for other fruit inspiration now that you’ve mastered apples, you should see my recipe for Best Blueberry Muffin Recipe—it uses a similar streusel technique that you’ll already be familiar with!
Variations on the Classic Apple Crisp
So, you’ve got the classic down, which is fantastic! But sometimes we want to shake things up, right? This recipe is super adaptable, which is one reason I love it so much. If you want to ramp up the complexity for a party, try swapping out half of those oats for finely chopped walnuts or pecans. Toasting the nuts slightly before mixing them in really boosts that warm, autumnal flavor in your topping.
If you need to accommodate different diets, making this recipe work is surprisingly easy! For gluten-free folks, just use certified gluten-free oats, and swap out the all-purpose flour in the topping for a good 1:1 gluten-free blend. Works like a charm!
And for a vegan version? Easy-peasy. Just swap that cold unsalted butter for a good quality vegan butter stick. You get the same buttery texture in your Apple Crisp topping without any dairy. You can get even more creative by using different fruits entirely, kind of like making a Fruit Cake Recipe, but in crumble form!
Serving Suggestions for Your Warm Apple Crisp
Okay, the hard part is over! Your Apple Crisp is bubbly, golden, and smells absolutely incredible—it’s officially time for the best part: digging in! Serve this piping hot right out of the oven, though remember my rule about letting it settle for 15 minutes first, or you’ll end up with soup.
This dessert screams comfort, and the accompaniments just make it legendary. You absolutely need a scoop of good, plain vanilla ice cream melting right over the top. The hot-and-cold contrast is everything! If you prefer something less dramatic, a drizzle of heavy cream works beautifully, adding richness without overtaking the spices.
If you’re heading towards a fancier vibe or maybe serving this during a chilly evening, consider dusting the top lightly with a mixture of cinnamon and a little bit of fresh nutmeg right before serving. It really highlights why this is one of the best Warm Apple Desserts out there. For an extra crunchy element, sprinkle some of my Candied Pecans Recipe right over the top of the ice cream!
Storage and Reheating Instructions for Apple Crisp
You know how sometimes leftovers just don’t taste as good the next day? That’s the crispy topping crying out for help! But don’t worry, this Apple Crisp holds up surprisingly well if you store it right. If you have any left over—which I doubt you will!—just let the dish cool completely to room temperature first.
Once cool, cover the baking dish tightly with foil or plastic wrap. You can keep it on the counter for maybe a day if your house isn’t too warm, but honestly, I stash leftovers in the fridge. It’ll stay perfectly good for about three or four days in there.
Now, for reheating—this is where we rescue the texture! Please, please, *please* skip the microwave if you can. Microwaving the whole thing makes that beautiful oat topping go soft and chewy, and we worked too hard for that!
The best way to restore that beautiful crunch is bringing it back to life in the oven. Pop a serving (or the whole thing!) back into a 350-degree oven for about 10 to 15 minutes. If you have an air fryer, that works wonders too—just blast it at 325 degrees for about 5 minutes until it’s hot and the topping is audibly crisp again. That’s the secret to enjoying that Made From Scratch Apple Crisp flavor the second time around!
Frequently Asked Questions About Making Apple Crisp
I know you probably have questions swirling around, especially if this is your first time making a truly perfect Apple Crisp from scratch. I gathered the ones I always get asked about after people try this recipe for the first time. It’s all about building confidence in the kitchen!
Can I use different fruits besides apples in this recipe?
Oh, absolutely! This is a classic fruit crisp base, so it works beautifully with so many things. Pears are a wonderful swap, just slice them a little thicker since they break down faster than apples. You can also mix in plums or even berries—though if you use berries, you might need to dial back the lemon juice a bit. If you’re looking for something entirely different but still comforting, you might enjoy my recipe for Best Homemade Caramelized Onion Dip—it uses baking skills in a savory way!
How do I stop the topping from burning before the apples cook?
This is a super common panic point! It usually happens when the oven is too hot, or the topping layer is too thin. If you notice the topping is turning dark brown but the filling isn’t bubbly yet, just grab a sheet of aluminum foil—or better yet, parchment paper—and loosely tent it over the dish. That shields the oats from direct heat while letting the apples steam underneath. It’s a quick fix that ensures you get that gorgeous golden color without any burnt edges.
Is this really a Quick Weeknight Dessert option?
Yes, 100%! That’s one of my favorite things about this recipe. Once you get going, the prep time is seriously only about 20 minutes total for both the apples and the topping mixture. With 50 minutes in the oven, if you start that right when you sit down to clear dinner dishes, you’ll have a warm, spectacular dessert cooling on the counter perfectly by the time you’re ready for something sweet. It’s the definition of a Quick Weeknight Dessert!
What’s the difference between a Crisp and a Crumble?
That’s a fun one! Honestly, most bakers use the terms interchangeably now, but traditionally, a true “crisp” has oats in the topping, which gives it that extra textural *crisp* factor. A “crumble” usually just has flour, sugar, and butter, making it a bit softer. Since ours is loaded with oats, we are definitely calling this a crisp, and it has the best texture!
Estimated Nutritional Data for Apple Crisp
If you’re keeping track of macros or just curious about what’s in this amazing autumnal treat, here’s the estimated breakdown. I pulled these numbers straight from my recipe builder based on the ingredients listed above. Remember, these are just estimates—your specific apple size and the exact brand of butter you use can nudge these numbers around a bit!
For one serving of this Apple Crisp, here is what you can generally expect:
- Serving Size: 1 serving
- Calories: 380
- Sugar: 35g
- Sodium: 150mg
- Fat: 18g (with 11g of that being satisfying saturated fat)
- Carbohydrates: 55g
- Fiber: 5g
- Protein: 5g
Just keep in mind that these values don’t account for any toppings you might add, like a big scoop of vanilla ice cream (which I highly, highly recommend!). This is just the base crisp itself. It’s good to know exactly what you are serving up, whether it’s for a casual get-together or just for yourself after a long day!
PrintThe Ultimate Classic Apple Crisp
Follow this simple recipe to make a classic apple crisp featuring tender, spiced apples under a buttery, crispy oat topping.
- Prep Time: 20 min
- Cook Time: 50 min
- Total Time: 70 min
- Yield: 6 servings
- Category: Dessert
- Method: Baking
- Cuisine: American
- Diet: Vegetarian
Ingredients
- 6 medium apples (Granny Smith, Honeycrisp, or a mix)
- 1/4 cup granulated sugar
- 1 tablespoon all-purpose flour
- 1 teaspoon ground cinnamon
- 1/4 teaspoon ground nutmeg
- 1 tablespoon lemon juice
- 1 1/2 cups all-purpose flour
- 1 cup rolled oats (not instant)
- 3/4 cup packed light brown sugar
- 1/2 teaspoon ground cinnamon
- 1/4 teaspoon salt
- 1/2 cup (1 stick) cold unsalted butter, cut into small cubes
Instructions
- Preheat your oven to 375 degrees F. Lightly grease an 8×8 inch baking dish.
- Peel, core, and slice the apples into 1/4-inch thick pieces. Place them in a large bowl.
- Add the 1/4 cup granulated sugar, 1 tablespoon flour, 1 teaspoon cinnamon, nutmeg, and lemon juice to the apples. Toss gently until the apples are evenly coated.
- Spread the apple mixture evenly into the prepared baking dish.
- In a separate medium bowl, combine the 1 1/2 cups flour, rolled oats, brown sugar, 1/2 teaspoon cinnamon, and salt for the topping. Mix well.
- Cut in the cold butter cubes using a pastry blender or your fingertips until the mixture resembles coarse crumbs. Do not overmix; some pea-sized pieces of butter are fine.
- Sprinkle the topping mixture evenly over the apples in the baking dish.
- Bake for 40 to 50 minutes, or until the topping is golden brown and the apple filling is bubbly around the edges.
- Let the crisp cool for at least 15 minutes before serving.
Notes
- Use firm apples like Granny Smith or Honeycrisp so they hold their shape during baking.
- For a richer flavor, substitute half of the all-purpose flour in the topping with whole wheat flour.
- Serve warm with vanilla ice cream or a drizzle of heavy cream.
- To make this gluten-free, use certified gluten-free oats and substitute the all-purpose flour with a 1:1 gluten-free baking blend.
Nutrition
- Serving Size: 1 serving
- Calories: 380
- Sugar: 35g
- Sodium: 150mg
- Fat: 18g
- Saturated Fat: 11g
- Unsaturated Fat: 7g
- Trans Fat: 0.5g
- Carbohydrates: 55g
- Fiber: 5g
- Protein: 5g
- Cholesterol: 45mg