

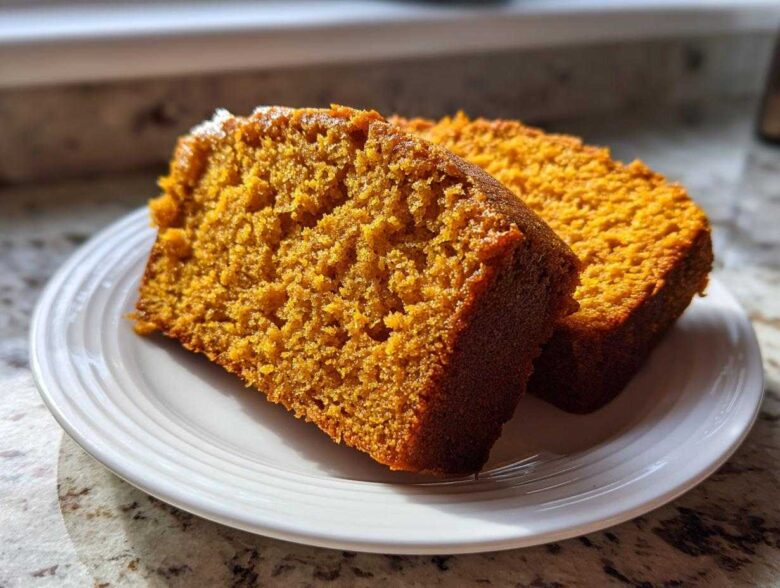
Oh, you smell that? That rich, warm cloud of cinnamon and nutmeg? That only means one thing: it’s time for fall baking! I’ve been tweaking my autumn line-up for years, and I have finally, finally landed on what I confidently call the Ultimate Super Moist Pumpkin Bread Recipe. Forget the dry, crumbly stuff that needs a gallon of coffee just to swallow it—this pumpkin bread is different.
I’m telling you, this version is my go-to every single year because it’s utterly reliable. It’s simple enough for a Tuesday night bake when you just need something cozy, but it tastes so incredibly rich and bakery-quality that it flies off the table at holiday parties. My grandmother taught me that a quick bread is only as good as its moisture level, and trust me, we nailed it here.
It’s a total one-bowl wonder, which is half the battle when you’re trying to get something delicious on the cooling rack fast. If you want that perfect, tender loaf that practically melts in your mouth, you need to stick with my method. You can check out more of my favorite seasonal bakes right over here when you’re done!
Why This Is The Best Pumpkin Bread Recipe You Will Make
People always ask me what makes this Moist Pumpkin Bread so much better than others they’ve tried. Honestly, it’s the trifecta: unbeatable moisture, that perfect cozy spice factor, and the fact that it’s so quick to throw together. This isn’t fussy baking; this is Spiced Quick Bread perfection.
- It relies on oil instead of butter, which keeps the loaf unbelievably tender for days.
- The spice blend hits that perfect note—not too much, never too little.
- It’s seriously a dump-and-mix situation!
Achieving Ultimate Moisture in Your Pumpkin Bread
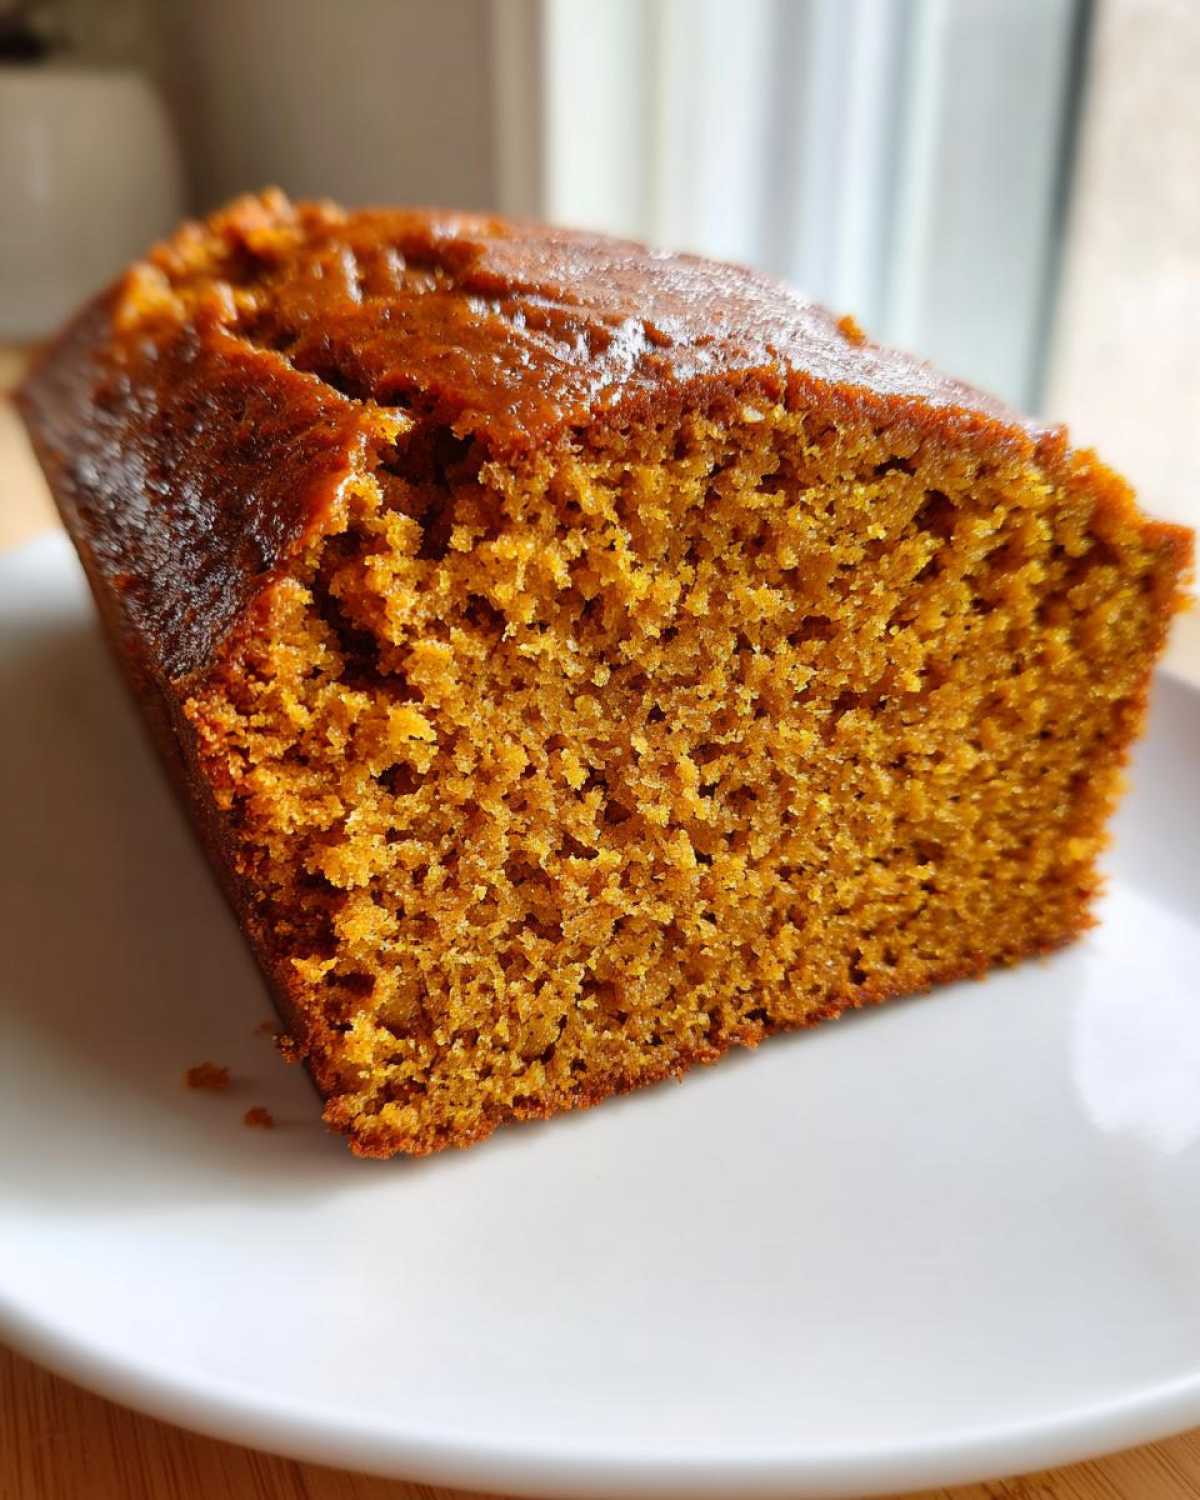
The secret sauce for moisture comes down to two things right off the bat: the 100% pumpkin puree (make sure it’s not the pie filling!) and the vegetable oil. Oil coats the flour better than melted butter, which keeps gluten development down. That leads me right into my biggest tip here: Once you add the wet to the dry, stop mixing the second you don’t see any dry streaks. Seriously, step away from the spatula!
Gathering Ingredients for Your Homemade Pumpkin Bread
Okay, let’s talk about what you need. When you bake Homemade Pumpkin Bread, having the right stuff measured out makes the whole process smooth—and believe me, a smooth process saves us from burnt edges!
- 1 3/4 cups all-purpose flour
- 1 teaspoon baking soda
- 1 teaspoon ground cinnamon
- 1/2 teaspoon ground nutmeg
- 1/2 teaspoon ground ginger
- 1/2 teaspoon salt
- 1 cup granulated sugar
- 1/2 cup packed brown sugar (make sure it’s packed!)
- 2 large eggs
- 1 cup pumpkin puree (not pumpkin pie filling—this is important!)
- 1/2 cup vegetable oil
- 1 teaspoon vanilla extract
- 1/2 cup chopped pecans or walnuts (optional)
I find that having everything ready right before I start mixing is half the battle. Mixing goes so fast once you pull the wet ingredients together, so you don’t want to be scrambling for the nutmeg halfway through!
Ingredient Notes and Substitutions for Perfect Pumpkin Bread
A few little notes on those ingredients, because they really matter for the texture. If you want to make this extra special for the kids (or yourself, no judgment here!), folding in about half a cup of chocolate chips alongside those optional nuts is just heavenly. It takes it from a breakfast bake to a beautiful Simple Pumpkin Dessert instantly.
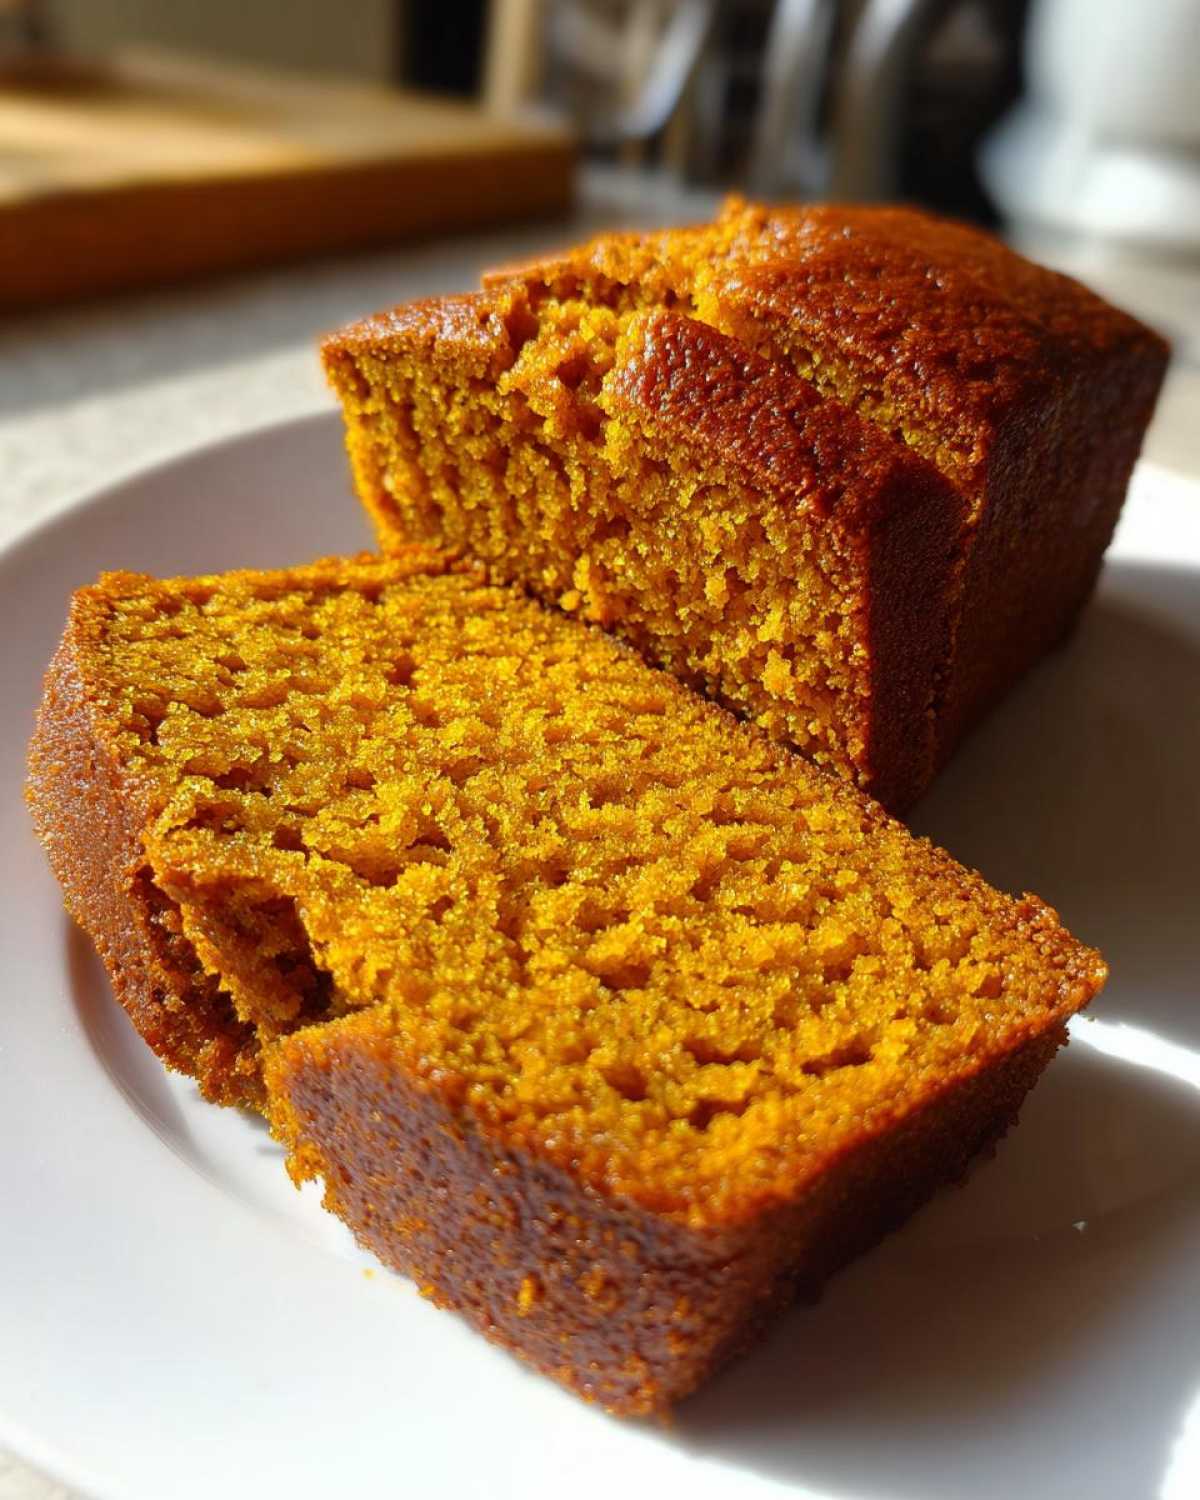
I always stress using pure pumpkin puree because the pie filling—ugh—that stuff has too much sugar and thickeners, and it throws off the whole moisture balance we worked so hard for. Also, if you happen to be low on oil that day, you can substitute 1/4 cup of the oil with applesauce for a little boost of moisture! If you want to dive deeper into using pumpkin puree in other decadent ways, you should check out my pumpkin cheesecake recipe!
Step-by-Step Instructions for Easy Pumpkin Bread Recipe
You know how some recipes feel like they have a million tiny steps? Not this one! This Easy Pumpkin Bread Recipe is honestly just two main actions: mix the dry stuff, mix the wet stuff, and then—gently—put them together. We’re aiming for that beautiful, soft Holiday Quick Bread texture, and the clock starts ticking the moment you start mixing!
First things first, get that oven heated up—350 degrees F (175 degrees C). Make sure you grease and flour your 9×5 inch loaf pan really well, or you’ll be wrestling that loaf out later! Then, we’ll follow the steps exactly.
- In a large bowl, whisk together the flour, baking soda, cinnamon, nutmeg, ginger, and salt.
- In a separate medium bowl, whisk together the granulated sugar, brown sugar, eggs, pumpkin puree, vegetable oil, and vanilla extract until they are nicely combined.
- Pour the wet ingredients into the dry ingredients.
- Mix gently with a spatula until just combined. Do not overmix.
- If you decided to toss in those nuts, now is the time to fold them in carefully.
- Pour the batter into your prepared loaf pan.
- Bake for 55 to 65 minutes.
- When it comes out, let it chill in the pan for a full 10 minutes before you flip it onto a wire rack to cool completely.
Once you’re done baking, you can browse some other great seasonal stuff I love, like this cranberry orange cake recipe!
Mixing Technique for a Tender Pumpkin Loaf
Pay attention to steps 2 and 4 here; these are make-or-break moments for a Tender Pumpkin Loaf. You must, must, *must* whisk your dry ingredients (flour, spices, soda, salt) completely separately first. You want those leaveners and spices perfectly distributed so you don’t get a big clump of nutmeg in one slice!
When you combine them, remember that important phrase: “Mix gently with a spatula until just combined. Do not overmix.” If you keep beating the batter after the flour goes in, you start building up gluten strands. And what do gluten strands make? Tough bread! We want soft, fine crumbs, not a chewy brick, so less mixing is always, always more for this Classic Pumpkin Loaf.
Baking Times and Checking Doneness for Your Pumpkin Bread
Alright, the batter is in the pan, and now comes the waiting game! For this recipe, we are aiming for that sweet spot of baking time, which runs between 55 to 65 minutes in a 350-degree oven. Since every oven is a little bit different—mine runs hot, yours might run cool—you should always start checking around the 55-minute mark. We do not want a dry loaf to save our lives!
To check if your Pumpkin Bread is done, you need to use the classic wooden skewer test. Jab a clean wooden skewer or, if you don’t have one handy, a long piece of dried spaghetti, right into the very center of your loaf. If it comes out clean, fantastic! If you see wet batter clinging to it, give it another five to seven minutes and test again.
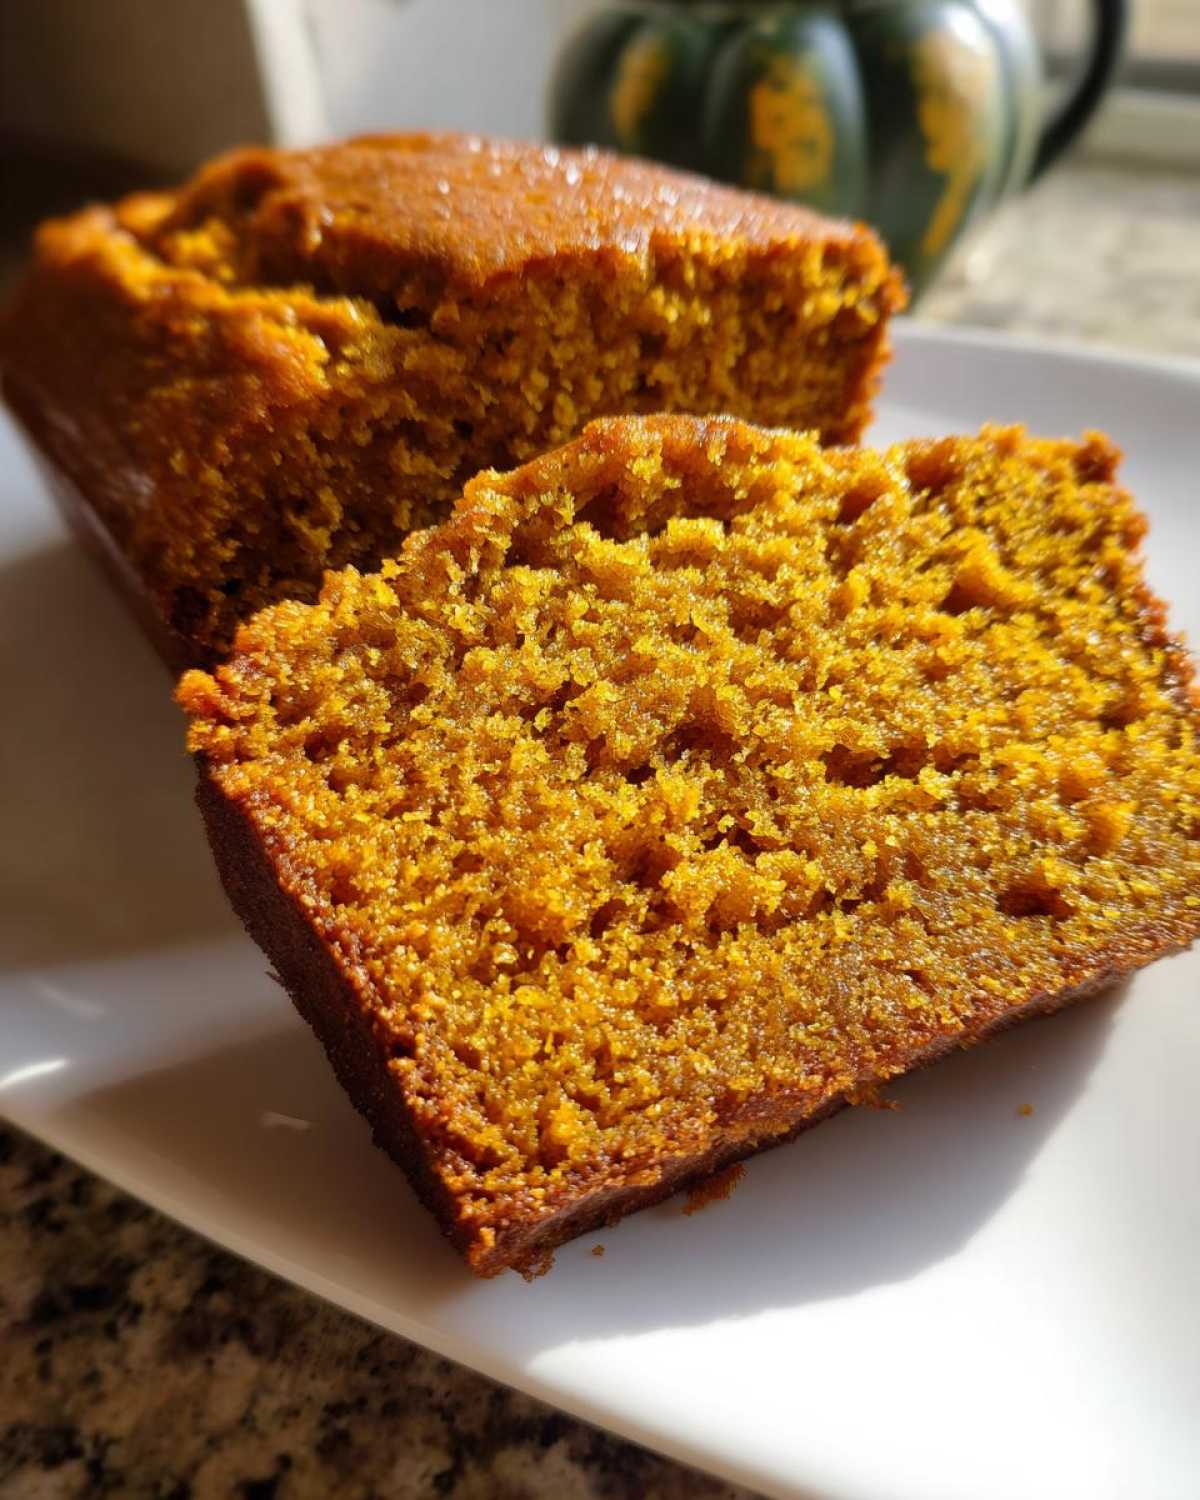
If you want to be ultra-precise—and I’ve started doing this recently just to guarantee success—you can pull out a cheap instant-read thermometer. When the center of your Spiced Quick Bread hits 200 degrees F, you know it’s exactly where it needs to be on the inside. Pull it out right then!
Now, resist the urge to immediately flip it out onto a cooling rack. This is crucial for maintaining that moist texture, believe it or not! Let the loaf rest right there in the pan for a good 10 minutes. After that short rest, gently turn it out onto the rack to cool completely. If you try to take it out too soon, the middle might just slump a little.
Tips for the Most Delicious Homemade Pumpkin Bread
You’ve got the ingredients, you’ve mixed it gently—now let’s talk about the little things that elevate this from simple home baking to something legendary. Remember, we are aiming for the very Best Pumpkin Bread here, and that takes a little professional know-how! If you follow these tricks, you’ll always end up with a gorgeous, Perfectly Spiced Loaf.
First up: spices. Always use freshly ground spices if you can! The flavor difference between jarred cinnamon that’s been sitting for a year and fresh cinnamon is night and day. While you’re gathering things, make sure your two large eggs are at room temperature. Room temperature eggs mix into batters so much more evenly; they incorporate air better, which helps create that smooth, tender crumb. Nobody wants cold egg chunks hiding in their bake!
And for the ultimate bragging right? The dome! To get that classic, beautiful rise, make sure your oven is fully preheated before the pan goes in, and don’t open that door until at least the 50-minute mark. A sudden blast of cool air can make the top sink immediately. If you want a little extra help, you can always check out my recipe for caramelized onion dip—we might be in two different food worlds, but the principle of slow, even cooking remains the same!
Serving Suggestions for Classic Pumpkin Loaf
Now that you’ve mastered this beautifully moist and aromatic loaf, what do you do with it? Well, you could just slice it plain, and honestly, it would be incredible because it’s that good. But why stop there? This Classic Pumpkin Loaf deserves a proper showcase, especially since it pairs so magically with our afternoon coffee habits.
The absolute best way to enjoy a warm slice, particularly on a crisp morning, is with just a simple smear of good quality, slightly salted butter. Let that butter melt right into the warm crumb—wow! It enhances the sweet molasses notes from the brown sugar; you won’t regret it.
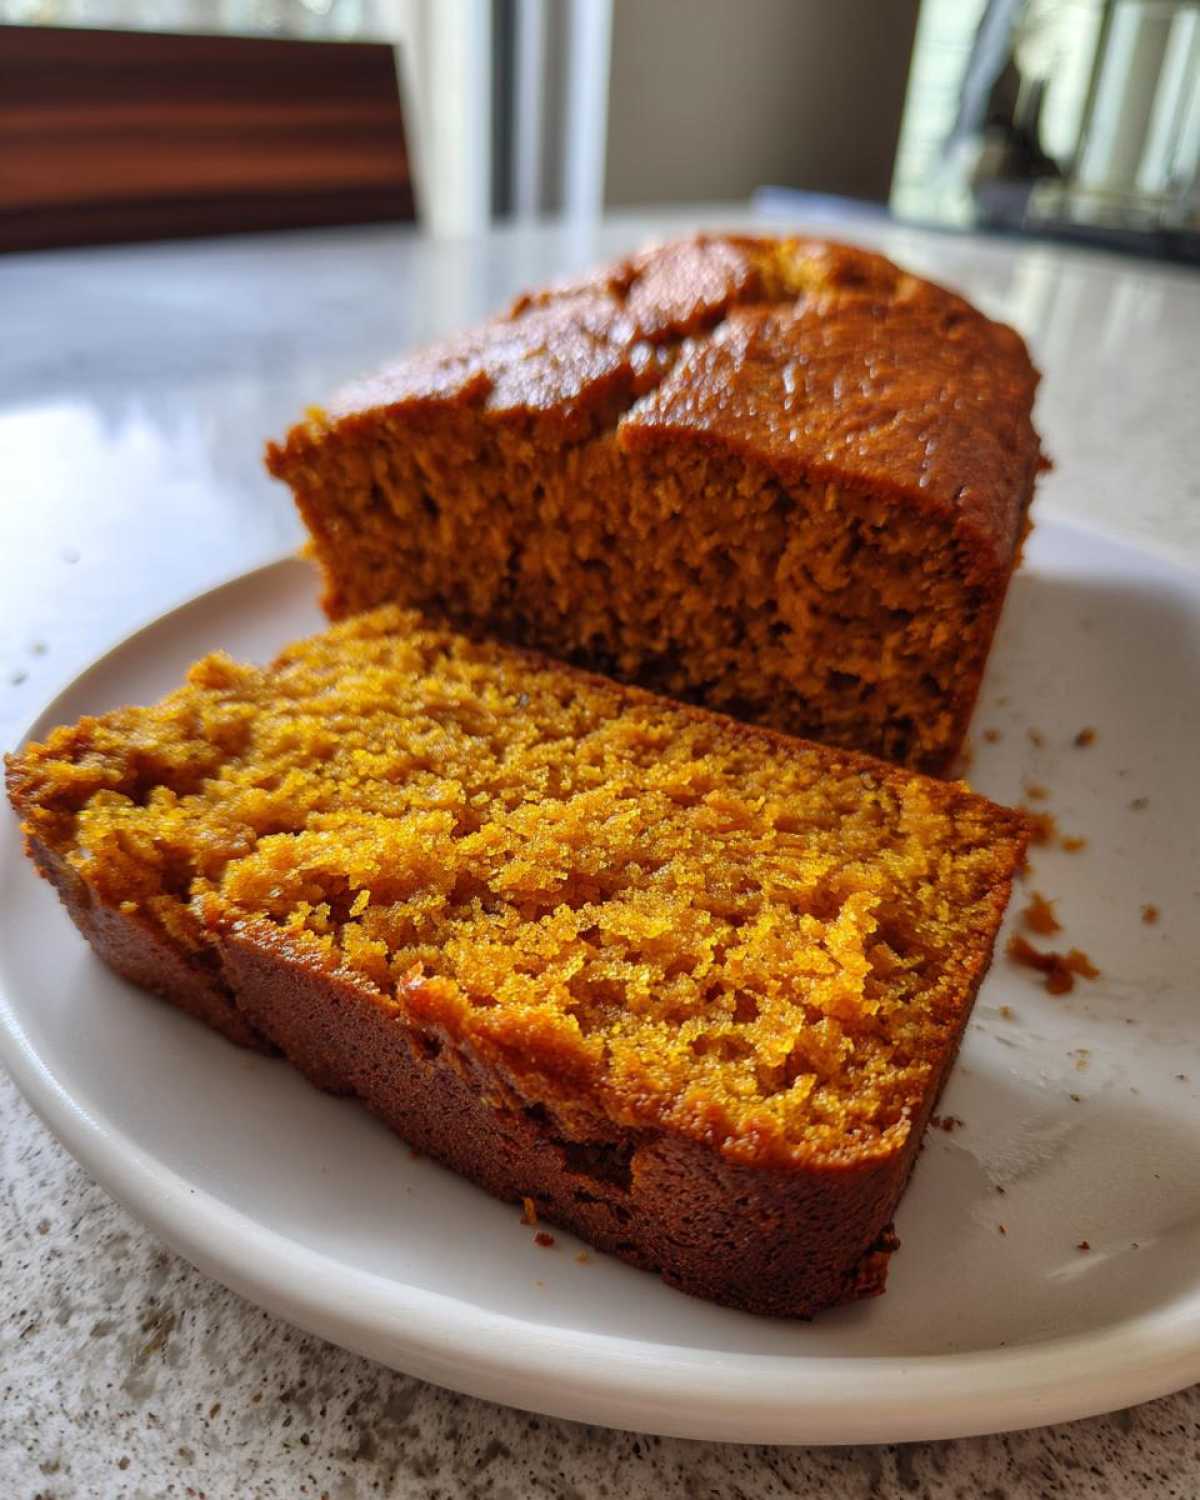
If you want to dress this up just a little bit for dessert or a weekend brunch, you have a couple of great routes. You could always whip up a simple cream cheese frosting! I’m saving the full recipe for that separately because it deserves its own moment, but trust me, the tangy flavor cuts through the sweetness of the pumpkin perfectly. Think a thin, easy drizzle over the top.
For something less intense, just slicing it thin and serving it alongside hot apple cider is fantastic—it really leans into that whole Cozy Autumn Treats vibe. And hey, if you’re looking for something totally out of the box for your next gathering, I’ve got this wild but amazing recipe for a burger sauce that might surprise you, even though it’s nothing like bread!
Storage and Making Ahead with Your Pumpkin Bread
Since this Most Moist Pumpkin Bread stays fresh so well, you often have leftovers—if you can manage it! Keeping a loaf around for a few days of easy breakfasts or snacks is one of the joys of Fall Baking Recipes. The key here is wrapping it up right so you lock in all that gorgeous moisture we worked so hard to achieve.
When the bread has cooled completely—and I mean *completely*—you need to wrap it tightly. I usually use two layers of plastic wrap, making sure I seal all the edges. If you skip that cooling step, steam gets trapped, and that moisture turns into sogginess, which is the opposite of what we want for our Delicious Homemade Bread!
Generally, I keep mine right on the counter, wrapped well, for three to four days. The oil keeps it stable, so you don’t usually need the fridge unless your kitchen is super humid. Honestly, the fridge can sometimes dry baked goods out faster, so stick to room temperature unless you need longer storage.
Now, if you’re planning ahead for the holidays or just want to bake a batch while you’re feeling energized, freezing is your best friend! You can freeze the whole loaf, or even better, slice it first. Place wax paper or parchment between the slices before wrapping them tightly in plastic and then a layer of foil. This prevents freezer burn and means you can grab just one or two slices at a time!
Once frozen, that loaf will keep beautifully for three months. When you’re ready to eat it, just unwrap the slices you need and let them thaw on the counter for an hour or two. Or, if you’re impatient like me, pop a slice in the toaster for about 30 seconds! It brings all that cinnamon spice right back to life. If you’re ever interested in baking fruitcakes for even longer storage, you should definitely take a look at my fruit cake recipe!
Frequently Asked Questions About Pumpkin Bread
It’s funny, even when a recipe seems totally straightforward, people always have questions! That’s totally fair—baking is chemistry, and you want to make sure you get that perfect end result. I’ve gathered up the most common things I get asked about this Pumpkin Bread so you can bake with total confidence.
Can I use fresh pumpkin instead of puree for this pumpkin bread?
That’s a great question, especially if you have a bunch of pie pumpkins lying around from a fall farm trip! The answer is yes, you absolutely can, but you need to know what you’re doing. Fresh pumpkin has way more water content than the canned puree. If you just substitute one-for-one, your Moist Quick Bread might turn out gummy or just generally wet.
If you roast and mash your own pumpkin, you have to cook it down until it’s very thick before measuring it out. I’d suggest roasting it halved, scooping out the flesh, and then simmering it gently on the stove in a saucepan for about 15 minutes, stirring often, until a lot of that extra moisture evaporates. Then, use that thicker mash in place of the puree—or, just use the canned stuff for reliability, like I do!
What makes this the most moist pumpkin bread?
If you ask me, the title of Most Moist Pumpkin Bread is earned by a combination of three things we built into this recipe. First, by using oil instead of butter, we get a fat that stays liquid at room temperature, keeping the crumb softer longer. Second, we use a full cup of pumpkin puree, which brings in that natural vegetable moisture.
But the real clincher? Not overbaking! And I mean it. If you leave this loaf in the oven an extra 15 minutes because the toothpick looks *slightly* damp, you’ve just baked all the moisture out. Pull it when the skewer has moist crumbs, not wet batter, and you’re golden. Trust me on that pull time!
If you want to learn a little more about why I share recipes here on the blog, you can always pop over to my About Us page!
Estimated Nutritional Data for This Spiced Quick Bread
Look, I’m a cook, not a scientist, and I’m definitely not a registered dietitian! But because so many of you ask about the numbers when you are sharing this Spiced Quick Bread with family, I pull the estimates for you. We need to remember that these numbers are just guesses based on standard ingredient measurements—yours might change slightly depending on the exact brand of oil or sugar you use!
This general breakdown is for one slice of the loaf. I always point people toward my full disclaimer page, which you can find right here, because these estimates aren’t meant for strict medical tracking, but they give you a great idea of what you’re enjoying!
When you look at the numbers, you see a good balance for a satisfying treat. It’s got fiber and protein, but yes, it’s got sugar and fat—that’s what makes it taste like a cozy autumn dream, right?
Here is the estimated breakdown:
- Serving Size: 1 slice
- Calories: 280
- Sugar: 28g
- Sodium: 250mg
- Fat: 15g
- Saturated Fat: 2g
- Unsaturated Fat: 13g
- Trans Fat: 0g
- Carbohydrates: 35g
- Fiber: 1g
- Protein: 4g
- Cholesterol: 45mg
So, grab a slice (or two!), enjoy that warm spice, and don’t sweat the details too much. It’s homemade, it’s made with love, and that’s the best nutrition you can ask for!
PrintThe Ultimate Super Moist Pumpkin Bread Recipe
This recipe yields a tender, warmly spiced pumpkin bread that stays moist. It is simple to prepare in one bowl.
- Prep Time: 15 min
- Cook Time: 60 min
- Total Time: 75 min
- Yield: 1 loaf
- Category: Dessert
- Method: Baking
- Cuisine: American
- Diet: Vegetarian
Ingredients
- 1 3/4 cups all-purpose flour
- 1 teaspoon baking soda
- 1 teaspoon ground cinnamon
- 1/2 teaspoon ground nutmeg
- 1/2 teaspoon ground ginger
- 1/2 teaspoon salt
- 1 cup granulated sugar
- 1/2 cup packed brown sugar
- 2 large eggs
- 1 cup pumpkin puree (not pumpkin pie filling)
- 1/2 cup vegetable oil
- 1 teaspoon vanilla extract
- 1/2 cup chopped pecans or walnuts (optional)
Instructions
- Preheat your oven to 350 degrees F (175 degrees C). Grease and flour a standard 9×5 inch loaf pan.
- In a large bowl, whisk together the flour, baking soda, cinnamon, nutmeg, ginger, and salt.
- In a separate medium bowl, whisk together the granulated sugar, brown sugar, eggs, pumpkin puree, vegetable oil, and vanilla extract until combined.
- Pour the wet ingredients into the dry ingredients. Mix gently with a spatula until just combined. Do not overmix.
- If using, fold in the chopped nuts.
- Pour the batter into the prepared loaf pan.
- Bake for 55 to 65 minutes, or until a wooden skewer inserted into the center comes out clean.
- Let the bread cool in the pan for 10 minutes before turning it out onto a wire rack to cool completely.
Notes
- For extra moisture, substitute 1/4 cup of the oil with applesauce.
- You can add 1/2 cup of chocolate chips along with the nuts for a sweeter loaf.
- To check for doneness, the internal temperature should register 200 degrees F.
Nutrition
- Serving Size: 1 slice
- Calories: 280
- Sugar: 28
- Sodium: 250
- Fat: 15
- Saturated Fat: 2
- Unsaturated Fat: 13
- Trans Fat: 0
- Carbohydrates: 35
- Fiber: 1
- Protein: 4
- Cholesterol: 45