

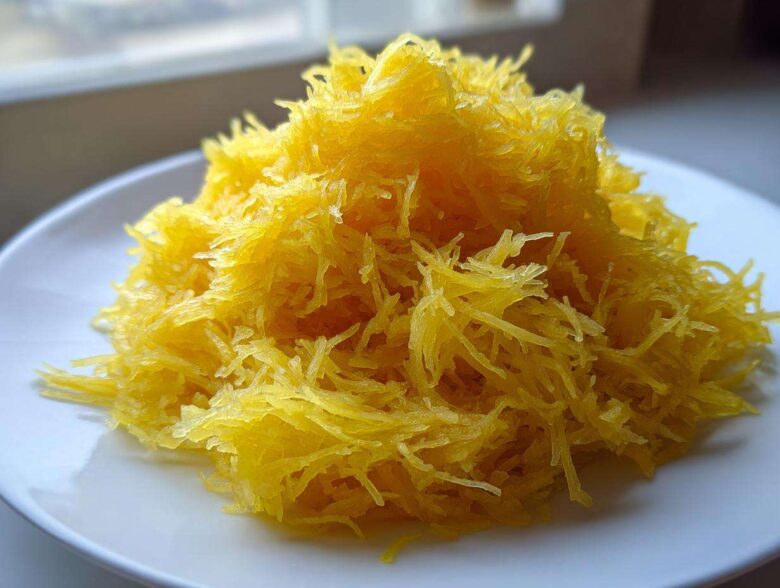
Oh my gosh, if you think spaghetti squash is just a watery, bland side dish you have to choke down, you have been lied to! I spent years messing this vegetable up until I finally cracked the code for the absolute best, fluffiest strands ever. Seriously, you can toss out that box of dried pasta because this **Spaghetti Squash Recipe** is about to revolutionize your dinner routine. We are focusing on roasting today because, trust me after years of testing, it’s the only method that guarantees you won’t end up with a soggy, sad mess. Get ready for the easiest, most satisfying low-carb pasta substitute you’ve ever made!
Why This Spaghetti Squash Recipe Delivers Perfect Strands Every Time
I know you might be skeptical. I was too! So many people just boil this squash and end up throwing half of it out because it tastes like sad, watery noodles. That’s why I’m so passionate about this roasting method for the Spaghetti Squash Recipe. It creates structure!
- It’s the best low carb pasta substitute on the planet. Seriously, you won’t miss heavy noodles.
- The prep is crazy simple—ten minutes, tops, and most of that is just cutting.
- The texture is unmatched. When roasted right, you get those perfect, defined strands that hold sauce beautifully.
If you’re ready to skip the frustration, this is the way to go. We’re building flavor and baking out the excess moisture right from the start. You can check out my general baking philosophy if you want to see what I mean about texture!
Understanding the Best Spaghetti Squash Recipe Method
If you’re asking how to cook spaghetti squash with the goal of a firm, flavorful result, roasting beats everything else. Boiling makes the squash absorb too much water right off the bat, leading to mush. Even the quick microwave method can be hit-or-miss depending on your microwave.
When you roast it cut-side down, like we do here, the heat concentrates the natural sweetness of the squash, and the structure stays firmer. It creates those beautiful, defined strands instead of one big soupy pile. It’s worth those extra twenty minutes in the oven, I promise!
Essential Ingredients for Your Spaghetti Squash Recipe
Okay, keeping things simple is part of why this is so fast! You don’t need a ton of fancy stuff here. We rely on the squash itself to shine. You’ll need just four basic players for the base preparation of this Spaghetti Squash Recipe.
- 1 medium spaghetti squash (aim for about 3 lbs—they roast most evenly!)
- 1 tablespoon good quality olive oil—nothing fancy needed, just enough to coat.
- 1/2 teaspoon salt (don’t skip this, it really wakes up the flavor!)
- 1/4 teaspoon black pepper, freshly cracked if you have it.
Ingredient Notes and Substitutions
When it comes to the fat, I always reach for olive oil here rather than butter for the initial roasting. Butter has milk solids that can burn up at 400 degrees, and burnt squash tastes… well, burnt! Olive oil gives us a nice, clean char and crust on the edges.
This setup is neutral, meaning it’s perfect for turning into something special later. If you know you’re heading toward one of those savory baked squash recipes later, you might want to have some fresh garlic powder and dried oregano ready to go in place of some of that salt. But for the basic roast, stick to just the oil, salt, and pepper!
Easy Spaghetti Squash Preparation: Step-by-Step Roasted Spaghetti Squash Instructions
Alright, let’s get cooking! This is where the magic happens for the Spaghetti Squash Recipe. Getting the roasting right is the absolute key to avoiding that watery texture we talked about earlier. Don’t worry about the time; once it’s in the oven, you can totally clean up the kitchen or just put your feet up for a bit. This is the best way to learn easy spaghetti squash preparation, even if you’ve never touched one before!
First things first: crank that oven up to 400 degrees Fahrenheit (that’s 200 Celsius). We need serious heat!
Safely Cutting and Prepping the Squash
This is the one step where you need to pay attention, mostly for safety. Spaghetti squash has a really tough skin, like a tiny, oblong bowling ball. You need a heavy, sharp knife—not the flimsy one you use for slicing tomatoes!
The easiest way I found to tackle this is to stand the squash upright on a cutting board. Carefully push the knife straight down through the center point where the stem was until you feel it hit the board. Then, gently rock the knife back and forth until you can slice all the way through. You now have two beautiful halves. Wipe down your knife and be careful putting it away!
Next, grab a sturdy spoon—a metal one works best here for leverage. Scoop out all those slimy seeds and the stringy pulp from the inside of each half. You want it pretty clean inside, just like hollowing out a pumpkin. Toss that pulp; it’s not what we need for our strands!
Achieving Perfect Roasted Spaghetti Squash Instructions
Now for the seasoning bit. You’re going to take the olive oil, salt, and pepper and rub it right onto the cut inner surface of both squash halves. Don’t be skimpy with the oil; it helps the edges get slightly caramelized, which equals flavor!
Here is the most crucial placement tip: Put the squash halves cut-side down onto a baking sheet. I often line mine with parchment paper because it makes cleanup a breeze, though you don’t have to. Laying it cut-side down traps the steam inside initially, which helps cook the flesh evenly without drying it out.
Pop that sheet into your preheated oven. The spaghetti squash oven bake time is usually around 30 to 40 minutes. I always start checking around the 30-minute mark. You’ll know it’s done when you can easily stick a fork all the way through the skin and into the center flesh without much resistance. If it feels hard, give it another five minutes. We want tender all the way through!
Mastering How to Get Spaghetti Strands from Squash
The squash is out of the oven, it smells amazing, and now comes the fun, almost magical part! Once it’s cool enough to handle—and please let it cool, that pan is lava hot!—it’s time to turn this vegetable into perfect noodles. This is where a lot of people struggle, ending up with big chunks instead of distinct strands, but I’m going to tell you my trick for getting them perfectly separated.
First, flip those squash halves over so they are sitting cut-side up. You’ll notice the flesh looks slightly golden in places, which is exactly what you want. Now, grab your fork. I specifically use a standard metal dinner fork—not one of those big, heavy carving forks you use for giant roasts. The standard fork tines seem to hit the sweet spot for shredding cleanly. This is the secret to mastering how to get spaghetti strands from squash.
Take your fork and start scraping gently across the length of the squash flesh, moving from the top edge down to the bottom rind. Don’t press too hard! If you press too hard, you’ll dig into the squash underneath and end up with big, chunky pieces instead of lovely ribbons. Just let the fork do the work. You are essentially catching the cooked flesh and pulling it away from the skin.
As you scrape, those glorious, al dente strands will start falling out onto your plate or cutting board. Keep working section by section. If you notice a big piece that refuses to shred nicely, just use tongs or your hands to pull it away from the base.
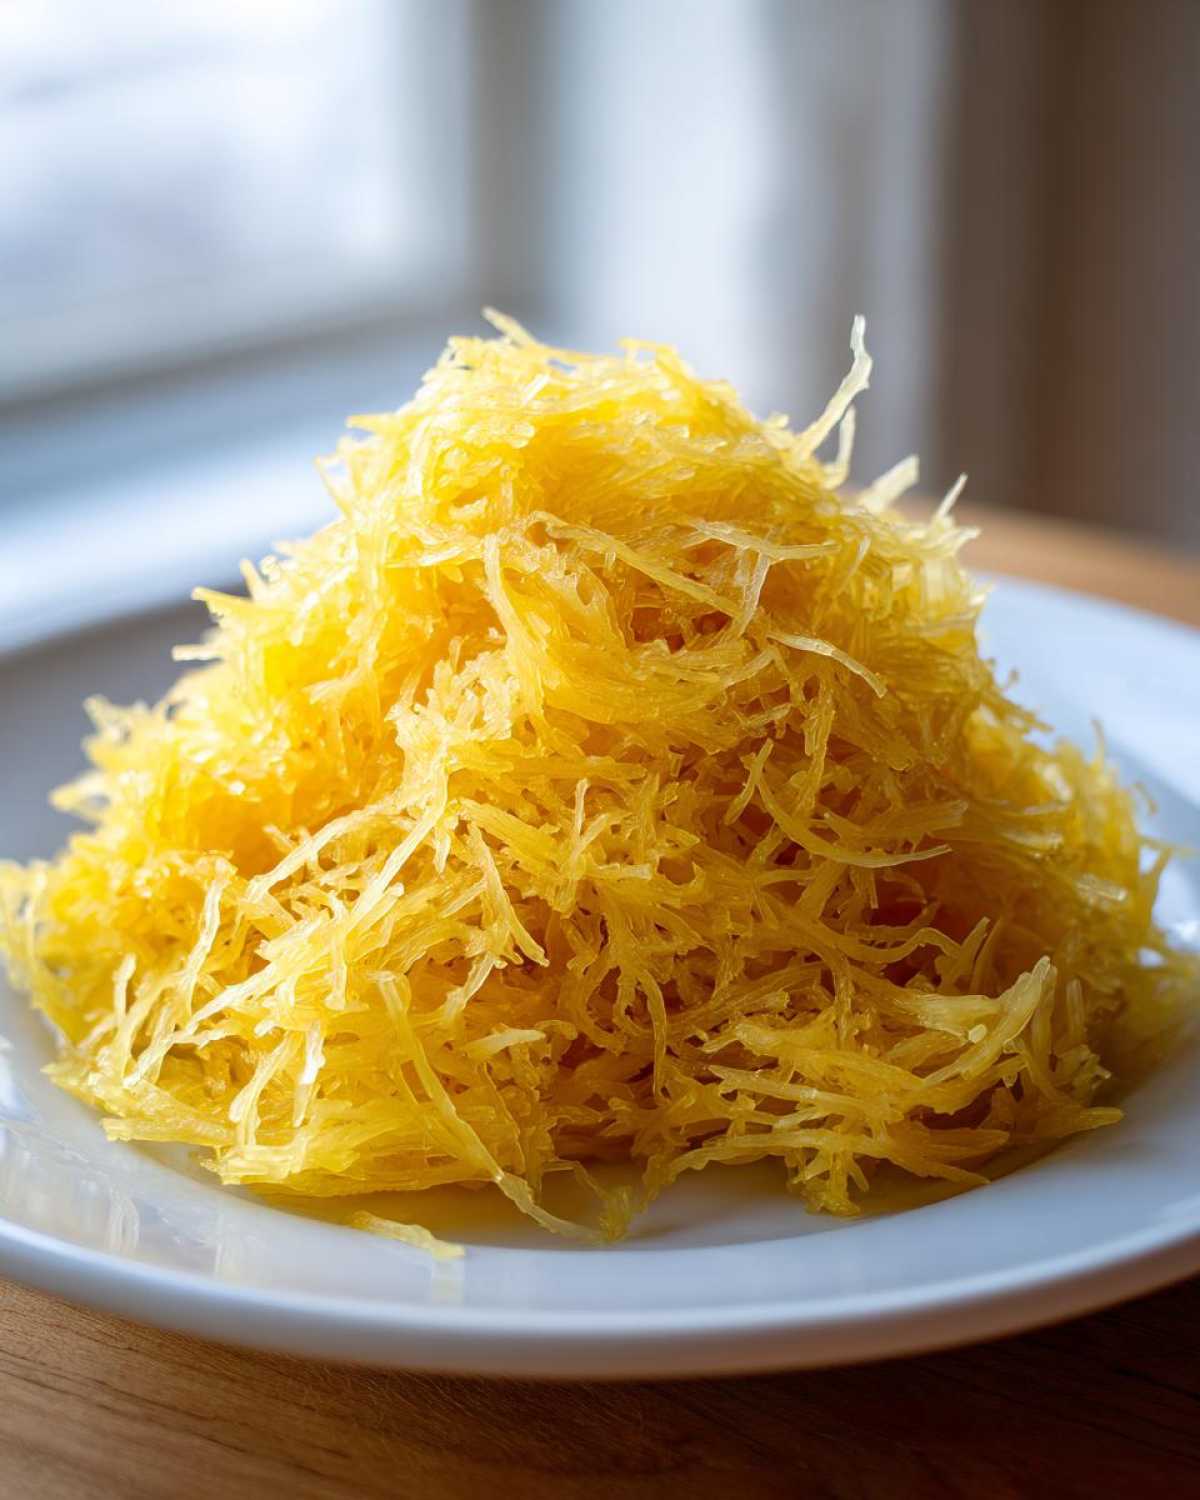
You can pile the strands up, and you’ll be amazed at the volume you get from one squash! If you want to level up immediately, toss those fresh, hot strands right into a skillet with some butter and garlic—I have my favorite homemade garlic butter recipe that is absolutely killer on squash noodles. It instantly elevates this simple side dish into something truly special!
Alternative Methods for Your Spaghetti Squash Recipe
I preach roasting because it’s my tried-and-true method for the absolute best flavor and texture, but hey, sometimes you’re in a huge rush! If you need your Spaghetti Squash Recipe on the table in less than fifteen minutes total, we absolutely have to talk about the microwave.
I keep this method in my back pocket for those emergency weeknight dinners or when I just don’t want to heat the whole kitchen up with the oven. Don’t expect the same slight caramelization you get from roasting, but it gets the job done fast.
I’ve also heard great things about using an Instant Pot or pressure cooker for spaghetti squash if you have one of those lurking around, but honestly, I haven’t spent enough time perfecting that timing to give you solid advice on it yet. For now, let’s stick to the two methods I know work well—roasting and microwaving!
Quick Microwave Spaghetti Squash Microwave Method
If you opt for the microwave, you still need to cut the squash in half lengthwise first, just like we did for roasting. Use a sturdy knife and be careful; the skin is tougher when it’s raw!
Make sure you scoop out all those seeds and stringy bits right away. Then, instead of drizzling oil and putting it cut-side down on a baking sheet, you place the halves cut-side up in a microwave-safe dish. You want to add about a half-inch of water to the bottom of that dish. This creates the steam needed to cook the squash internally.
Cover the dish tightly with cling wrap, leaving just a tiny vent so steam can escape (we don’t want an explosion!). Then, zap it! You’re usually looking at 6 to 8 minutes on high power. Check for tenderness after 6 minutes. The texture here is usually softer and wetter than the roasted version, so if you are planning on using this as a low carb pasta substitute underneath a heavy sauce, you might want to put it back into a hot pan afterwards to sauté off some of that extra liquid.
Serving Suggestions for Your Spaghetti Squash Recipe
Okay, those strands are ready, and now comes the best part: turning this healthy vegetable into a full-blown meal! Since we worked so hard to keep the squash from getting watery, we need to honor that effort with some fantastic toppings. Using this as a low carb pasta substitute opens up so many doors for weeknights. You can keep it super simple as a healthy side dish, or bulk it up for a vegetarian main course squash!
Think about what you usually toss with pasta. Spinach, mushrooms, cherry tomatoes tossed with some Parmesan—it all works perfectly here. It’s versatile, folks, which is why I love this foundation so much.
Savory Baked Squash Recipes: Toppings and Sauces
If you want savory, you can’t go wrong with butter. I already mentioned tossing it with garlic butter, which is truly next level. If you want something richer, take a basic meat sauce—you know, the kind you’d serve over regular spaghetti—and just ladle it right over your pile of squash strands. It clings beautifully to those ribbons!
For those following a specific diet, this is amazing in keto spaghetti squash recipes too! Try topping it with pesto, toasted pine nuts, and grilled chicken. Or! If you’re craving something tangy and quick, you can use a no-cook pizza sauce like the one I shared right here, top it with mozzarella, and bake it for five minutes under the broiler until bubbly. Talk about easy!
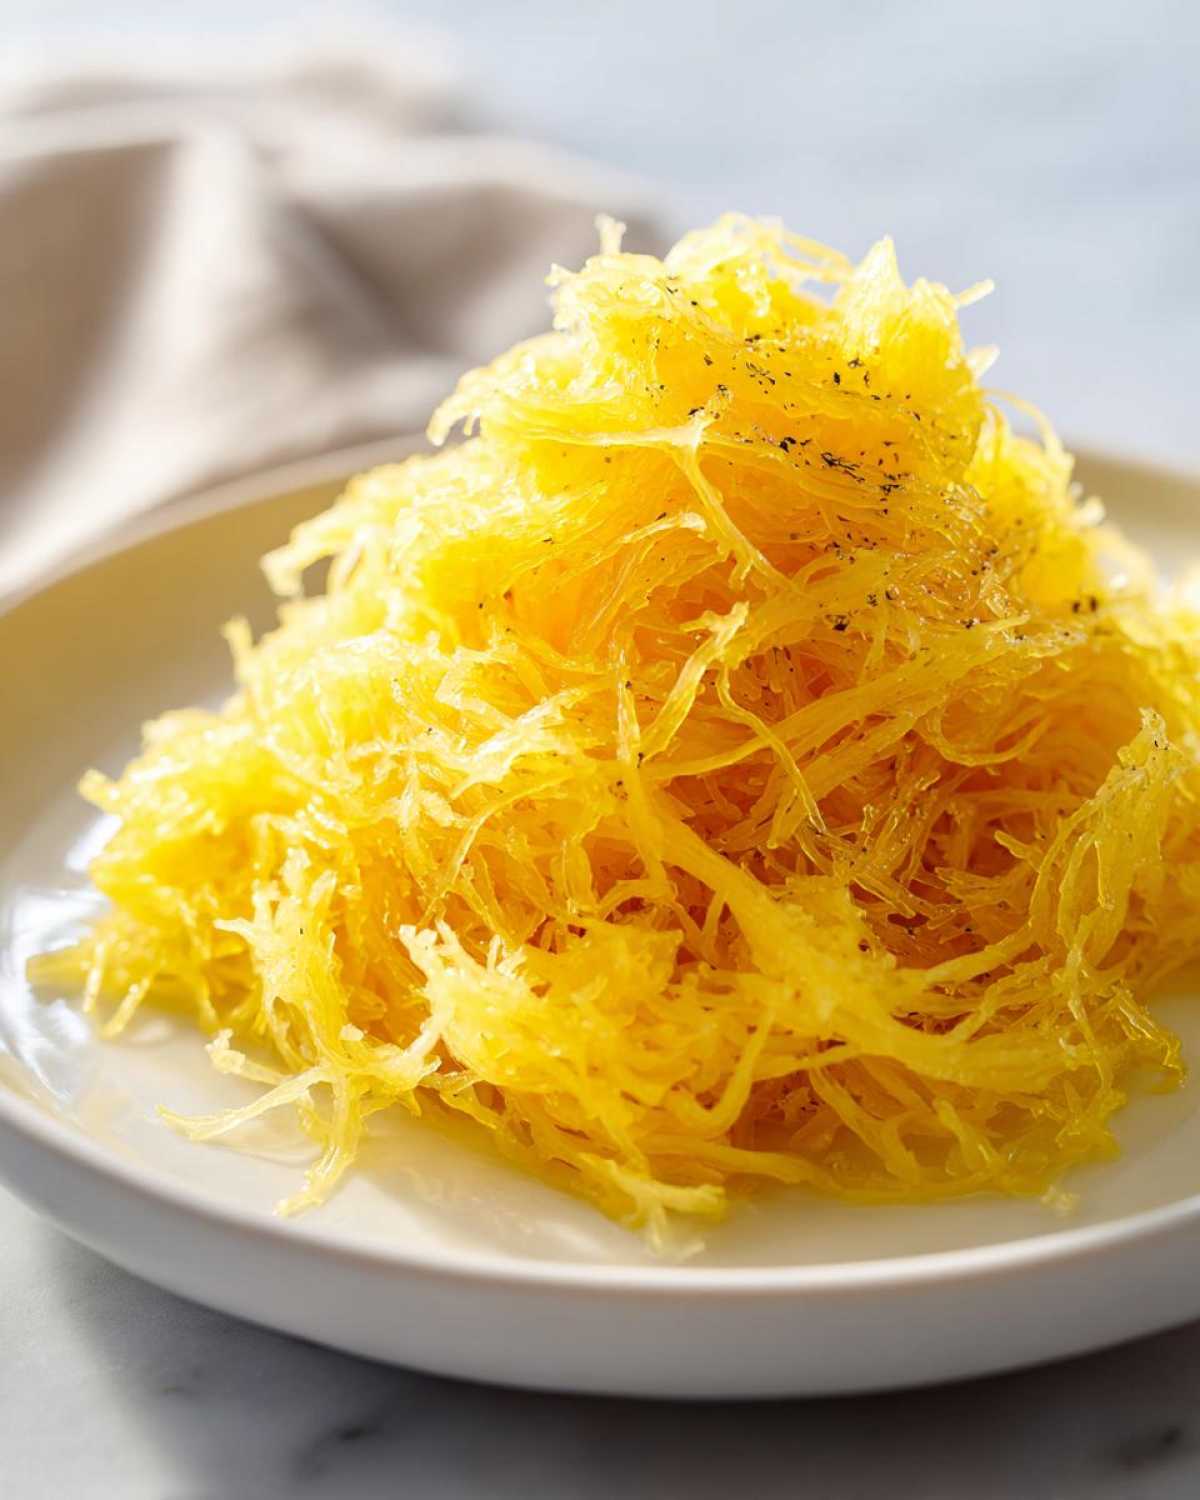
If you aren’t feeling pasta replacements today, it also works wonders mixed into casserole bases. I often stir leftover strands into things like my creamy chicken and rice casserole when I want to sneak in some extra veggies. This Spaghetti Squash Recipe is your secret weapon for lighter meals!
Tips for Success and Troubleshooting Common Issues
Even with the best instructions, sometimes things don’t go perfectly, right? That’s okay! Cooking is learning. I want to save you the frustration I went through trying to figure out why my squash always came out soupy in the middle.
The number one thing I always circle back to is moisture control. If you follow only one piece of advice today, let it be this: roast it cut-side down. I know it feels weird hiding the beautiful oiled side from the oven, but placing it cut-side down traps the initial steam, which helps cook the inside flesh gently before the exterior dries out. If you put it cut-side up, the center gets watery steam while the edges burn.
Avoiding the Dreaded Watery Squash
If you *did* roast it cut-side up (or if you boiled it—oops!) and you’re left with too much liquid, don’t panic! You can salvage the strands. After you’ve scraped out all the flesh, place those strands into a large, dry skillet over medium-high heat. Don’t add any oil or butter yet. Just let them sit there and “sweat” out the remaining moisture for about five to eight minutes. You’ll see the water evaporating. Once they look drier, then you add your butter or sauce.
The other crucial test is texture when testing for doneness! Remember I said to use a fork? If the fork slides in with almost no resistance at all, you’ve probably overcooked it and that leads right back to mush. Aim for ‘tender fork,’ not ‘fork melts through it.’
Making Spaghetti Squash for Easy Meal Prep
This vegetable is an absolute champion for making ahead, provided you handled the moisture correctly! Once the strands are roasted, scraped, and maybe slightly dried out as mentioned above, they store like a dream. I always double the recipe specifically so I can use it later in the week.
You can store the plain strands in an airtight container in the fridge for up to four days. When you reheat them, try not to microwave them again on their own, as that brings the moisture back instantly. Instead, quickly sauté them in a non-stick pan with a tiny splash of water or broth just until warm. Or, even better, toss them straight into soup or a baking dish. For more detailed storage ideas, check out my thoughts on spaghetti squash meal prep strategies!
Storage and Reheating Instructions for Leftover Spaghetti Squash Recipe
You made so much, or maybe you just love having healthy food ready to go! That’s where this Spaghetti Squash Recipe proves its worth again. Storing the cooked strands is super easy, but reheating them requires a tiny bit of technique if you want to avoid that dreaded soupiness all over again. I always make extra specifically so I can eat on it for lunch the next day.
The absolute key here is making sure you dealt with the initial moisture *after* you scraped the strands out. If you followed my tip about briefly sautéing the strands *before* storing them, you’ve already won half the battle! If the strands are dry when they go into the container, they’ll stay much better.
Store the plain strands in a container with a tightly fitting lid. They hold up really well in the fridge for about three to four days. If you’re using them for spaghetti squash meal prep, just divide the portions into individual containers. It’s way faster to grab a pre-portioned container than to deal with a gigantic tub of squash later in the week!
Now, the reheating part. If you just toss cold, cooked squash into the microwave for two minutes alone, guess what happens? Instant steam! Instant mush! You have to treat the strands gently when waking them up.
The best way is to reheat them right in the sauce. If you made a big batch of meat sauce or veggie stir-fry, just put the leftovers together right in the pan on the stovetop over low heat. The sauce redistributes moisture gently, and the strands warm through perfectly without getting waterlogged.
If you must reheat them plain—maybe for a quick side dish—put them in a non-stick pan over medium-low heat. Add just a teaspoon or two of water or broth (not oil, not butter yet!) and cover it for just a minute to create a tiny bit of steam to warm them up gently. Once they are hot, *then* you can drain off any liquid that reappeared, and finally, toss them with your favorite spices or butter. It seems like extra steps, but trust me, it keeps your fantastic Spaghetti Squash Recipe strands firm, just like they were fresh out of the oven!
Quick Answers About Cooking Spaghetti Squash
I know you might have a few lingering thoughts after diving deep into roasting techniques and storage tricks! That’s what FAQs are for—clearing up anything that might still be fuzzy. I want everyone to feel totally confident trying out this Spaghetti Squash Recipe, so let’s knock out these last couple of questions quickly. If you ever have more questions after trying my methods, feel free to check out my general site disclaimer page, but here are the fast answers!
What is the best temperature for roasted spaghetti squash instructions?
Hands down, the best temperature for our roasted method is high heat! You really want to preheat your oven to 400 degrees Fahrenheit (which is 200 degrees Celsius). That high heat gets the outside tender enough to scrape quickly while encouraging just a tiny bit of caramelization on the edges, which makes all the difference in flavor compared to baking it low and slow.
Can I use spaghetti squash as a vegetarian main course squash?
Oh, absolutely! I often make this for dinner, especially when I don’t feel like dealing with regular pasta. It works perfectly as a vegetarian main course squash. If you don’t want meat, you just need to bulk up the toppings to make it satisfying. I love loading mine up with roasted mushrooms, caramelized onions, spinach sautéed with garlic, or even some black beans mixed right into the strands right before serving. It’s surprisingly hearty!
Is sauteed spaghetti squash better than baked?
That’s a great comparison! Here’s the thing: sautéing squash on its own rarely works well unless you are only looking for crunchy bits. If you want shreddable noodles, you almost always need a cooking method first—baking or microwaving—to soften the flesh. What people usually mean by “sautéed” is that they skip the oven and try to sauté raw squash, which just browns the outside before the inside is cooked, or they sauté the cooked strands afterwards to dry them out more (which is a great finishing step!). For the best texture, baking first is necessary for a flavorful Spaghetti Squash Recipe!
PrintSimple Roasted Spaghetti Squash

This guide shows you how to roast spaghetti squash until tender, making it easy to separate into strands for a low-carb pasta substitute.
- Prep Time: 10 min
- Cook Time: 35 min
- Total Time: 45 min
- Yield: 4 servings
- Category: Side Dish
- Method: Baking
- Cuisine: American
- Diet: Low Fat
Ingredients
- 1 medium spaghetti squash (about 3 lbs)
- 1 tablespoon olive oil
- 1/2 teaspoon salt
- 1/4 teaspoon black pepper
Instructions
- Preheat your oven to 400 degrees Fahrenheit (200 degrees Celsius).
- Carefully cut the spaghetti squash in half lengthwise using a sharp, heavy knife.
- Use a spoon to scoop out and discard the seeds and stringy pulp from the center of each half.
- Rub the cut surfaces of the squash halves with olive oil, then sprinkle evenly with salt and pepper.
- Place the squash halves cut-side down on a baking sheet lined with parchment paper.
- Roast for 30 to 40 minutes, or until the squash is tender when pierced with a fork. Cooking time varies based on squash size.
- Remove the squash from the oven and let it cool slightly until you can handle it safely.
- Use a fork to scrape the flesh from the inside of the squash, creating spaghetti-like strands.
- Serve the strands immediately with your favorite sauce or seasoning.
Notes
- To avoid watery squash, ensure you roast it until fully tender.
- If you prefer a quicker method, you can microwave the squash halves for 6 to 8 minutes until soft, then proceed with scraping the strands.
- For a savory flavor, toss the strands with 2 cloves of minced garlic and 2 tablespoons of butter after scraping.
Nutrition
- Serving Size: 1/4 squash
- Calories: 75
- Sugar: 6
- Sodium: 250
- Fat: 2
- Saturated Fat: 0.3
- Unsaturated Fat: 1.7
- Trans Fat: 0
- Carbohydrates: 13
- Fiber: 3
- Protein: 2
- Cholesterol: 0