

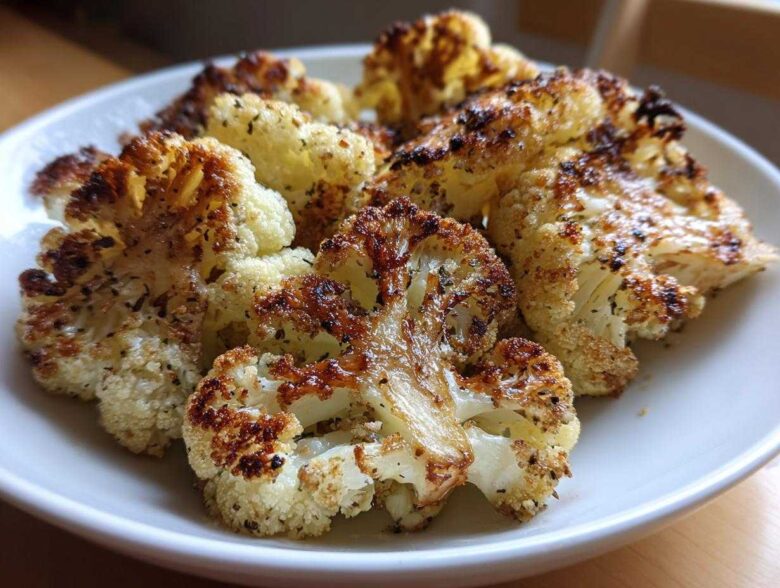
Look, I know what you’re thinking: cauliflower? It’s just… fine. But only if you’ve been doing it wrong your whole life! I’m here to show you how to take that humble, boring vegetable and turn it into the absolute star of the dinner table. Seriously, this Garlic Butter Roasted Cauliflower recipe is foolproof, and I mean that! I must have roasted hundreds of heads of cauliflower trying to nail this before I settled on these exact measurements.
We’re talking about achieving that perfect golden crunch on the outside while keeping the inside buttery soft and deeply savory. Forget bland, steamed florets; this technique loads every single bite with rich butter and pungent garlic. After tweaking the heat and the coating ratio countless times, I can confidently say this is the best roasted cauliflower you will ever make. Grab your baking sheet; we’re transforming dinner tonight! By the way, if you love roasted root veggies done this way, you have to check out my favorite roasted carrots recipe over here: honey garlic roasted carrots.
Why This Garlic Butter Roasted Cauliflower Recipe Works So Well
It’s all about the balance, honestly! People often mess up their roasted cauliflower because they either use high heat for too short a time, resulting in raw centers, or they overcrowd the pan, which steams everything sad and soggy. This recipe masters the dance between speed and moisture.
The secret to phenomenal Garlic Butter Roasted Cauliflower lies in two key areas, ensuring you always get that melt-in-your-mouth interior and delicious crust.
Achieving Crispy Roasted Cauliflower Texture
We crank the heat up, and I mean crank it! 400°F gets those edges browning fast, giving you that highly sought-after Crispy Roasted Cauliflower texture. Also, we use a little olive oil mixed with the butter. Butter burns too fast on its own at high heat, but the oil helps the butter stay liquid and coat everything evenly before it solids up and starts to crisp.
The Flavor Foundation of Garlic Butter Vegetables
Don’t skimp on the garlic—ever! My ratio here is designed so that the garlic infuses the butter without burning into little black flakes that taste like ash. It’s a gorgeous slurry of rich fat and sharp, savory goodness that makes these Garlic Butter Vegetables completely irresistible. It coats beautifully and caramelizes slightly in the oven, which is just dreamy.
Gathering Ingredients for Garlic Butter Roasted Cauliflower
Okay, step one in any amazing Roasted Cauliflower Recipe is making sure you have quality ingredients ready to go. You want to be organized because once the oven is hot, things move fast! I always lay mine out in little prep bowls so I’m not scrambling when it’s time for the coating.
Measurements are pretty important here, especially for that signature flavor. Don’t just eyeball the garlic; we need precision for the best results!
Essential Components for Flavor
These are the things you absolutely cannot skip if you want that rich, savory flavor profile we’re aiming for:
- One large head of cauliflower. You’ll want to cut this into florets that are about one inch. Make them uniform! If you have tiny pieces and huge chunks, they won’t cook evenly, and that ruins the whole ‘tender inside’ goal.
- Four tablespoons of unsalted butter. Make sure it’s unsalted so we can control the salt levels ourselves. It has to be fully melted before mixing!
- Four cloves of garlic. You need to mince these finely. Don’t even think about using the jarred stuff this time—fresh garlic makes all the difference with butter.
- Half a teaspoon of salt and a quarter teaspoon of pepper. Basic, but necessary!
- One tablespoon of olive oil. This is important, and I hope you listen to me on this! Butter has milk solids that burn when roasted at high heat. We add a little olive oil because it has a higher smoke point, which helps keep the butter from scorching before the cauliflower is perfectly done.
Optional Additions for Your Garlic Butter Roasted Cauliflower
These next bits are what truly elevate the dish, turning a great side into an unforgettable one. These are how you customize your Garlic Butter Roasted Cauliflower!
- Lemon Juice: About one tablespoon of fresh lemon juice, squeezed on right at the end, brightens everything up beautifully. It cuts through the richness of the butter.
- Parmesan Cheese: Two tablespoons of freshly grated Parmesan cheese—I mean *fresh*, not the stuff in the shaker can—tossed on right after they come out of the oven. That hot cauliflower melts the cheese just enough to get these incredible, crispy, salty little bits. Yum!
How to Prepare the Best Roasted Cauliflower
So, you’ve got your ingredients ready for what I promise will be the Best Roasted Cauliflower you’ve ever tasted. Honestly, the prep time is only about 10 minutes, which is amazing for such a big payoff! The instructions here are really straightforward, but following them exactly is how we guarantee that gorgeous texture. This section gets us rolling on the actual How to Roast Cauliflower process! If you want to see my absolute master guide to roasting vegetables in general, check out my full Vegetable Roasting Guide post.
We’re aiming for about 25 minutes of cook time, so make sure your oven is ready when you are. My biggest piece of advice? Keep things moving and don’t mash the cauliflower onto the pan!
Prepping the Cauliflower and Oven
First things first, you need high heat! Preheat that oven to 400 degrees Fahrenheit, or about 200 Celsius. You want it roaring hot when the cauliflower goes in. While that’s heating up, line a big baking sheet with parchment paper. Trust me, after dealing with sticky roasted vegetables, you’ll thank me later for that easy cleanup!
Here’s my crucial tip, the one I learned the hard way: make sure your cauliflower florets are completely dry after rinsing them. Pat them down with a clean kitchen towel or paper towels. If they are wet, they steam instead of roast. Wet cauliflower equals mushy cauliflower, and we absolutely cannot have that!
Creating the Garlic Butter Coating
Now for the fun part—the coating! In a small mixing bowl, combine that melted butter, all four minced cloves of garlic, your salt, and pepper. Whisk it together really well. Why whisk it? Because you need the garlic to disperse evenly throughout the butter. If you just drop clumps of raw garlic on the florets, those little bits will scorch and taste bitter long before the rest of the cauliflower is done roasting. We want gentle infusion, not aggressive burning!
Once your dry florets are in a large bowl, drizzle them with the tablespoon of olive oil and toss them around. Then, pour that gorgeous garlic butter mixture right over the top and get everything coated evenly. Toss it until every single floret looks shiny and coated.
Roasting for Tender Roasted Cauliflower
This is where technique matters most! Tip all that coated cauliflower out onto your baking sheet. You must spread it out in a single layer, folks. If the pieces are piled up or touching too much, they trap steam, and you end up with soggy bottoms again. If you have a lot of cauliflower, use two sheets! It’s worth the extra dishwashing.
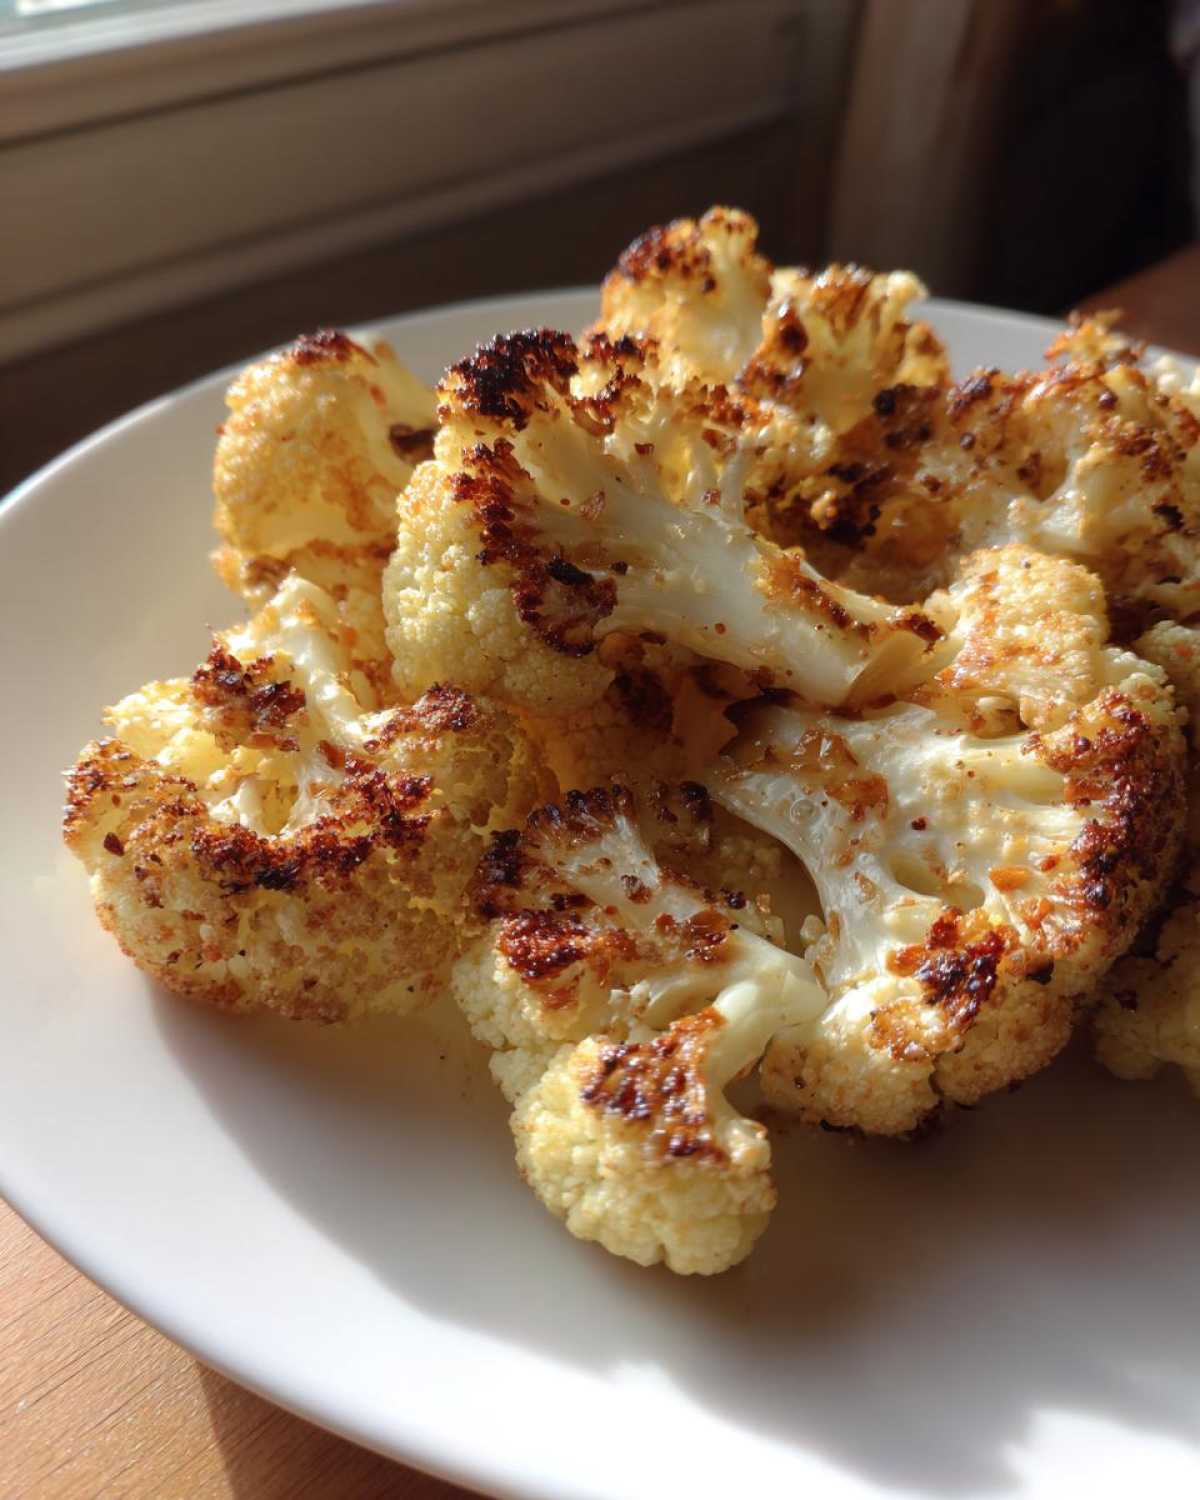
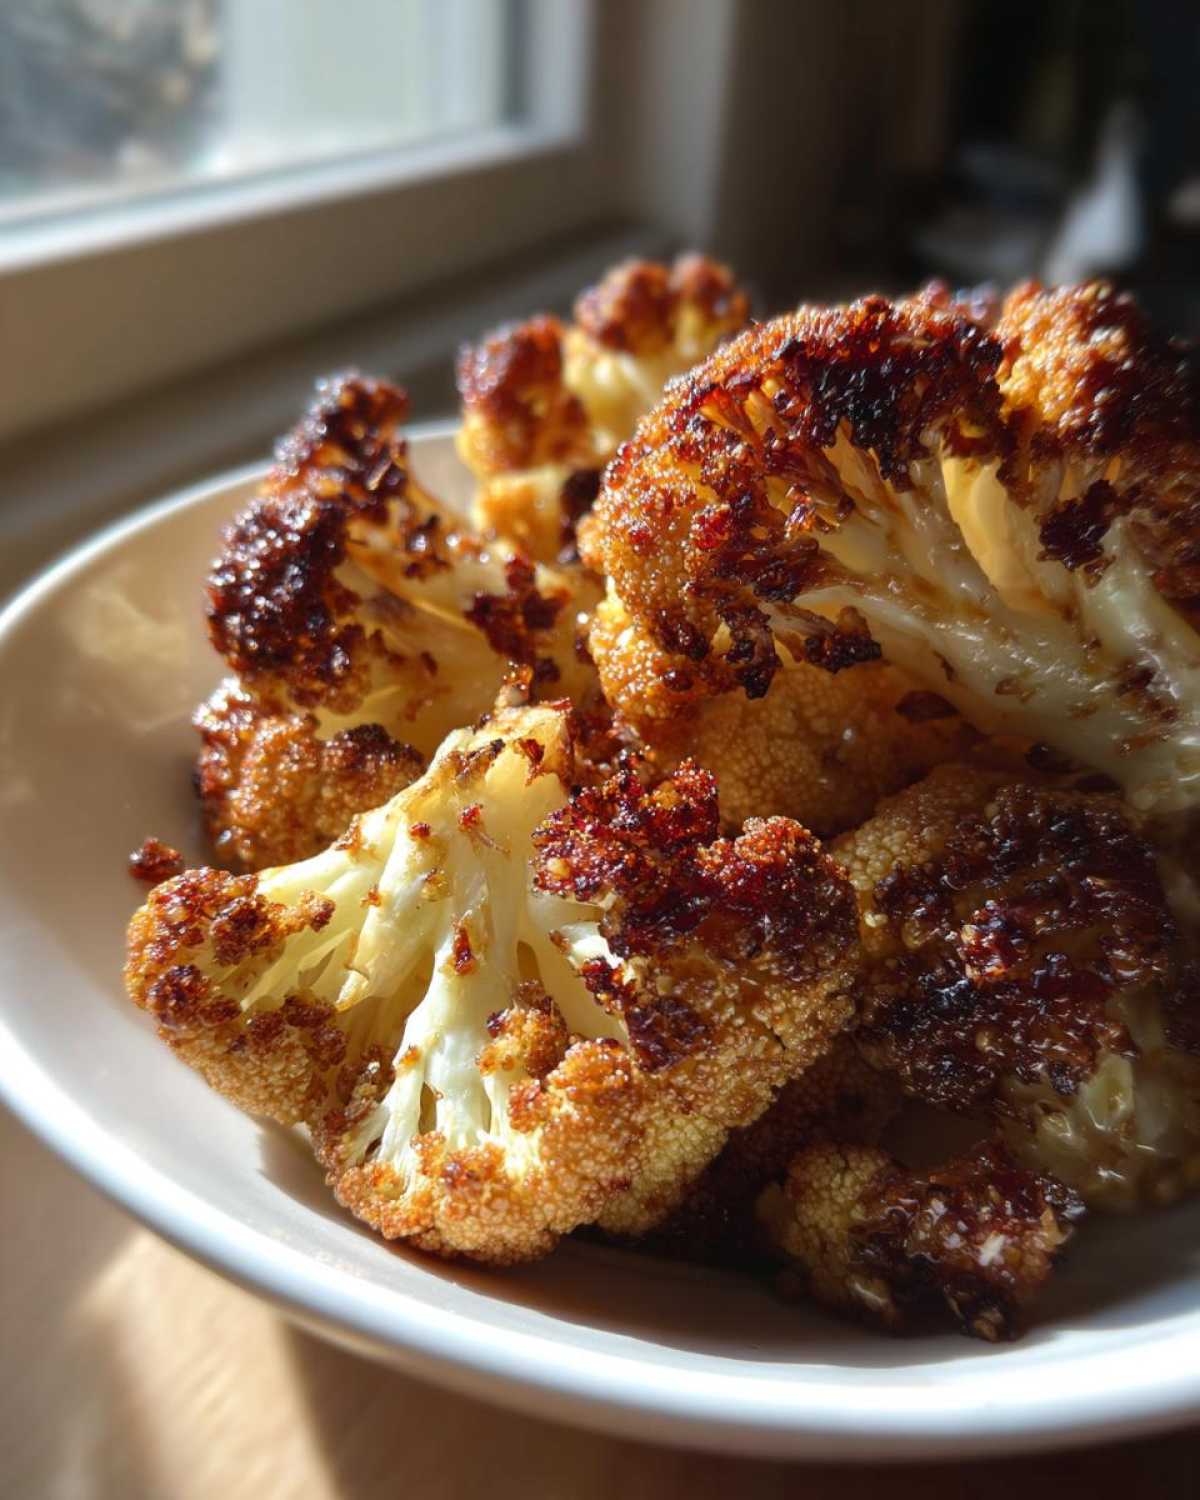
Slide that pan into the hot oven for 20 to 25 minutes total. You need to pull the sheet out around the 12-minute mark, give everything a good toss with a spatula, and put it back in. This flips the pieces so they brown evenly on all sides. When they come out, they should be fork-tender on the inside with lovely brown, sweet edges. That’s how you know you’ve achieved perfect Tender Roasted Cauliflower!
Tips for Perfect Garlic Butter Roasted Cauliflower Every Time
Even though this Garlic Butter Roasted Cauliflower is super simple, I want to make sure you have zero chance of failure! I’ve written down all the little things I figured out over years of trial and error. Follow this little cheat sheet, and you’ll get that tender, buttery roast every single time. If you’ve ever had my candied yams, you know I’m passionate about technique, and this garlic roast is no different! You can peek at the recipe for my candied yams if you want another easy side recipe.
Don’t worry if your first batch isn’t 100% perfect; that’s how we learn! Here are a few quick fixes for things that sometimes go sideways.
Troubleshooting Common Roasting Issues
- If your cauliflower comes out soggy, you absolutely overcrowded the pan. I know it feels like a lot, but you MUST use a second baking sheet if the florets start touching significantly. They need air circulation to crisp up!
- If your garlic tastes burnt or bitter, it’s usually because your pieces were too small or unevenly mixed into the butter. Make sure you use a medium mince and combine it really thoroughly into that melted butter before coating the veg.
- If the inside is still hard, your oven probably wasn’t hot enough, or you simply didn’t toss them halfway through. We need that internal convection to work its magic!
Adjusting Garlic Intensity in Your Garlic Butter Roasted Cauliflower
I really prefer using fresh garlic because it toasts up nicely and gives that mild sweetness when roasted. However, if you are *really* short on time or you’re sensitive to fresh garlic’s bite, you can substitute! For a slightly milder experience in your Garlic Butter Roasted Cauliflower, swap the four fresh cloves for about 1 teaspoon of good quality garlic powder added right into the melted butter mixture instead. It works just fine, but I swear the fresh stuff makes the final product taste richer!
Flavorful Cauliflower Sides: Variations on the Classic
Listen, while I stand by the fact that the base Garlic Butter Roasted Cauliflower recipe is perfect—it’s savory, rich, and hits all the right spots—I totally get that sometimes you want to jazz things up! It’s fun to pivot based on what main course you’re serving or just based on what’s kicking around in your spice drawer. This simple roast is the perfect canvas for playing around!
You can scale these flavor additions up or down depending on how strongly you want the added component to come through. Sometimes I’ll make a huge batch of the basic recipe, and then divide it onto two pans just so I can test out two different flavor twists! If you’re looking for other amazing vegetable ideas that are also super versatile, you should see the different ways I dress up my classic cheesy casserole—it’s amazing how far simple add-ins can take a dish, check out the recipe for my creamy cheesy vegetable casserole.
Adding Spice and Heat
If your main course is running a little mild—maybe you’re serving something simple like baked chicken breast—you need a little kick in your vegetable side, right? I love turning up the temperature a notch in the roasting pan!
The easiest place to introduce heat is right when you are mixing up that buttery coating, before you even toss the cauliflower. For a gentle warmth, add just a pinch of cayenne pepper to your melted butter mixture. If you’re feeling bolder—and I usually am!—toss in about half a teaspoon of red pepper flakes along with the salt and pepper. They toast up ever so slightly while roasting, giving you this lovely, lingering heat that pairs surprisingly well against the sweetness of the roasted cauliflower.
Herb and Citrus Twists
Herbs add such wonderful aroma to roasted vegetables, and you have options depending on whether you want the herb flavor strong before or after the oven gets involved.
For herbs that can withstand the high heat, I love tossing in a teaspoon of dried rosemary or maybe some dried thyme when I add the butter mixture. Those woody herbs hold up great under 400 degrees and infuse beautifully as they roast. If you use fresh rosemary, just chop it a little finer so it doesn’t dry out too aggressively.
Now, if you’re using something delicate, like fresh dill or even fresh parsley, you want to save that until the very end. Once the cauliflower comes out of the oven, immediately hit it with that optional lemon juice (if you’re using it!) and a big shower of finely chopped fresh dill. The residual heat releases the dill’s fantastic flavor without cooking it away. It makes the whole dish taste so incredibly fresh!
Serving Suggestions for this Buttery Garlic Side Dish
This Buttery Garlic Side Dish is so versatile, I swear it goes with literally everything! Because it’s rich, super savory, and has that nice little tang if you add the optional lemon, it cuts right through heavier main courses beautifully. Honestly, it’s my go-to when I’m roasting a big piece of meat.
If you are making a holiday meal or really treating yourself, this cauliflower is the perfect counterpoint to a rich roast. I often pair it with a big prime rib, and you can find my secrets for nailing that roast right here for the full dinner experience: prime rib roast oven success.
But don’t limit yourself to just beef! It works amazingly well alongside simple baked or grilled chicken breasts. If you are serving something creamy, like that fantastic Marry Me Chicken Pasta, throw some Parmesan on the cauliflower and keep the richness theme going strong!
Storing and Reheating Your Garlic Butter Roasted Cauliflower
Okay, let’s talk about leftovers, because there are usually a few fantastic pieces left over from my family’s recipe for Garlic Butter Roasted Cauliflower. The good news is that this keeps really well, but the bad news is that it won’t be quite as crisp as when it comes straight out of the oven. That little bit of moisture loss is totally normal with roasted vegetables!
The key to success here is how you store it and how you plan to reheat it. If you just toss it in a container and leave it on the counter, you’re wasting the hard work we did getting those edges caramelized!
For storage, you want to let the cauliflower cool down completely before you seal it up. If you put hot food into an airtight container, you create condensation, which turns that crispy exterior soggy overnight. That’s a disaster waiting to happen!
Once totally cooled, transfer your Garlic Butter Roasted Cauliflower to a sturdy, airtight container. If you’re storing it for just a couple of days, the fridge works perfectly fine. I find it tastes best within about three days. Any longer than that, and the butter flavor can start to mute just a little.
Reheating Methods to Bring Back the Crunch
When you pull it out of the fridge, don’t even think about the microwave unless you truly don’t care about texture. The microwave heats the water molecules inside the veg, turning everything soft and steamed almost instantly. We’ve worked too hard for mushy cauliflower!
If you want to restore that original lovely roasted texture, the oven or the stovetop are your best friends. For the best results, grab a clean baking sheet, spread the cooled cauliflower out again in a single layer—remember, single layer is king!—and put it back into a 350°F oven for about 8 to 10 minutes. This dries out any lingering moisture and crisps those edges right back up!
If you’re only reheating a small amount, toss it into a skillet over medium heat with just a tiny drizzle of fresh olive oil. Shake the pan frequently. This works almost instantly, maybe just two or three minutes total, and you get a really nice sizzle going.
Can I make Garlic Butter Roasted Cauliflower ahead of time?
Yes, you absolutely can prep it ahead! I usually chop all my florets the day before, just before I seal them in the container in the fridge. If you are short on time the day you plan to serve it, you can even make the garlic butter mixture and keep it covered in the fridge for up to 24 hours. Just let the butter soften slightly at room temperature for about 15 minutes before you toss the florets. It saves you those crucial 10 minutes on the day of cooking, making this an amazing Simple Side Dish Recipe for busy weeknights!
What is the best temperature for roasting cauliflower?
The best temperature, hands down, is 400 degrees Fahrenheit (200 degrees Celsius). I mention this a lot because it’s non-negotiable for this recipe! This high heat allows the natural sugars in the cauliflower to caramelize quickly—that’s where the sweetness comes from—while ensuring the exterior browns before the inside turns to mush. Lower temperatures just bake it slowly, and it ends up tasting steamed, which we definitely want to avoid!
How do I make this recipe dairy-free?
That rich, savory flavor comes heavily from the dairy butter, I’ll admit! But don’t worry, you can still make a fantastic version. You’ll need to swap out the 4 tablespoons of unsalted butter for a good quality dairy-free butter alternative. Look for one that has a nice high fat content, mimicking real butter as closely as possible. Then, just omit the optional Parmesan cheese at the end, or use a vegan Parmesan substitute if you really want that cheesy finish. The garlic, olive oil, salt, and pepper still provide tons of savory flavor!
Frequently Asked Questions About Oven Roasted Cauliflower
It’s strange how often people have questions about roasting something as simple as cauliflower, but honestly, oven temperature and crispiness can be tricky! I gathered the questions I tend to get most often about this whole process. If you’re new to roasting, or even if you’ve been doing it for years, these tips for Oven Roasted Cauliflower should help clear things up.
And hey, if you’re looking for other quick and easy vegetable options that share the same reliable roasting method, I’ve got a whole directory of simple recipes for you to explore right here: easy side dish recipes!
Can I make Garlic Butter Roasted Cauliflower ahead of time?
Yes, you absolutely can prep it ahead! I usually chop all my florets the day before, just before I seal them in the container in the fridge. If you are short on time the day you plan to serve it, you can even make the garlic butter mixture and keep it covered in the fridge for up to 24 hours. Just let the butter soften slightly at room temperature for about 15 minutes before you toss the florets. It saves you those crucial 10 minutes on the day of cooking, making this an amazing Simple Side Dish Recipe for busy weeknights!
What is the best temperature for roasting cauliflower?
The best temperature, hands down, is 400 degrees Fahrenheit (200 degrees Celsius). I mention this a lot because it’s non-negotiable for this recipe! This high heat allows the natural sugars in the cauliflower to caramelize quickly—that’s where the sweetness comes from—while ensuring the exterior browns before the inside turns to mush. Lower temperatures just bake it slowly, and it ends up tasting steamed, which we definitely want to avoid!
How do I make this recipe dairy-free?
That rich, savory flavor comes heavily from the dairy butter, I’ll admit! But don’t worry, you can still make a fantastic version. You’ll need to swap out the 4 tablespoons of unsalted butter for a good quality dairy-free butter alternative. Look for one that has a nice high fat content, mimicking real butter as closely as possible. Then, just omit the optional Parmesan cheese at the end, or use a vegan Parmesan substitute if you really want that cheesy finish. The garlic, olive oil, salt, and pepper still provide tons of savory flavor!
Nutritional Estimates for This Flavorful Cauliflower Side Dish
Now, I want to be super clear about this part! While this Garlic Butter Roasted Cauliflower is outrageously delicious, it’s also one of the best ways to get some fantastic vegetables on the table, making it a genuinely Flavorful Cauliflower Side Dish. Because everyone uses different brands of butter or a different amount of oil, these numbers are just an estimate based on my standard recipe measurements. Please take these as a baseline, not gospel truth!
I always look at the main contributors to the nutrition panel when making my sides, and with this recipe, it’s mostly coming from the healthy fats we use, like the olive oil and butter. It keeps you feeling satisfied but keeps those carbs nice and low, which is perfect for almost any dinner plan.
Here is what my standard batch yields, broken down over 4 servings:
- Calories: Around 150 per serving. That’s pretty reasonable for something this decadent tasting, right?
- Fat: This clocks in around 12 grams. Remember, that includes the butter and the olive oil, which are great sources of energy!
- Carbohydrates: A lean 9 grams. Most of that is naturally occurring in the cauliflower itself.
- Protein: You get about 4 grams of protein per serving, thanks to the cauliflower and the optional Parmesan cheese helping it along.
It’s a wonderful, savory side that keeps things light on the sugar front, too—only about 4 grams there! It’s easy to see why this recipe is a staple in my kitchen for so many different types of meals.
Share Your Experience Making This Recipe
Now that you’ve seen all my secrets for achieving that perfect, rich Garlic Butter Roasted Cauliflower, I absolutely need to know how it turned out for you! Cooking is a conversation, and I love hearing your feedback. Did you stick to the original recipe, or did you try one of those herb variations we talked about?
Please, please come back here and leave a star rating—five stars if it turned out as amazing as mine does! Letting me know how well this recipe worked helps others trust the process, just like I had to learn through trial and error years ago. Seriously, a quick rating makes a huge difference to me!
If you made any tweaks, shout them out in the comments below! Did you add smoked paprika? Maybe you used a hint of Dijon mustard in the butter? I’m always looking for exciting new ways to elevate this Roasted Cauliflower Recipe, and I know my readers come up with the most creative ideas. If you want to see what other fun things have been cooking recently, you can always browse my new posts over at the main recipe blog!
And if you snap a picture of your beautifully roasted, buttery florets before you devour them—and I know you will—please tag me on social media! Seeing your golden-brown cauliflower filling up your dinner plates makes my day. Happy roasting, everyone!
PrintGarlic Butter Roasted Cauliflower

Follow this simple recipe to make tender and flavorful roasted cauliflower coated in a rich garlic butter sauce.
- Prep Time: 10 min
- Cook Time: 25 min
- Total Time: 35 min
- Yield: 4 servings
- Category: Side Dish
- Method: Oven Roasting
- Cuisine: American
- Diet: Vegetarian
Ingredients
- 1 large head cauliflower, cut into florets
- 4 tablespoons unsalted butter, melted
- 4 cloves garlic, minced
- 1/2 teaspoon salt
- 1/4 teaspoon black pepper
- 1 tablespoon olive oil
- 1 tablespoon fresh lemon juice (optional)
- 2 tablespoons grated Parmesan cheese (optional)
Instructions
- Preheat your oven to 400 degrees Fahrenheit (200 degrees Celsius). Line a large baking sheet with parchment paper for easy cleanup.
- In a small bowl, combine the melted butter, minced garlic, salt, and pepper. Mix well.
- Place the cauliflower florets in a large bowl. Drizzle with olive oil and toss to coat evenly.
- Pour the garlic butter mixture over the cauliflower. Toss everything together until all the florets are well coated.
- Spread the coated cauliflower in a single layer on the prepared baking sheet. Do not overcrowd the pan; use two sheets if necessary for better crisping.
- Roast for 20 to 25 minutes, stirring halfway through, until the cauliflower is tender inside and slightly browned on the edges.
- Remove from the oven. If using, immediately toss with fresh lemon juice and grated Parmesan cheese.
- Serve hot as a side dish.
Notes
- For extra crispiness, ensure the florets are dry before tossing them with the butter mixture.
- If you prefer a stronger garlic flavor, add 1 teaspoon of garlic powder to the butter mixture.
- For an herbal note, add 1 teaspoon of dried Italian seasoning or fresh chopped parsley before serving.
Nutrition
- Serving Size: 1/4 of recipe
- Calories: 150
- Sugar: 4
- Sodium: 350
- Fat: 12
- Saturated Fat: 7
- Unsaturated Fat: 5
- Trans Fat: 0
- Carbohydrates: 9
- Fiber: 4
- Protein: 4
- Cholesterol: 25