

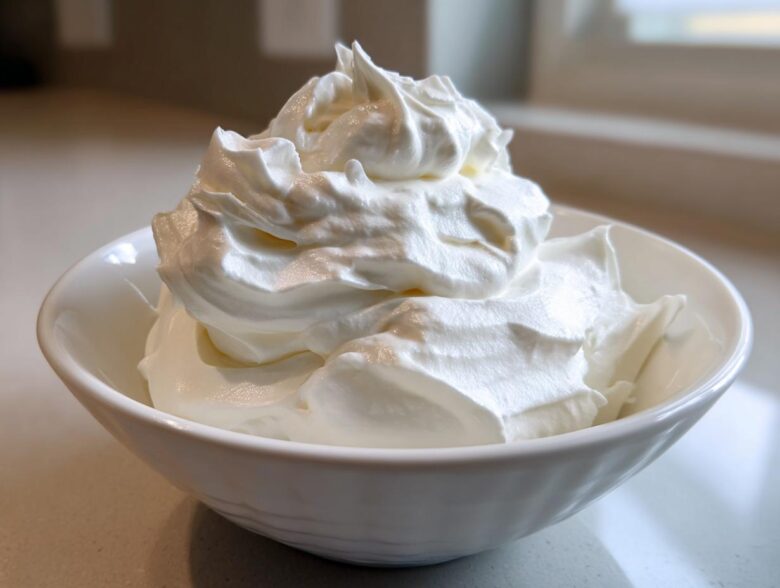
Oh my goodness, if you’ve ever stared longingly at bakery cookies with those perfect, crisp lines and wondered how they get that shiny, rock-hard finish, I have the answer for you! Achieving those professional-looking decorations without the stress is totally doable, and it all starts right here with the Royal Icing Recipe. Trust me on this one—after years of sticky messes and cracked decorations, I finally landed on this foolproof, easy royal icing recipe using meringue powder that dries hard and looks absolutely glossy every single time.
I’ve spent countless hours testing every measurement variation for this specific cookie decorating icing. Moving away from raw egg whites made a huge difference in reliability, and I’m happy to share this stabilized version that gives you the perfect foundation for your sugar cookie masterpieces.
Why This Royal Icing Recipe Delivers Perfect Cookie Decorating Icing
I love that this recipe is so incredibly forgiving! When I first started decorating, worrying about fresh egg whites was half the battle. That’s why I swear by meringue powder now. It gives you the stability you need for intricate piping work without the temperature risks of raw albumen.
The biggest win here is how reliably this icing dries. We are talking about an icing that dries hard—you can stack your cookies right up against each other, and they won’t smoosh or smudge. That glossy look you see on professional sugar cookies? You’ll get that too! It cures beautifully.
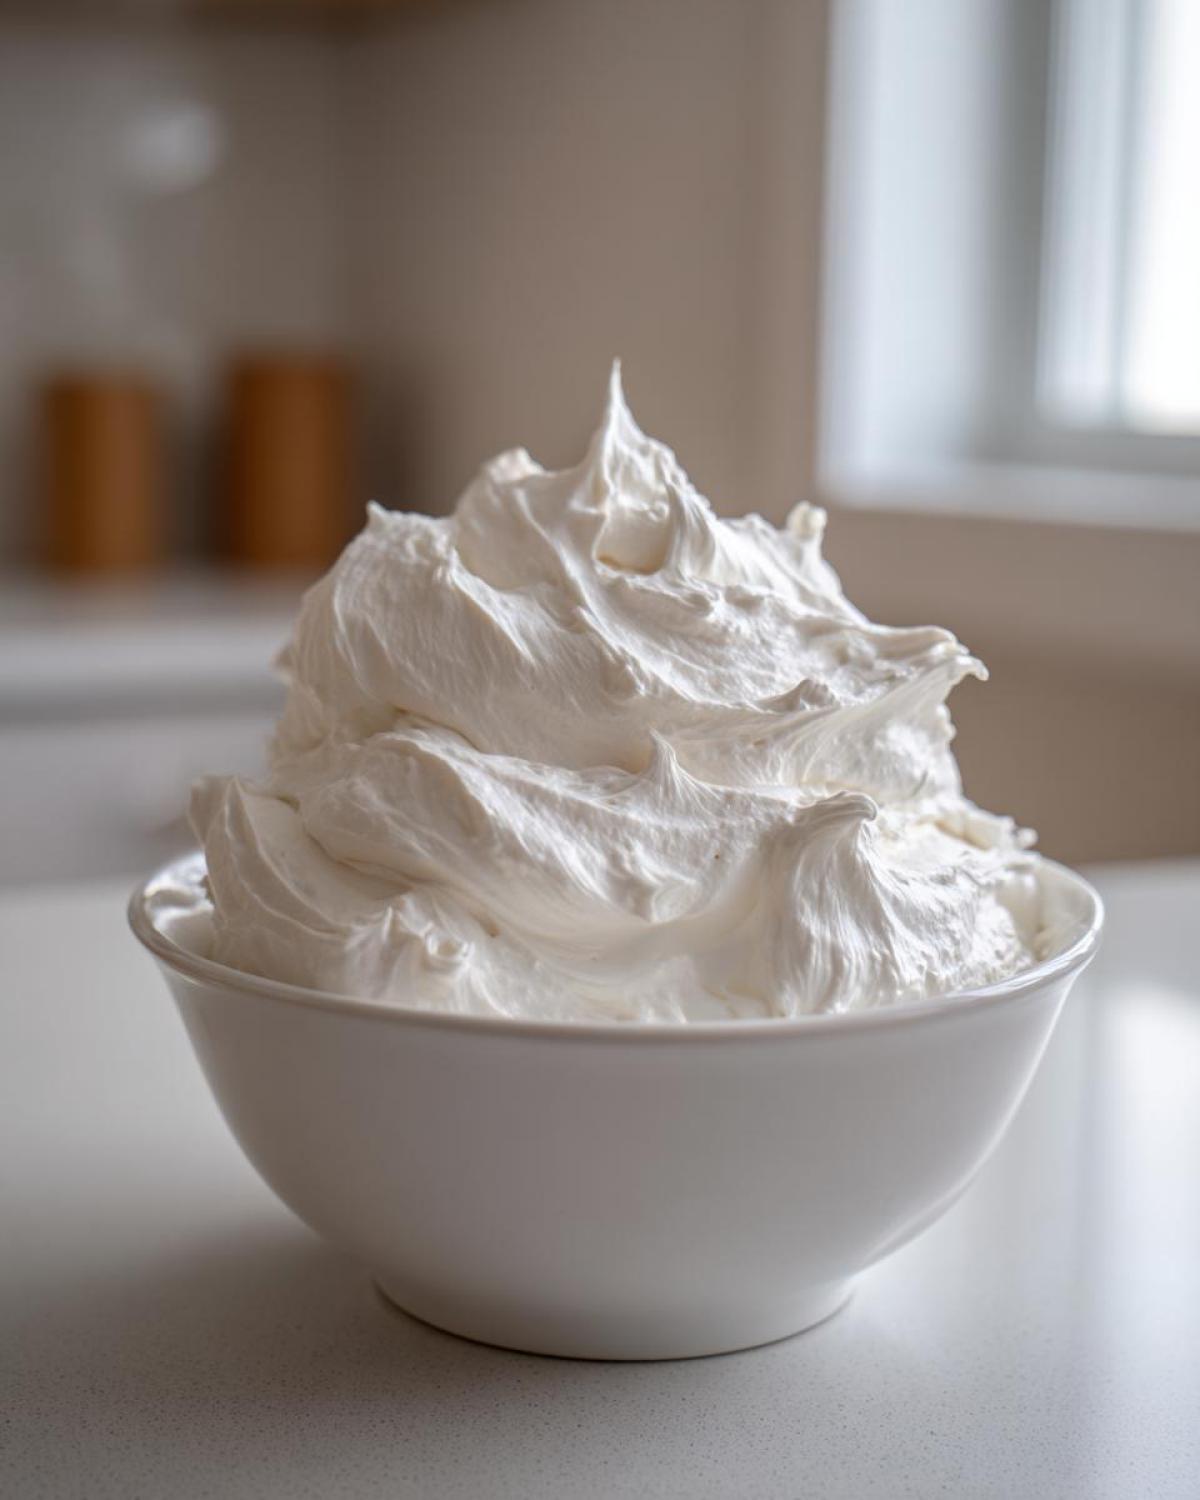
Meringue powder bonds better and much more consistently than just using egg whites, especially for things like intricate damming or flooding a large area. This ensures you end up with smooth cookie icing that doesn’t pit or crack while setting. If you’re looking for the best royal icing recipe for holiday baking, this is truly the one that cuts down on beginner frustration!
It makes your decorating life so much easier when you know the icing won’t fail you halfway through a batch. I even used some leftover piping consistency to make some tiny, stiff flowers, and they dried perfectly hard just like the icing on the cookie itself. If you’re interested in other ways to use that meringue powder, check out my guide on foolproof meringue cookies!
Essential Ingredients for Your Royal Icing Recipe
Okay, let’s talk about what you need because this royal icing recipe is so simple, but the few ingredients we use are non-negotiable for success! You absolutely must sift your powdered sugar. I know it feels like an extra step that takes forever, but if you skip it, you’ll end up with tiny little sugar pebbles in your piping bag—and nobody wants that frustration! That’s the secret to getting that smooth base.
The real game-changer, as I mentioned before, is the meringue powder. It’s the key stabilizer here. It gives you the structure you need for that professional finish without the fuss of separating and whipping egg whites every time.
Ingredient Notes and Substitutions for Perfect Royal Icing
Since we are aiming for a nice, bright white finish, I always lean toward using clear vanilla extract. Standard vanilla is fine, but it can sometimes give your white icing a tiny, slightly off-white tint, especially if you aren’t coloring it right away. Since we want glossy royal icing, clear vanilla keeps things pristine.
Now, sometimes when you want that extra beautiful sheen, people reach for light corn syrup. You can absolutely add about 1 teaspoon of light corn syrup to this base recipe if you want even more of that mirror-like shine when it dries. It adds excellent flexibility to the final product without compromising its ability to dry hard. If you ever find your icing seems a little dull, a tiny bit of corn syrup is my go-to trick for boosting the gloss!
How to Make Royal Icing with Meringue Powder
Alright, this is where the magic happens! Making this royal icing recipe is really just about controlled mixing. You want to treat those dry ingredients with respect so you build the structure correctly from the start. First, get your sifted powdered sugar and meringue powder into the bowl.
Next, add your water and vanilla. Now, here is my big tip: start slow! If you blast your mixer on high immediately, you whip tons of air into the dry sugar, and you end up with a dusty cloud exploding all over your kitchen. Ask me how I know that one! Start on the absolute lowest speed until the mixture is just combined—think ‘wet sand’ consistency.
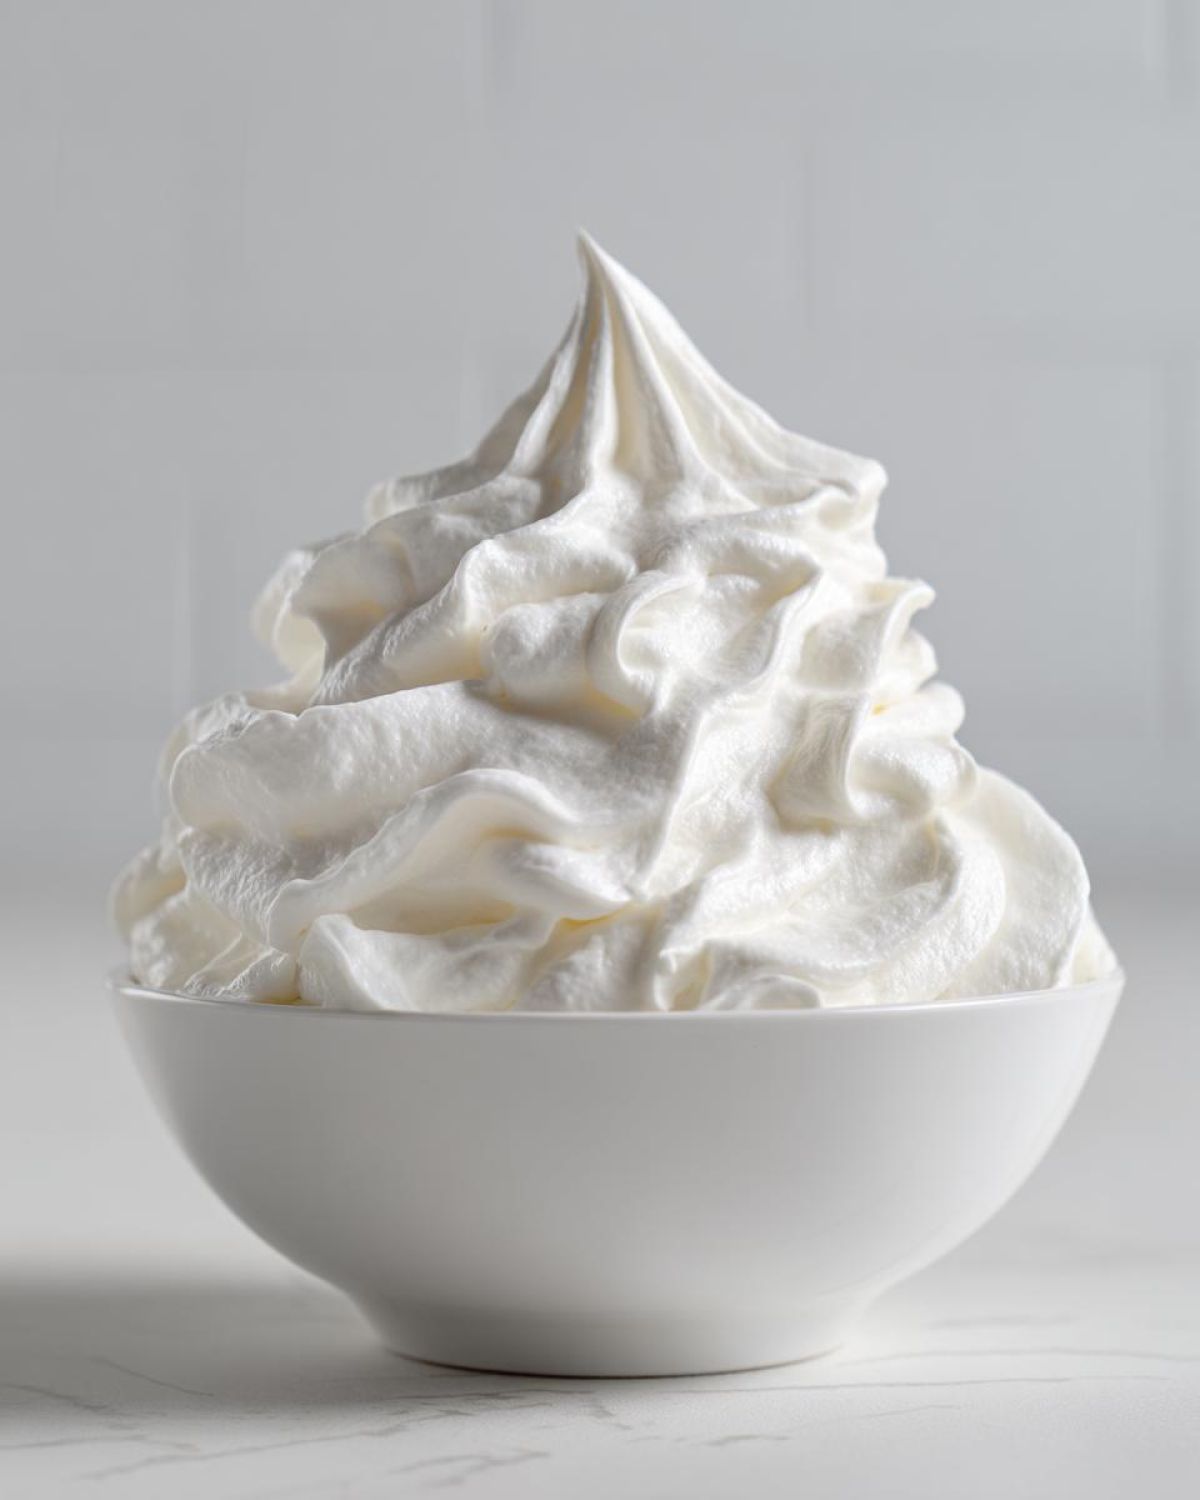
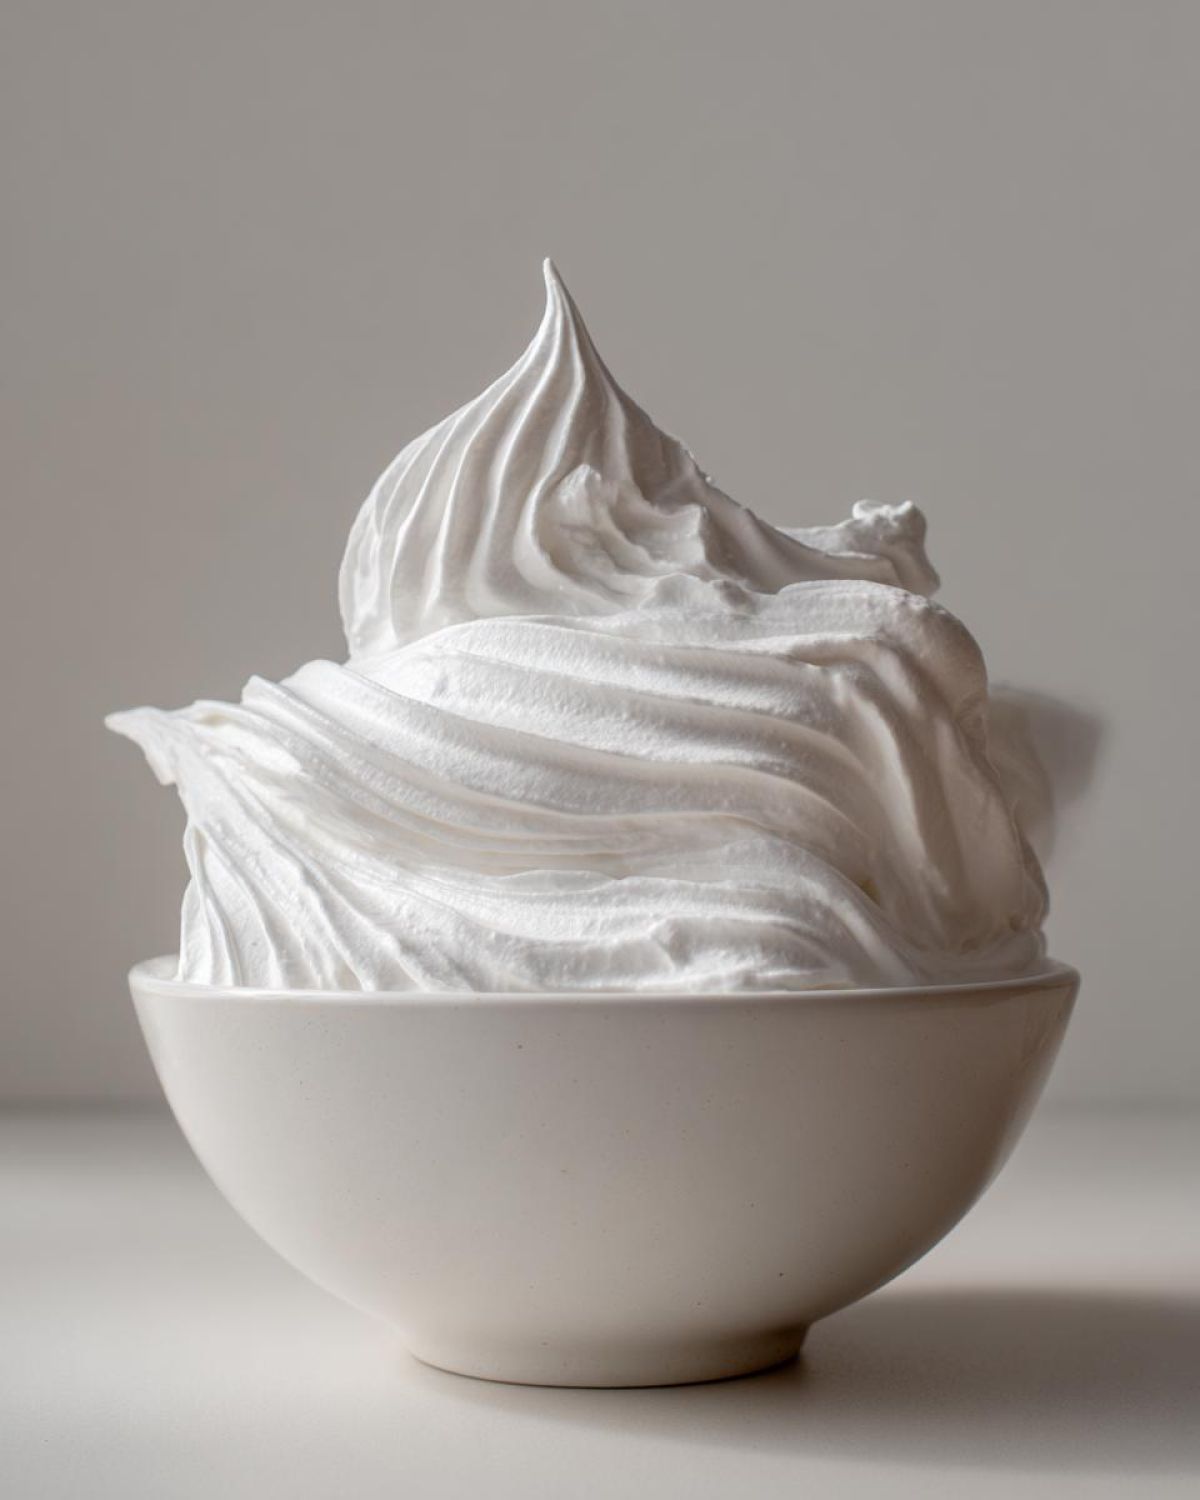
Once everything is incorporated, crank that mixer up to medium-high! This stiff mixture needs some serious beating to reach its potential. You need to whip this for a solid five to seven minutes. That whipping action is what creates the volume and the gorgeous glossy shine that separates this from just being basic sugar and water. When it’s done, it should look almost like buttercream but much stiffer. This thorough whipping is key for the best royal icing recipe.
If you are diving into the world of cookie decorating, you definitely want to check out my general baking tips and tricks before you start, especially regarding color and drying surfaces!
Achieving the Right Royal Icing Consistency for Cookie Decorating Icing
This is arguably the most important part of the whole process, and it’s all about water measurement. Your royal icing consistency has to be spot-on depending on what you are doing. We divide the process into two main types: piping and flooding.
For outlining—the nice border you put on first before the middle part—you want a stiff consistency. This icing should hold its shape beautifully right off the tip of your piping bag, forming those firm peaks that barely droop. If you add too much water here, your beautiful outline will just spread out into a puddle!
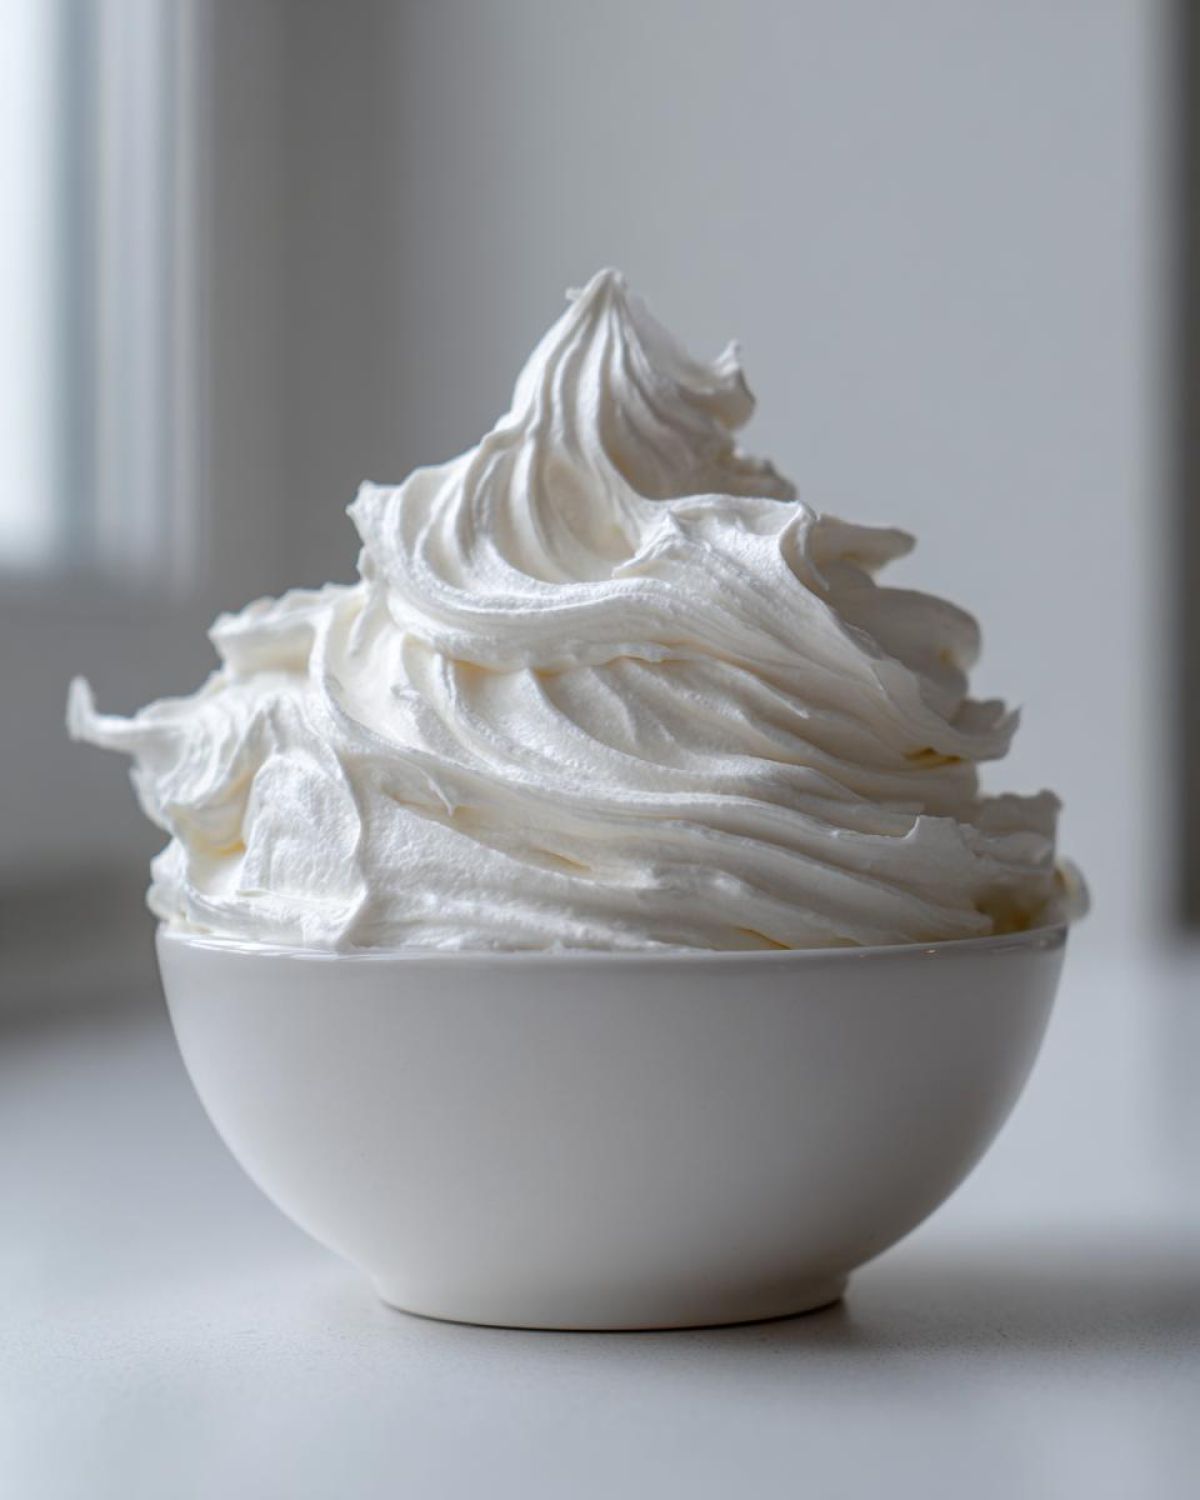
Then we move to flooding. This takes more water, usually just a teaspoon or two more, added very slowly. You are aiming for that magic ‘10-second rule.’ When you drizzle a line of this thinner icing across the surface of the icing still in the bowl, that line should disappear back into the surface smoothly within about 10 seconds. If it disappears in 3 seconds, it’s too thin! If you can still see the line after 15 seconds, it needs a tiny bit more water. Master this timing, and you’ve mastered cookie decorating icing!
Tips for Success with Your Easy Royal Icing Recipe
I’ve made so many batches of this that I’ve learned all the little survival tricks! Tip number one: never, ever use liquid food coloring if you can avoid it. Liquid coloring, even just a drop or two, adds unnecessary moisture, and that moisture will deflate your consistency, turning your lovely piping icing into sad, runny soup. You absolutely need to use gel coloring because it’s concentrated; you use a toothpick’s worth and barely affect the water ratio. That tiny bit of color makes all the difference!
Also, if you aren’t using the icing right away—and I mean right away—you need to protect it like gold! Royal icing stiffens up frighteningly fast. When you divide it into bowls for coloring, immediately cover the surface of *each bowl* with plastic wrap, pressing it directly onto the icing itself. This contact layer stops that crust from forming. If it does form a crust anyway, don’t panic! Just carefully scrape off the crusty top layer and stir the soft icing underneath.
What if disaster strikes and your icing seems too thick? Remember those notes: add water just half a teaspoon at a time, beating well after each addition. Too thick usually means it needs a little more elbow grease, not big big splashes of water. Conversely, if you over-thinned it trying to get that flood consistency, just whisk in a tablespoon of already-sifted powdered sugar until it firms up enough to meet the 10-second rule again. It’s all fixable!
Storage and Keeping Your Royal Icing Recipe Fresh
We don’t want this beautiful, stiff icing to go to waste, which is great because storage is super easy! If you’ve got leftover icing in the bowls, whip out the plastic wrap and press it directly onto the surface of the icing in every single container. Seriously, no air gaps allowed, or you’ll have a thick sugar shell forming that you’ll have to scrape off later. An airtight container works best on top of that. This makes it a really beginner royal icing friendly recipe because you don’t have to use it all at once!
What if you come back the next day and that icing has gotten way too stiff to pipe? Don’t throw it away! That just means a tiny bit of water evaporated. Just add half a teaspoon of cool, clean water right into the bowl and mix it gently with a spatula first, then you can use an electric mixer on low speed for just a moment or two until it loosens up. It comes right back to life! If you notice it’s slightly separated, a quick whip usually fixes that right up, too.
Variations on the Perfect Royal Icing
While this base recipe is spot-on for classic sugar cookies, I love playing around with the flavoring sometimes! If I’m not using the basic clear vanilla, my favorite switch is almond extract. Just a tiny drop offers this beautiful, almost marzipan-like scent that pairs wonderfully with shortbread cookies. For a brighter, more spring or summer feel, skip the vanilla and use a bit of fresh lemon zest stirred in when you add the water.
You can also customize the thickness for different projects. If you want to do super thick, detailed borders—the kind that stand up tall—just hold back on adding any water at all after the initial stiff peak stage. You’ll be piping directly from that super-stiff batch. On the flip side, if you wanted a super sheer, crackly glaze rather than a hard icing, you can thin this batch down quite a bit more than the 10-second rule allows—a thin homemade cookie glaze that drips everywhere is surprisingly delicious!
If you ever experiment with incorporating fruit flavors, you might like my tips on adding zest to glazes in recipes like my lemon zucchini bread—the same principle applies here for bright flavor notes!
Frequently Asked Questions About This Royal Icing Recipe
I know you probably tried a few recipes before landing here, so I want to make sure we cover any last sticky points! People always have fantastic questions about how to get that truly professional cookie icing finish, whether it’s making sure the icing is perfect for piping or just getting those sugar cookies ready for stacking.
How long does it take for this royal icing recipe to dry completely?
This is my most common question, and honestly, it depends on the air in your house! If you live somewhere dry, or if you’re using a thin layer for outlining, it might set enough to touch in maybe three to four hours. However, if you flood large areas, or if it’s humid? You absolutely need patience. For that hard, glossy finish that won’t smudge when you put it in a container, I always tell folks to plan for a full six to twelve hours at room temperature. Don’t try to speed it up with the oven; you’ll regret it! We want our royal icing for sugar cookies to dry naturally.
Can I use egg whites instead of meringue powder in this royal icing recipe?
You totally can, but I really, really don’t recommend it if you’re going for consistency! Meringue powder is just so much more reliable because it’s pasteurized and standardized. If you absolutely must use egg whites, you need to use pasteurized egg whites (just for safety!) and then you have to treat the liquid measurement very carefully. Since liquid whites vary, you usually need to use less water than the recipe calls for, maybe start with half the amount called for here. Honestly, swapping them out means you’re basically testing a new recipe, and why mess with success when this meringue powder version is so straightforward?
I always recommend checking out our main About Us page if you want to know more about our testing philosophy in the kitchen!
Estimated Nutritional Data for This Royal Icing Recipe
Now, while this royal icing recipe is truly a work of heart and not a health food, I know some of you are curious about the breakdown, especially if you’re making dozens of cookies for a holiday party! I pulled together the estimated nutritional information based on standard ingredient measurements. Keep in mind, this is for a quarter-cup serving of the prepared icing, which is quite a bit!
- Serving Size: 1/4 cup prepared icing
- Calories: 180
- Sugar: 45g
- Sodium: 5mg
- Fat: 0g
- Protein: 1g
You can see that it’s basically pure sweetness, which is what we expect from something that dries hard and looks so perfect on a sugar cookie! These figures are just estimates, of course. The exact brand of powdered sugar you use or how much vanilla you splash in can change those numbers just a hair. For the full transparency policy on how we estimate these values, you can always pop over to our disclaimer page.
Share Your Beautiful Cookie Creations
Now that you have my absolute favorite, can’t-live-without, easy royal icing recipe, I really want to see what you make! Nothing makes me happier than knowing my hard work perfecting this formula means someone else out there is enjoying the process of decorating without kitchen meltdown.
Give this recipe a try, and please, please tell me how it goes! Leave a star rating right here on the post—it genuinely helps other bakers know they can trust this method. Even better, snap a picture of those gorgeous, glossy cookies and tag me on social media or drop a photo right down in the comments. I get so excited when I see your beautiful designs! If you have any last questions or need help troubleshooting consistency, don’t hesitate to reach out through the contact page too—let’s get those cookies decorated!
PrintEasy Royal Icing Recipe Using Meringue Powder
A simple recipe for smooth, glossy royal icing that dries hard, perfect for outlining and flooding sugar cookies.
- Prep Time: 10 min
- Cook Time: 0 min
- Total Time: 10 min
- Yield: Enough to cover approximately 2 dozen medium cookies
- Category: Baking Decoration
- Method: Mixing
- Cuisine: American
- Diet: Vegetarian
Ingredients
- 4 cups powdered sugar, sifted
- 3 tablespoons meringue powder
- 6 tablespoons warm water
- 1/2 teaspoon clear vanilla extract (or other flavoring)
Instructions
- In a large bowl, whisk together the sifted powdered sugar and meringue powder.
- Add the warm water and vanilla extract to the dry ingredients.
- Using an electric mixer (handheld or stand mixer with paddle attachment), beat the mixture on low speed until combined.
- Increase the speed to medium-high and beat for 5 to 7 minutes until the icing is very stiff, glossy, and holds firm peaks.
- To achieve piping consistency (for outlining), add 1 teaspoon of water at a time, beating well after each addition, until the icing holds a soft peak that droops slightly.
- To achieve flooding consistency, add 1 to 2 teaspoons more water until the icing flows smoothly off the spoon and disappears back into the bowl within 10 seconds when drizzled across the surface.
- Divide the icing into bowls for coloring, if desired. Cover all unused icing tightly with plastic wrap pressed directly onto the surface to prevent drying.
- Use immediately for decorating cookies. Allow decorated cookies to dry uncovered at room temperature for several hours until completely hard.
Notes
- Always sift your powdered sugar to prevent lumps in the final icing.
- If the icing seems too thin, add more sifted powdered sugar, one tablespoon at a time.
- If the icing is too thick, add water very slowly, half a teaspoon at a time.
- For the best results when coloring, use gel food coloring, as liquid coloring adds too much moisture.
Nutrition
- Serving Size: 1/4 cup prepared icing
- Calories: 180
- Sugar: 45
- Sodium: 5
- Fat: 0
- Saturated Fat: 0
- Unsaturated Fat: 0
- Trans Fat: 0
- Carbohydrates: 45
- Fiber: 0
- Protein: 1
- Cholesterol: 0