

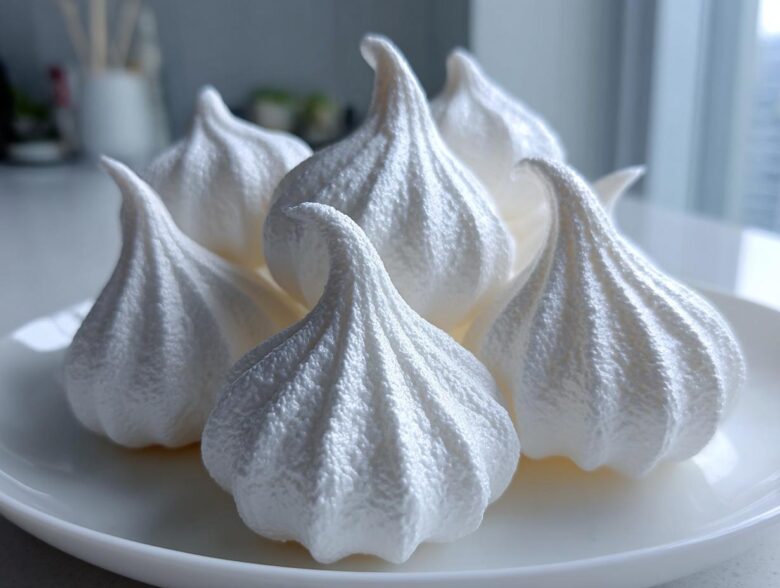
Oh, I remember the first time I tried making meringue cookies. It was a disaster! They cracked like lightning bolts, wept sticky tears all over my baking sheet the second they cooled, and tasted vaguely of egg whites and regret. Seriously, nobody wants a sticky meringue! But don’t you worry, because I’ve cracked the code. I’ve spent years chasing that impossible texture—that perfect, cloud-like crispness that makes them truly “melt in your mouth.”
I’m going to show you exactly how to make meringue cookies that come out looking like professional little kisses every single time. We’re talking about a simple, foolproof method that relies on a little patience and making sure your equipment is squeaky clean. Get ready for the lightest, airiest cookies you’ve ever tasted!
Why You Will Love This Easy Meringue Cookies Recipe
Honestly, this recipe is my culinary safety net. When I need a beautiful, impressive-looking dessert that tastes incredible but takes almost no effort, my go-to is always these meringue cookies. The payoff for such minimal work is just stunning!
- They are the definition of light and airy cookies—truly zero guilt dessert territory!
- You only need four core ingredients. We’re talking simple three ingredient cookies territory here, folks.
- The texture is absolutely the best: perfectly crisp on the outside and delicately airy inside.
- They are naturally gluten-free, which is just a fantastic bonus for everyone!
Essential Ingredients for Perfect Meringue Cookies
You know how some recipes only need a few things, but those few things have to be *just right*? That’s us here. We are basically making simple egg white cookies, which means the quality of what you use really shines through. Four simple things get us these incredible, cloud-like treats.
You need four large egg whites that are at room temperature—no exceptions! We’re using superfine granulated sugar, cream of tartar for stability, and just a splash of pure vanilla extract for that classic flavor. Don’t try to substitute the sugar unless you have to; the superfine kind dissolves so much faster into those stiff peaks.
Ingredient Notes and Substitutions for Meringue Cookies
Okay, let’s talk about the two biggest pitfalls: the eggs and the sugar. First, those egg whites must be at room temperature. Cold egg whites will take forever to whip up and won’t get nearly as voluminous. Also, and this is critical—if even a speck of egg yolk gets in there, your meringue will turn into a sad, soupy mess. Fat is the enemy of stiff peaks!
For the sugar, superfine sugar dissolves beautifully, which is exactly what we want for perfectly smooth meringue cookies. If you only have regular granulated sugar, just pulse it in your food processor for about 30 seconds until it looks finer. Not dust, just finer! This step ensures that when you rub a bit of finished meringue between your fingers, it doesn’t feel gritty or sandy. We’re going for silky smooth!
Step-by-Step Guide: How To Make Meringue Cookies
Alright, here is where we turn those temperamental egg whites into the most elegant, delicate cloud puffs you’ve ever seen. Remember my first disasters? They always came from rushing these steps! We need to go slow, especially when we start adding that gorgeous sugar to our meringue cookies. Just follow this order, and you’ll be fine!
Whipping Egg Whites for Light and Airy Cookies
First things first: make sure your bowl is spotless! I mean, wash it, dry it, maybe even give it a quick wipe down with a paper towel dipped in lemon juice—just to be absolutely certain there’s no grease hanging around. Pop those room-temperature egg whites in there. Turn your mixer on medium speed and let them go until they turn foamy. This is your signal to add the cream of tartar. That little bit of acid is fantastic; it helps stabilize those bubbles we are working so hard to create.
Keep mixing until you see soft peaks form. What does that look like? When you lift the whisk, the tips of the meringue should flop over softly, like a sad shoulder shrug. Don’t stop here, though! That’s just the starting line.
Incorporating Sugar to Achieve Stiff Peaks
Now, get ready for the main event! You need to add the superfine sugar *very* slowly—we’re talking one tablespoon at a time. Seriously, wait until the first spoonful is mostly dissolved before adding the next spoonful. This whole process takes a good eight to ten minutes of continuous beating, so put on a podcast and relax. Don’t rush this, or you’ll end up with those gritty, cracked melt in your mouth meringues.
When you think you’re done, do the check: lift the whisk and look for stiff, glossy peaks that stand straight up! Then, grab a tiny bit of the mixture between two fingers and rub it. If it feels totally smooth, you nailed it! If it feels grainy, beat it for two more minutes and test again. Finally, beat in that vanilla extract and you are ready to pipe.
Piping Meringue Shapes and Preparing for Baking
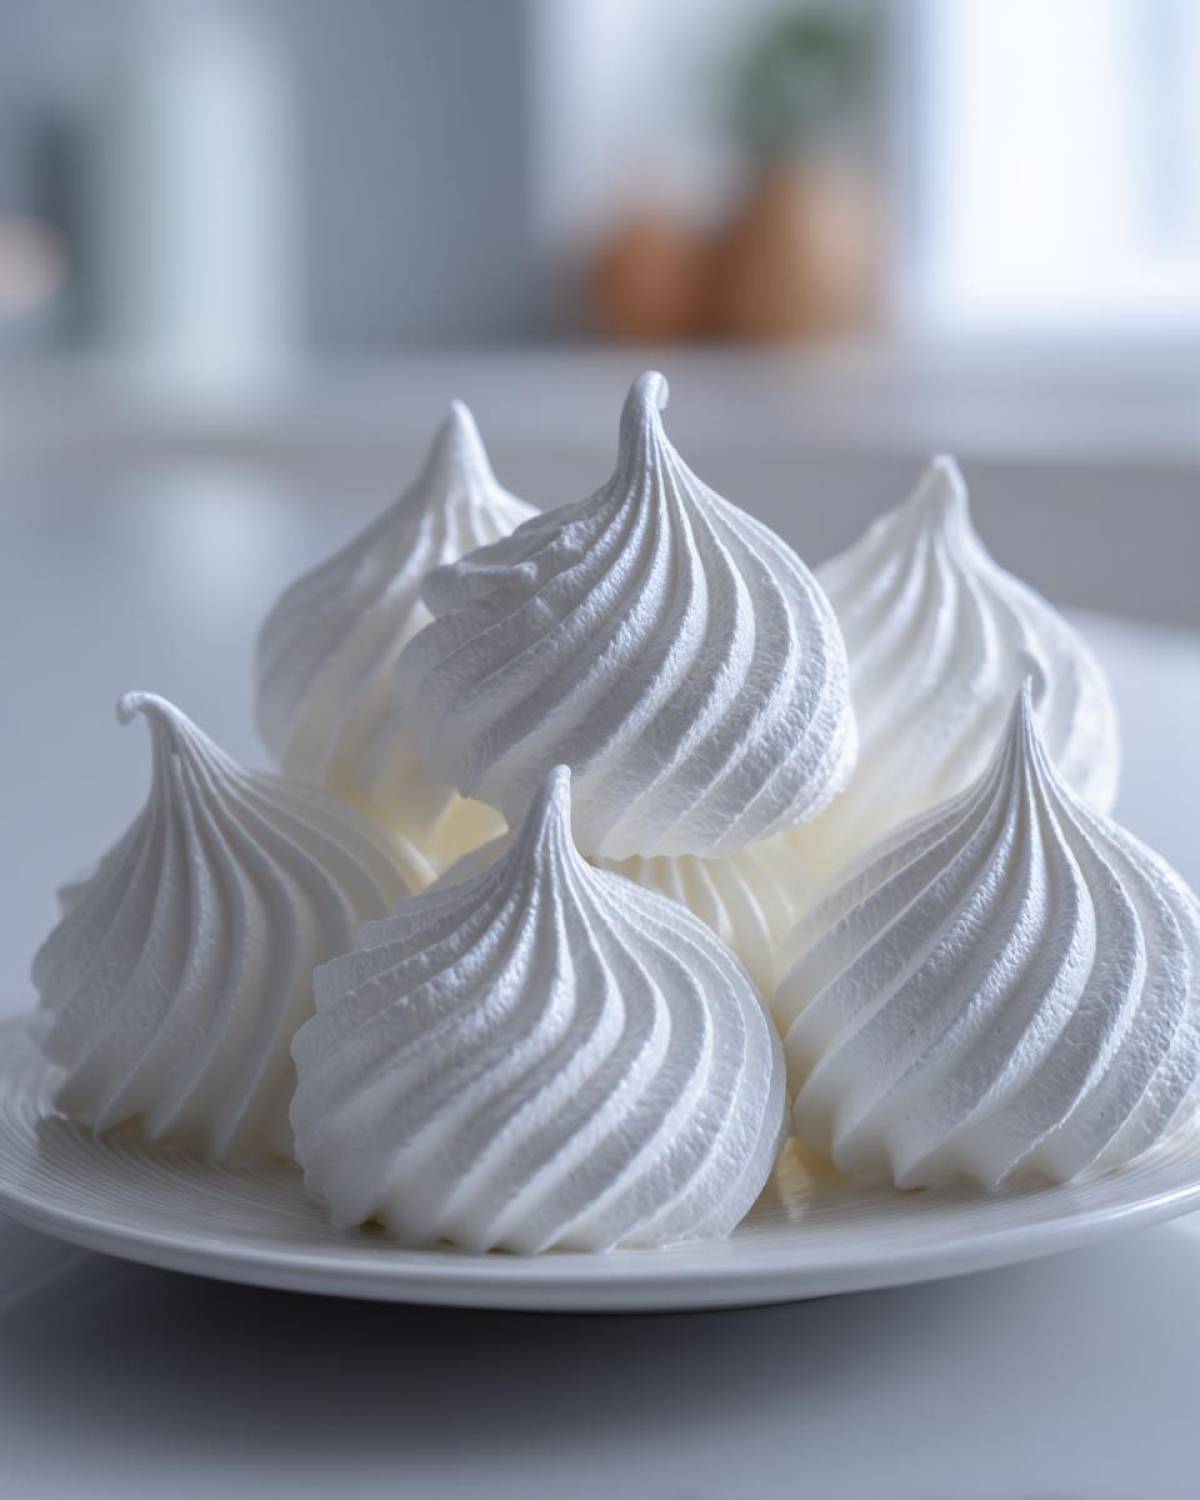
Load that beautiful, stiff meringue into a piping bag fitted with a star tip—a medium star tip makes for classic, pretty little sweet meringue kisses. Pipe them onto your parchment-lined sheets. You can make simple dots or try for those adorable piped meringue shapes like little swirls or trees!
Get that oven preheated to a very low 200°F (95°C). We aren’t actually baking these; we are *drying* them out. Remember, low and slow is the golden rule for perfect texture. We want them crisp all the way through, not chewy. Lining the sheets with parchment is non-negotiable; these delicate treats will stick without it!
Meringue Cookie Baking Secrets for Crispy Meringue Desserts
If you’ve ever had a batch of meringue cookies turn out sticky or soft on the inside, I promise you, the problem isn’t the ingredients—it’s the finishing temperature! Getting those wonderful crispy meringue desserts means we need to slowly dry them out. Think of it less like baking a cake and more like giving them a very long, gentle sauna session in the oven.
Keep that oven set low, right around 200°F (95°C). You are going to bake them for at least an hour, maybe a little longer depending on the size of your kisses. How do you know when they’re done? Don’t just rely on color! Tap them gently. A done meringue will lift off the parchment paper easily and sound totally hollow underneath.
Here is the real secret for those perfectly delicate baked meringues: DO NOT take them out right away! When the time is up, turn the oven off, prop the door open just a crack with a wooden spoon—this lets the heat escape slowly—and leave those little guys inside until the oven is completely cool. Seriously, plan to leave them for at least an hour, maybe more. This slow cooling process prevents them from cracking violently and locks in that perfect, airy crunch. Trust me, this step is what makes the difference between meringue cookies that weep and meringues that stay beautifully crisp for days!
If you’re looking for more general baking wisdom beyond just meringues, you can always check out the main recipe index!
Tips for Success with Your Beginner Meringue Cookies
I’ve learned the hard way that meringue doesn’t play well with drama. If you want those beautiful, crack-free ‘kisses,’ you have to set the stage correctly. I’ve compiled my absolute non-negotiables here—the stuff I wish someone had yelled at me about the first time I tried this!
- Humidity is Your Enemy: If it is pouring rain or super sticky outside, just bake something else that day, like brownies! High humidity makes it impossible for the sugar to dry out properly, leading to sticky bottoms and weeping. Seriously, check the weather forecast before you start.
- Piping Pressure Matters: When you’re piping, try to keep even pressure. If you stop squeezing mid-pipe and then start squeezing again, you get those little peaks or ‘tails’ on top that burn before the rest of the cookie dries. Try to release the pressure before you lift the bag.
- The Oven Must Stay Closed: Resist the urge to peek! Every time you open that oven door during the low-and-slow baking phase, you dump all the warmth out, and that sudden temperature drop can shock your delicate meringues into cracking or collapsing. Trust the time, trust the 200°F setting.
- Don’t Overmix the Vanilla: That teaspoon of vanilla extract goes in right at the end, after the sugar is incorporated. Mix it in just until you see it disappear. If you beat the mixer on high for too long after adding the flavoring, you can actually knock the air right back out of your mixture!
Making Festive Meringue Treats: Variations and Holiday Meringue Ideas
Once you master the foolproof base recipe, these meringue cookies become a baker’s playground! They are such a gorgeous base for making festive treats, especially because they hold their piped shape so perfectly. If you want to move beyond boring white clouds, this is your chance to get creative!
For quick decoration, try adding a few drops of gel food coloring right after you beat in the vanilla. Gel colors are better than liquid because they won’t thin out your mixture. Gently fold it in just a couple of times to get beautiful swirls of color—you don’t want it uniform! Think peppermint for Christmas or soft pastels for Easter.
Flavor-wise, almond extract is just divine in meringues; it gives them a more sophisticated taste. For winter holidays, try swapping the vanilla or peppermint extract. You can also easily create fun Christmas meringue cookie shapes using different piping tips. A wide, flat tip can give you little snowmen shapes if you pipe a base and then a slightly smaller head on top. You just need to adjust the baking time slightly for bigger shapes, but the drying time in the cool oven remains the same. These colorful, delicate treats are always the first to disappear at any gathering!
Storage and Reheating Instructions for Delicate Baked Meringues
Okay, we’ve survived the tricky part—the whipping and the slow baking. We don’t want to ruin our gorgeous, crisp texture by storing them wrong! These treats are essentially sugar-and-air sculptures, and air quality matters a ton here. The absolute best way to store your finished meringues is in an airtight container at room temperature.
I mean *truly* airtight! Think high-quality plastic containers with good snap lids, or even glass jars with tight-sealing lids. You want to trap the dry air inside that container and keep the humid air of your kitchen outside. Even the slightest bit of moisture in the air will seep into those lovely crisp cookies and make them tacky or soft, which is the exact opposite of what we worked so hard for.
Do NOT put them in the refrigerator! I know, it seems like a good idea for preservation, but the fridge is a humid environment, and it will absolutely ruin the texture. They should keep perfectly fine on your counter for a full week, maybe even two, if your container seal is excellent. Just resist the urge to open the container every ten minutes to check on them!
Now, about reheating? Honestly, if they’ve gone a little soft because you forgot to seal the jar for an hour, don’t toss them! You can often revive them. Just pop them back into that very low oven—that 200°F setting is magic—for about 15 to 20 minutes. Turn the oven off and let them cool in the cooling oven again, door propped open. It usually zaps the moisture right out, bringing back that light, satisfying snap. It’s my little trick for salvaging sad meringues!
Frequently Asked Questions About Meringue Cookies
Can I make these meringue cookies without a stand mixer?
Oh, absolutely! I’ve made these meringue cookies by hand with a whisk when my mixer was on the fritz, but I won’t lie—it’s a workout! If you use a reliable electric hand mixer, you can totally get stiff, glossy peaks. Just be prepared to beat them for maybe an extra five minutes or so while adding that sugar. Your arm will get a little sore, but the results are worth that extra effort!
Why are my meringue cookies weeping or sticky after cooling?
This is the number one cry for help I hear about meringues! Nine times out of ten, weeping or stickiness happens for one of two reasons. First, you probably under-baked them. If the heat didn’t get to the center to fully dry out the sugar matrix, it stays moist and starts to sweat syrup once it cools down. Second, if you took them out of the oven and they immediately met humid kitchen air, that moisture will be absorbed instantly, making them sticky. Remember my big baking secret? Slow cooling inside the turned-off oven is your best defense against weeping!
Are these considered Gluten Free Meringue Cookies?
They certainly are! This is one of the easiest naturally gluten-free desserts you can make. Since we are only using egg whites, sugar, and a tiny bit of cream of tartar and vanilla, there isn’t a single grain of wheat or gluten in the recipe. That’s why they are such a huge hit for holidays—everyone can enjoy these light and airy treats. If you have any questions about substitutions or baking in general, feel free to send a message through my contact page!
Estimated Nutritional Data for Simple Egg White Cookies
I know some of you are just here for the pure joy of eating these airy delights, but for those who like to keep track of what we’re snacking on, here’s a little breakdown. Since these are truly simple egg white cookies—just egg whites, sugar, and vanilla—the nutritional profile is pretty straightforward!
Keep in mind, these numbers are straight from my best guess based on standard measurements. Every brand of sugar is slightly different, and how much you pipe onto the tray changes the portion size, so treat this an estimate, okay?
- Serving Size: 1 cookie
- Calories: 35
- Sugar: 9g
- Sodium: 2mg
- Fat: 0g
- Carbohydrates: 9g
See? Very low fat, which is part of why they feel so light! I always recommend double-checking any specific dietary needs, of course. For my full thoughts on how I handle measurements and estimates on this site, you can always peek at my official disclaimer page. Happy baking!
PrintFoolproof Crispy Meringue Cookies

A simple guide to making light, airy, and crisp meringue cookies using only egg whites and sugar.
- Prep Time: 15 min
- Cook Time: 75 min
- Total Time: 90 min
- Yield: About 3 dozen
- Category: Dessert
- Method: Baking
- Cuisine: General
- Diet: Gluten Free
Ingredients
- 4 large egg whites, room temperature
- 1 cup superfine granulated sugar (caster sugar)
- 1/2 teaspoon cream of tartar
- 1 teaspoon pure vanilla extract
Instructions
- Preheat your oven to 200°F (95°C). Line two baking sheets with parchment paper.
- Place the egg whites in a very clean, grease-free mixing bowl. Beat the egg whites with an electric mixer on medium speed until soft peaks form.
- Add the cream of tartar and continue beating until the peaks become slightly firmer.
- Gradually add the superfine sugar, one tablespoon at a time, beating well after each addition. This process should take about 8 to 10 minutes.
- Continue beating until the meringue is stiff, glossy, and holds firm peaks when the whisk is lifted. Rub a small amount between your fingers; it should feel smooth, not gritty.
- Beat in the vanilla extract.
- Transfer the meringue to a piping bag fitted with your desired tip (a star tip works well for kisses). Pipe small mounds or desired shapes onto the prepared baking sheets.
- Bake for 1 hour to 1 hour 15 minutes, or until the meringues lift easily from the parchment paper and sound hollow when tapped.
- Turn off the oven, prop the door open slightly with a wooden spoon, and let the meringues cool completely inside the oven for at least 1 hour, or until the oven is completely cool. This drying process helps them become crisp.
Notes
- Ensure your mixing bowl and whisk attachments are completely free of any grease or egg yolk; fat prevents the whites from whipping properly.
- Use room temperature egg whites for maximum volume when whipping.
- If you do not have superfine sugar, pulse regular granulated sugar in a food processor for 30 seconds.
- Store finished meringues in an airtight container at room temperature.
Nutrition
- Serving Size: 1 cookie
- Calories: 35
- Sugar: 9
- Sodium: 2
- Fat: 0
- Saturated Fat: 0
- Unsaturated Fat: 0
- Trans Fat: 0
- Carbohydrates: 9
- Fiber: 0
- Protein: 0
- Cholesterol: 0