

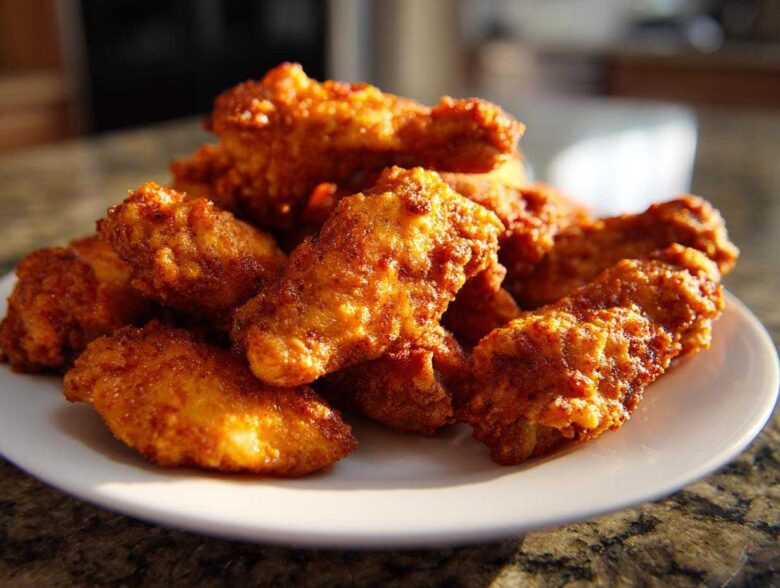
Oh my gosh, you guys, let’s just be honest for a second. I used to dread making homemade chicken wings because they always ended up sad and floppy. Seriously, I wanted that satisfying crunch you only get from a deep fryer, but I absolutely hate dealing with all that oil splattering everywhere. It’s a nightmare to clean up!
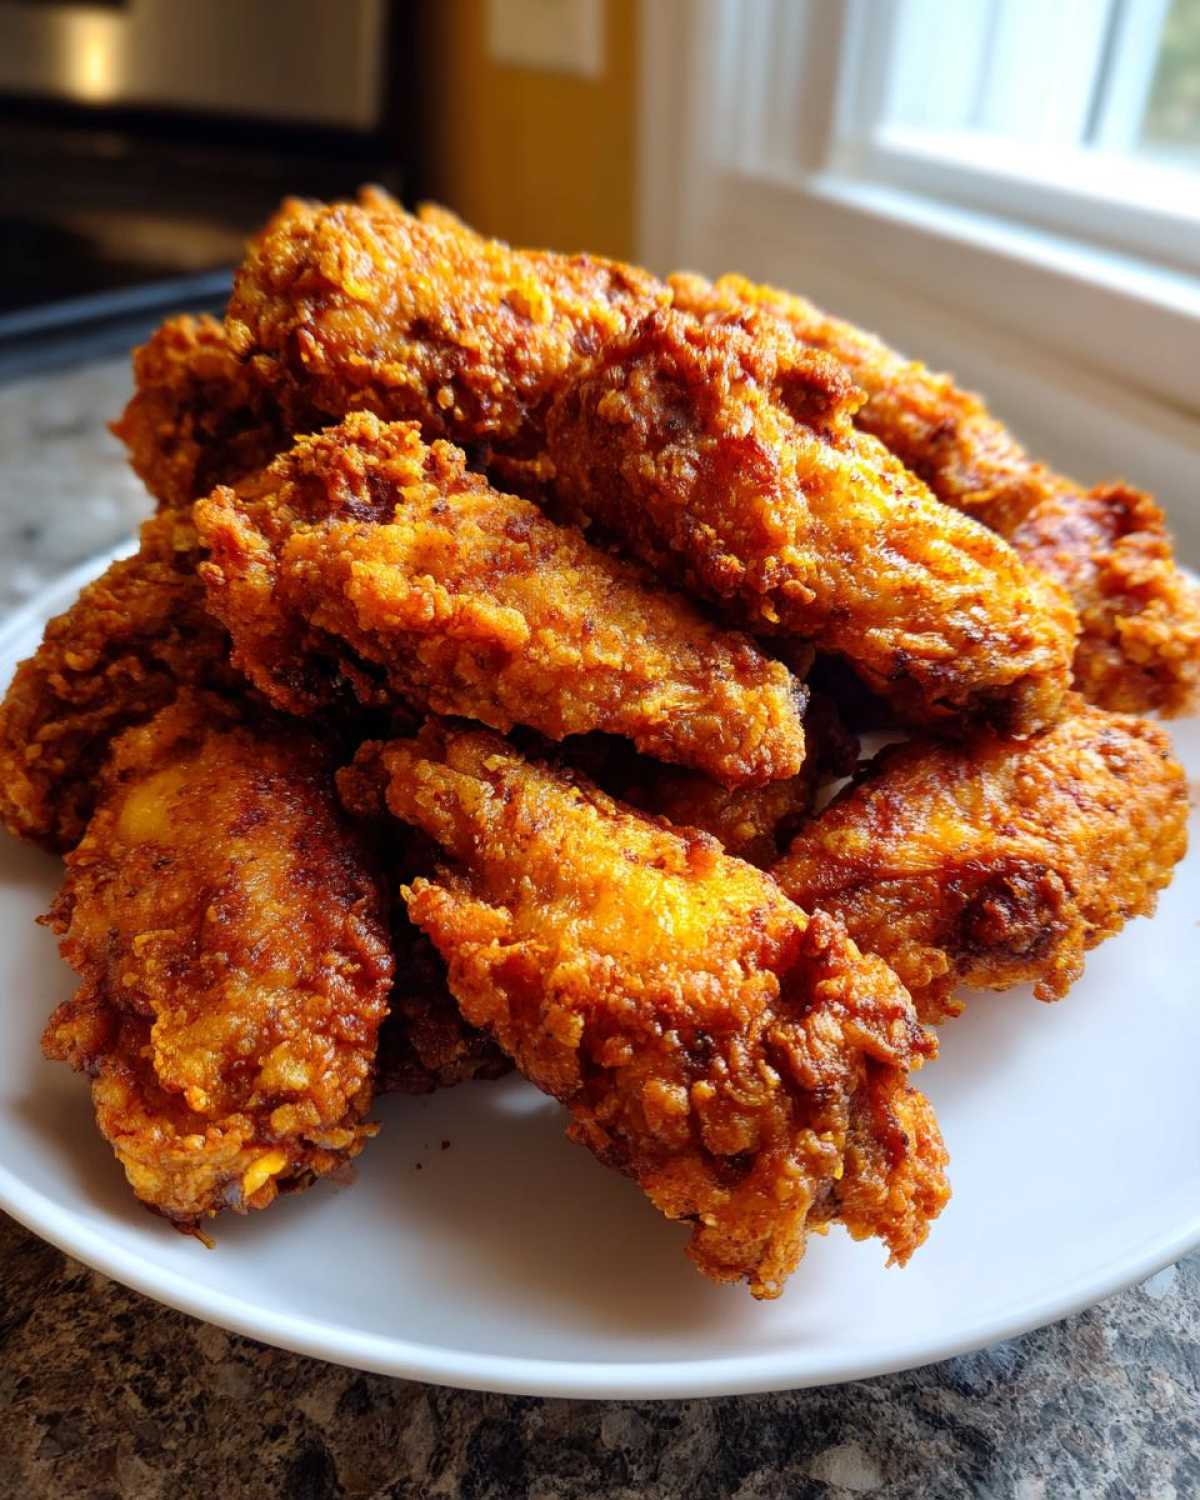
That’s why I became obsessed with finding a way to cheat the system. I finally cracked the code, and I’m telling you, this recipe for Ultimate Crispy Baked Chicken Wings changes everything. We are talking about achieving fryer-level crispiness right on your own baking sheet. It’s amazing, and it’s my go-to for any game day or fast party appetizers chicken spread.
My personal journey to the ultimate crispy texture wings involved about six ruined batches, but now I have the technique down pat. If you follow these steps exactly, you’ll never look back. This is how we get perfect, juicy chicken wings without ever turning on the deep fryer. Check out my article on baked homemade nuggets—it uses a similar concept!
Why This Is The Best Baked chicken wing Recipe (No Fry Chicken Wings)
I know what you’re thinking: baked wings are always softer than fried wings. I used to think that too! But trust me, this method delivers the best baked chicken wings you’ve ever made. Forget the mess and the extra oil; these are true no fry chicken wings that stand up to any sauce you throw at them. It’s simply the superior way to cook them, especially when you need a quick chicken dinner ideas.
- Less Mess: No oil splattering across the stovetop! Cleanup is practically zero thanks to the foil.
- Healthier Factor: You’re cutting out a ton of submerged oil, making them perfect for weeknight snacks or big party appetizers chicken spreads.
- The Crunch: Seriously, the texture is unparalleled for an oven-cooked wing.
Achieving Ultimate Crispy Texture Wings Every Time
The secret sauce here isn’t a sauce at all—it’s chemistry! We rely on two crucial steps to get that amazing crispy skin chicken wings texture. First, you have to pat those wings bone-dry. Water is the enemy of crispness, so grab a whole roll of paper towels and get them totally dry.
Next, we use baking powder. I know, it sounds weird, but this is the absolute magic dust. It changes the pH level on the skin just enough so that when the heat hits it, the skin dehydrates faster and gets super brown and crunchy. This simple addition is the key to my ultimate crispy texture wings method.
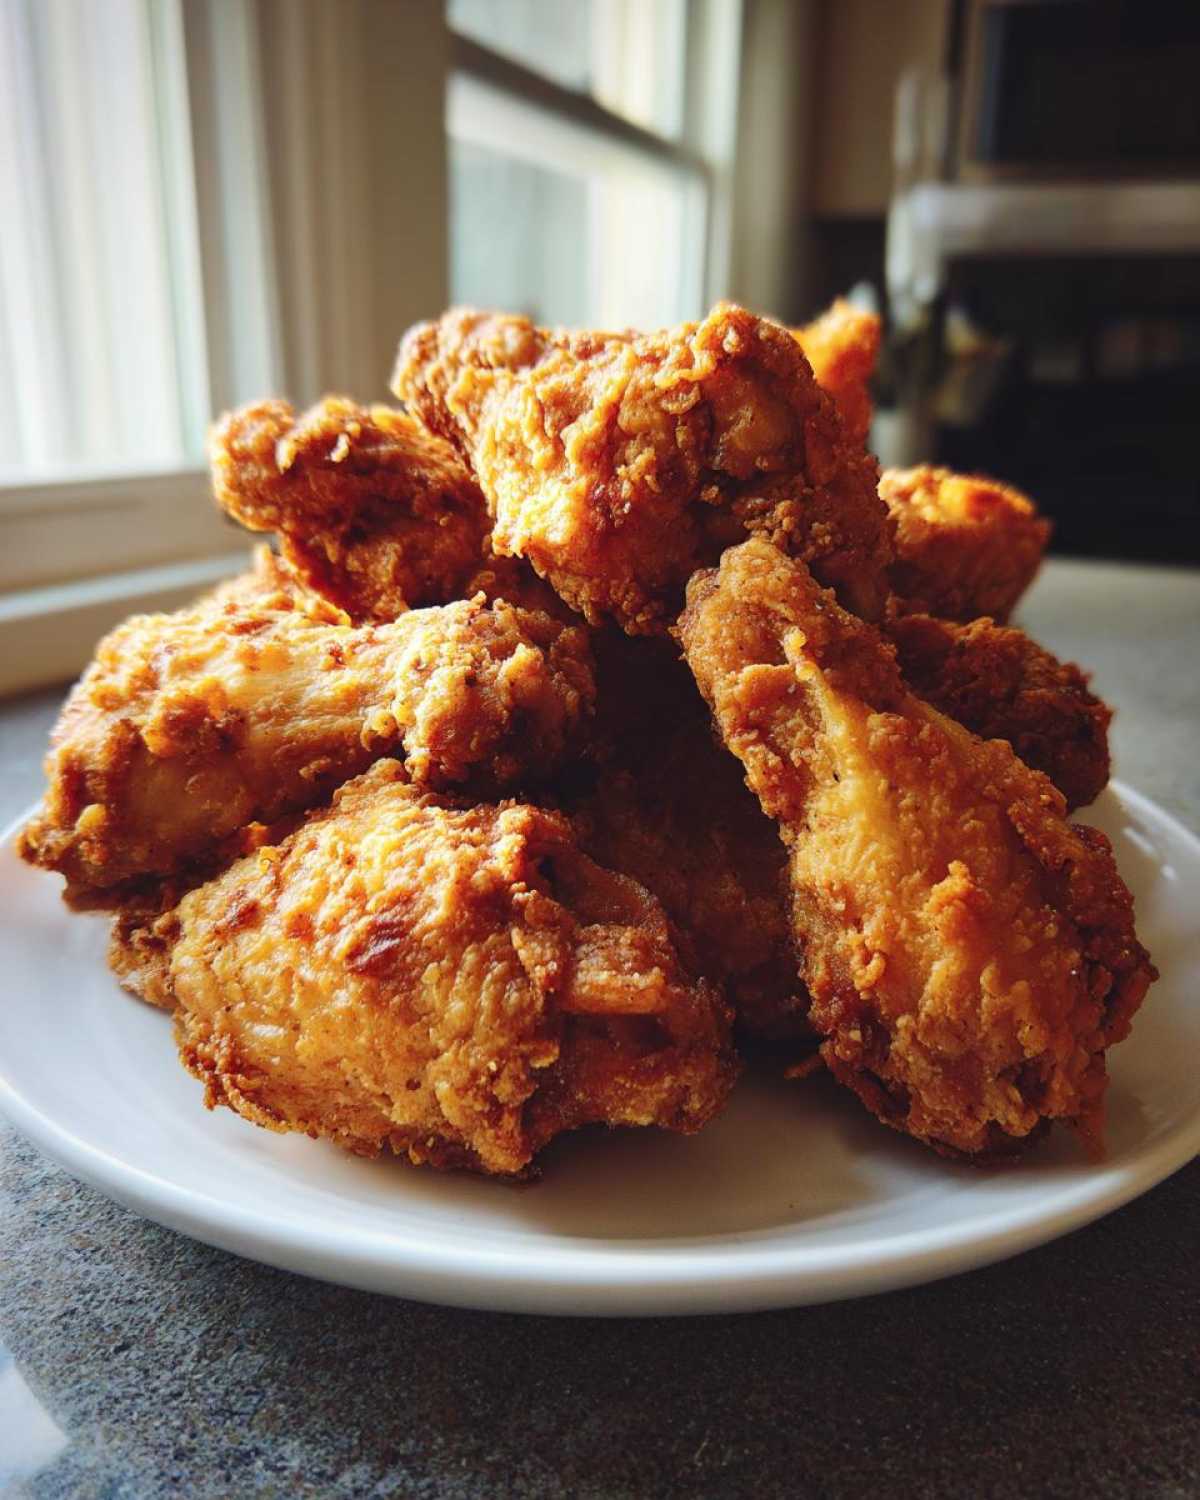
Ingredients for Ultimate Crispy Baked chicken wing Recipe
Okay, let’s talk supplies! For this easy chicken wing recipe, you don’t need a massive shopping list, which is fantastic, right? We are keeping things simple so the technique can truly shine. You’ll need about 2 lbs of chicken wings, which I always tell everyone to separate into the flats and drumettes first. It helps them cook evenly, which is key for crispy results.
The other items are mostly pantry staples. Remember that seasoning blend I mentioned? It’s usually salt, pepper, garlic powder, and onion powder. But the real star—the thing you CANNOT swap—is the baking powder. Please, pleeeease make sure you grab baking powder and not baking soda. It’s non-negotiable for a perfect texture!
Ingredient Notes and Substitutions
When selecting your wings, flats tend to brown up a little faster than the chunky drumettes, so keep an eye on those first. If you only have whole wings, just take a minute to snap them apart at the joints; it’s worth the effort for these oven baked wings crispy results.
Now, back to the magic dust: baking powder. If you accidentally grab baking soda, your wings are going to taste soapy and metallic. So, double-check that container! The olive oil is totally optional, too. I sometimes drizzle a tiny bit on just before saucing later to help the Honey Garlic or Lemon Pepper stick better, but if you’re doing a dry rub, skip it entirely! The baking powder is the only required coating.
How to Prepare Oven Baked Wings Crispy
Alright, this is where all the magic happens for these oven baked wings crispy. Don’t rush these steps, because how you set them up is directly responsible for avoiding that dreaded soggy texture and achieving the juiciness you want. It’s a bit of a process, but it’s so much easier than frying, I promise!
First things first: get that oven screaming hot! Preheat it way up to 425\u00b0F (220\u00b0C). While that’s warming up, you need to prep your baking sheet. I always line mine with aluminum foil—it saves me from scrubbing baked-on spices later. Then, set a wire cooling rack right on top of that foil. This rack is non-negotiable for achieving airflow all around the chicken wing.
Remember that crucial prep I mentioned? Take your separated wings and use paper towels to pat them into submission. They need to be completely, startlingly dry. Water causes steam, and steam causes soggy skin. Blot, blot, blot!
Take your seasoned baking powder mix and toss those dry wings around until every single piece is coated in that fine, white dust. Then, arrange them on your rack. This part is huge: make sure they are in a single layer! If they are touching, they steam each other, and that ruins the crisp potential. Give them space to breathe!
Now for the bake! Pop them in at that high 425\u00b0F for 20 minutes. Seriously, don’t touch them yet. When that timer goes off, flip every single wing. Then, drop the heat down significantly to 400\u00b0F (200\u00b0C) and let them bake for another 20 to 25 minutes. They should look gorgeously golden and feel very firm when you poke them.
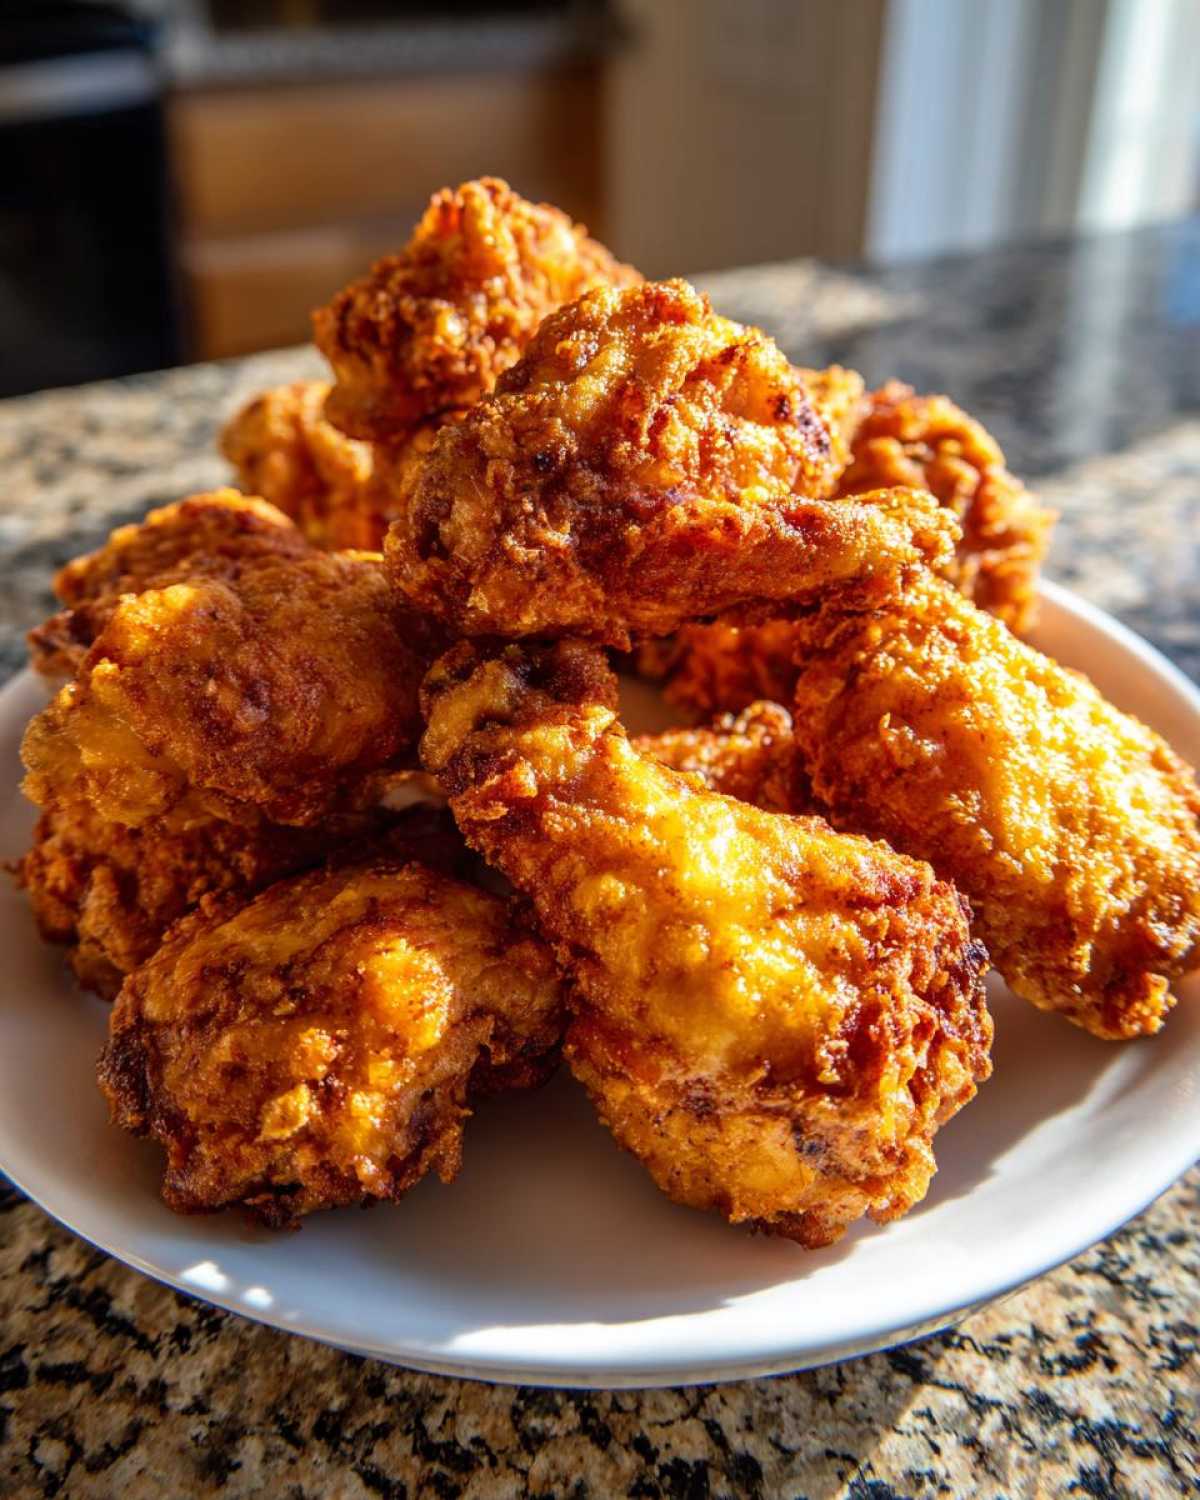
If you’re planning to toss them in a sauce—say, my favorite Honey Garlic recipe—do it immediately when they come out of the oven. The heat helps the sauce grab onto the crunchy skin, coating everything beautifully. If you are sticking to a dry rub, toss them right away with that too! For a great pairing idea, consider serving these wings alongside some fluffy rice pilaf.
The Juicy chicken wings Technique: Temperature Control
The two-stage temperature blast is the main secret for the juicy chicken wings technique. We hit them with high heat (425\u00b0F) initially to quickly dry out and crisp up that exterior skin right away. It’s like shocking the outside into submission! If you baked them the whole time at a lower temperature, the fat would just render slowly, leaving you with greasy, almost steamed wings.
Then, after that initial blast, we drop the temperature down to 400\u00b0F. This lower heat allows the inside meat to gently cook through perfectly without burning that beautiful, crisp exterior we just worked so hard to create. It’s a carefully choreographed dance between heat and surface! Trust me, sticking to this temperature change is what keeps them juicy inside but shatteringly crisp outside.
Flavoring Your Crispy Baked chicken wing
Okay, so your wings are out of the oven—they are golden brown, they crackle when you touch them, but they are basically just seasoned with salt and baking powder right now. This is where you get to make them your own signature amazing party appetizers! Since we kept the base coat minimalist for maximum crispness, now is the time to sauce them up. I remember the first time I tried throwing them in Honey BBQ sauce right out of the oven. Wow! The sauce immediately clung to that rough, dry skin I built, and it didn’t just slide off into a puddle at the bottom of the bowl. That was the moment I knew this easy chicken wing recipe was a winner!
You can go sweet, tangy, or spicy—it doesn’t matter because the foundation is solid. If you love sticky wings, toss them immediately in your favorite glaze. If you’re making something like classic Honey Garlic, make sure you have a glaze ready to go for a quick toss. You could even make a spicy Cowboy Butter version if you’re feeling adventurous! If you prefer a dry finish, skip the sauce entirely, but you MUST toss them in a vibrant mix like seasoned Lemon Pepper right off that rack.
Easy chicken wing Recipe Sauce Options
When you’re making lemon pepper wings baked, the only extra step is tossing them with actual lemon pepper seasoning once they are out. It’s a fantastic dry option! If you’re going for sauce, the key is speed. You want the wings hot so the sauce melts slightly and sticks.
For my famous Honey Garlic flavor, I whip up a quick sauce—we actually have a great one for carrots that you can check out here: honey garlic roasted carrots recipe—and toss the hot wings in it. Do not over-mix, or you’ll break that crispy structure we worked so hard for! Just a quick fold in a big bowl and they are ready for the platter. They are perfect for any gathering, whether you call them game day chicken wings or just a much-needed Thursday night treat.
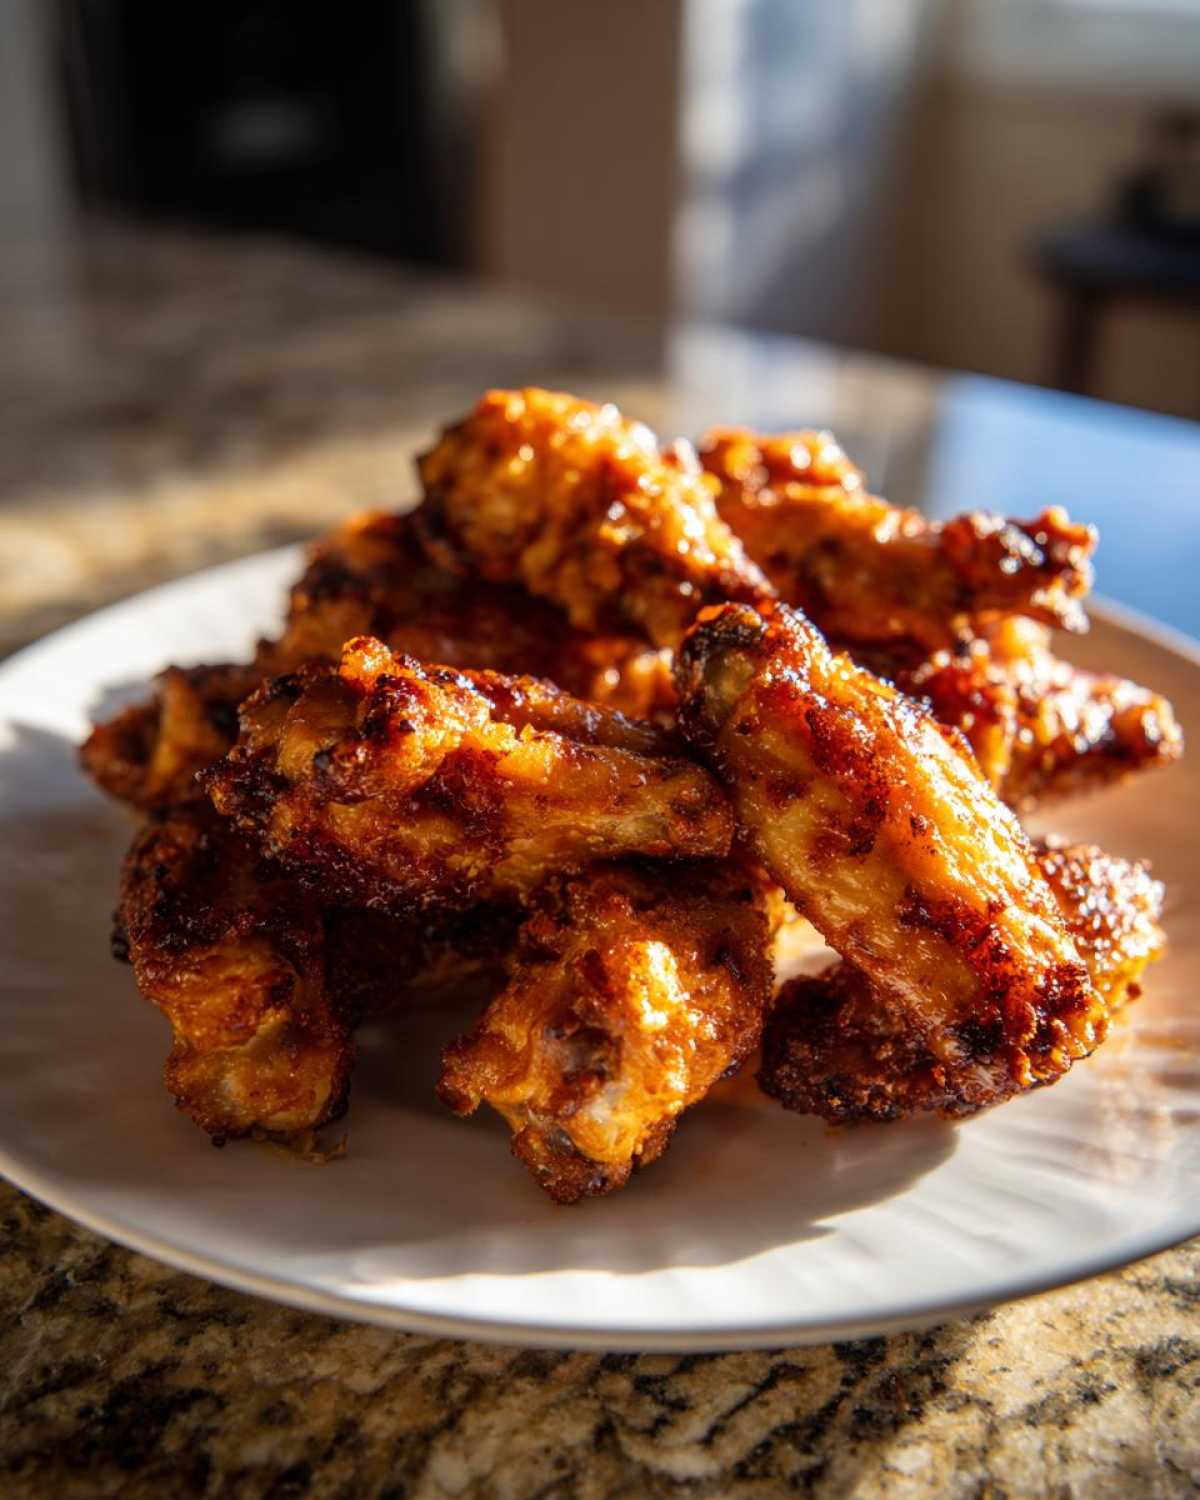
Tips for Perfect Game Day chicken wings
When you’re cooking for a crowd, like for the big game or a huge bash, timing and space become everything. You can’t just throw them all onto one pan; that’s a recipe for soggy failure, which is the last thing we want for our game day chicken wings!
If you need to make a huge batch, you need more than one baking sheet. The most important rule for any setup is maximizing air circulation. That means using that wire rack and foil combo on every sheet. If the wings are touching even slightly, they steam each other. Trust me, I learned the hard way when I tried to squeeze just six extra wings onto the pan—they came out pale!
For true volume, you might need to bake in shifts, or use two racks in your oven, rotating them halfway through the cooking time. This is how you guarantee consistent results when you’re making these amazing party appetizers chicken platters. If you’re looking for other great appetizer ideas, you absolutely have to check out my sausage balls recipe—they disappear just as fast!
Storage and Reheating Instructions for Leftover chicken wing
Okay, so the party is over, or maybe you just made a massive batch because you know you’ll want leftovers for lunch—I do this all the time! How you store these beautiful, crispy wings matters a lot if you want them to taste great the next day. If you plan on chilling them, try not to put them in sauce yet. Sauce is moisture, and moisture is the enemy of crispiness, even when stored!
For storage, make sure they cool down for just a minute after you toss them (if you use sauce) or right after they come off the rack. Then, get them into an airtight container. I usually use one of those flat glass containers, making sure not to stack them too high. If you put them in the fridge, they’ll definitely lose some crunch overnight, but don’t worry! We can fix that!
The microwave is strictly forbidden here, guys. Microwaving any crispy food is a crime against texture. It turns everything soft and rubbery instantly. If you want to bring these wings back to life—especially if they are bare or dry-rubbed—use your oven or, even better, your toaster oven if you just have a few.
Pop those leftovers back on the wire rack set over a foil-lined pan. Heat your oven up to about 375\u00b0F (190\u00b0C). Let them heat through for about 5 to 8 minutes. You’ll be amazed! They crisp right back up, and you get that perfectly juicy inside again. If they already had sauce on them, you might need a tiny bit more time, maybe 10 minutes, but keep an eye on the sauce so it doesn’t burn.
Quick chicken dinner ideas and Appetizer chicken Recipes
I truly believe these wings are so versatile, they don’t just have to be reserved for game day watching! They make fantastic quick chicken dinner ideas during the week, too. Since they bake up so clean, I often throw a batch in the oven while I’m prepping a simple side salad.
Seriously, toss these perfectly seasoned wings with a light vinaigrette and some mixed greens, and bam—you have a full, protein-packed meal in under an hour. They also fit perfectly into the category of easy appetizer chicken recipes if you’re having friends over for a casual get-together. They’re finger food perfection!
If you need something creamy to balance out the crunch sometimes, you could pair these with my recipe for easy creamy chicken and rice casserole. Either way, these versatile wings are always a huge hit!
Frequently Asked Questions About Crispy Baked chicken wing
I know you might still have a question or two buzzing around after all that talk about baking powder and temperature drops! That’s totally fine. I get asked these a lot, especially the first time someone tries these no fry chicken wings. Here are the things that pop up the most often!
What is the best temperature for oven baked wings crispy?
You know how I bang on about the two-stage process? That’s because it is the secret to making oven baked wings crispy! You start high, at 425\u00b0F (220\u00b0C) for the first 20 minutes. This is essential to shock the skin and get it drying out instantly. Once they look set, you drop the heat down to 400\u00b0F (200\u00b0C) for the final 20 to 25 minutes so they can cook all the way through without burning that gorgeous exterior! It’s the balance you’re looking for!
Can I use baking soda instead of baking powder for this chicken wing recipe?
Oh, please don’t! This is a question that breaks my heart a little bit, because baking soda and baking powder are totally different chemically. Baking soda is much more alkaline. If you use it on your chicken wing mixture, not only will it fail to give you the puff and dehydration that baking powder does, but your wings are going to taste soapy, metallic, and just plain gross. Stick to the baking powder, trust me on this one—it’s what makes these the best baked chicken wings!
How do I keep my oven baked wings crispy if I add sauce?
This is super important, especially if you’re making something saucy like those honey garlic chicken wings we talked about. You MUST wait until the wings are completely done and just out of the oven. The sauce needs to be added immediately—like, within 30 seconds of leaving the rack—and then tossed quickly. You want the heat from the wing to adhere the sauce, not soak into it! If you sauce them and then put them back in the oven, you’re essentially steaming them, and that’s how you lose that amazing, developed crunch. Toss and serve right away for the best experience!
What is the best way to prep the wings for this easy chicken wing recipe?
The absolute best way to prep them is twofold: first, separate those drumettes and flats if they aren’t already separated—it makes for much more even finger food chicken wings. Second, and this is the most crucial step for any appetizer chicken recipe you try, you have to pat them dry with paper towels until they feel almost dusty. I go crazy with this step because any moisture left on the skin is what stops that beautiful crisping action from happening in the oven. Get them dry, coat them in the baking powder mixture, and they are ready for takeoff!
If you have any more questions that aren’t covered here, feel free to check out our site disclaimer, or just leave a note in the comments below! Happy baking!
Nutritional Data Estimate for This chicken wing Recipe
Just a little note before you dive into serving up these incredible wings: the nutritional information I provided is based on standard US measurements and assumes you are serving exactly four wings per person without any added heavy sauce or glaze. Since we aren’t frying them, they turn out much lighter, which is great for a quick chicken dinner idea!
However, please remember that everything changes dramatically once you start tossing them in BBQ sauce or pouring on that honey glaze. The fat content, calories, and sodium will all shift based on the brand of spices you use or how generous you are with the sauces. I always recommend checking the labels on your specific ingredients for the most accurate count for your personal needs!
Nutritional Data Estimate for This chicken wing Recipe
Just a little note before you dive into serving up these incredible wings: the nutritional information I provided is based on standard US measurements and assumes you are serving exactly four wings per person without any added heavy sauce or glaze. Since we aren’t frying them, they turn out much lighter, which is great for a low-fat appetizer!
However, please remember that everything changes dramatically once you start tossing them in BBQ sauce or pouring on that honey glaze. The fat content, calories, and sodium will all shift based on the brand of spices you use or how generous you are with the sauces. I always recommend checking the labels on your specific ingredients for the most accurate count for your personal needs!
PrintUltimate Crispy Baked Chicken Wings (No Frying Required)

Make incredibly crispy chicken wings in your oven without deep frying. This recipe uses a simple dry coating to achieve a crunchy exterior while keeping the inside juicy.
- Prep Time: 10 min
- Cook Time: 45 min
- Total Time: 55 min
- Yield: 4 servings
- Category: Appetizer
- Method: Baking
- Cuisine: American
- Diet: Low Fat
Ingredients
- 2 lbs chicken wings, separated into flats and drumettes
- 1 tablespoon baking powder (not baking soda)
- 1 teaspoon salt
- 1/2 teaspoon black pepper
- 1/2 teaspoon garlic powder
- 1/2 teaspoon onion powder
- 1 tablespoon olive oil (optional, for sauce adherence)
Instructions
- Preheat your oven to 425°F (220°C). Line a baking sheet with aluminum foil and place a wire cooling rack on top of the foil.
- Pat the chicken wings completely dry using paper towels. This step is crucial for crispiness.
- In a medium bowl, combine the baking powder, salt, pepper, garlic powder, and onion powder.
- Add the dried chicken wings to the bowl. Toss thoroughly until every piece is evenly coated with the dry mixture.
- Arrange the coated wings in a single layer on the wire rack, ensuring there is space between each wing for air circulation.
- Bake for 20 minutes.
- Flip the wings over. Reduce the oven temperature to 400°F (200°C) and bake for another 20 to 25 minutes, or until the skin is deeply golden brown and very crisp.
- If you plan to toss them in sauce (like honey garlic or lemon pepper), remove them from the oven, toss immediately with your desired sauce or seasoning, and serve hot.
Notes
- For extra crispiness, do not skip the baking powder; it raises the skin’s pH level, helping it brown and crisp faster.
- If you prefer a sauced wing, toss them immediately after they come out of the oven while they are still hot so the sauce adheres well.
- For a dry rub finish, toss the hot wings with your favorite seasoning blend right after baking.
Nutrition
- Serving Size: 4 wings
- Calories: 280
- Sugar: 0
- Sodium: 350
- Fat: 18
- Saturated Fat: 5
- Unsaturated Fat: 13
- Trans Fat: 0
- Carbohydrates: 1
- Fiber: 0
- Protein: 26
- Cholesterol: 95