

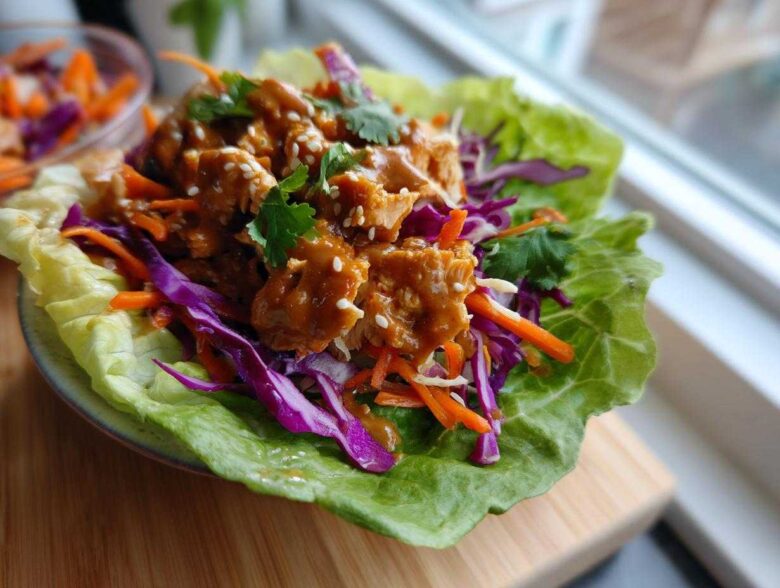
Listen, I’m obsessed with texture, truly I am. If a bite isn’t satisfyingly crunchy, I feel cheated! That’s why I spent way too much time perfecting the coating on these Crunchy Thai Chicken Wraps. Forget soggy lettuce and bland filling; we are talking incredible crispness here, balanced perfectly by the bright, tangy flavors of Southeast Asia. You absolutely need that double-dip dredge technique, trust me. I learned the hard way that if you skip pressing the panko hard enough, it just falls off in the first bite. But when you get it right? That sound the chicken makes when you bite down? Pure magic. These are officially my go-to for a flavor-packed, quick lunch. You’ve got to try my secret to extra crispy chicken, which I detailed over here: crispy baked chicken technique.
Why These Crunchy Thai Chicken Wraps Are Your New Favorite Weeknight Thai Food
I know you’re busy, so let’s talk about why this recipe jumps to the top of the rotation. It hits all the right notes without needing hours of effort. You get that incredible satisfaction from the crunch, but it’s packed with fresh veggies, so it doesn’t feel heavy.
- They come together in under an hour—seriously, start to finish!
- The peanut sauce has that perfect tangy-sweet kick that tastes way better than takeout.
- They’re completely customizable based on what you have in the fridge.
If you’re looking for more fast, delicious meals, check out my complete guide to quick weeknight Thai food.
Ingredients Needed for Perfect Crunchy Thai Chicken Wraps
Okay, getting the right ingredients is step one toward awesome flavor and guaranteed crunch. If you follow these exact measurements, you won’t have any mystery leftovers or strange textures. I always lay everything out assembly-line style before I even start cutting the chicken. It saves so much stress! You’ll find the full recipe card below, but here are the key players we need in our kitchen today. Don’t forget to check out my deep dive on making the absolute best peanut sauce recipe for wraps; it makes all the difference.
For the Crispy Chicken Coating
- 1 cup all-purpose flour
- 1 teaspoon salt
- 1/2 teaspoon black pepper
- 1/2 teaspoon garlic powder
- 1 cup milk (for the wet dip)
- 2 large eggs (for the wet dip)
- 2 cups panko breadcrumbs (your crunch secret weapon!)
- 1 tablespoon vegetable oil (just for a tiny bit of fat in the pan, or use more if frying heavily)
For the Flavorful Asian Chicken Wrap Filling
- 1 lb boneless, skinless chicken breasts (cut into bite-sized pieces, please!)
- 8 large lettuce cups or large flour tortillas (your vessel)
- 1 cup shredded red cabbage
- 1 cup shredded carrots
- 1/2 cup chopped fresh cilantro
- 1/4 cup chopped green onions
For the Best Peanut Sauce Recipe for Wraps
- 1/2 cup creamy peanut butter (smooth is best here!)
- 3 tablespoons soy sauce
- 2 tablespoons rice vinegar
- 1 tablespoon honey or maple syrup
- 1 tablespoon fresh lime juice (vital for that authentic zing!)
- 1 teaspoon grated fresh ginger
- 2-4 tablespoons hot water (to thin to a perfect drizzle)
How to Prepare Crunchy Thai Chicken Wraps Step-by-Step
This is where the magic happens, friend! Don’t let the three separate steps for the chicken scare you; they are what guarantee these Crunchy Thai Chicken Wraps don’t turn into sad, floppy things. Just keep your dishes lined up and move fast. If you need a refresher on getting that coating just right before you start, I cover my favorite technique for crispy, bakeable chicken right here: crispy baked chicken technique.
Achieving Maximum Crunch: The Chicken Dredging Process
Set up three shallow dishes side-by-side. In the first, mix your flour, salt, pepper, and garlic powder. This is the ‘dry coat.’ Then comes the ‘wet dip’—your milk and eggs whisked together. Finally, the most important station: the panko breadcrumbs in the third dish. Take your bite-sized chicken pieces and dip them firmly first in the flour, shaking off the excess. Next, dunk them fully in the wet mixture. Last, and this is key, press that piece hard into the panko. You want crumbs stuck everywhere! Don’t be shy; give it a good pat down.
Cooking the Chicken for Crunchy Thai Chicken Wraps
For that classic crunch, heat about an inch of oil in a medium skillet over medium-high heat until it shimmers—around 350°F if you have a thermometer. Gently drop in your breaded chicken pieces, making sure not to crowd the pan. Cook for about 5 to 7 minutes total, turning them until they are deeply golden brown and cooked all the way through. If you skip frying, bake them at 400°F for about 15–20 minutes. As soon as they come out, set them on paper towels right away to drain off any extra oil. That little step keeps the crunch intact!
Whipping Up the Thai Peanut Sauce
This is so fast, you can do it while the chicken is resting or baking. Just whisk the peanut butter, soy sauce, vinegar, honey, lime juice, and ginger together in a small bowl. It’s going to be really thick at first, don’t panic! Now, go drop in the hot water, one tablespoon at a time. Keep whisking until you hit that perfect, rich, drizzly consistency. We want it runny enough to pour slightly, not thick enough to eat with a spoon.
Assembling Your Flavorful Chicken Wrap Lunches
Time to build! Lay out your lettuce cups or tortillas flat. I like to layer mine starting with the slaw ingredients—cabbage and carrots—right on the bottom.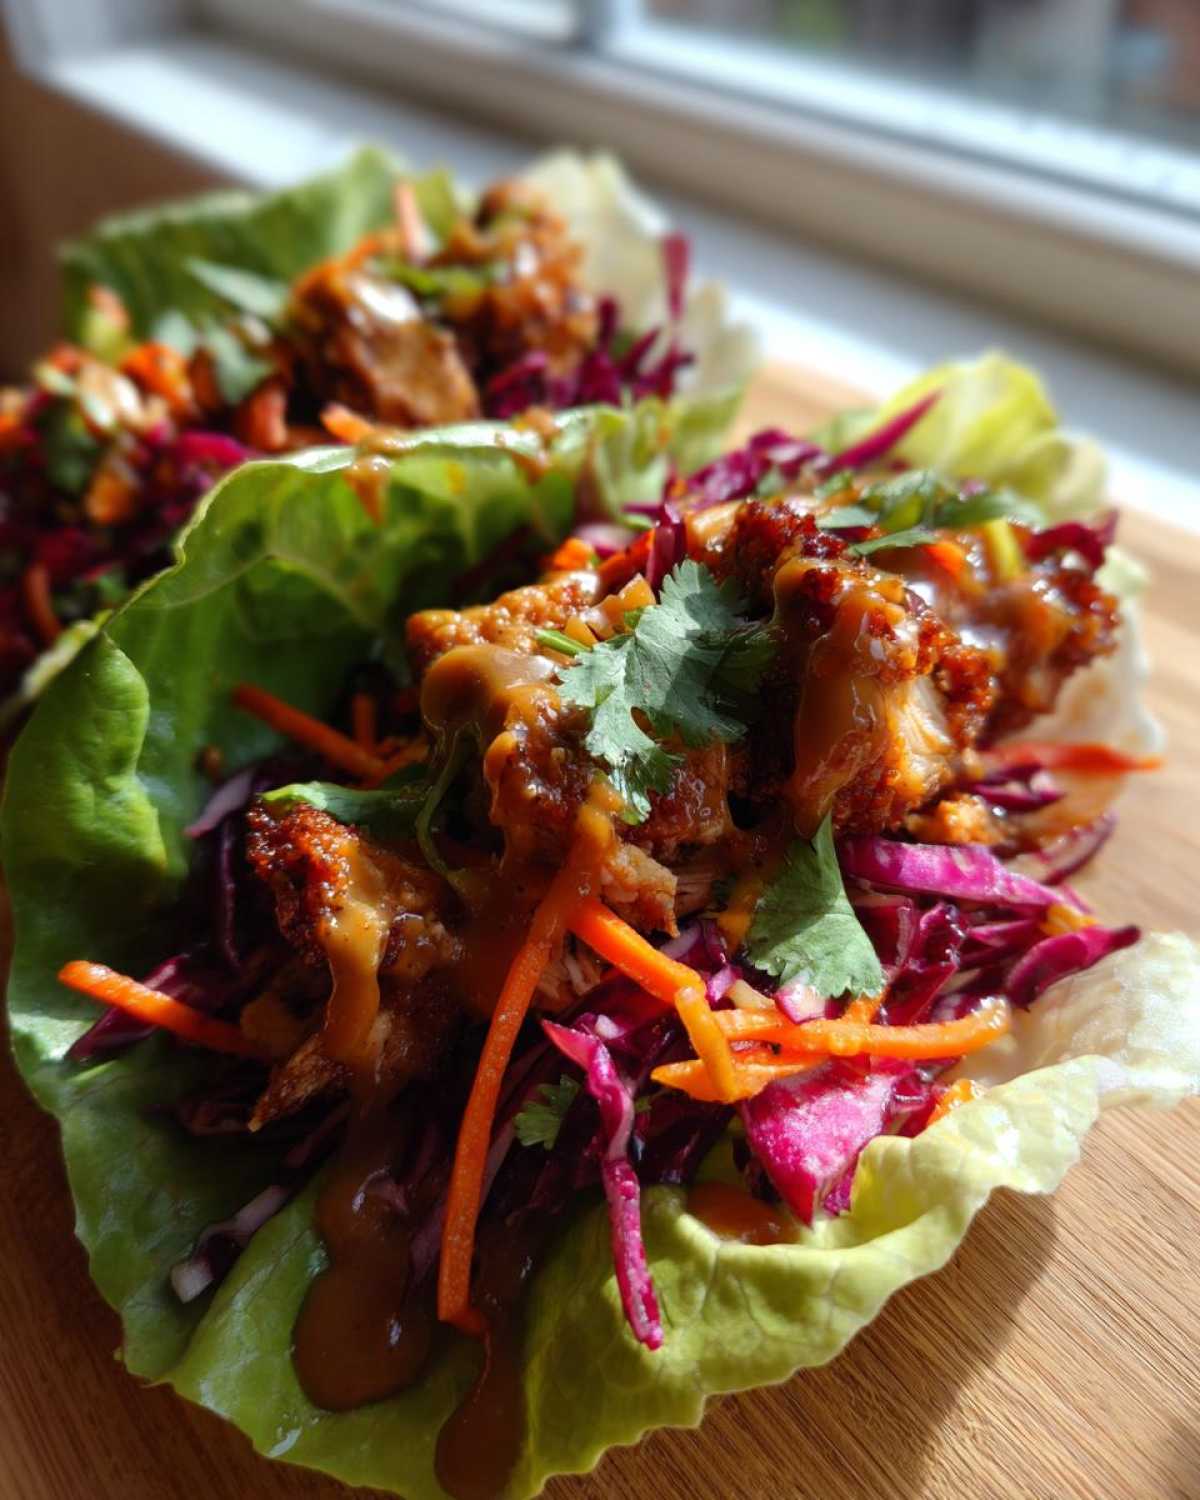 Then, toss in the fresh cilantro and green onions for brightness. Nestle 4 or 5 pieces of your hot, crunchy chicken right on top of the veggies. Now comes the best part: generously drizzle that homemade peanut sauce over everything. Fold your wrap up tightly before the sauce can drip out, and you’re ready to eat! You can find my whole guide on how to make crunchy wraps that last longer, too!
Tips for Success with Crunchy Wraps Recipe
If you want these wraps to stay crunchy from the first bite to the last, you have to treat the chicken right! My number one tip for any Crunchy Thai Chicken Wraps is this: never assemble the wraps until the moment you are actually ready to eat them. The slaw will make the tortillas soggy almost immediately if you’re packing these for lunch later.
Do all your prep work—chop the veggies, mix the sauce, and cook the chicken—ahead of time. Store the sauce and the cooked chicken in separate airtight containers. When you get ready to eat, just reheat the chicken very briefly in a toaster oven to refresh that crispness (never the microwave!). For great ideas on prepping the filling, peep my post on Asian chicken wrap filling combinations for texture!
To boost flavor, always use freshly squeezed lime juice in that peanut sauce. It wakes everything up!
Ingredient Notes and Substitutions for Crunchy Thai Chicken Wraps
I get so many questions about altering my recipes, and that’s totally fine! These Crunchy Thai Chicken Wraps are flexible, but we do have a few rules if you want to keep that awesome texture. If you can’t use chicken, tofu is an absolutely fantastic swap! Just press the tofu very well to get rid of excess water, cut it into chunks, and follow the exact same dredging and frying steps. It gets gorgeously crisp too!
Now, the vessel: while I love a sturdy flour tortilla for holding lots of saucy filling, if you’re looking for something lighter or gluten-free, switch to large butter lettuce cups. They are fantastic and keep the wrap feeling super fresh. For an even different texture, try rice paper wrappers if you soak them just enough to be pliable—they give you a slightly chewy exterior. To explore lighter options that still satisfy that craving, check out my thoughts on healthy crunchy wraps.
You can also easily swap the protein for shrimp or even thin strips of seared flank steak if chicken isn’t your favorite today. Just make sure whatever you use gets truly coated and fried well!
Make Ahead Chicken Wraps Strategy
If you’re planning ahead, you have to be strategic about what you prep and when. The biggest enemy of a truly perfect wrap is moisture sitting too long! You absolutely can set yourself up for success the night before, though. The superstar component you can make way ahead is that incredible peanut sauce. Whisk it all together, even add that hot water until it’s drizzly, and pop it into an airtight container in the fridge. It gets even better overnight, letting those ginger and lime notes really marry up.
Also, don’t forget about the crunch factor in the slaw! You can shred all the cabbage and carrots for the filling a day ahead. Toss them loosely in a bag in the crisper drawer. I usually wait until just before assembly to add the fresh cilantro and green onions because they wilt fastest.
Now, here’s the non-negotiable part for that amazing texture: the chicken coating and cooking must happen right before you eat. If you bread that chicken even an hour ahead, the moisture from the chicken breast starts dissolving the panko, and you’ll lose that satisfying shatter. So, prep everything else, and then dedicate that last 20 minutes before dinner to coating and pan-frying your chicken. It’s the only way to guarantee an A+ experience. Want more genius tips on prepping lunch ahead of time? I’ve got a whole rundown over at my guide for make ahead chicken wraps!
Serving Suggestions for Your Crunchy Thai Chicken Wraps
Because these wraps are already such a flavorful explosion—we’ve got the crispy chicken, the tangy slaw, and that rich peanut sauce all hugging each other—we don’t want to ruin the party with heavy sides! The goal here is contrast. We want something light, something fresh, or something simple that lets the wrap be the star of the show.
My absolute favorite approach is to serve them alongside a very light background note. A simple, clear soup is fantastic. Think about a quick hot and sour soup, but make the broth very thin, or just stick to a Miso broth with thinly sliced scallions floating on top. It warms you up without weighing you down.
If you are serving these for dinner and need a starch, keep the rice incredibly plain! I mean plain! No butter, no heavy seasoning. I use my method for easy fluffy rice just using water and a pinch of salt. The rice just soaks up any extra drops of peanut sauce that escape your wrap, and that’s all you need. Don’t complicate it!
For something cold and crisp on the side, skip the heavy potato salad. Instead, make a quick cucumber salad marinated for about 15 minutes in a splash of rice vinegar and a tiny bit of sugar. It’s cooling, crunchy in a fresh way, and cuts through the richness of the peanut sauce beautifully. Eat happy!
Storing and Reheating Crunchy Thai Chicken Wraps
Let’s be honest, crispy food is always best right when you make it! The moment that crunchy panko meets the moist slaw and sauce, the clock starts ticking on the crunch factor. For the absolute best Crunchy Thai Chicken Wraps, I always say eat them immediately. If you have leftovers, though, don’t throw that chicken away!
Store the cooked, breaded chicken pieces completely separate from the sauce and the veggies. The next day, the absolute best way to revive that texture is to skip the microwave—that’s a crunch killer! Pop the chicken pieces on a baking sheet at 375°F for about 8 minutes, or use your air fryer on high for 4 minutes until they are hot and crisp again. Then, just assemble fresh with new lettuce and the leftover sauce. You get that amazing crunch back without a soggy disaster!
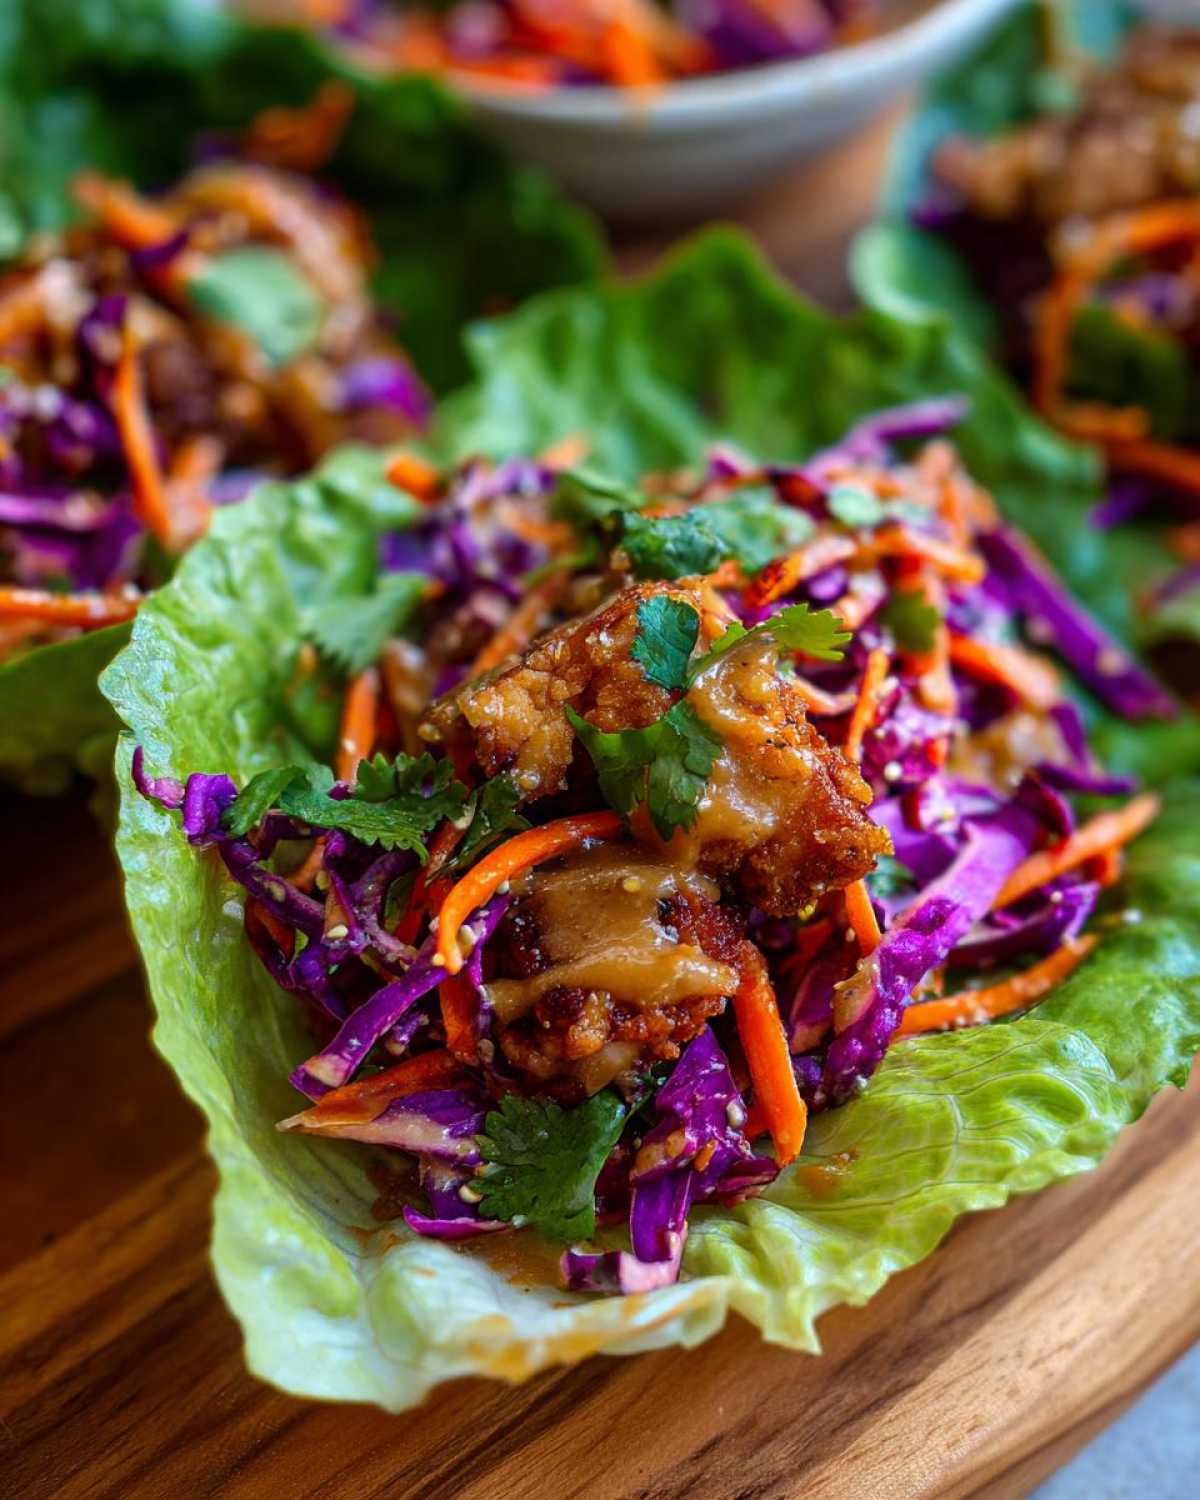
Frequently Asked Questions About Easy Thai Peanut Chicken Wraps
I always get so many messages after people try this recipe, especially asking how to tweak things when they batch cook or have allergies! Trust me, I’ve played around with these Crunchy Thai Chicken Wraps enough over the years to know the pitfalls. Here are the answers to the top queries I keep seeing pop up about achieving these Easy Thai Peanut Chicken Wraps. You can also find more variations on my site here: easy Thai peanut chicken wraps.
Can I use pre-cooked chicken for these wraps?
You can, but I have to give you the honest truth: if your goal is that ‘wow factor’ crunch, pre-cooked chicken isn’t my first choice. Why? Because it’s usually been steamed or baked without that fresh panko coating, so it won’t shatter the way freshly breaded chicken does. If you absolutely must use leftovers, please skip microwaving them! Microwave = instant soggy. Instead, take your cooked chicken pieces and toss them raw in the flour, milk, and panko mix anyway. Then, fry them very quickly in just a little bit of hot oil, or pan-sear them until the exterior breading is golden and crispy. It’s a great way to save time while still respecting the crunch factor!
How do I make the peanut sauce spicier?
That’s my kind of modification! The base sauce I gave you is perfectly balanced—sweet, nutty, and tangy—but if you like heat, you have a couple of great options. The easiest way is to add a few dashes of Sriracha right into the sauce mixture while you’re whisking the peanut butter and soy sauce. Start low, maybe half a teaspoon, and keep tasting it. Another fantastic addition for deep heat is a pinch of red pepper flakes, especially if you let the sauce sit for a while; the flakes infuse nicely. If you really want that authentic Thai burn, look for Sambal Oelek paste; just a small dab of that brings serious fire!
What is the best wrap alternative if I avoid gluten?
If you’re cutting gluten, we have some gorgeous alternatives that work even better than most store-bought tortillas. My favorite is using big, crisp lettuce cups—like butter lettuce or iceberg leaves—which give you a satisfying, refreshing crunch that complements the chicken so well. You just use them as little bowls for all the filling. If you want something that holds up better to sauce but needs that gluten-free life, you can absolutely dip rice paper wrappers in warm water until they are soft and pliable, then fill and roll them! They yield an amazing, slightly chewy wrapper that contrasts nicely with the crispy filling in the Crunchy Thai Chicken Wraps.
Share Your Experience Making This Recipe
Now that you’ve got the secret to truly crunchy chicken and that dreamy peanut sauce, I can’t wait to hear what you think! Did the panko stick perfectly this time? Was the sound of that first bite everything you dreamed of? Seriously, jump down into the comments below and let me know! Was the balance between the tangy sauce and the savory chicken exactly how you like it?
If you ended up making these Crunchy Thai Chicken Wraps for a weeknight dinner or lunch, please snap a picture! I love seeing your finished meals over on social media. Tag me so I can cheer you on! It truly means the world to me when you try my recipes and share your happy results. If you’re looking to connect with our community and see what other cooks are up to, you can always check out what’s new over at our site hub!
Don’t forget to give this recipe a proper rating if it earned a spot in your rotation. Happy cooking, everyone! I hope these wraps bring a little bit of exciting crunch into your busy week!
PrintCrunchy Thai Chicken Wraps
Make satisfyingly crunchy Thai chicken wraps using crispy chicken and a homemade peanut sauce. This recipe is quick for weeknight meals.
- Prep Time: 20 min
- Cook Time: 15 min
- Total Time: 35 min
- Yield: 4 servings
- Category: Lunch
- Method: Frying/Baking
- Cuisine: Thai
- Diet: Low Fat
Ingredients
- 1 lb boneless, skinless chicken breasts
- 1 cup all-purpose flour
- 1 teaspoon salt
- 1/2 teaspoon black pepper
- 1/2 teaspoon garlic powder
- 1 cup milk
- 2 large eggs
- 2 cups panko breadcrumbs
- 1 tablespoon vegetable oil (for frying/baking)
- 8 large lettuce cups or large flour tortillas
- 1 cup shredded red cabbage
- 1 cup shredded carrots
- 1/2 cup chopped fresh cilantro
- 1/4 cup chopped green onions
- For Peanut Sauce: 1/2 cup creamy peanut butter
- 3 tablespoons soy sauce
- 2 tablespoons rice vinegar
- 1 tablespoon honey or maple syrup
- 1 tablespoon fresh lime juice
- 1 teaspoon grated fresh ginger
- 2-4 tablespoons hot water (to thin)
Instructions
- Prepare the chicken: Cut chicken breasts into bite-sized pieces. In one shallow dish, mix flour, salt, pepper, and garlic powder. In a second dish, whisk the milk and eggs. In a third dish, place the panko breadcrumbs.
- Dredge each chicken piece first in the flour mixture, then dip in the egg mixture, and finally coat thoroughly with panko breadcrumbs.
- Cook the chicken: Heat oil in a skillet over medium-high heat. Cook chicken until golden brown and cooked through, about 5-7 minutes, turning occasionally. Alternatively, bake at 400°F (200°C) for 15-20 minutes until crispy. Drain on paper towels.
- Make the peanut sauce: In a small bowl, whisk together peanut butter, soy sauce, rice vinegar, honey, lime juice, and ginger. Add hot water one tablespoon at a time until the sauce reaches a smooth, drizzly consistency.
- Assemble the wraps: Lay out your lettuce cups or tortillas. Place a portion of shredded cabbage, carrots, cilantro, and green onions on each base.
- Top the slaw mixture with several pieces of the crunchy chicken.
- Drizzle generously with the peanut sauce. Fold or roll the wrap tightly and serve immediately.
Notes
- For extra crunch, you can lightly toast the panko breadcrumbs before using them to coat the chicken.
- You can prepare the peanut sauce up to three days ahead and store it in the refrigerator.
- If you prefer a lighter option, air-fry the breaded chicken instead of pan-frying.
Nutrition
- Serving Size: 1 wrap
- Calories: 450
- Sugar: 12
- Sodium: 650
- Fat: 22
- Saturated Fat: 4
- Unsaturated Fat: 18
- Trans Fat: 0
- Carbohydrates: 35
- Fiber: 4
- Protein: 30
- Cholesterol: 85