

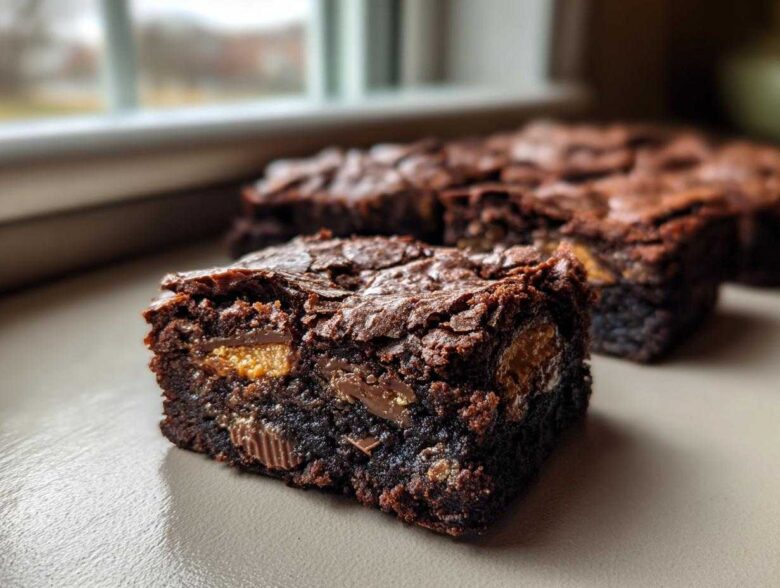
If you’re anything like me, sometimes you just need that next level of decadent chocolate in your life, right? Forget boring old squares; we’re talking about something ridiculously rich, chewy, and completely over-the-top. That’s why I developed this incredible layered recipe for Kit Kat Brownies. Seriously, these are the brownies everyone asks for at potlucks!
I remember the first time I tried layering candy bars into a batch—I was making treats for my nephew’s soccer team celebration, and I needed something fast and fun. I layered full-size Kit Kats right into the batter, and the result was pure magic: a fudgy base with that signature crunch running right through the middle. Trust me, this chocolate eclair cake recipe is amazing, but these brownies hit a different craving entirely! They are dense, deeply chocolatey, and totally unforgettable.
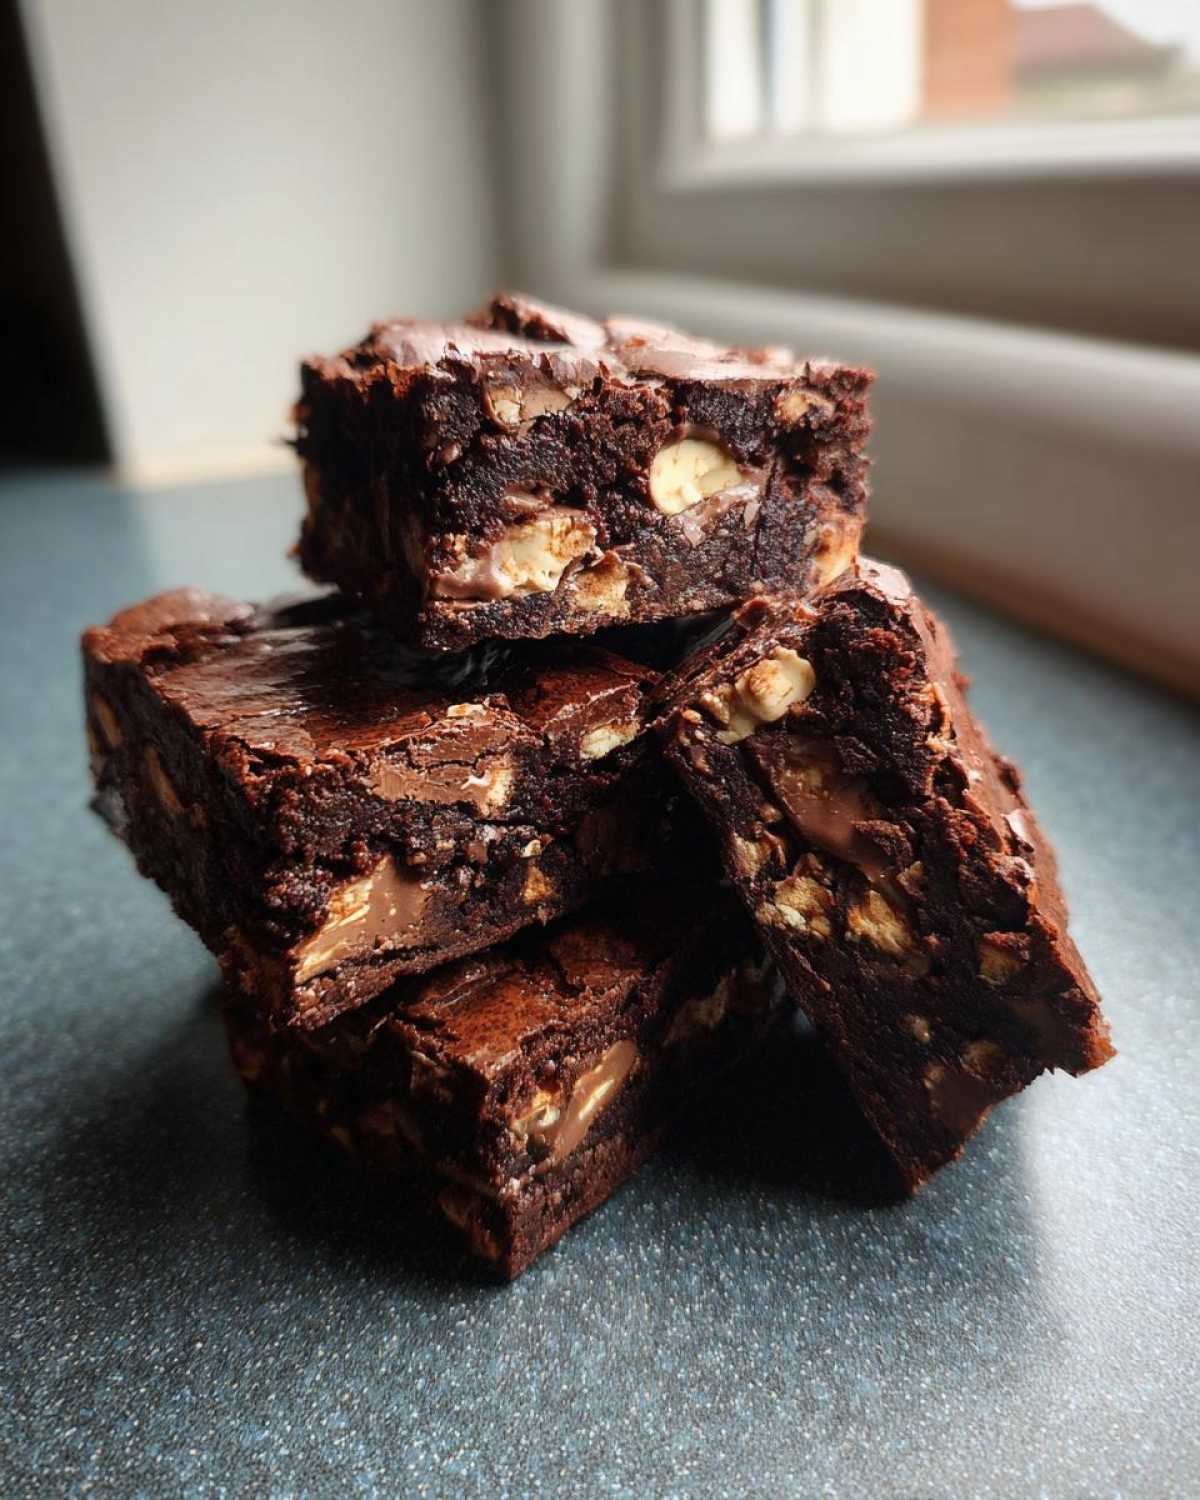
Why You Will Love These Fudgy Kit Kat Brownies
Honestly, these aren’t just brownies; they’re an experience! If you’ve been looking for the perfect chocolate crinkle cookies recipe and decided you really needed BAR instead of a cookie, this is it. Here’s why I keep making batch after batch of this winning chocolate delight:
- They achieve that perfect, deeply satisfying fudgy texture; no dry cake edges here, I promise!
- The Kit Kats create amazing, built-in pockets of crunch that contrast beautifully with the soft center—it’s textural heaven.
- Because we’re layering the candy, this really is the ultimate fudgy brownie recipe with candy imaginable.
- The assembly is so simple! You mix up the base and then just strategically place the candy. It’s practically foolproof.
- They look stunning when you slice them because you get that beautiful cross-section of rich brownie and crispy wafer.
Essential Ingredients for Perfect Kit Kat Brownies
Okay, you guys know I love to bake from scratch because that’s where the real flavor comes from! For these Kit Kat Brownies, having the right foundational ingredients is super important to guarantee that signature fudgy texture we’re aiming for. You’ll notice we don’t use any leavening agents, which is key!
Here’s exactly what you’ll need to gather up:
- 1 cup (2 sticks) unsalted butter—make sure it’s real butter, trust me!
- 2 cups granulated sugar—this keeps the tops shiny and crackly.
- 4 large eggs, nice and room temperature if you can manage it!
- 1 teaspoon vanilla extract.
- 3/4 cup unsweetened cocoa powder (I prefer Dutch-process if I have it).
- 1 cup all-purpose flour, spooned and leveled, please!
- 1/2 teaspoon salt to make that chocolate pop.
- 1 cup chocolate chips—I use semi-sweet.
- 12 full-size Kit Kat bars, unwrapped. These are our stars!
If you’re exploring more quick chocolate fixes after mastering this? You should definitely check out my recipe for the easy fudgy chocolate mug cake!
Equipment Needed for Your Kit Kat Brownies
This recipe is fantastic because it doesn’t require a million fancy gadgets. You mostly just need stuff you probably already have in your cabinets. Getting your tools ready first makes the mixing process so much smoother, especially since we want to keep that batter moving along quickly!
To make sure these turn out as amazing, thick layered brownies, grab the following:
- A good 9×13 inch baking pan. This size is crucial for getting that perfect thickness without dry edges baking too fast.
- Parchment paper. I cannot stress this enough! It’s your best friend for lifting these beautiful things right out of the pan later.
- A medium saucepan for melting that butter down. Keep the heat low!
- A whisk for the wet ingredients and a rubber spatula for folding everything together gently.
- A standard wire cooling rack.
Step-by-Step Instructions: How to Make Kit Kat Brownies
This is actually super straightforward, but precision is key if you want that super fudgy center. Don’t rush it, especially around the mixing stages. We want maximum fudge, zero chewiness from overdeveloped gluten! We’re building layers of chocolate goodness here, so follow along closely.
Preparing the Pan and Oven for Kit Kat Brownies
First things first: get your oven warmed up to 350°F (175°C). Now, grab that 9×13 pan. You absolutely must grease it well, and then line it completely with parchment paper. Make sure you leave some overhang on the sides—this lets you lift the whole block out cleanly later, saving your beautiful brownies!
Mixing the Fudgy Brownie Batter Base
Start by gently melting your butter in a saucepan over low heat—don’t let it sizzle! Take it off the heat and stir in the sugar until it looks smooth. Whisk in your eggs one by one, followed by the vanilla. In a separate bowl, quickly whisk your dry stuff—cocoa, flour, salt. Now, slowly add the dry to the wet, mixing only until *just* combined. I mean it! Don’t keep going! This is the secret to easy homemade brownies.
Layering and Baking Your Chocolate Candy Bar Brownies
Pour half that beautiful batter into your ready pan. Now arrange eight of your unwrapped Kit Kats across this layer. Pour the remaining batter right on top and spread gently so you don’t disturb the bottom layer too much. Press the last four bars right on top. Bake these incredible chocolate candy bar brownies for about 30 to 35 minutes. When you test it, you want moist crumbs, not wet batter. They should still look a little soft in the very middle when you pull them out!
Once they are cooled, you can check out a great tutorial on brownie refrigerator cake ideas if you want to try different chilling methods!
Tips for Perfect Kit Kat Brownies Every Time
Achieving that perfect balance between fudgy interior and crunchy candy insert takes just a little finesse, but you absolutely can nail it. The biggest tip for any fudgy brownie is not to overbake! If you pull them when the toothpick has just a few moist crumbs clinging to it, you’re set for the chewiest result. Because this recipe uses a higher ratio of fat and sugar to flour—which helps prevent them from turning into a dense, cake-like structure, almost like a chewy chocolate chip cookies recipe—you naturally get great results that lean toward a no spread brownie recipe.
For the cleanest cuts, you HAVE to let them cool completely, or even better, chill them for an hour or two. My personal rule for the crunch factor? I like to chop up the top four Kit Kats a little bit instead of leaving them whole. They break up nicely when you cut through them, giving you better distribution of that wafer crunch in every piece!
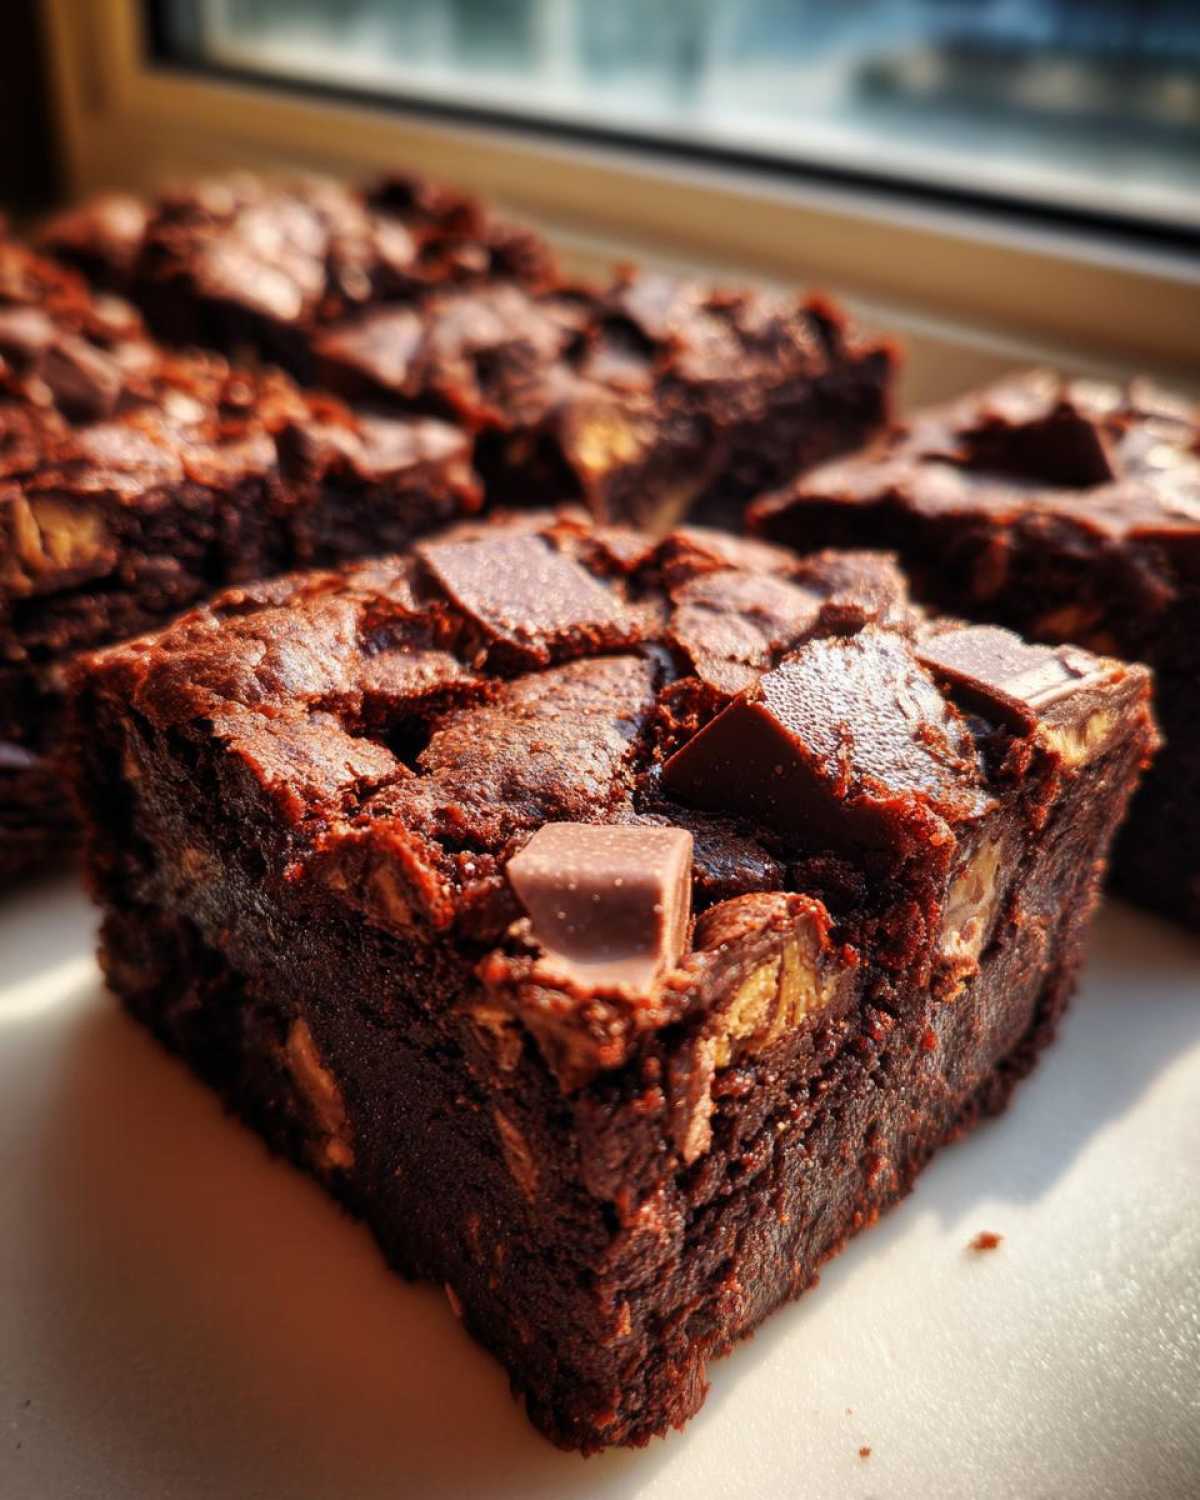
Variations for Dessert Recipes with Kit Kats
Once you’ve mastered the layering technique for these incredible Kit Kat Brownies, you’ll find that this base recipe is perfect for all sorts of experimentation! This is where the fun really starts in the kitchen; don’t be afraid to play around with your favorite flavors once you’ve got the basics down pat. This is the joy of cake batter cookies recipes too—they beg for additions!
If you want to branch out from the classic wafer, try swapping half or all of the Kit Kats for peanut butter cups. That combination of fudgy brownie and creamy peanut butter is just divine! For added texture beyond the candy, I sometimes fold in a half cup of chopped pecans right along with the chocolate chips. These little swaps turn a great recipe into truly unique dessert recipes with Kit Kats that impress everyone!
Storing and Reheating Your Kit Kat Brownies
Listen, these are so gooey that they are tricky to cut fresh out of the oven! That’s why you absolutely MUST let them cool completely, or even better, tuck the whole pan into the fridge for an hour or two. Chilling really helps firm everything up so you get those beautiful, clean squares! Store the cooled brownies in an airtight container at room temperature for about three days. If you want them to last longer, the fridge works great, but let them sit on the counter for about 20 minutes before serving so they soften back up a bit!
Frequently Asked Questions About Kit Kat Brownies
I know you’re probably eager to get baking right now, but I always get asked a few standard questions about these treats. It’s one thing to follow a recipe, but knowing the little “why” bits makes you such a better baker! Mastering this simple baking with candy bars tutorial is super easy once you know these tricks.
Can I use a box mix instead of scratch for these Kit Kat Brownies?
Oh absolutely! If you’re in a pinch, you can totally use your favorite fudgy brownie mix. Just make up the mix according to the box directions. When you pour the prepared batter into the pan, simply follow my layering instructions: pour half, add your Kit Kats, then pour the rest, and top with the remaining bars. Easy peasy!
How do I prevent the Kit Kats from burning on top?
That’s a great question specific to all Kit Kat candy baked goods! The trick is that we don’t put all the candy on right at the start. We place the majority of the bars layered inside the batter, and only the last four bars go right on top. Pushing them just slightly into the raw batter’s surface helps keep them protected while the brownie cooks around them.
Why are mine more cakey than fudgy?
That means you mixed too much! Seriously, when you add the flour mixture into the wet ingredients, stop mixing the instant you don’t see any more dry streaks. Overmixing develops the gluten in the flour, and gluten equals cakey. We want zero gluten development for that perfect, dense fudge!
Estimated Nutritional Information for Kit Kat Brownies
Now, listen up, because while these Kit Kat Brownies are absolute heaven, they are definitely an indulgence, okay? I always include this little disclaimer because I want you to know what you’re getting into! These numbers are just estimates based on my specific ingredient brands and cutting the final batch into 16 squares. If you cut them smaller, well, that changes things!
Here’s the rough breakdown for one square, according to my calculations:
- Calories: About 350
- Sugar: Roughly 35 grams (Yep, it’s a treat!)
- Fat: Around 20 grams total
- Protein: About 4 grams
- Carbohydrates: Close to 40 grams
This recipe does call for a good amount of butter and sugar—that’s what makes them fudgy and delicious as opposed to some dry, crumbly disaster! If you are watching your intake, maybe just have half a square with your coffee. For full legal details about how I calculate this, you can check out my site disclaimer!
Share Your Homemade Kit Kat Brownies Creations
Alright friends, you’ve made the magic happen! You’ve got a pan full of these incredible layered Kit Kat Brownies sitting on your counter, and I am so excited for you to dig in. That moment when you slice into that fudgy center and see the crispy Kit Kat layers? Priceless!
Now that you’ve tried this recipe—my absolute favorite chocolate dessert for parties—I really want to hear about it! Did you stick to the classic Kit Kat or did you try one of those fun variations we talked about?
Please, please, please leave me a comment below and tell me how they turned out for you! Did you manage to get those clean cuts after chilling, or did the whole pan disappear before they even rested? If you snap a picture of your amazing squares, tag me on whatever social media platform you use! I love seeing your bakes. If you need to get in touch about substitutions or anything else, my contact page is always open!
PrintFudgy Kit Kat Brownies
Make rich, fudgy brownies featuring layers of crunchy Kit Kat candy bars baked right in.
- Prep Time: 15 min
- Cook Time: 35 min
- Total Time: 50 min
- Yield: 16 servings
- Category: Dessert
- Method: Baking
- Cuisine: American
- Diet: Vegetarian
Ingredients
- 1 cup (2 sticks) unsalted butter
- 2 cups granulated sugar
- 4 large eggs
- 1 teaspoon vanilla extract
- 3/4 cup unsweetened cocoa powder
- 1 cup all-purpose flour
- 1/2 teaspoon salt
- 1 cup chocolate chips
- 12 full-size Kit Kat bars, unwrapped
Instructions
- Preheat your oven to 350°F (175°C). Grease and line a 9×13 inch baking pan with parchment paper, leaving an overhang on the sides for easy removal.
- In a medium saucepan over low heat, melt the butter. Remove from heat and stir in the sugar until combined.
- Whisk in the eggs one at a time until fully incorporated. Stir in the vanilla extract.
- In a separate bowl, whisk together the cocoa powder, flour, and salt. Gradually add the dry ingredients to the wet ingredients, mixing until just combined. Do not overmix.
- Fold in the chocolate chips.
- Pour half of the brownie batter into the prepared pan and spread evenly.
- Arrange 8 of the Kit Kat bars in a single layer over the batter. You can leave them whole or gently break them in half.
- Pour the remaining batter over the Kit Kats, spreading carefully to cover them.
- Place the remaining 4 Kit Kat bars on top of the batter. You can press them slightly into the surface.
- Bake for 30 to 35 minutes. A toothpick inserted near the edge should come out with moist crumbs, not wet batter. The center should still look slightly soft for a fudgy texture.
- Let the brownies cool completely in the pan on a wire rack before lifting them out using the parchment paper overhang.
- Cut into squares.
Notes
- For extra fudginess, chill the batter for 30 minutes before pouring it into the pan.
- If you prefer a cleaner cut, chill the finished brownies for at least 2 hours before slicing.
- You can chop some Kit Kats to mix into the batter instead of layering them all on top.
Nutrition
- Serving Size: 1 square
- Calories: 350
- Sugar: 35
- Sodium: 150
- Fat: 20
- Saturated Fat: 12
- Unsaturated Fat: 8
- Trans Fat: 0.5
- Carbohydrates: 40
- Fiber: 2
- Protein: 4
- Cholesterol: 75