

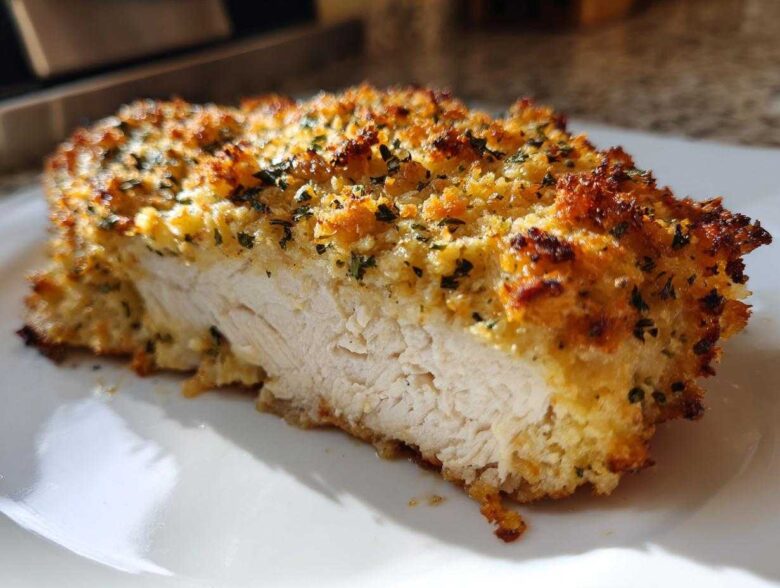
Oh, the weeknight dinner scramble! I swear some days I stare into the fridge thinking that’s harder than advanced calculus. We all need those meals that require zero brainpower but deliver maximum flavor—right? Well, let me tell you about the recipe that saved my sanity: this Ultra Easy 5-Ingredient Baked Ranch Chicken. Seriously, if you are tired of complicated cooking but crave tender, smothered chicken, this is your new go-to. This simple method for baked ranch chicken has become an absolute staple in our house, appearing at least once every two weeks because it’s foolproof.
I remember the first time I made it; I was exhausted after a long day and just needed something comforting. I threw it together in less time than it takes to decide what to watch on TV. Watching that cheesy, ranch topping melt over perfectly cooked chicken made me giddy. It’s the kind of comfort food that tastes like you tried way harder than you actually did. If you’re looking for more easy comfort meals, wait until you see how simple this one is!
Why This Baked Ranch Chicken Recipe Works for Weeknights
We all want those incredible dinners that look gourmet but don’t fight us after a long day. This recipe is the definition of a Quick Chicken Dinner. It ticks every box we busy home cooks have!
- It’s incredibly fast—we’re talking 5 minutes of actual hands-on work.
- Cleanup is a breeze because everything happens right in one baking dish.
- It delivers maximum flavor payoff for such Minimal Prep Chicken effort.
- It’s guaranteed to keep the little ones happy, which is half the battle!
The 5-Ingredient Advantage of Baked Ranch Chicken
I’m serious, five ingredients! The genius here is ditching all those separate spices. You use a packet of dry ranch mix and some mayo, and boom—you have the ultimate sauce and binder. It transforms into what I call the Simple Oven Chicken solution. It just works!
Achieving Juicy Baked Chicken Every Time
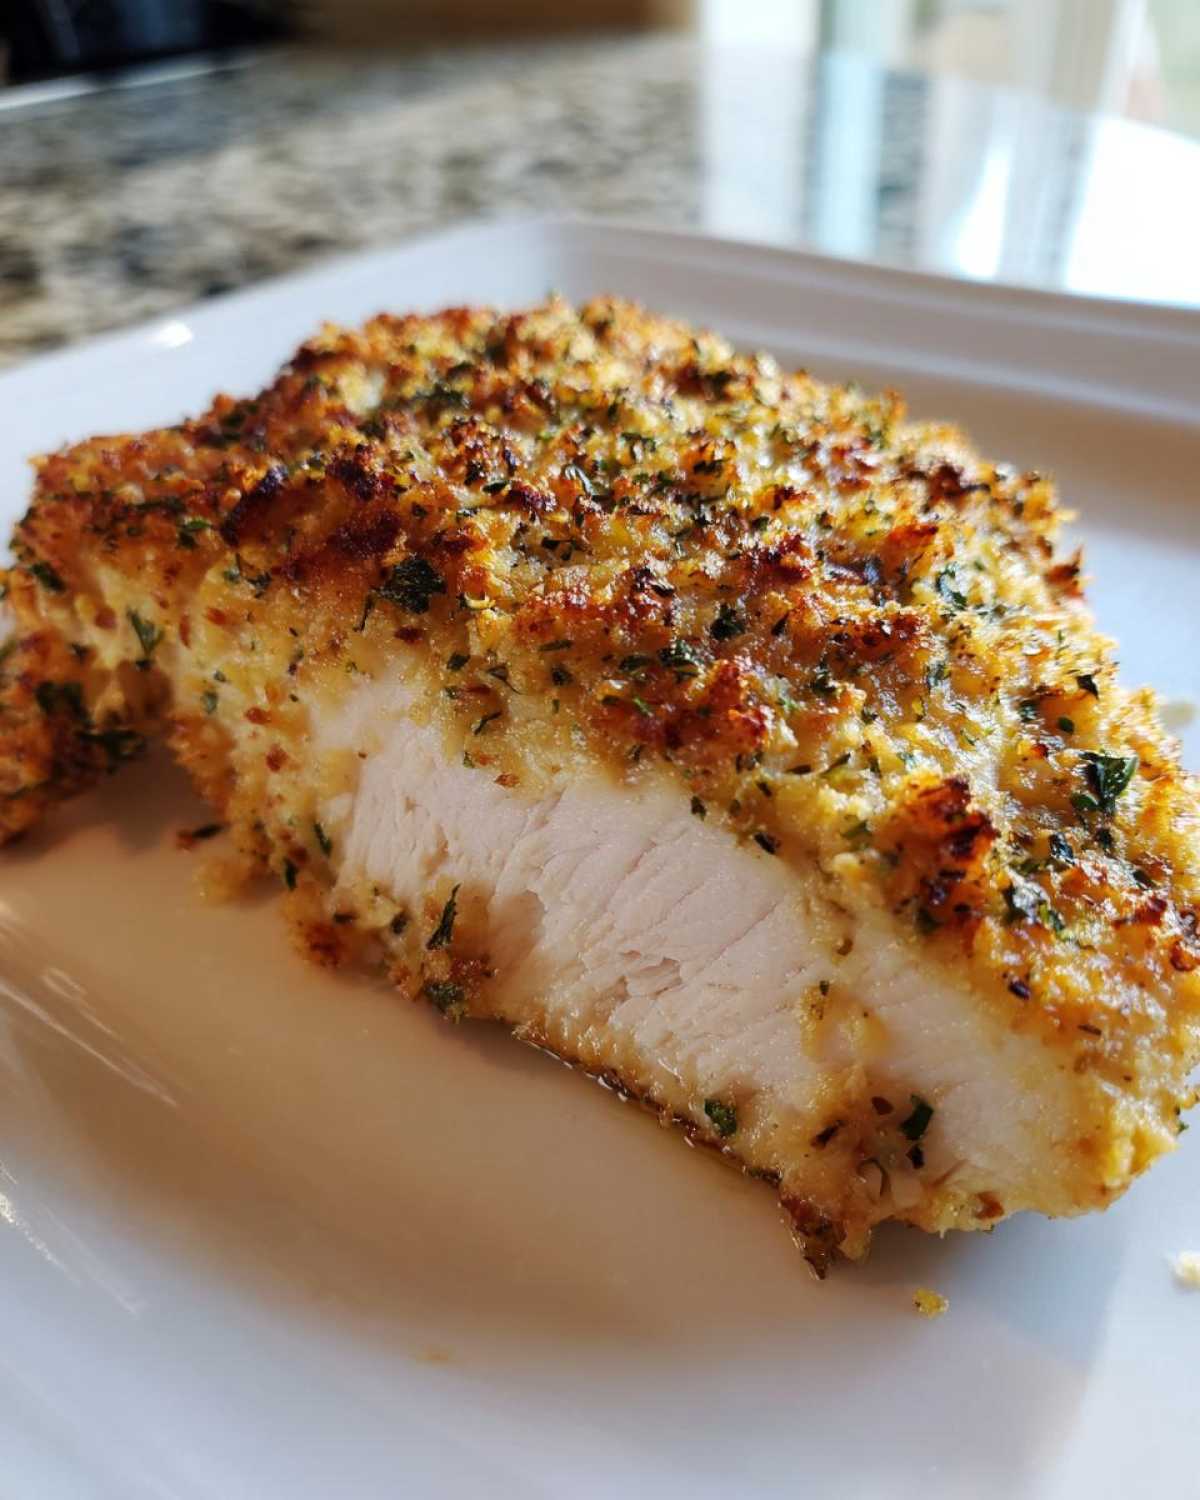
Here is where the trust factor comes in. Baked chicken tends to be dry, but not this one. The mayonnaise isn’t there for flavor (though it adds a nice richness!); it’s actually a moisture shield! That creamy mixture seals the chicken while it cooks, guaranteeing you get that Juicy Baked Chicken texture throughout. Trust your gut, you won’t taste the mayo!
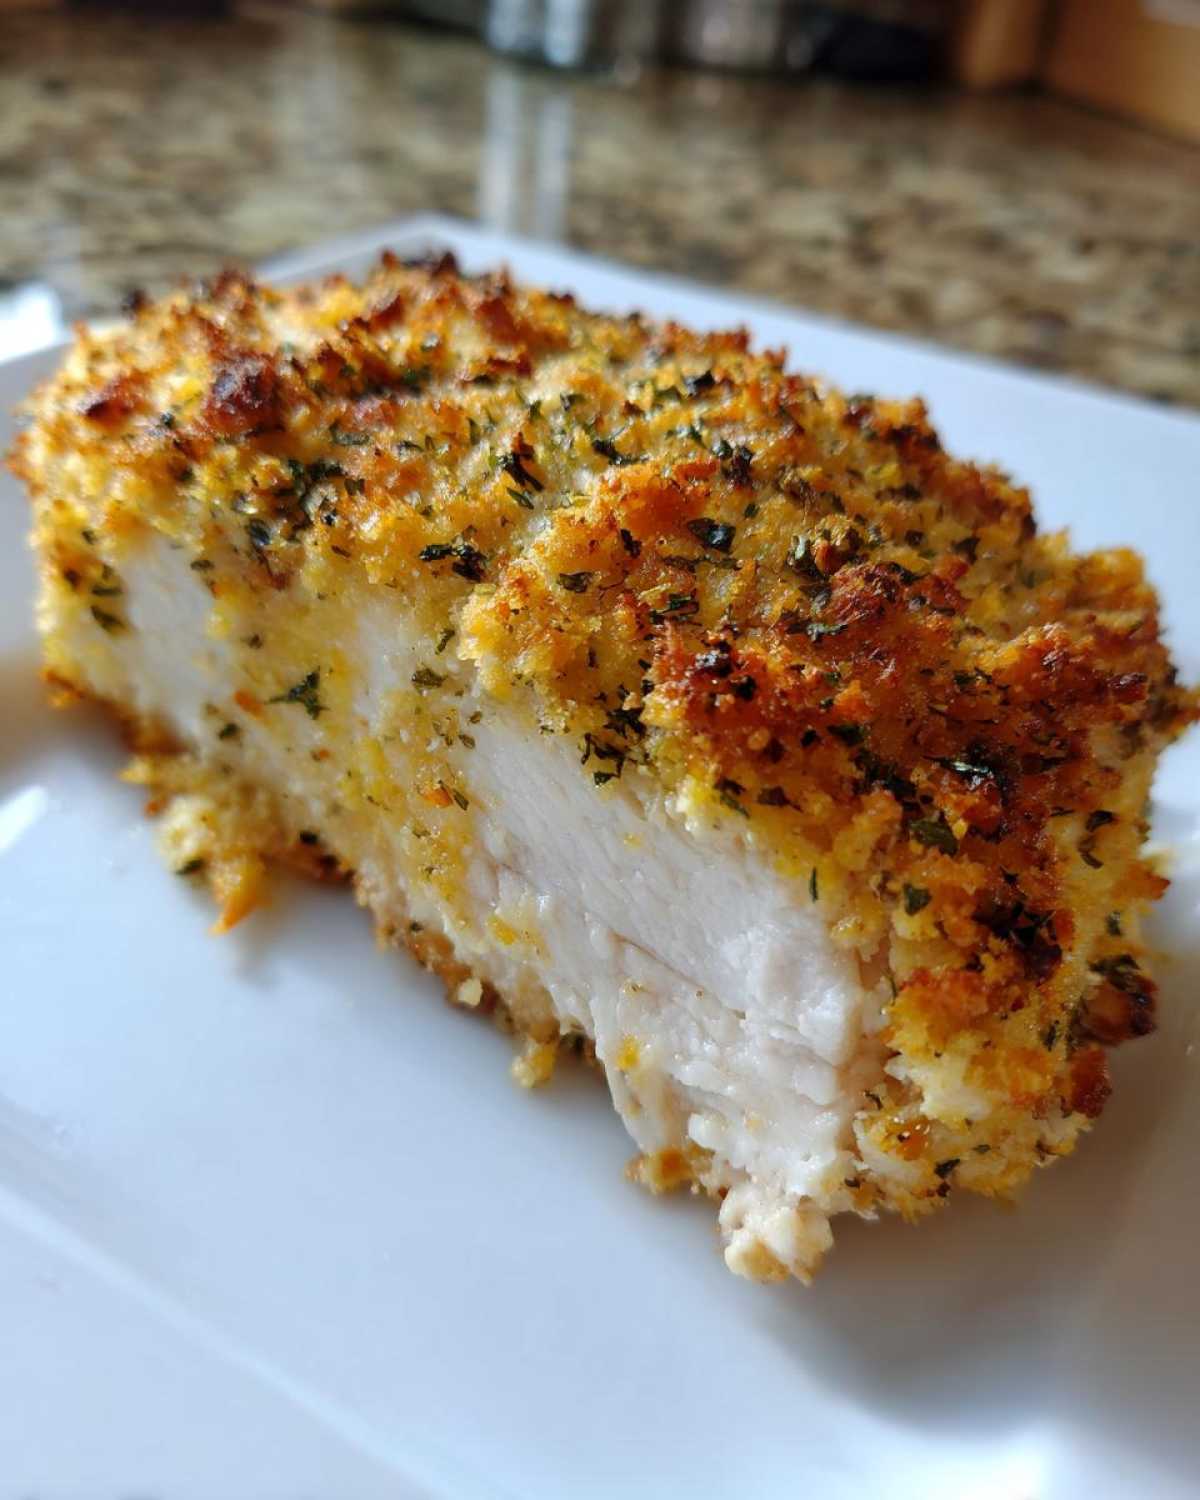
Gathering Your Ingredients for Baked Ranch Chicken
Okay, now for the fun part—getting what you need gathered! Because this is one of the simplest baked ranch chicken recipes out there, your shopping list is super short. We’re only using five core items, which means it’s easy to keep on hand for when those emergency weeknights pop up. Having everything measured and ready is key to keeping our prep time down to that lightning-fast 5 minutes. These ingredients work together beautifully to create that savory, cheesy crust we are aiming for.
Here is exactly what you need for a perfect batch. Don’t forget you can find inspiration for making similar crispy coatings here if you want to try something different next time!
- 4 boneless, skinless chicken breasts (about uniform size is best!)
- 1 packet (1 oz) dry ranch seasoning mix
- 1/2 cup mayonnaise
- 1/4 cup grated Parmesan cheese (the finely grated kind works better for blending)
- 1 tablespoon olive oil
Ingredient Notes and Simple Substitutions
I always grab boneless, skinless chicken breasts just because they are easy to handle, but please know that chicken thighs are fantastic here too! If you use thighs, they might need an extra 5 to 7 minutes baking time because they are often thicker. You want to cook them until they hit that magic 165 degrees internally, just like the breasts.
Now, about that ranch mix. If for some wild reason you don’t have a packet, you can absolutely whip up your own seasoning blend. I usually mix about 1 teaspoon each of dried parsley, dried dill, onion powder, garlic powder, salt, and pepper, then add a splash of buttermilk powder if I have it on hand. But honestly, the packet is the easiest way to nail the flavor profile for this Simple Oven Chicken bake!
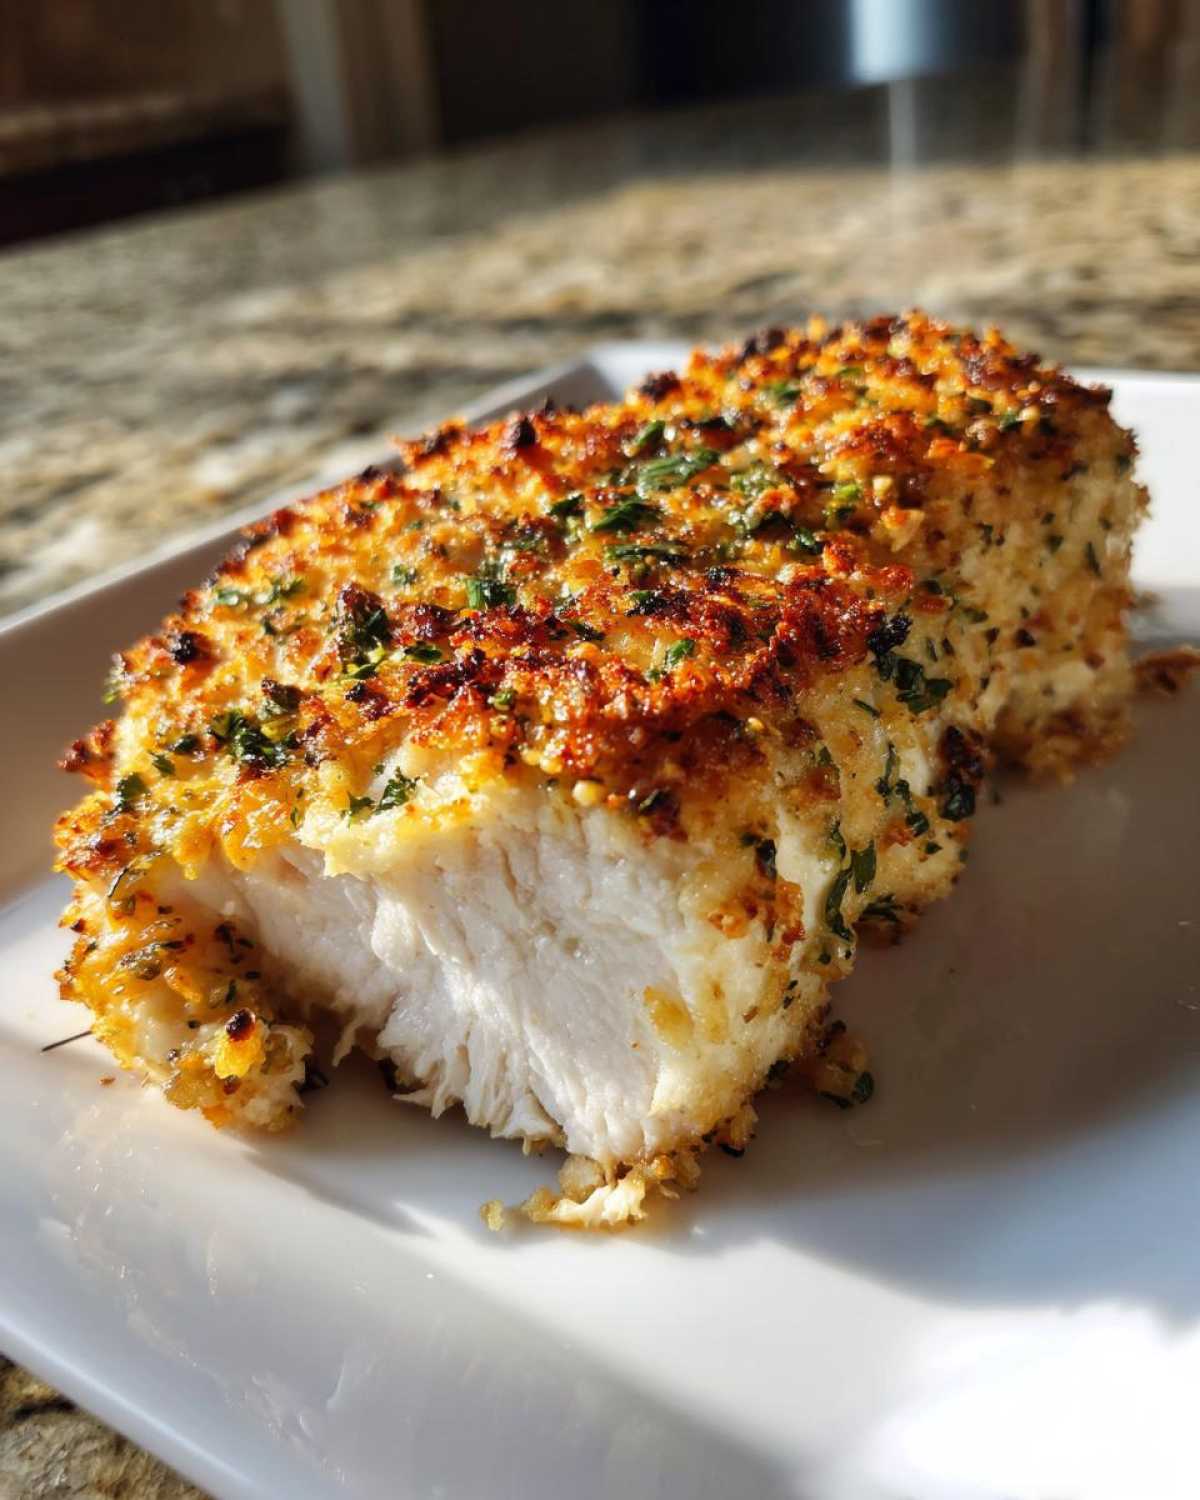
Step-by-Step Instructions for Perfect Baked Ranch Chicken
Following these steps guarantees you a home run every time you make this baked ranch chicken. It’s really straightforward, but paying attention to the initial prep makes a huge difference! Remember, we are aiming for fantastic Weeknight Chicken Recipes that look like they took forever, but didn’t.
First things first, get your oven humming! Preheat it to 400 degrees Fahrenheit. I always take this minute to lightly grease my baking dish—or if I’m feeling extra lazy, I use parchment paper because it means instant cleanup later. This is one of those little tricks that keeps the whole process smooth.
Preparing the Ranch Coating
Grab a medium bowl for mixing the magic. You want to thoroughly combine that dry ranch seasoning, the mayonnaise, and the grated Parmesan cheese. Keep stirring until it’s totally smooth. Seriously, mix it until you don’t see any dry streaks of powder left! Now, before you coat the chicken, make sure you’ve patted your chicken breasts bone-dry with paper towels. This is my go-to move; moisture makes the coating slide right off, and we do *not* want that!
Once the chicken breasts are ready in the baking dish, just grab a pastry brush or a spoon and spread that incredible, thick ranch mixture evenly over the top of each piece. Give it a gentle press so it sticks nicely. Then, a little drizzle of olive oil over the top of the coating ensures everything browns up golden.
Baking Time and Temperature for Tender Ranch Chicken
Time for the oven! Pop that dish in the preheated 400°F oven. You are usually looking at about 20 to 25 minutes total. But, and this is important—always check the internal temp with a meat thermometer. You need that center to hit 165 degrees Fahrenheit to be perfectly safe and cooked through. No guessing games here, okay?
Once they hit temperature, pull them out. Now for my favorite expert tip: resist the urge to slice right away! Let the tender ranch chicken rest right in the pan for 5 minutes. That resting time lets all the juices redistribute back into the meat instead of flooding your cutting board. After that, they are ready to be served up! If you want to see another amazing oven chicken recipe, check out this one for Marry Me Chicken Pasta for inspiration!
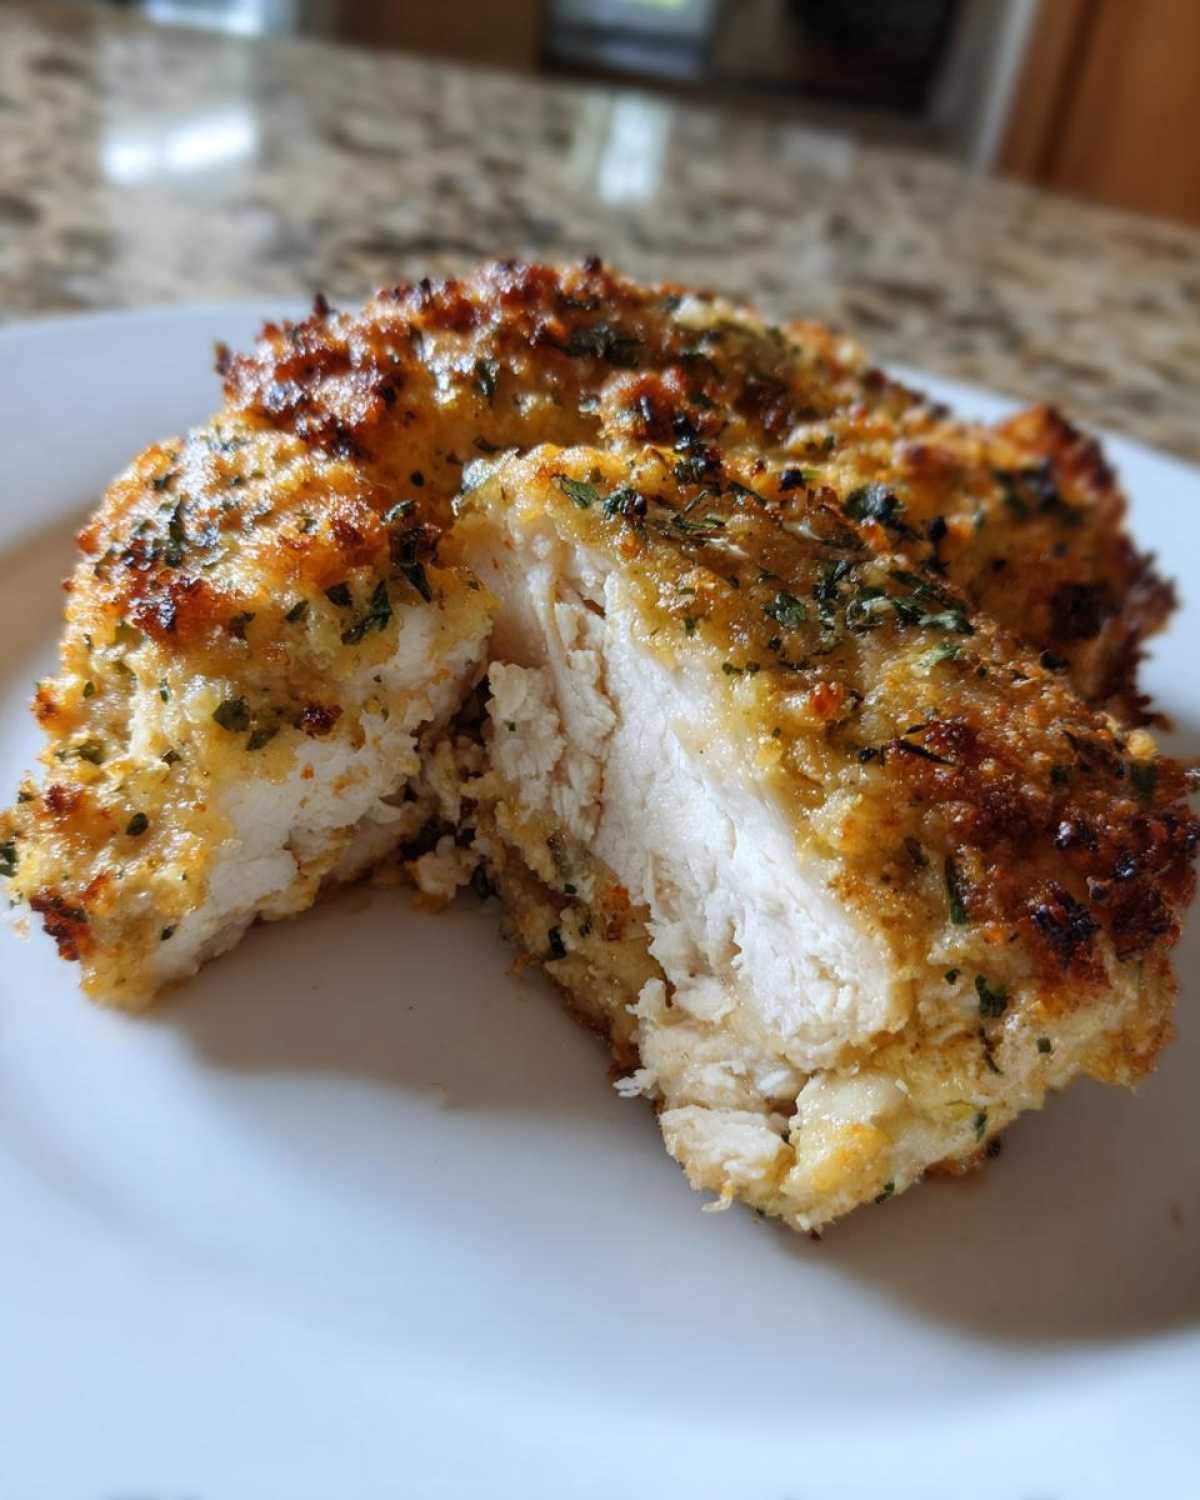
Tips for the Best Baked Ranch Chicken Results
Listen, I’ve made this baked ranch chicken recipe so many times I could nearly do it in my sleep, but there are just a couple of little tweaks that take it from “good” to “OMG, why haven’t I made this sooner?” These are the things I learned mostly through trial and, well, maybe one slightly dry piece of chicken early on!
The absolute essential, non-negotiable first step is making sure your chicken is dry. I mean *really* dry. Grab those paper towels and blot away! If the chicken is wet, that glorious mayo-Parmesan mixture just turns into soup and slides right off. You’ll end up with pale, sad chicken instead of that beautiful, golden crust we’re aiming for. It’s worth the extra 30 seconds of dabbing!
Now, if you’re like me and you love that crispy, bubbly top layer, you absolutely need to use your broiler for the grand finale. We bake it normally to finish cooking the inside through, but right at the end, once the internal temp is safe, switch the oven to the broiler setting. Keep the dish close to the top, but for heaven’s sake, stand right there! You only need 60 to 120 seconds. Seriously, it goes from perfect to charcoal frighteningly fast. But when you pull it out and that ranch topping is golden brown and crackly? Perfection! If you want to see how I get insane crusts on roasts, check out my tips for prime rib; the concept of high heat finishing is similar!
Also, make sure your chicken pieces are roughly the same thickness. If one breast is hugging the pan and another is practically a mountain, they won’t finish at the same time. You can always pound the thicker pieces slightly flat with a rolling pin—just protect them with plastic wrap first, obviously! This technique helps everything cook nice and evenly in that nice 400-degree heat.
Variations on Your Ranch Seasoned Chicken
This Ranch Seasoned Chicken is already amazing because it’s so easy, but sometimes you just need to shake things up a little bit, right? Good news—this recipe is built to handle little additions without ruining that precious moisture shield!
If you want to layer in some extra savory depth, just mix about half a teaspoon of garlic powder and a small pinch of smoked paprika right into your mayo and ranch mixture before spreading it on the chicken. It deepens the flavor profile beautifully without adding any extra prep time!
Now, for the ultimate crowd-pleaser: cheese! If you want to make what I call a Cheesy Ranch Chicken, just wait until the chicken has about 5 minutes left of baking time. Pull it out, sprinkle about two tablespoons of shredded mozzarella or pepper jack over the top of that baked crust, and pop it back in until it’s melted and bubbly. It turns this simple meal into total comfort food!
If you love creamy sides, you should check out this recipe for Cream Cheese Corn Casserole—it pairs perfectly with this savory chicken!
Serving Suggestions for This Family Friendly Chicken Dinner
So, you’ve got your ultra-tender, perfectly coated baked ranch chicken resting on the counter. Awesome! We need sides that keep pace with how quickly this dinner comes together. Since this is such a savory, rich main dish, I usually lean toward things that are creamy, green, or slightly bright to cut through that richness. This meal just screams comfort, so we aren’t looking for fussy side dishes here!
Since this is such a Family Friendly Chicken Dinner, I always lean on the classics. Mashed potatoes are my absolute favorite pairing, because you can just gently load them up with extra goodness right alongside that chicken. You simply must check out my recipe for best creamy fluffy mashed potatoes; they are seriously the easiest, and they absorb any extra ranch juices that spill out of the chicken—it’s heaven!
If you need something faster than potatoes, you can’t go wrong with simple steamed green beans tossed with a tiny bit of butter and garlic powder. Or, if you’re trying to keep it lighter, a quick side salad with a sharp vinaigrette works wonders to balance the richness of the mayo and Parmesan topping. Seriously, any quick side that complements savory food works for this recipe. It’s one of the best Quick Dinner Ideas because it pairs with almost anything!
Storage and Reheating Instructions for Leftover Baked Ranch Chicken
Even though everyone usually tries to clear the pan when you make this baked ranch chicken, sometimes life happens, or maybe you made an extra batch because you knew you’d want leftovers (smart move!). Storing and reheating this dish correctly is the secret to keeping that tender texture we worked so hard to achieve. You absolutely do not want dry, sad chicken for lunch the next day!
The absolute best way to store any leftovers is to let the chicken cool down slightly—don’t put piping hot food directly into the fridge, it messes with everything else in there. Once it’s cooled to room temperature for about 20 minutes, transfer those beautiful pieces into an airtight container. You can technically keep them refrigerated for three to four days. I try to eat mine within the first three days, though, just because the crust starts to soften up after that, and we want to keep as much integrity as possible!
When it comes time to reheat, the microwave is fast, but I’ll tell you a little secret to keep things moist. Whether you’re warming up a whole piece or just a slice, place it on a microwave-safe plate and add maybe a teaspoon of water or even a tiny splash of chicken broth right next to the chicken before covering the plate loosely with a damp paper towel. That steam is your best friend! Heat it in short bursts until it’s warm through. This keeps the meat tender!
If you have a little more time, especially if you’re reheating a larger piece, the oven is gentler. Set your oven low—like 300 degrees—pop the chicken in a small baking dish, add that tiny splash of liquid again, and cover the dish tightly with foil. This creates a mini steam environment. It might take 10 to 15 minutes, but the results are worth it. No one likes chewy leftovers, and these methods ensure your Ranch Seasoned Chicken tastes nearly as good as night one!
Frequently Asked Questions About Baked Ranch Chicken
I always get asked the same few things when folks try this recipe out for the first time! It seems like everyone wants to know the little tweaks to get their baked ranch chicken just perfect, especially when it comes to texture. I’ve collected the most common questions right here to help you out!
Don’t let fear stop you if your main ingredient isn’t exactly textbook perfect. We can handle frozen chicken, thick thighs, or desires for extra crispiness. Trust me, this is one of the most flexible Quick Dinner Ideas out there, and these tips will make sure you get an amazing result every single time. If you ever end up with extra chicken stock after cooking, you should definitely try whipping up a batch of Chicken Vegetable Soup!
Can I substitute chicken breasts with thighs in this baked ranch chicken recipe?
Absolutely! Chicken thighs are delicious here because they are naturally fattier and even harder to dry out. The main thing you have to remember for this substitution is that thighs are usually thicker than breasts. So, while they might take an extra 5 to 7 minutes in the oven to reach that safe 165 degrees internally, you should always rely on your meat thermometer rather than just the timer. The result is an even richer, more flavorful meal!
How do I ensure the topping on my baked ranch chicken stays crispy?
This is all about that finish! To keep your topping from getting soggy, two things are key. First, make sure you patted the chicken breasts super dry before you put the coating on. Second, use the broiler right at the very end—like I mentioned before! Just watch it like a hawk for one to two minutes until golden brown. Also, make sure you aren’t overcrowding your baking dish. If the pieces are sitting too close together, the steam gets trapped, and no topping stays Crispy Baked Chicken!
Nutritional Estimates for This Simple Oven Chicken
I know some of you are counting macros or just trying to keep things reasonably healthy, even when eating comfort food! That’s the great thing about this Simple Oven Chicken—since we aren’t deep-frying anything, it keeps the calorie count respectable while loading up on that satisfying protein.
Here is a general idea of what you can expect per serving, based on those four chicken breasts coated and baked exactly as written. Remember, these are just estimates! If you use a low-fat ranch mix or a different brand of Parmesan, those numbers might shift around a bit when you calculate your own specific totals.
- Serving Size: 1 breast
- Calories: 380
- Total Fat: 22g
- Protein: 40g
- Carbohydrates: 3g
- Sodium: 650mg
We’ve got a great amount of protein here, which is what I love about any easy chicken recipe. It keeps us full, which is perfect for a Weeknight Chicken Recipes staple! For specific details and disclaimers on how these numbers are calculated, you can always glance over our general nutritional information page. Enjoy your incredibly easy, surprisingly balanced baked ranch chicken!
PrintUltra Easy 5-Ingredient Baked Ranch Chicken

Make tender, juicy baked ranch chicken with only five simple ingredients. This recipe is perfect for quick weeknight dinners and requires minimal cleanup.
- Prep Time: 5 min
- Cook Time: 25 min
- Total Time: 30 min
- Yield: 4 servings
- Category: Dinner
- Method: Baking
- Cuisine: American
- Diet: Low Fat
Ingredients
- 4 boneless, skinless chicken breasts
- 1 packet (1 oz) dry ranch seasoning mix
- 1/2 cup mayonnaise
- 1/4 cup grated Parmesan cheese
- 1 tablespoon olive oil
Instructions
- Preheat your oven to 400 degrees Fahrenheit. Lightly grease a baking dish or line it with parchment paper.
- In a medium bowl, mix together the dry ranch seasoning mix, mayonnaise, and Parmesan cheese until fully combined. This forms your coating.
- Pat the chicken breasts dry with paper towels. This helps the coating stick better.
- Place the chicken breasts in the prepared baking dish. Brush the top of each breast with olive oil.
- Spread the ranch mixture evenly over the top surface of each chicken breast, pressing gently so it adheres.
- Bake for 20 to 25 minutes, or until the internal temperature of the chicken reaches 165 degrees Fahrenheit and the topping is lightly golden brown.
- Let the chicken rest for 5 minutes before slicing and serving.
Notes
- For extra flavor, you can use chicken thighs instead of breasts; adjust cooking time as needed.
- If you prefer a crispier topping, place the baking dish under the broiler for the last 1-2 minutes, watching closely to prevent burning.
- Serve this chicken with steamed vegetables or mashed potatoes for a complete family meal.
Nutrition
- Serving Size: 1 breast
- Calories: 380
- Sugar: 2
- Sodium: 650
- Fat: 22
- Saturated Fat: 6
- Unsaturated Fat: 16
- Trans Fat: 0
- Carbohydrates: 3
- Fiber: 0
- Protein: 40
- Cholesterol: 110