

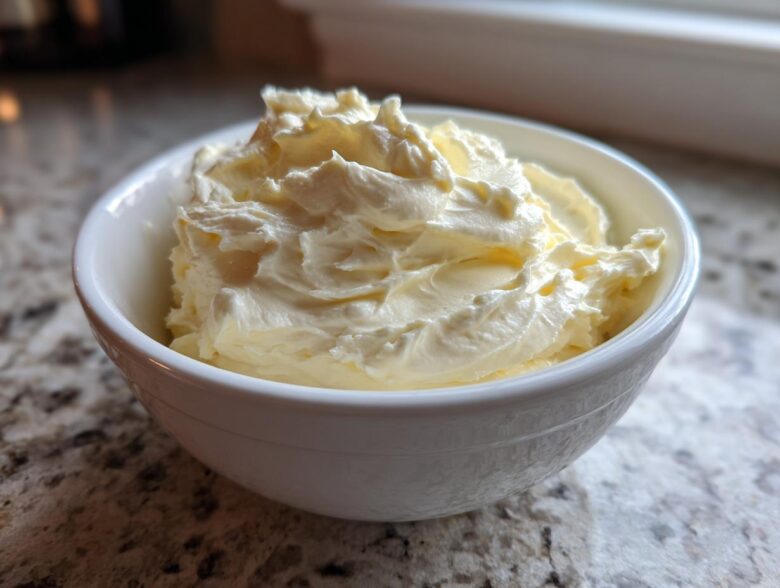
I swear, I used to think that perfect, restaurant-style **garlic aioli** was something you had to order out, or maybe something impossibly fancy that took all afternoon. Wrong! That myth is officially busted in my kitchen. I’m showing you my absolute favorite **homemade aioli recipe** that genuinely comes together in under five minutes. We’re talking about a bold, intensely flavored, perfectly creamy **garlic sauce** that makes everything taste gourmet.
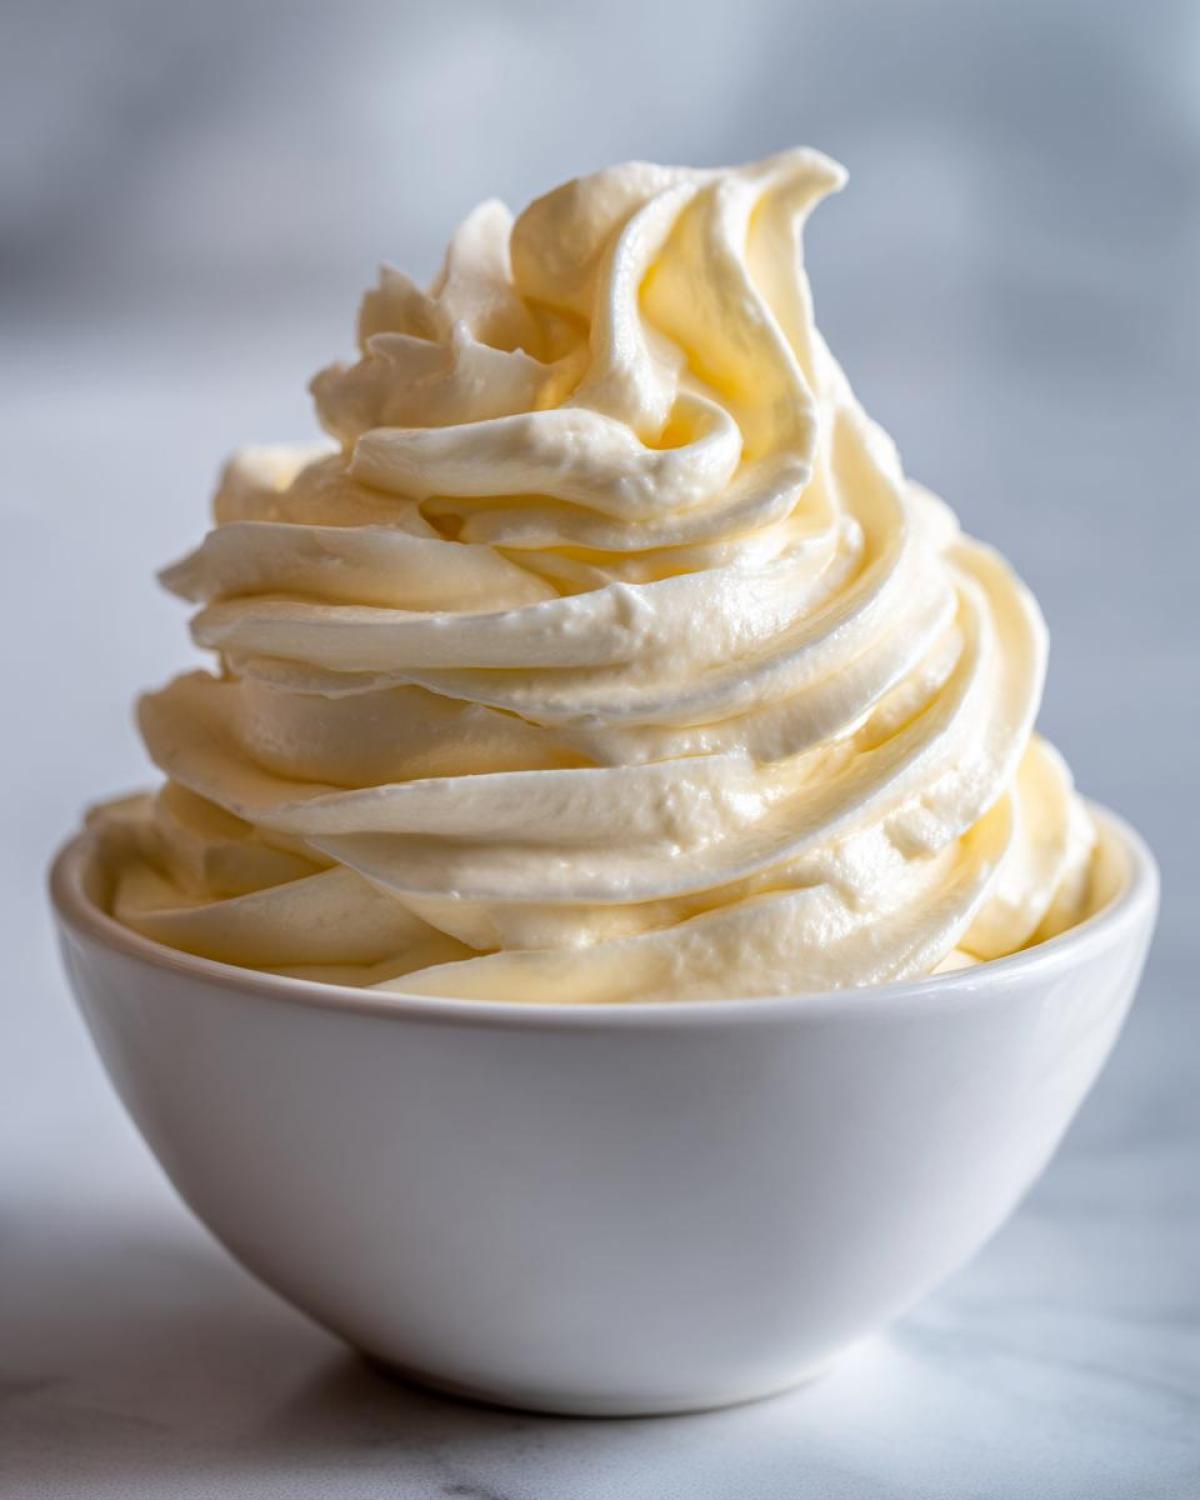
Through years of making mayo from scratch—and having it break on me more times than I care to admit—I finally nailed the emulsification technique for this **fresh garlic condiment**. If you want to read a little more about how we build trust and transparency here on the site, check out our About Us page. It requires speed and confidence, but trust me, once your hand gets moving, you’ll realize just how easy it is to make the **best aioli for fries** right on your counter.
This isn’t just some standard dipping sauce; this is the real deal. You’re going to want to slather this on every sandwich you make!
Why This Homemade Aioli Recipe Delivers Restaurant Style Aioli
Honestly, the reason I keep coming back to this method is pure, unadulterated speed married to incredible results. Who has all morning to babysit a sauce? Nobody! This **garlic aioli** is ready before my batch of sweet potato fries is even done baking. It truly is an **easy aioli dip** that punches way above its weight class.
Here’s why I promise this is the last **garlic sauce from scratch** recipe you’ll ever need:
- Speed Demon: We’re talking five minutes, max. It’s the ultimate **quick dipping sauce** for those last-minute appetizer needs.
- Texture Perfection: It achieves that beautiful, thick, dairy-free creaminess that tastes like it came straight from a high-end bistro. Forget thin, oily messes—this is luscious!
- Bold Garlic Power: We use fresh garlic, and we use enough of it so you really taste that sharp, savory punch. It’s exactly what a proper **fresh garlic condiment** should taste like.
It’s so versatile, too! It instantly transforms burgers, grilled vegetables, or makes for the **best aioli for fries** you’ve ever dipped into. You’re basically making **restaurant style aioli** on a Tuesday night!
Gathering Ingredients for Your Creamy Garlic Aioli
When you’re making a **garlic aioli** where the whole point is that incredible, fresh flavor, you can’t skimp on what goes in the bowl. Don’t worry, the list is short! We aren’t using any weird stabilizers here; it’s all about pure emulsification power. The quality of the garlic is the most important thing for getting that perfect, **tangy garlic sauce** everyone raves about.
Essential Components for Perfect Garlic Aioli
You need just a few things to start building this amazing **garlic mayonnaise sauce**. Make sure your egg is fresh! Remember, this recipe moves fast, so having everything measured and ready is half the battle for success:
- 1 large egg yolk
- 2 cloves fresh garlic, minced very fine or grated (Seriously, use fresh! Jarred stuff tastes flat.)
- 1 teaspoon Dijon mustard
- 1 teaspoon fresh lemon juice
- 1/2 teaspoon salt
- 1 cup neutral oil (like canola or grapeseed—olive oil can be too strong here!)
- 1 tablespoon hot water (optional, only if you need to thin it out later)
That oil choice is key, by the way. You need a nice, light neutral oil to let that beautiful garlic flavor shine through in your **easy homemade sauce**.
How to Make Aioli in 5 Minutes: Step-by-Step Instructions
Okay, here it is—the main event! You want to know **how to make aioli** that tastes amazing without spending an hour fighting your whisk? Keep your arm moving, be deliberate, and watch the magic happen. This whole process needs your full attention for about three minutes. Remember, making a smooth **garlic aioli** is all about building the emulsion correctly. If you stop whisking, things can go sideways, so don’t stop!
Preparing the Base for Your Garlic Aioli
First things first, get your flavor base ready. Everything that isn’t oil goes into your bowl: egg yolk, all that beautifully minced garlic, the Dijon mustard, the lemon juice, and the salt. Now, grab your whisk and get after it! You need to whisk these ingredients rapidly for about 30 seconds. Don’t stop until you see the color lighten up just a bit. This initial vigorous whisking helps break everything down and gets it ready to accept the oil smoothly.
The Critical Step: Slow Oil Addition for Emulsification
This is where we make sure we end up with a gorgeous **creamy garlic sauce** and not oily soup. Take your cup of neutral oil, and for the first chunk—maybe the first quarter of it—you must add the oil drop. By. Drop. Whisk like you mean it! If you dump too much oil in here, your **garlic aioli** will break instantly, and all that beautiful garlic flavor will just float away in oil. Once you see the mixture start to grab onto the oil and visibly thicken, you’ve done the hard part!
If you want to see some of my favorite tips on building sauces, I’ve got a whole section on achieving perfect textures over at my main recipes page. Trust me on the slow stream for the rest of that oil—a thin, steady drizzle while you keep that arm pumping is the ticket to the **best aioli for fries**.
Finishing the Homemade Aioli Recipe
Once about half the oil is in, and you have a good, thick base, you can slow your pouring down just a tiny bit, but you absolutely cannot stop whisking! Keep pouring in that steady stream until every last drop of oil is incorporated, and you have a thick, pale yellow, **homemade aioli recipe** texture. It should look like perfect, cloud-like mayonnaise.
Taste test time! Does it need a pinch more salt? More zing from the lemon? If it looks a little too stiff for your liking—maybe you want it great for drizzling—just whisk in that optional tablespoon of hot water, one tiny splash at a time, until it loosens up just right for you.
Tips for Success When Making Garlic Aioli From Scratch
We briefly talked about the importance of not stopping your whisk, but there’s always that one time, right? Sometimes, even if you follow the instructions perfectly, your **garlic aioli** can decide it just doesn’t want to be thick and creamy. It splits, gets watery, and looks sad. Don’t throw that oily mess out! That’s the difference between a novice and someone who knows their way around a **condiment recipe**.
Another crucial tip for making the **best aioli for fries**? Garlic quality. You absolutely must use fresh garlic. Jarred, pre-minced garlic has lost its essential oils and tastes dull. We need that sharp, bright kick for a true **garlic mayonnaise sauce**.
Mastering the Emulsion: Avoiding a Broken Garlic Aioli
If your fantastic effort at a **homemade aioli recipe** starts looking separated—that means the oil and the yolk haven’t decided to be friends—don’t panic! This is the fixer-upper move. Grab a totally clean, small bowl. Put in maybe one extra teaspoon of nice warm water (or, if you have it ready, just one extra teaspoon of neutral oil). You need to start whisking that tiny starter ingredient really fast, and then *very* slowly, drip by drip, whisk in your broken sauce. It acts like a parachute, grabbing onto the separated oil and pulling it back into a thick, beautiful emulsion. It works like magic every single time for fixing a struggling **garlic sauce from scratch**!
Quick Variations for Your Garlic Aioli
Once you’ve mastered the foundational **garlic aioli**—which, really, is just the base for everything good—you can start experimenting! The base recipe is solid and gives you a beautiful, **tangy garlic sauce**, but sometimes you need a little twist for different meals. Don’t feel like you have to stick to the original formula every time!
For example, if you want something brighter to go with grilled fish or shrimp, try making a **lemon garlic aioli** variation. Just add the zest of half a lemon right in with your egg yolk and garlic at the beginning. The extra tang really cuts through the richness of the oil.
And listen, if you’re in a serious rush tomorrow and can’t deal with the egg yolk emulsification, remember that **cheater method** I mentioned in the notes? Swap that yolk out for about half a cup of good quality mayonnaise and mix that with your garlic and lemon first. It instantly turns into a super-fast **easy homemade sauce** that still tastes fantastic, even if it leans a little more toward **garlic mayonnaise sauce** than true aioli.
A little sprinkle of smoked paprika or some chopped fresh parsley or chives at the end also makes this an amazing **appetizer dipping sauce**!
Serving Suggestions for This Versatile Garlic Dip
Now that you have this gorgeous, pungent **garlic aioli** whisked up in what felt like three minutes, the real fun begins: eating it! Seriously, this **versatile garlic dip** single-handedly upgrades almost any savory dish on the planet. I keep a jar of this **fresh garlic condiment** in the fridge all the time just for emergencies, which, around here, means any time we are having fries.
You already know it’s the **best aioli for fries**—it’s non-negotiable in my house. But don’t stop there! Spread a thick layer of this sauce on your next burger patty; it makes an unbeatable **homemade burger spread** that beats ketchup any day. It’s also incredible when you toss roasted asparagus or broccoli in it right after they come out of the oven. If you’re serving fish or roasted chicken, this **easy homemade sauce** is the perfect, zesty accompaniment.
We use it for everything, which is why I know you will too. If you have any questions about the recipe or want to share what you made, feel free to reach out via my Contact Page! I love hearing what you all cook up!
Storage and Reheating Instructions for Homemade Aioli Recipe
Okay, friends, we need to talk honestly about storage. Because this **homemade aioli recipe** uses a raw egg yolk—it’s what gives us that incredible, rich texture—we have to be smart about how long we keep this **garlic aioli** around. This isn’t the stuff you buy from the store that’s been sitting on a shelf for six months, so it doesn’t have the same shelf life, and that’s okay! Freshness is flavor, right?
For the best and safest experience with this **garlic mayonnaise sauce**, you must get it into an airtight container right away. I use small glass jars, which are perfect for grabbing a dollop later. Because of that raw yolk, I only recommend keeping it refrigerated for up to three or maybe four days, tops. I know, it goes fast, but that’s the price of artisanal perfection!
And please, do not try to reheat this **creamy garlic sauce**! Heating it up will just cause that beautiful emulsion we worked so hard to create to break apart again, leaving you with warm, oily garlic water. You want this served straight from the fridge, cold, for that perfect tangy snap when dipping your fries or using it as a **gourmet sandwich spread**.
If you want to know more about the standards we follow for recipe safety and ingredient handling here, I always point folks over to our Disclaimer Page for the full details. But the main takeaway is simple: make a fresh batch often, and devour this **tangy garlic sauce** quickly!
Frequently Asked Questions About Garlic Aioli
Can I make this garlic aioli without raw egg yolk?
Oh, absolutely! I know raw egg yolks can freak some people out, or maybe you just don’t have any handy. That’s why I always include the simple ‘cheater’ version in the tips above! If you want an **easy aioli dip** without the raw yolk dance, just swap it out. Use about half a cup of good quality, plain store-bought mayonnaise instead. Mix that mayo with your minced garlic, lemon juice, and mustard, and then proceed with the slow oil addition. It still gives you that amazing texture, just super fast!
How long does this homemade aioli recipe last?
Because this version relies on that lovely, fresh egg yolk for its signature richness, it doesn’t hang around for ages, which is why I always encourage making a fresh batch! If you store it tightly sealed in the fridge, plan on using up your **homemade aioli recipe** within three to four days. If you made the version using store-bought mayo, it might last a week or so, but honestly, the flavor is best when it’s fresh off the whisk—that bright garlic punch fades quickly!
What oil is best for the creamiest garlic sauce?
When you’re working on **how to make aioli** truly creamy, the oil choice matters a ton! You absolutely need a neutral oil, not something flavorful like regular olive oil. Strong olive oil will completely overpower the lovely fresh garlic you just minced! Stick to something light—canola oil or grapeseed oil are my top two recommendations. They let the garlic, lemon, and salt shine through and always guarantee that beautiful, **creamiest garlic sauce** texture without any competing bitterness.
Sharing Your Experience with This Quick Dipping Sauce
Whew! You made it! Now you are officially equipped to whip up the most incredible, bold **garlic aioli** whenever the craving hits. No more paying extra for that tiny sad cup of sauce at the burger joint!
I really, truly want to know what you ended up using this amazing **quick dipping sauce** for. Did you finally try it on those grilled scallops? Or maybe you made the ultimate batch of restaurant-style fries just to dip into it? Whatever happened, please hop down below! I’m always reading your comments, and seeing how you use a fantastic **fresh garlic condiment** lights me up.
Give this **easy homemade sauce** a rating—five stars if you think it deserves it! And feel free to check out my Privacy Policy if you ever want to see how I handle your lovely comments and emails. Happy saucing!
PrintThe Ultimate 5-Minute Creamy Garlic Aioli
Make a restaurant-style, bold garlic aioli quickly at home. This recipe provides a creamy, versatile garlic sauce perfect for fries, sandwiches, or vegetables.
- Prep Time: 5 min
- Cook Time: 0 min
- Total Time: 5 min
- Yield: About 1 1/4 cups
- Category: Condiment
- Method: Whisking/Emulsification
- Cuisine: Mediterranean
- Diet: Vegetarian
Ingredients
- 1 large egg yolk
- 2 cloves fresh garlic, minced very fine or grated
- 1 teaspoon Dijon mustard
- 1 teaspoon fresh lemon juice
- 1/2 teaspoon salt
- 1 cup neutral oil (like canola or grapeseed)
- 1 tablespoon hot water (optional, for thinning)
Instructions
- Place the egg yolk, minced garlic, Dijon mustard, lemon juice, and salt into a medium bowl.
- Whisk these ingredients together vigorously for about 30 seconds until they are well combined and slightly lighter in color.
- Begin adding the neutral oil drop by drop while whisking constantly and rapidly. This slow addition is crucial for emulsification.
- Once about a quarter of the oil is incorporated and the mixture thickens, you can start adding the remaining oil in a very slow, thin stream while continuing to whisk without stopping.
- Continue whisking until all the oil is fully incorporated and the mixture is thick and creamy, resembling mayonnaise. This should take about 3 to 4 minutes total.
- If the aioli is too thick, whisk in the tablespoon of hot water until you reach your desired consistency.
- Taste and adjust salt or lemon juice as needed. Serve immediately or chill.
Notes
- For a ‘cheater’ version, substitute the egg yolk with 1/2 cup of good quality mayonnaise and proceed directly to step 3, whisking the mayonnaise with the garlic, lemon juice, and mustard before slowly adding the oil.
- Use fresh garlic for the best flavor. Do not use jarred minced garlic.
- If the aioli separates (breaks), whisk one teaspoon of warm water or one extra teaspoon of oil into the mixture very slowly to try and re-emulsify it.
Nutrition
- Serving Size: 2 tablespoons
- Calories: 180
- Sugar: 0
- Sodium: 150
- Fat: 20
- Saturated Fat: 2
- Unsaturated Fat: 18
- Trans Fat: 0
- Carbohydrates: 0
- Fiber: 0
- Protein: 1
- Cholesterol: 45