

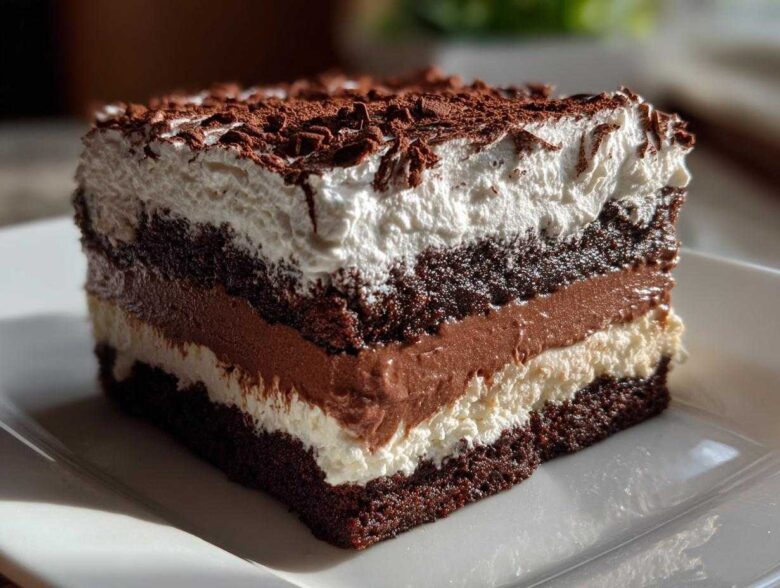
Oh my goodness, do I have a treat for you today! If you’re staring down a hot afternoon and absolutely *need* chocolate, but the thought of turning on the oven makes you sweat, this recipe is your answer. Forget those fussy layer cakes; we are diving headfirst into the wonderfully easy, always decadent **brownie refrigerator cake**. Trust me, whenever I bring this stunning, multi-layered creation to a party, I barely have time to set it down before someone asks for the recipe. It’s just that good, and it’s the best make-ahead dessert I keep in my back pocket!
Layered with creamy fillings and topped with fluffy goodness, this chill-and-set magic lets you use pre-baked brownies for a true no-fuss situation. If you love deep chocolate flavor without lifting a finger past simple assembly, you’re going to adore this. Seriously, this **brownie refrigerator cake** is my signature move when I need something impressive fast. You might also want to check out my recipe for the similar, but slightly different, chocolate eclair cake if you’re on a chilling streak!
Why This Brownie Refrigerator Cake is Your New Go-To Dessert
Honestly, this thing is a lifesaver when I need a stunning chocolate fix without the hassle. It’s the ultimate **No Bake Brownie Dessert** because once those brownies are cooled, you just stack and chill. That’s it! You don’t need any fancy piping bags or complicated techniques. It just sets itself up perfectly in the fridge. If you love quick chocolate fixes, you might also want to check out my easy fudgy chocolate mug cake recipe for single servings!
This is the absolute best **Make Ahead Chocolate Dessert** because the chilling time actually *improves* the flavor—things meld together beautifully overnight. I love that I can put this together on a Friday evening and it’s ready to go for whatever Saturday throws at me. It requires almost zero active thinking once it’s in that glass dish!
Perfect for Parties: A Simple Potluck Desserts Winner
Because you are layering sturdy ingredients like baked brownies and set pudding, this cake transports like a dream. Seriously, you don’t have to worry about it sliding around like a traditional frosted cake! As one of our family’s favorite **Simple Potluck Desserts**, it always stays neat, gorgeous, and completely intact until it hits the table. Everyone always assumes it took hours, which is half the fun!
Gathering Ingredients for Your Brownie Refrigerator Cake
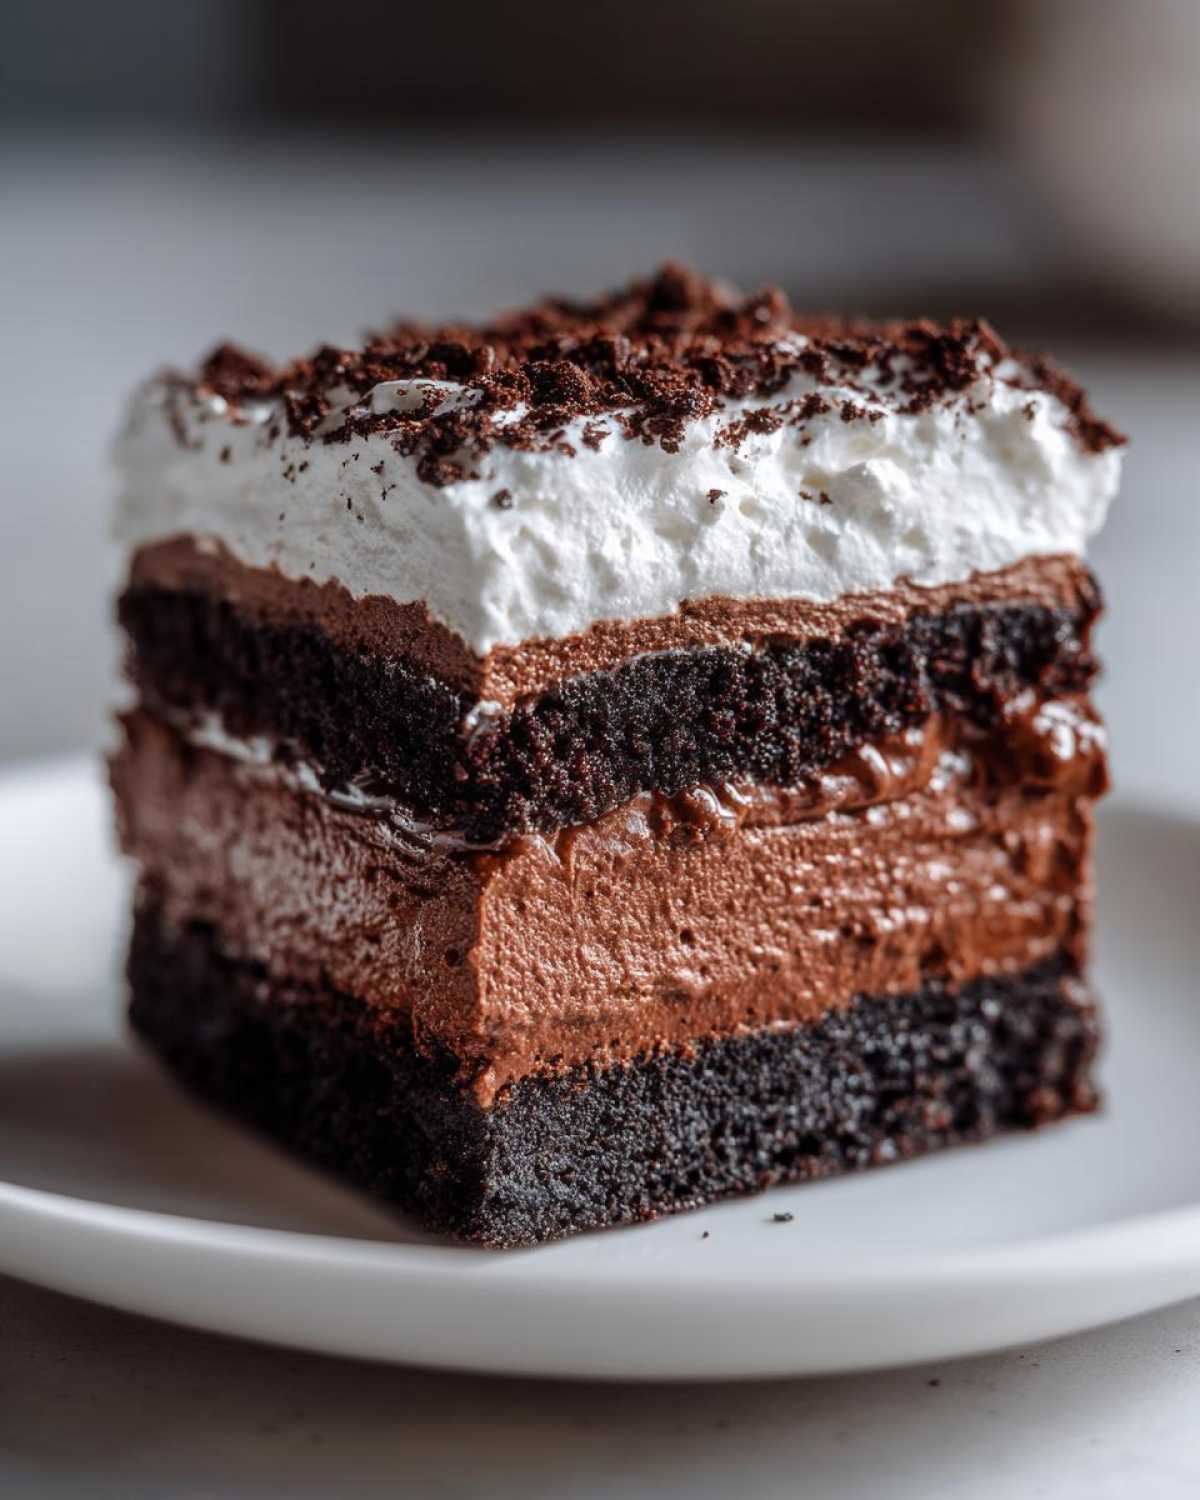
Okay, let’s talk supplies! The beauty of this dessert is that it relies on some super standard pantry staples, but pay attention to the details—they really matter here to make this the best **Brownie Refrigerator Cake** possible. We need to separate what goes into getting those brownies ready from what creates that dreamy, creamy middle. If you want a firm, perfect stack, you can’t skimp on the quality here. If you’ve ever made my pumpkin cheesecake recipe, you know I take my creamy layers seriously!
For the Baked Brownie Base
First up, the foundation! You’ll need one box of your favorite fudge brownie mix—the 18.25 ounce size is what I usually grab. Don’t forget to grab whatever the box tells you to add, which is usually eggs, oil, and water. Now, if you’re in a massive rush, you can absolutely substitute this whole section with nicely cooled, pre-made brownies, but I love baking mine because it fills the house with that amazing cocoa smell.
Components for the Creamy Brownie Refrigerator Cake Layers
This is where the magic happens for this **Cream Cheese Brownie Dessert**. You need two boxes of the instant chocolate pudding mix—the 3.9 ounce size is perfect. Pair that with 3 full cups of very cold milk. For the filling itself, make sure your 8 ounces of cream cheese is completely softened; there’s nothing sadder than trying to beat stiff cream cheese! Add 1 cup of powdered sugar and 1 teaspoon of vanilla extract to that. Finally, you’ll take 1 container of the 8-ounce frozen whipped topping, but it absolutely *must* be thawed before you start folding things up.
Step-by-Step Assembly of the Brownie Refrigerator Cake
Alright, this is the fun part where everything comes together! We are taking our separate components and turning them into that gorgeous, towering **Layered Chocolate Icebox Cake**. Remember, great assembly relies on patience, so make sure your brownies are totally cool before you start cutting them up, or you’ll end up with a crumbly mess instead of nice squares. Speaking of assembly, if you’ve ever made my chocolate croissant recipe, you know how important layering is for texture!
Baking and Preparing the Brownies
First things first, bake those brownies exactly as the box (or your favorite recipe!) tells you to, along with whatever oil, eggs, or water it needed. The crucial step here, and I mean *crucial*, is letting them cool down completely. If they are even slightly warm when you cut them, they’ll stick to the knife and crumble when you move them. Once they are totally cool, take your knife and chop them up into bite-sized squares. These squares will be our structural element!
Creating the Rich Cream Cheese Layer
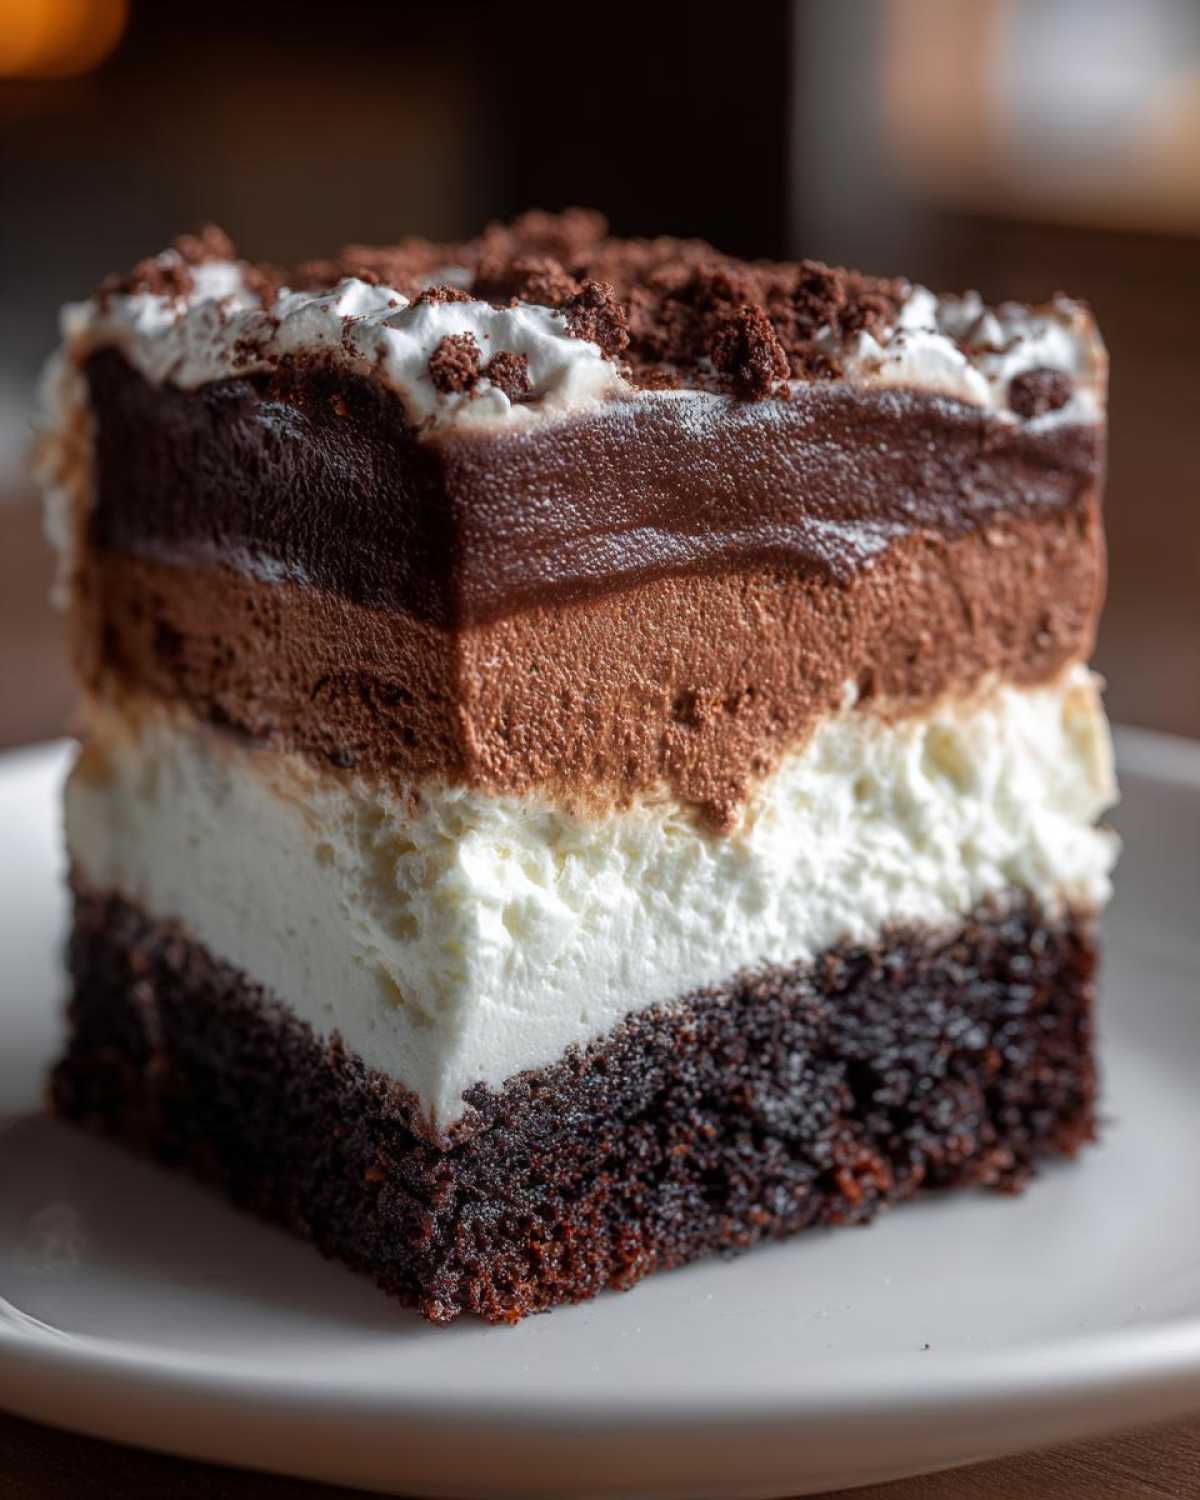
Now for the filling that gives us that great texture. Grab your softened cream cheese—make sure it’s soft, seriously!—and whip it up with the powdered sugar and your vanilla extract until it looks totally smooth. No one wants cream cheese lumps in their slice! Once that’s perfect, take about half of your thawed whipped topping and gently fold it in. You don’t want to deflate all the air, so use a spatula and take your time. This blend is what gives us that incredible **Rich Creamy Brownie Dessert** mouthfeel.
Layering the Brownie Refrigerator Cake
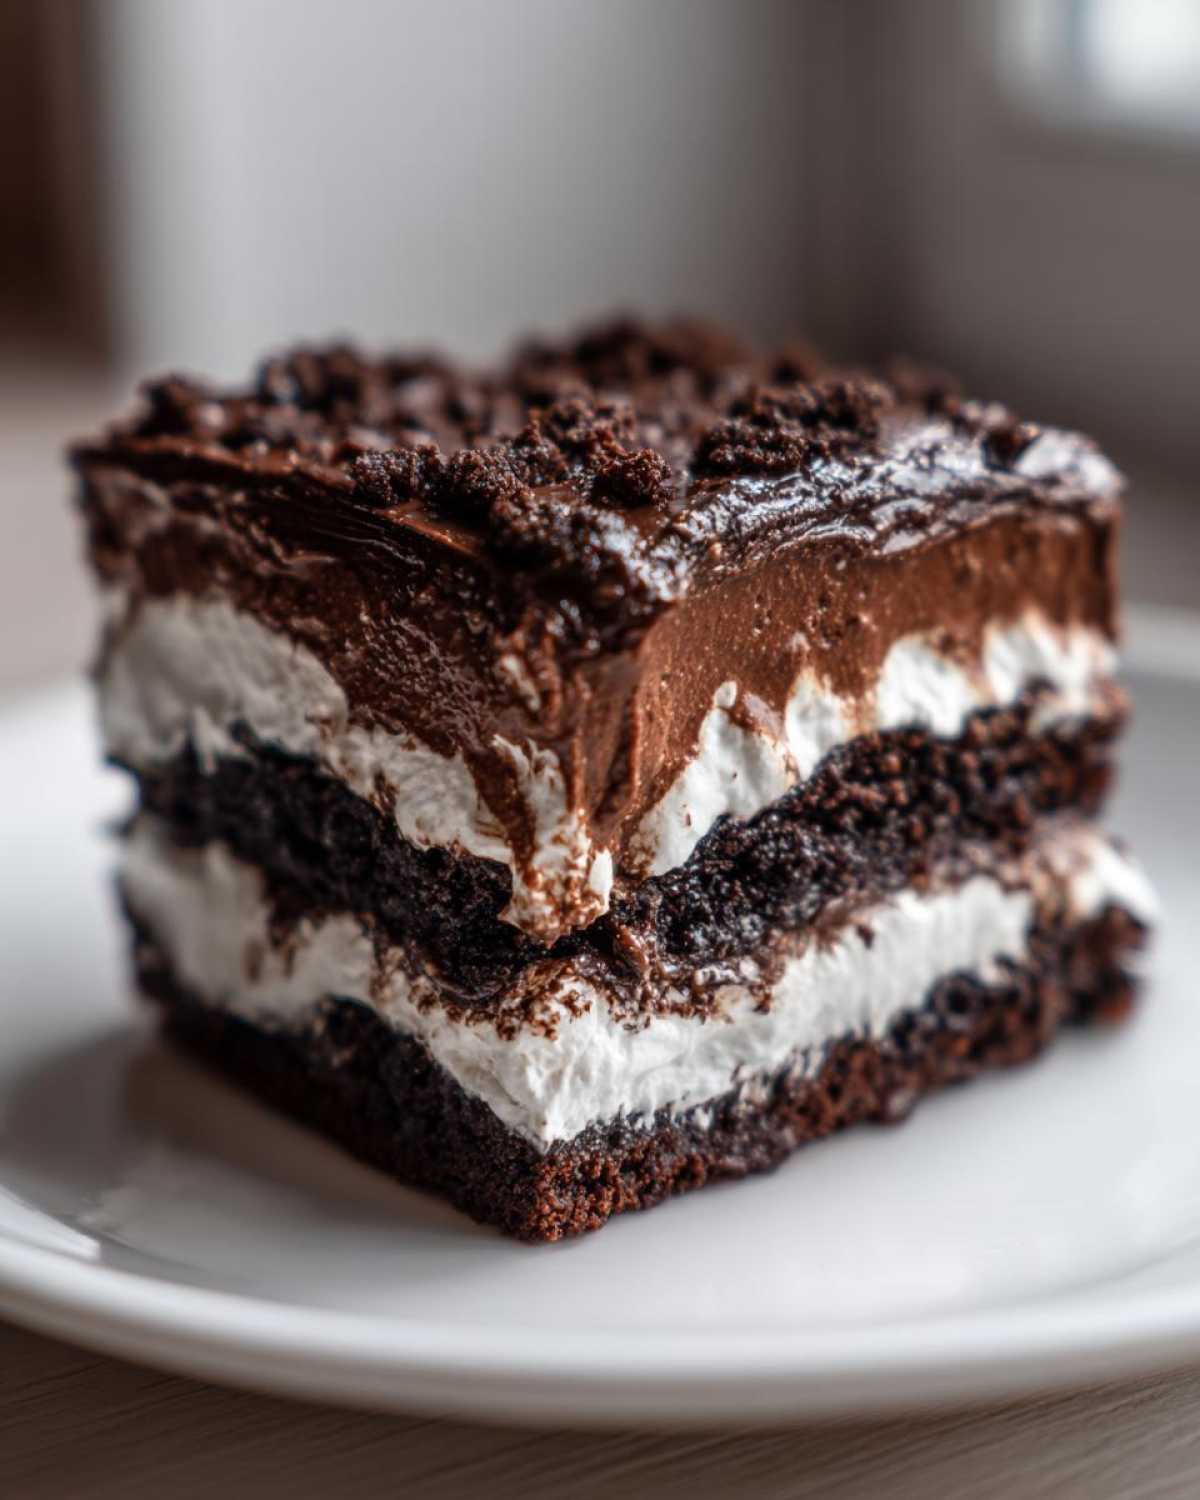
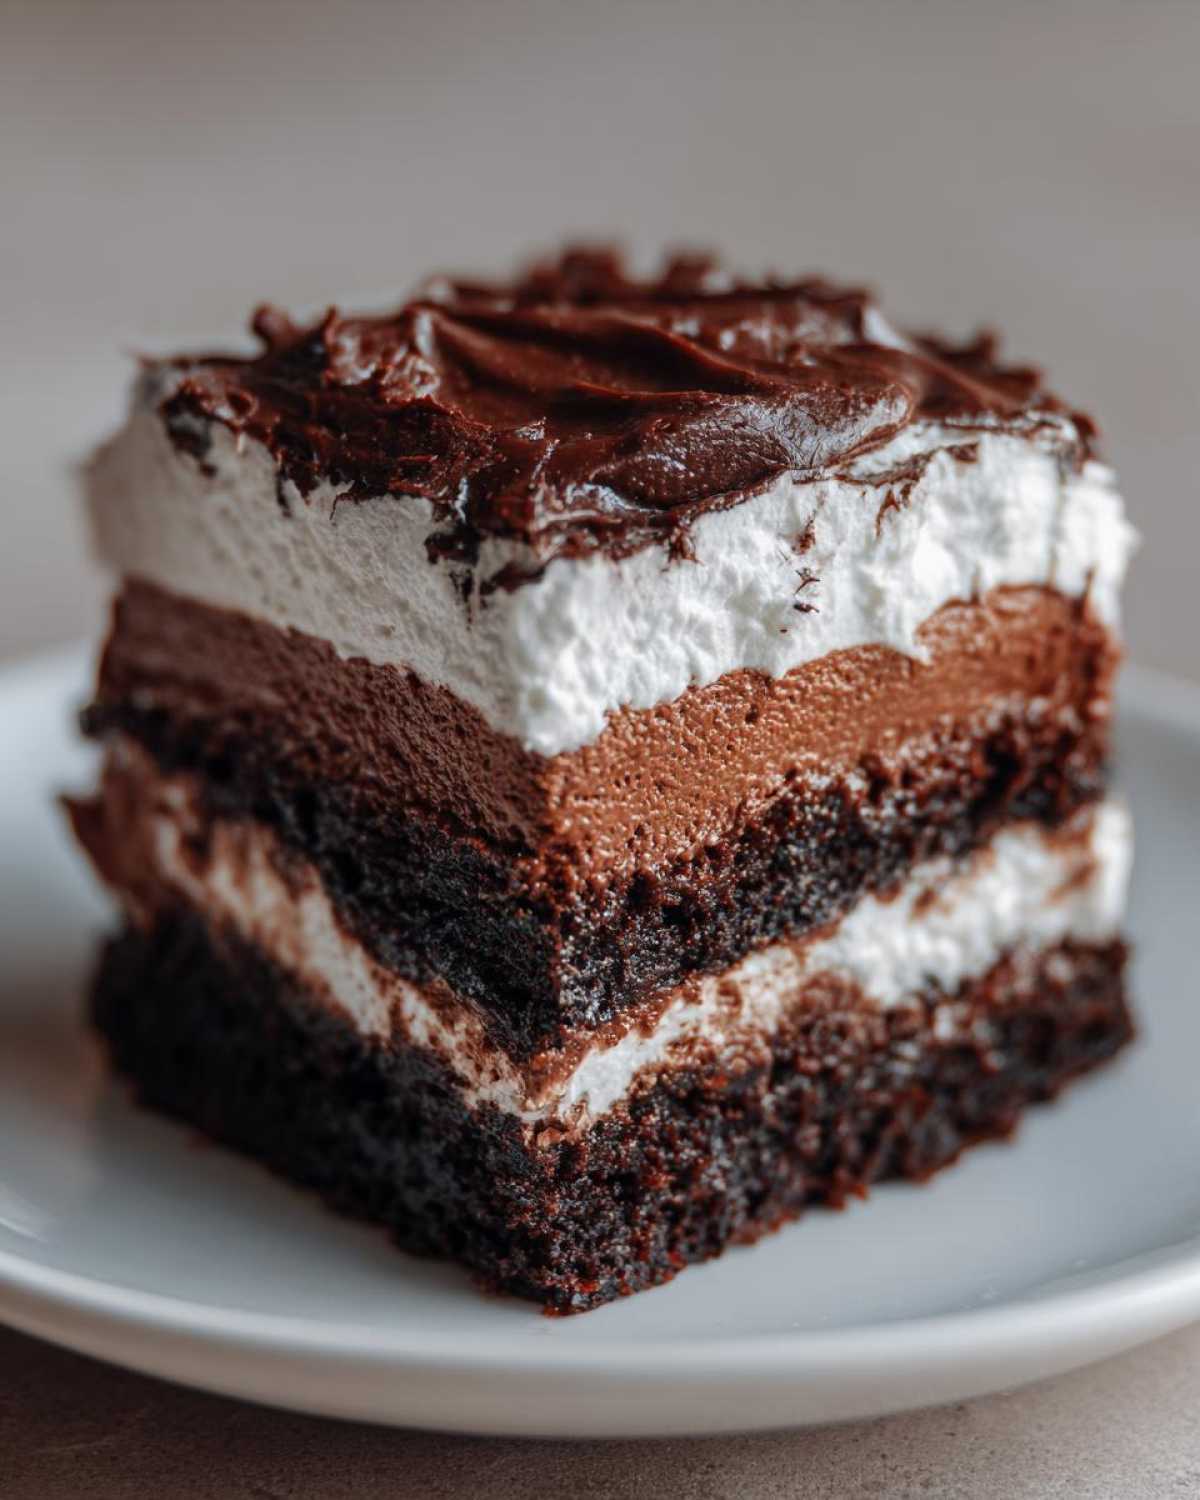
Grab your 9×13 inch dish—this is the real stage for our **Brownie Refrigerator Cake**! Start by arranging half of your cooled brownie squares right across the bottom evenly. Next, spread that beautiful cream cheese mixture right over the top of the brownies. Don’t press down hard, just make it snug! After that, spread your instantly thickened chocolate pudding over the cream cheese layer. Then, just repeat the process: put the rest of your brownie squares on top of the pudding. Finally, spread the remaining whipped topping right on top to seal the deal. Now, cover it tight with plastic wrap and put it away!
Expert Tips for the Perfect Brownie Refrigerator Cake
Even though this recipe is super simple, a couple of my little secrets really take this **Easy Chilled Brownie Recipe** from good to absolutely show-stopping. You’ve got your layers ready, but the real test is waiting for it to set up properly. I’ve learned the hard way that rushing the chilling process ends in a soupy mess!
If you decide to use store-bought brownies just to save time, make sure they aren’t too crumbly; sometimes the super fudgy ones are actually harder to stack neatly than the slightly denser ones. Also, if you find your puddings are setting up too thick when you start mixing them—maybe your milk was a touch too cold—don’t panic! You can whisk in an extra tablespoon of cold milk per pudding cup to loosen it up slightly until it’s smooth enough to spread. Don’t forget to check out my tips for the best homemade caramelized onion dip; making things ahead of time is always the way to go!
The Critical Chilling Time for This **Easy Chilled Brownie Recipe**
Listen to me very closely on this point: you absolutely cannot just chill this for 2 hours and call it done. That’s barely enough time for the pudding to firm up, let alone for the flavors to actually marry together. I insist on at least 6 hours, but if you can cover it tightly and let this **Decadent Cold Dessert** hang out in the fridge overnight, you’ll be so happy you waited!
The overnight chill allows the moisture from the pudding and cream cheese layer to soften the brownie pieces just *slightly*. This is what transforms separate layers into one cohesive slice of heaven, giving you that perfect melt-in-your-mouth texture every single time. It’s worth the patience, I promise!
Storage and Serving Suggestions for Your Make Ahead Chocolate Dessert
Since this incredible **brownie refrigerator cake** relies on that cold chill, storage is super straightforward! You must keep it covered with plastic wrap, directly in the fridge. Because there are no eggs that have been cooked into a custard (just the pudding, which sets beautifully), this dessert lasts wonderfully for about 3 to 4 days. I usually find the texture is best on day two!
You never want to reheat this, of course—it’s meant to be a **Decadent Cold Dessert**! When it’s time to serve, I just pull the dish out about 15 minutes before I plan on cutting into it. That tiny bit of warmth helps soften the whipped topping just enough. For serving, I just cut generous squares right out of the 9×13 dish. If you want really clean slices, dip your knife in hot water between each cut. You can also scoop out portions with a large spoon if you prefer a more rustic, trifle-like appearance. If you need more no-bake ideas, my no-bake pecan cream pie is another winner!
Frequently Asked Questions About the Brownie Refrigerator Cake
I always get a few questions whenever I post this recipe because people aren’t used to a dessert that gets better by sitting around doing nothing! Don’t worry if you’re new to this style of chilled dessert; I’ve tackled the most common things people ask me about making this stack perfect.
Can I skip baking the brownies entirely for this **No Oven Brownie Recipe**?
Absolutely! As I mentioned when we talked about ingredients, if you are truly trying to avoid turning on the oven, this is the perfect solution. You can use 18 to 20 ounces of high-quality, pre-baked brownies straight from the store. Just make sure they are cut into nice, even squares just like our baked ones. It keeps this whole process feeling like a true **No Oven Brownie Recipe**!
What makes this a **Layered Chocolate Icebox Cake**?
That’s a great question! People sometimes think ‘icebox cake’ means it has to be frozen, but it really refers to the process of chilling something until it becomes firm—back in the day before everyone had refrigerators, they used an ‘ice box’ to keep things cold. For us, the chilling time sets the pudding and cream cheese fillings so that when you slice it, you get those beautiful defined layers. It’s what turns a pile of ingredients into a beautiful **Layered Chocolate Icebox Cake**!
If a chocolate craving hits you hard but you can’t bake, definitely try making my easy chocolate milk recipe while you wait for the cake to chill! It always helps pass the time.
Estimated Nutritional Data for This Quick Chocolate Fridge Cake
Now, I have to be super clear here: since we are using a mix for the brownies and the pudding is instant, these numbers are just ballpark figures based on the specific ingredients I listed. I’m just giving you a general idea of what’s in a slice of this amazing **Quick Chocolate Fridge Cake**! If you use different brands or homemade brownies, the numbers will change, obviously. For a definitive count, you’d need to plug in your exact items into a tracker. You can read more about my general disclaimers here on my nutrition page.
Per generous slice, you’re generally looking at:
- Calories: Around 350
- Fat: About 18 grams
- Carbohydrates: Roughly 45 grams
- Protein: 4 grams
Share Your Thoughts on This Brownie Refrigerator Cake
This is it—the finished, chilled masterpiece! Now I need to know everything. Seriously, what was your absolute favorite layer in this **Brownie Refrigerator Cake**? Was it the sweet, tangy cream cheese, or the thick chocolate pudding?
Please let me know in the comments below if you made this, and don’t forget to rate it! I love hearing about your successes. You can always learn more about what we’re baking over on my About Us page!
PrintNo-Bake Brownie Refrigerator Cake
Assemble this easy, layered chocolate dessert using brownies, pudding, and a creamy filling. Chill until firm for a simple make-ahead treat.
- Prep Time: 25 min
- Cook Time: 35 min
- Total Time: 400 min
- Yield: 12 servings
- Category: Dessert
- Method: Chilling
- Cuisine: American
- Diet: Vegetarian
Ingredients
- 1 (18.25 ounce) package fudge brownie mix (plus ingredients listed on box for baking)
- 2 packages (3.9 ounces each) instant chocolate pudding mix
- 3 cups cold milk
- 1 package (8 ounces) cream cheese, softened
- 1 cup powdered sugar
- 1 teaspoon vanilla extract
- 1 container (8 ounces) frozen whipped topping, thawed
Instructions
- Prepare and bake the brownies according to the package directions. Let the brownies cool completely, then cut them into bite-sized squares.
- Prepare the instant chocolate pudding using 3 cups of cold milk, whisking for two minutes until thickened. Let the pudding stand for five minutes.
- In a separate bowl, beat the softened cream cheese, powdered sugar, and vanilla extract until smooth and creamy. Gently fold in half of the thawed whipped topping until just combined.
- To assemble the cake, use a 9×13 inch baking dish. Arrange half of the cooled brownie squares in a single layer on the bottom of the dish.
- Spread the cream cheese mixture evenly over the layer of brownies.
- Spoon the prepared chocolate pudding over the cream cheese layer.
- Top the pudding layer with the remaining brownie squares.
- Spread the remaining half of the whipped topping over the top layer of brownies.
- Cover the dish tightly with plastic wrap and refrigerate for at least 6 hours, or preferably overnight, before serving.
Notes
- You can use store-bought, pre-made brownies to save time.
- For a richer flavor, use dark chocolate pudding mix.
- If you prefer a firmer texture, use a slightly smaller amount of milk when making the pudding.
Nutrition
- Serving Size: 1 slice
- Calories: 350
- Sugar: 45
- Sodium: 250
- Fat: 18
- Saturated Fat: 8
- Unsaturated Fat: 10
- Trans Fat: 0
- Carbohydrates: 45
- Fiber: 2
- Protein: 4
- Cholesterol: 35