

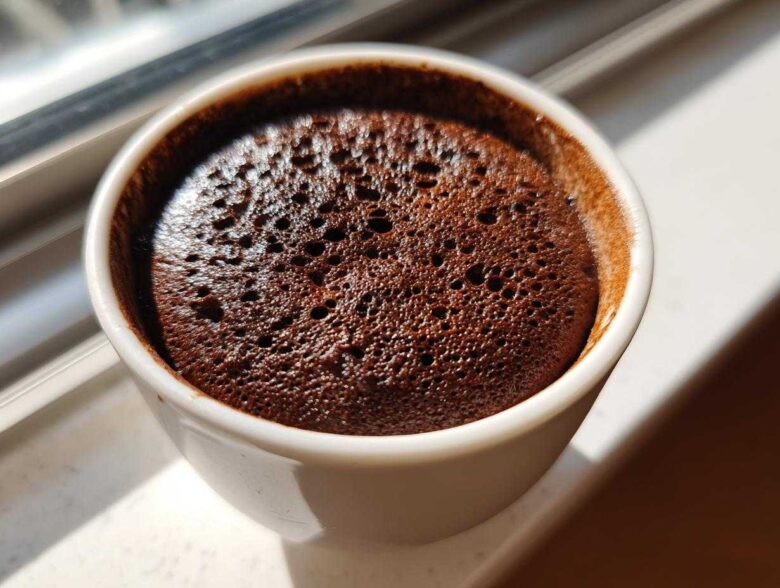
Oh, you know that feeling, right? You need a dessert that looks like you spent hours fussing over it, something truly elegant, but you really only have about fifteen minutes before people start arriving! I used to think achieving that deep, rich, absolutely gorgeous chocolate mousse was reserved for pastry chefs with fancy double boilers. Well, I was wrong!
I spent ages trying to perfect everything—egg yolks, tempering, making sure the peaks held—but then I stumbled upon this game-changer. This is, hands down, the World’s Easiest 3-Ingredient Silky Chocolate Mousse recipe. It’s unbelievably creamy, wonderfully light, and it sets beautifully. Seriously, if you can melt chocolate and whip cream, you can master this. This simple chocolate mousse proves that decadent doesn’t have to mean complicated!
Why This 3 Ingredient Mousse is the Ultimate Chocolate Mousse Recipe
If you’re looking for a winner for your next get-together, forget those complicated recipes that involve separating eggs or worrying about water baths. This approach delivers pure elegance with almost no effort required!
- It’s genuinely quick! You can have the whole thing mixed in under 20 minutes, making it the best quick chocolate mousse for last-minute entertaining.
- Seriously, only three main ingredients means less shopping and fewer things that can go wrong.
- The texture is spot-on—it manages to be both rich and incredibly light at the same time. You get that perfect, creamy chocolate mousse without any fuss.
It truly is the best easy chocolate mousse I’ve ever made when I’m short on time but high on dessert expectations.
Achieving That Light and Airy Mousse Texture
The secret to keeping this dessert delicate instead of dense is all about how we treat the cream. We’re taking heavy cream, whipping air into it to create soft peaks, and then we carefully fold that airy structure into our rich, melted chocolate base.
This folding process is what traps millions of tiny air bubbles inside the mixture. When it chills, those bubbles set, giving you that beautiful, melt-in-your-mouth sensation that defines a truly great chocolate mousse. If you beat it too hard, those bubbles pop, and you end up with heavy pudding instead!
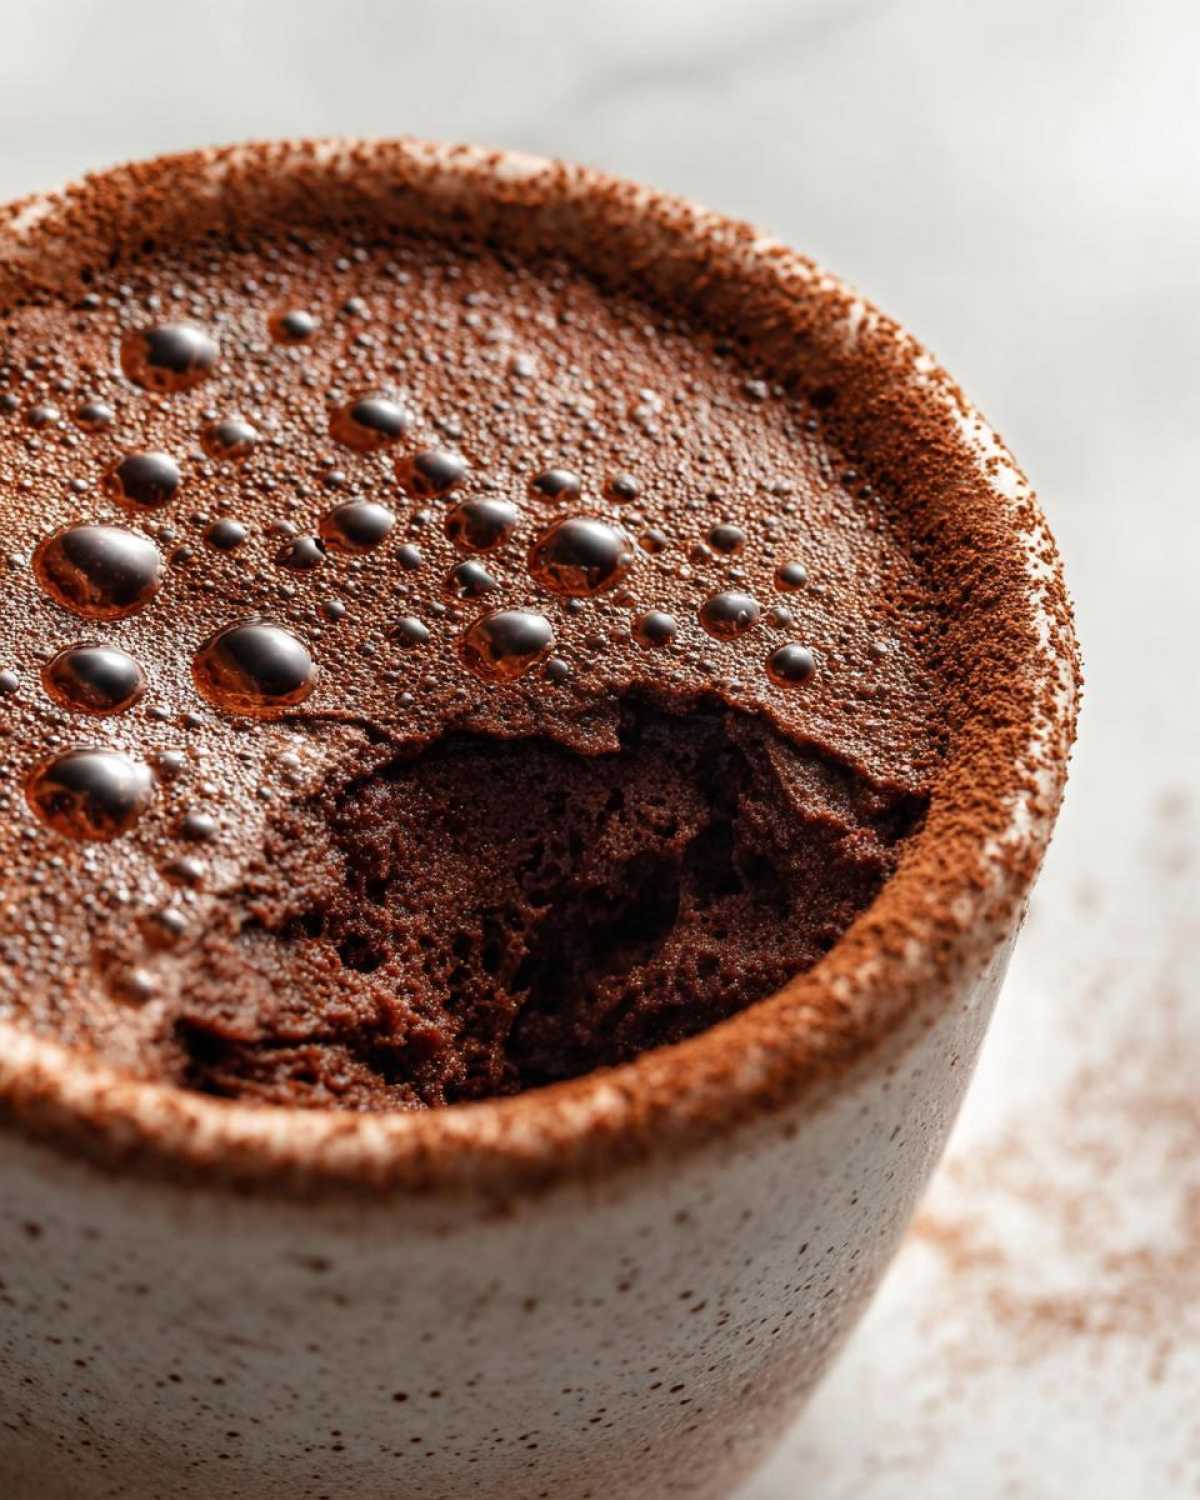
Gathering Ingredients for Your Silky Chocolate Mousse
Okay, let’s talk ingredients because, even with only three, quality makes a huge difference here. You need to grab these items—everything should be exactly as listed so we can nail that smooth, melt-in-your-mouth texture we’re aiming for.
- 1 cup heavy whipping cream (must be cold for whipping!)
- 6 ounces semi-sweet or dark chocolate, roughly chopped
- 1 tablespoon granulated sugar (I often skip this, but you do you!)
Since this recipe relies so heavily on just the chocolate and cream, make sure your chocolate is something you actually love eating straight from the bar. That’s how you guarantee a fantastic, velvety mousse recipe.
Ingredient Notes and Chocolate Selection for Chocolate Mousse
Listen, if you want that deep, luxurious flavor, don’t skimp on the chocolate quality. I usually reach for a good quality bar that’s around 60% to 70% cacao. Bittersweet gives you a more impressive depth, balancing the sweetness of the cream perfectly.
If you use milk chocolate, you absolutely must skip the optional sugar, or it’ll be way too sweet. Also, make sure that heavy whipping cream is chilled through; warm cream just won’t whip up properly, and that’s the foundation of this entire gourmet chocolate treat!
Step-by-Step Guide to Making Quick Chocolate Mousse
Ready to assemble this showstopper? It’s actually so straightforward. The first thing you need to do is put your chopped chocolate—all six ounces of it—into a nice, sturdy bowl. Then, we handle the cream.
Take half of your heavy cream (that’s the first half-cup) and heat it gently on the stovetop until you see just tiny bubbles creeping up the sides. Pour that hot cream right over your chocolate pieces. Now, this is important: walk away for five full minutes! Don’t touch it! We let the heat do the initial work. After five minutes, whisk it until it’s super glossy and smooth. Let this chocolate base cool down completely—we don’t want hot chocolate base melting our precious whipped cream!
While that cools, whip the remaining cream and sugar until you get soft peaks. Once the chocolate is room temp, gently lighten it up by folding in one-third of your whipped cream first. This step is crucial for a stable chocolate mousse. Then, carefully fold in the rest until you see no white streaks. Spoon it into your individual chocolate cups and chill for at least two hours. Easy, right?
Mastering the Fold: Creating the Light and Airy Mousse
Folding is an art, but you’ve got this! Remember, the air we incorporated into that whipped cream is what transforms this from a simple ganache into a breathtakingly light and airy mousse. Think of it like you are gently wrapping the chocolate mixture into a fluffy cloud.
Use a rubber spatula and cut down through the middle of the bowl, then sweep the spatula up along the side, bringing the batter from the bottom over the top. Turn the bowl slightly and repeat. You are just trying to combine, not crush!
Overmixing is your enemy here because it literally pushes all that delightful air out. Stop mixing the second those last white streaks disappear. If you mix too long, you’ll deflate the cream, and trust me, you’ll end up with much denser dessert that simply won’t do!
Tips for Perfecting Your Creamy Chocolate Mousse
Even though this recipe is famously easy, a few little tricks will take your creamy chocolate mousse from great to absolutely unforgettable. Think of these as the small habits that turn good baking into *my* baking!
First, let’s talk about cream temperature for the whipping stage. Your heavy cream needs to be ice cold! I actually keep my mixing bowl and the whisk attachment in the freezer for about ten minutes before I start. That extra chill helps the cream stabilize fast, giving you those soft peaks without needing tons of extra sugar.
When you’re waiting for that melted chocolate base to cool down, don’t rush it by trying to stick it in the freezer—that can actually dull the sheen. Just let it sit on the counter until it feels lukewarm to the touch. This careful temperature matching is the secret weapon for a truly simple homemade mousse that maintains its glossy look through chilling. Trust me, achieving that perfect, glossy finish on your chocolate mousse is all about temperature control!
Serving Suggestions for Your Decadent Chocolate Sweets
Now that you have this incredible, velvety dessert ready to go after chilling, the fun part is making it look as amazing as it tastes! Since this is such a simple base, it’s practically begging for a little flair on top, especially if you are serving it for those fancy dinner party desserts.
I generally whip up a small batch of cream just to dollop on top—but make sure you whip it just until soft peaks form, just like we did earlier, so it stays beautifully pillowy. A simple spoonful of that fresh whipped cream right on top looks totally stunning.
If you’ve made this in those gorgeous individual chocolate cups, here are a couple of my favorite ways to garnish:
- Dusting Magic: Use a tiny mesh sieve and dust the top lightly with high-quality unsweetened cocoa powder. It gives it a professional, matte finish that contrasts beautifully with the glossy texture underneath.
- Berry Brightness: A single, perfect raspberry or a trio of small strawberries placed dead center adds a pop of color that screams elegance. Plus, the slight tartness cuts through the richness beautifully.
- Shavings Galore: My personal favorite is grabbing a vegetable peeler and shaving a bar of good dark chocolate over the top right before serving. Those irregular curls look so rustic and gourmet!
Presentation is half the battle, and with minimal effort, your guests will think you pulled these decadent chocolate sweets straight from a glass case downtown!
Storage and Make Ahead Dessert Tips for Chocolate Mousse
This recipe is such a lifesaver because it’s one of those legendary make ahead desserts! You absolutely want to chill this for at least two hours, but honestly? It tastes even better the next day.
Once the chocolate mousse is set in its individual cups or ramekins, cover them tightly with plastic wrap—make sure the wrap isn’t touching the surface if you can help it, just to be safe. It keeps beautifully in the refrigerator for up to three days. Don’t even think about freezing it; the texture will turn grainy and sad!
When it’s time to serve, pull it out of the fridge about 20 minutes before you plan to dig in. This lets it warm up just slightly, enhancing that smooth, velvety mouthfeel. If you need to get in touch with me for any last-minute baking drama, you can always reach out via my contact page!
Frequently Asked Questions About This Easy Chocolate Mousse Recipe
I always get so many questions when people try this recipe for the first time because they can’t believe how simple it is! Here are a few things readers have asked me about nailing that perfect result for this chocolate mousse recipe.
Is this really a true French chocolate mousse recipe?
That’s a great question! A classic, old-school French chocolate mousse often relies on tempered egg yolks for richness and stability, and sometimes even uses barely cooked egg whites for lift. We skip all that intense work! This version uses only whipped cream for structure, making it a wonderfully accessible, no-bake version. It certainly delivers that incredible melt-in-your-mouth texture similar to my favorite gourmet chocolate treats, but without the stress of raw eggs.
My mousse turned out gritty, not silky. What did I do wrong?
Oh, I hate when that happens! That usually means one of two things happened. Either your chocolate wasn’t fully melted when you folded in the cream, or the chocolate got too hot when you mixed it initially. If the chocolate gets too hot or seizes up, it won’t incorporate smoothly with the cool cream. Always ensure that chocolate-cream ganache cools down to room temperature before you even think about adding the whipped cream in. That cooling process is essential for that silky chocolate dessert!
Can I make this with a different type of chocolate, like white chocolate?
You can certainly try! But know that white chocolate behaves a little differently in recipes like this. White chocolate has more cocoa butter and sugar, so it sets up softer and is much sweeter. If you use white chocolate or milk chocolate, you absolutely must skip that optional tablespoon of sugar we added, or your chocolate mousse recipe will be cloyingly sweet. I strongly suggest sticking to semi-sweet or dark for the best flavor profile!
How far in advance can I make these individual chocolate cups?
This is the best part! This recipe is a wonderful make ahead dessert. You can fully assemble and chill your individual chocolate cups the day before you serve them. In fact, I think the flavors deepen overnight! Just keep them covered tightly in the coldest part of your fridge. Take them out about 15 minutes before eating so they aren’t stiff straight from the cold.
Estimated Nutrition for This Silky Chocolate Dessert
Now, I know some of you are watching macros, and some are maybe just curious! Since this silky chocolate dessert relies heavily on heavy cream and the chocolate you choose, these numbers are just estimates I pulled together for a typical serving size—about one cup.
Keep in mind that if you use super dark, high-cacao chocolate, the sugar will drop, and those numbers will shift a bit. This is meant to give you a general idea, not a precise scientific breakdown!
Here is the breakdown based on a standard serving size of 1 cup:
- Calories: Around 350 per serving. That’s pretty reasonable for something this decadent!
- Total Fat: About 28g (watch that saturated fat!).
- Total Sugar: Roughly 25g, depending heavily on your chocolate choice.
- Protein: About 5g for a satisfying finish.
- Carbohydrates: Around 28g total.
For all my perfectionist bakers out there, please remember: these values are estimates for our quick chocolate mousse recipe. If you swap semi-sweet for bittersweet, or if you decide to leave out that optional tablespoon of sugar, the final count changes. For the most accurate details, you can always check out my full recipe disclaimer page for ingredient transparency!
Share Your Ultimate Chocolate Mousse Creation
I absolutely cannot wait to see your magnificent results! That’s the best part of sharing these recipes, you know? Did it become your new go-to? Drop a rating below telling me how this ultimate chocolate mousse worked for you.
Seriously, leave a comment if you tried any fun garnishes or if you have tips for your own version of chocolate mousse. Happy baking!
PrintWorld’s Easiest 3-Ingredient Silky Chocolate Mousse
Make a rich, creamy, and light chocolate mousse using only three simple ingredients. This no-bake dessert sets quickly and is perfect for any occasion.
- Prep Time: 15 min
- Cook Time: 5 min
- Total Time: 20 min
- Yield: 4 servings
- Category: Dessert
- Method: No Bake
- Cuisine: French
- Diet: Vegetarian
Ingredients
- 1 cup heavy whipping cream
- 6 ounces semi-sweet or dark chocolate, chopped
- 1 tablespoon granulated sugar (optional, adjust to taste)
Instructions
- Place the chopped chocolate in a medium, heatproof bowl.
- Heat half of the heavy cream (1/2 cup) in a small saucepan over medium heat until it just begins to simmer around the edges. Do not let it boil rapidly.
- Pour the hot cream over the chopped chocolate. Let it sit undisturbed for 5 minutes to melt the chocolate completely.
- Whisk the chocolate and cream mixture until completely smooth and glossy. Set aside and let it cool to room temperature.
- In a separate, chilled bowl, whip the remaining 1/2 cup of heavy cream and the optional sugar until soft peaks form.
- Gently fold about one-third of the whipped cream into the cooled chocolate mixture to lighten it.
- Carefully fold in the remaining whipped cream until just combined and no white streaks remain. Do not overmix to keep the mousse airy.
- Spoon the mousse into individual serving cups or ramekins.
- Chill in the refrigerator for at least 2 hours, or until firm.
Notes
- Use high-quality chocolate for the best flavor.
- For a richer taste, use bittersweet chocolate (70% cacao or higher).
- You can substitute the sugar with 1 teaspoon of vanilla extract for flavoring.
- This mousse is excellent made a day ahead of serving.
Nutrition
- Serving Size: 1 cup
- Calories: 350
- Sugar: 25
- Sodium: 30
- Fat: 28
- Saturated Fat: 17
- Unsaturated Fat: 11
- Trans Fat: 0
- Carbohydrates: 28
- Fiber: 3
- Protein: 5
- Cholesterol: 95