

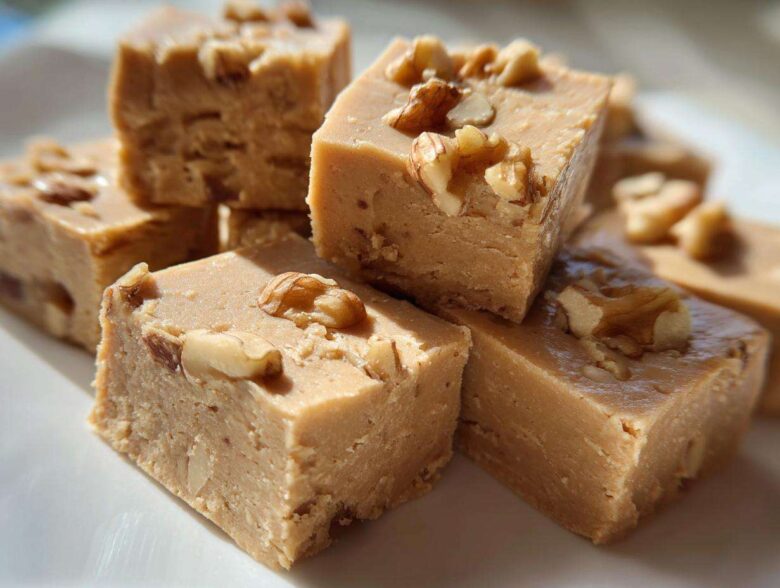
Oh, you absolutely *have* to try this! When the air gets chilly and you start thinking about cozy nights, there’s nothing that beats the taste of real, authentic maple. I spent years messing up candy—always ending up with sugar crystals instead of smooth sweetness—but I finally cracked the code for the most incredible maple fudge.
Forget the complicated stuff; this recipe is hands-down the easiest way to get that perfect, rich, melt-in-your-mouth texture. We’re talking pure decadence without the stress of tricky candy making. Seriously, if I can nail the creamy fudge consistency every single time, you definitely can too. Get ready to impress everyone with this delicious, sweet maple treat!
Why This Easy Maple Fudge Recipe Works (Experience & Expertise)
I know candy making sounds scary, but this is where the magic happens! The reason this recipe guarantees that super creamy fudge texture and keeps those horrible sugar crystals away is all about sticking to two very specific temperature markers. I learned the hard way that cutting corners here means grainy fudge, and nobody wants that!
Even though it’s listed as an easy candy making project, you need to respect the science behind sugar. The payoff for just a few extra minutes of careful watching is a decadent fudge that tastes like you spent all day fussing over it. Trust me, the payoff is worth it.
The Science Behind Achieving Smooth Maple Fudge
You absolutely need a candy thermometer for this, or you’re playing Russian roulette with your texture. We have to hit precisely 234 degrees Fahrenheit—that’s the soft-ball stage. This guarantees the sugar structure is just right.
Then, here’s the secret weapon: you let it cool *all the way down* to 110 degrees Fahrenheit before even touching it again. That controlled cooling time is what sets up those perfect crystals that give you that wonderfully soft, melt in your mouth candy feel. If you rush it, it gets grainy. Simple as that!
Gathering Ingredients for Your Homemade Maple Fudge
Okay, now for the fun part—getting the supplies together! For this homemade maple fudge, we need quality ingredients, especially when dealing with maple. If you use that watery pancake syrup, you just won’t get that deep, authentic flavor that makes this a true real maple syrup dessert.
Don’t worry if you don’t have every fancy item; what matters most here is the syrup quality and having something to stir with! Here’s everything I always pull out before I even turn the stove on.
Ingredient List for Maple Fudge
You’ll need 2 cups of granulated sugar, 2/3 cup of pure maple syrup—the real stuff, please! Also grab 2/3 cup of evaporated milk, 1 tablespoon of butter, 1 teaspoon of vanilla extract, and 1/4 teaspoon of salt. And for that extra crunch that I adore in my maple walnut fudge, have 1 cup of chopped walnuts ready, but you can skip those if you want!
Preparation Steps for Perfect Maple Fudge
Alright, let’s get down to business and make this maple fudge recipe happen! I find that laying out all my equipment first—especially lining that 8×8 pan with parchment paper so I have handles later—makes the whole process so much smoother. Candy making moves fast once that sugar starts heating up, so being prepared is half the battle.
Don’t panic when you see the thermometer; we’re going to take this slow and steady through two main stages: the cooking phase and the crucial cooling/beating phase. Stick with me, and you’ll have decadent fudge in no time!
Cooking the Maple Fudge Base
First thing: line that pan! Get your butter, sugar, syrup, milk, and salt into a heavy pot. You need to stir this CONSTANTLY over medium heat until that sugar has completely disappeared. I mean, no grit allowed! Once it’s smooth, attach your candy thermometer—make sure the tip isn’t actually touching the bottom of the pan, or you’ll get a false high reading.
Now, stop stirring! Let it come to a vigorous, rolling boil. We cook it only until the thermometer hits exactly 234°F (that soft-ball stage). As soon as it hits that magic number, pull it off the heat immediately. Stir in your vanilla and the walnuts if you’re using them. That’s it for the heat part!
Cooling and Beating the Maple Fudge Mixture
This next step is just as important as the boiling! Leave the pot absolutely alone. Do not touch it, do not peek at it, just let it sit undisturbed until the temperature drops to 110°F. This usually takes about an hour, so go make yourself a cup of tea.
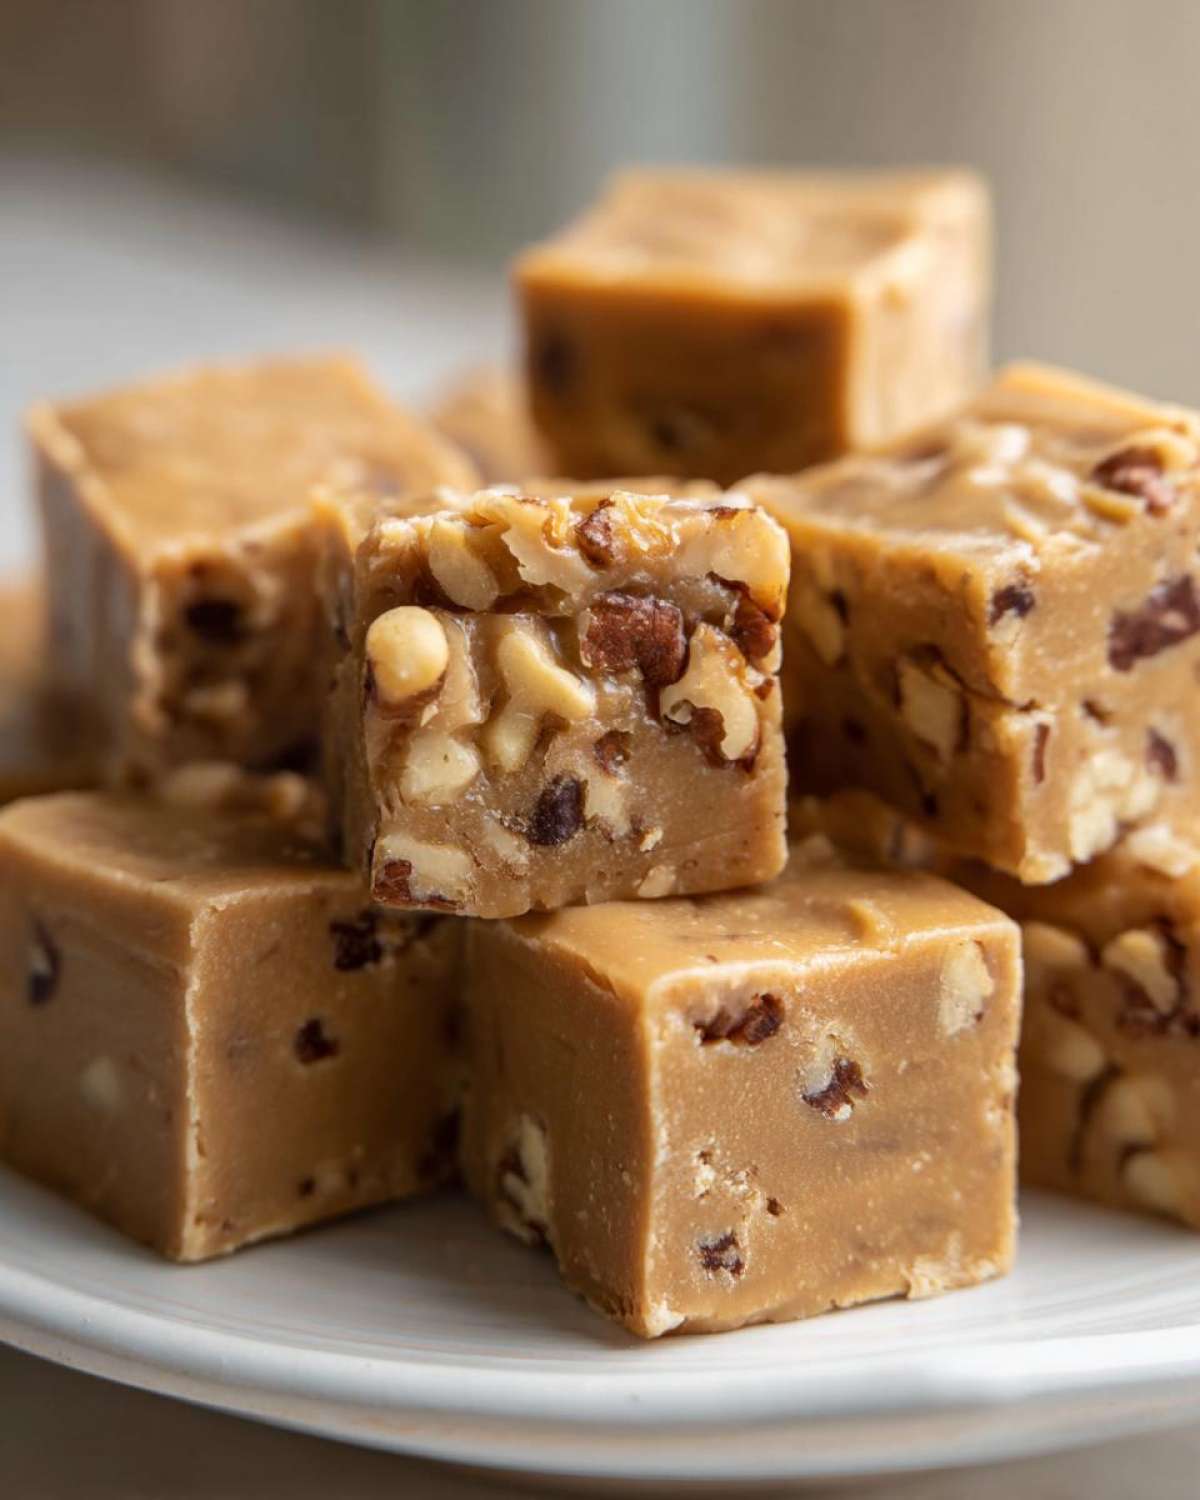
When it hits 110°F, take a sturdy wooden spoon—or yes, use your electric mixer on medium—and beat it like crazy! You’ll see it transform. It goes from shiny and runny to thick, dull, and almost like spreading peanut butter. This is the texture you want before you rush it into that prepared pan!
Setting and Cutting Your Maple Fudge
Once it starts holding peaks, spread that thick mixture quickly into your parchment-lined pan. It sets up fast, so work briskly! Let it set completely at room temperature for a few hours. Trying to chill it can sometimes mess up the texture, which we really want to avoid after all that hard work!
When it’s firm, lift it out using the parchment overhang—it usually pops right out, which is the best feeling! For super neat squares, which is great if you’re planning on gifting this, wipe a large knife under hot water and dry it off quickly before each cut. Those clean edges make this homemade maple fudge look totally professional!
Tips for Success with Maple Walnut Fudge
Even though this is one of the easier holiday fudge ideas out there, there are a couple of tricky spots where people trip up. My biggest piece of advice for getting that perfect maple walnut fudge is sticking to the rules we just talked about—especially that cooling time. It’s so tempting to fiddle with it, but resist the urge!
This candy is all about patience, which is hard when something smells this good, but trust me, you’ll thank yourself later when this stuff is literally dissolving in your mouth.
Ingredient Notes and Substitutions for Maple Fudge
Seriously, I can’t stress it enough: use only 100% GROWN-UP pure maple syrup. If it says “pancake mix” or “flavored syrup” on the bottle, throw it out for this recipe. The flavor profile just isn’t the same, and it throws off the sugar balance, leading to less than stellar fudge!
As for substitutions, pecans work okay instead of walnuts if you absolutely must, but that slight bitterness of the walnut really cuts through the sweetness perfectly. Stick with walnuts if you can for the best flavor balance in this decadent fudge.
Storage and Serving Suggestions for Your Maple Fudge
Once your delicious maple fudge has set up, you might want to hide it because it’s going to disappear fast! If you manage to save some, store it in an airtight container at cool room temperature. It keeps beautifully for about two weeks—it hardly ever lasts that long here, though!
You can sometimes refrigerate it, but sometimes the cold makes it a little harder than I like. For beautiful presentation, especially for holiday fudge ideas or gift giving, stack small squares between layers of waxed paper in a decorative tin. Honestly, just cut it up and leave it on the counter; it’s always begging to be eaten with a cup of coffee!
Frequently Asked Questions About Making Maple Fudge
I get so many questions about candy making because folks are worried about messing it up, but don’t you worry! We’ve covered the main hurdles, but here are a few quick answers to the things I hear most often about making this rich, sweet maple fudge.
Can I make this maple fudge without a candy thermometer?
You *can*, but I really, really advise against it if you want that perfect texture. If you absolutely cannot use one, you perform the cold water test. Drop a tiny bit of the boiling syrup into a cup of ice-cold water. If it forms a soft ball that immediately flattens out when you pull it off the water, you’re good to go!
But honestly, a cheap thermometer costs less than throwing out a ruined batch. For the smoothest fudge, measuring that temperature exactly is key.
Is this a no bake fudge recipe?
That’s a great question! While this recipe is certainly an easy candy making project and requires way less fuss than some traditional candies, it isn’t technically a no bake fudge recipe. You do have to bring the sugar and syrup up to that specific boil on the stovetop to reach the right crystal structure.
If you want something truly no-bake, I have a condensed milk version I might share later, but for this rich, classic flavor, you need that quick blast of heat!
Why did my homemade maple fudge turn grainy?
Grainy fudge is the candy maker’s nightmare! Usually, it boils down to stirring too much or cooling incorrectly. If you stirred the mixture while it was boiling hard, you encouraged crystallization. Or, even worse, if you moved it or stirred it *before* it hit that 110-degree mark during cooling, you started the process unevenly.
When it cools too fast or gets bumped during that rest period, the sugar starts to form those large, crunchy crystals instead of the tiny ones that make your maple fudge feel like it’s melting away on your tongue. Next time, just let it sit completely still!
Nutritional Estimates for Maple Fudge
Look, diving deep into nutrition isn’t usually my favorite part of making a delicious maple fudge batch, because let’s be honest, this is pure treat time! But I always pull up the estimates just so you know what you’re getting into. Remember, these numbers are just ballpark figures based on the ingredients listed for one small square of candy.
Since we are using real maple syrup and butter, it’s obviously going to lean sweet, but it’s still surprisingly portion-friendly! Here’s the general breakdown:
- Serving Size: 1 square
- Calories: Around 145 per square
- Sugar: Roughly 28 grams (That’s the maple shining through!)
- Fat: About 3 grams total
- Protein: Just about 2 grams
- Carbohydrates: Around 30 grams
- Sodium: Luckily, only about 35 mg
It’s rich, sweet, and definitely decadent, but a small piece satisfies that craving perfectly. Enjoy every single bite!
Share Your Experience Making This Maple Fudge
I truly hope you loved making this recipe as much as I love sharing it. There’s just something so satisfying about making classic, old fashioned fudge right on your own stovetop and getting that creamy, perfect result when you thought candy making was too hard!
If you gave this a whirl, I’d be thrilled if you came back and left a rating or a comment below. Tell me how your texture turned out! Did you use walnuts? Did you resist the urge to stir while it was boiling? I read every single comment, and I love hearing how you enjoyed your new batch of rich, sweet maple candy.
And if you snap a picture of your beautiful squares—maybe they’re wrapped up as little holiday gifts or piled high on a plate for snacking—please tag me! It makes my day to see my family’s favorite treat in your kitchen. You can always reach out to me directly through the contact page if you have any troubleshooting questions that popped up while you were working.
PrintEasy Creamy Maple Fudge with Walnuts
Make smooth, rich maple fudge using real maple syrup. This recipe yields a melt-in-your-mouth candy texture and includes optional walnuts for added crunch.
- Prep Time: 10 min
- Cook Time: 15 min
- Total Time: 75 min
- Yield: About 36 small pieces
- Category: Dessert
- Method: Stovetop Cooking
- Cuisine: American
- Diet: Vegetarian
Ingredients
- 2 cups granulated sugar
- 2/3 cup pure maple syrup
- 2/3 cup evaporated milk
- 1 tablespoon butter
- 1 teaspoon vanilla extract
- 1/4 teaspoon salt
- 1 cup chopped walnuts (optional)
Instructions
- Line an 8×8 inch pan with parchment paper, leaving an overhang on two sides for easy removal. Lightly grease the paper.
- Combine sugar, maple syrup, evaporated milk, butter, and salt in a heavy-bottomed saucepan.
- Stir constantly over medium heat until the sugar dissolves.
- Attach a candy thermometer to the side of the pan, making sure the tip does not touch the bottom.
- Bring the mixture to a rolling boil without stirring. Cook until the temperature reaches 234 degrees Fahrenheit (soft-ball stage). This usually takes about 8 to 10 minutes.
- Remove the pan immediately from the heat. Remove the thermometer.
- Stir in the vanilla extract and the optional walnuts. Do not overmix.
- Let the mixture cool undisturbed on the stovetop or a cooling rack until it reaches 110 degrees Fahrenheit (about 1 hour). Do not stir during cooling.
- Once cooled to 110 degrees Fahrenheit, begin beating the mixture vigorously with a wooden spoon or an electric mixer on medium speed.
- Continue beating until the fudge loses its glossy appearance, thickens considerably, and starts to hold its shape (about 5 to 10 minutes).
- Quickly spread the fudge into the prepared pan.
- Let the fudge set completely at room temperature for several hours or chill briefly to speed up setting.
- Lift the fudge out using the parchment overhang, cut into small squares, and serve.
Notes
- Use only pure maple syrup for the best flavor; avoid pancake syrup.
- Do not stir the mixture while it is boiling to prevent crystallization.
- If you do not have a candy thermometer, the mixture is ready when a small amount dropped into cold water forms a soft ball that flattens when removed.
Nutrition
- Serving Size: 1 square
- Calories: 145
- Sugar: 28
- Sodium: 35
- Fat: 3
- Saturated Fat: 2
- Unsaturated Fat: 1
- Trans Fat: 0
- Carbohydrates: 30
- Fiber: 0
- Protein: 2
- Cholesterol: 8