

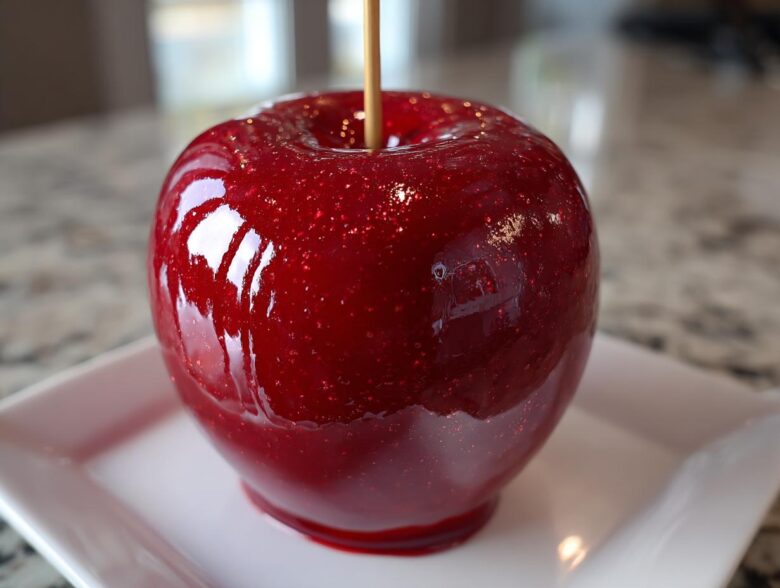
Oh my gosh, if there is one smell that instantly teleports me back to the state fair, it’s that sharp, sweet, unmistakable scent of hot, hardening sugar. You know the one! For years, I tried making those beautiful, shiny **classic candy apples** at home, and every single time? Sticky mess. The coating would either fall right off or stay tacky—never that satisfying *crack* you’re supposed to get.
I finally cracked the code, trust me. After ruining batches that involved me basically wrestling with the candy thermometer, I figured out the exact temperature and prep work needed to get that glass-like finish. This isn’t some watered-down version; this is the ultimate **homemade candy apple recipe** that promises that perfect, glossy red shell that refuses to crack or bleed. Forget everything you thought you knew about this fun fall treat—we are making them shatteringly crisp!
If you’re hosting a Halloween party or just craving that perfect autumn dessert, you are going to want to bookmark this. You can check out more about my kitchen adventures over at my About Me page, but for now, let’s get to the sweet stuff!
Why You Will Master This Homemade Candy Apple Recipe
Look, I get it—candy coating seems scary. It feels like you need a chemistry degree! But I promise, this recipe takes all the guesswork out so you can actually enjoy the process, especially when you’re planning your next big batch for **fall dessert recipes**. You’re going to nail it the first time, and here’s why this is the keeper:
- You get that ideal, non-sticky, shatteringly crisp shell every time.
- The vivid red color stays deep and beautiful, not dull or murky.
- It’s surprisingly fast once you get your apples prepped!
Achieving the Perfect Glossy Candy Coating
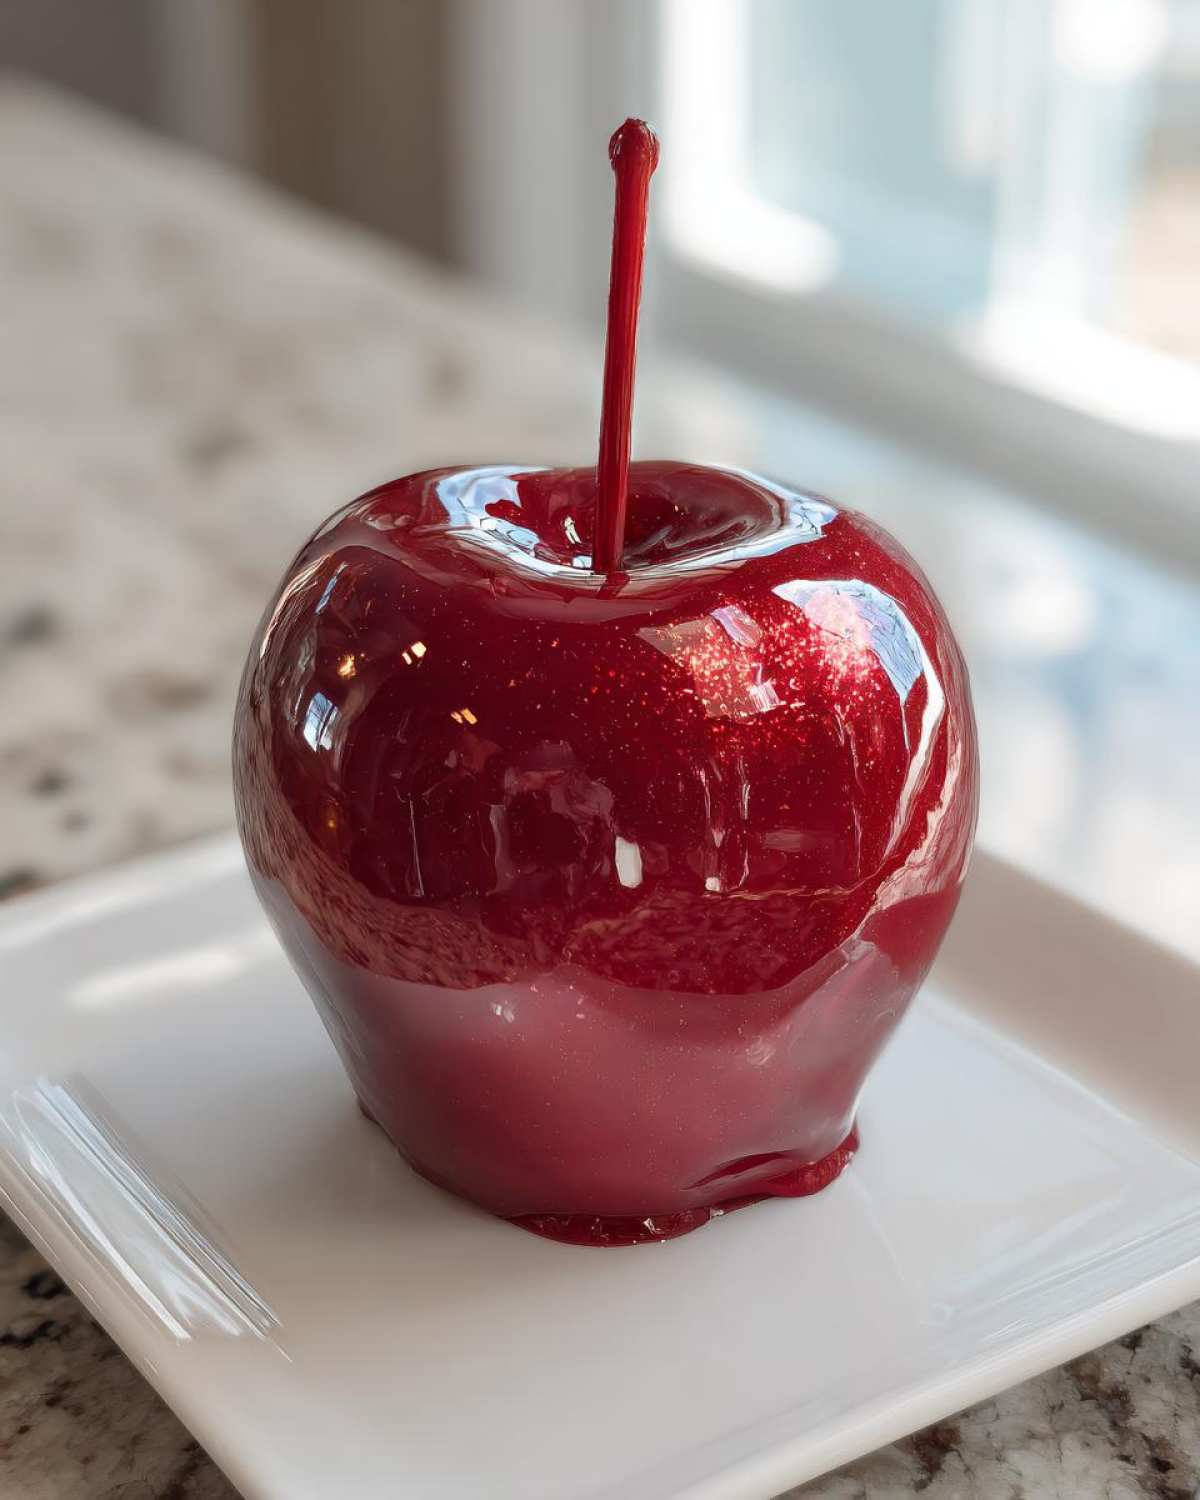
The secret sauce—literally—is temperature control. We aren’t messing around with soft ball or firm ball stages here. We are aiming straight for 300 degrees Fahrenheit, which is the hard-crack stage. Hitting that temp means the sugar hardens instantly when it hits the air. That’s what gives you that flawless, mirror-like shine and the perfect **glossy candy coating**. It’s crisp, vibrant, and absolutely beautiful.
Tips for No Crack Candy Apples
Want to avoid that common disaster where the coating peels off in one giant sheet later? It all comes down to two things. First, the apples must be bone-dry—seriously, dry them like you’re preparing them for surgery! Second, we use corn syrup, which stops the sugar from thinking about crystallizing. These two simple steps are your ticket to durable, **no crack candy apples** that stay perfect on the counter.
Essential Ingredients for Classic Candy Apples
When you’re making something this simple, the ingredients are everything! You don’t need a pantry full of weird stuff, just good quality basics handled correctly. I’ve listed exactly what goes into this foolproof coating below. Make sure you have your candy thermometer ready—it’s the most important tool for success here, more important than your mixing spoon!
We are using 2 cups of plain white sugar for the structure, but please notice the **corn syrup** is non-negotiable! It’s the glue that keeps things smooth and stops us from getting that grainy texture that ruins everything. Also, pick apples that are firm and a little bit tart—bright red ones are great, but flavor-wise, you need something that can stand up to the sweet shell!
- 6 medium firm apples (Granny Smith or Fuji are my go-to picks)
- 6 wooden sticks or skewers
- 2 cups granulated sugar
- 1 cup light corn syrup (the real MVP!)
- 1 cup water
- 1 teaspoon red food coloring (gel food coloring gives the deepest color, trust me)
- 1/2 teaspoon cinnamon extract or vanilla extract (cinnamon extract smells like the fairground!)
Selecting the Best Apples for Candy Apples
Don’t try to sneak in a soft Honeycrisp here; they look nice but they just aren’t sturdy enough. You want crisp, tart apples like **Granny Smith** or even a firm Fuji. Softer apples heat up too much while you’re dipping and then they start to slip right off the stick once they cool down. We want them to hold tight!
Preparing Your Apples for the Best Candy Apples Coating
Okay, this next part might feel tedious, but I swear, skipping any of these steps is the number one reason people end up with sticky frustration! The syrup needs something rough to grip onto, not a waxy shield.
First, give those apples a good scrub. Then, here’s the secret my aunt taught me: quickly dip each apple, just for a second or two, into a pot of near-boiling water. This melts off any factory wax that is designed to make them last longer on the shelf, but it’s chaos for candy! Pat them down immediately. You must then let them air dry completely, or just gently pat them dry with paper towels until you think they are dry—then dry them again!
Moisture is the enemy of that beautiful **glossy candy coating**; even a tiny bit will make your syrup bubble up or ruin the smooth finish. Once they look perfectly dry, grab your skewer and push it firmly right into the core, leaving a good chunk sticking out so you have a handle. If it feels wobbly, you’ve done it wrong, so pull it out and try again. A firm stick means success!
Step-by-Step Easy Candy Apples Tutorial
This is where magic happens! Don’t be intimidated by the heat; just stick to the plan, and you’ll have amazing **candy apples** ready for your porch display. We’re moving fast once the syrup is done, so have all your colors and apples lined up and ready to go. Remember, this is the easiest way to get those professional-looking, crisp coatings!
I always lay out my parchment paper first. Then I get the pot on the stove. We need to cook this syrup until it hits exactly 300 degrees Fahrenheit. If you try to guess, you’ll end up with a sticky mess, so please use that thermometer! Once it hits the mark, we pull it right off the heat. Seriously, take the pan off the burner because that residual heat will keep cooking it past 300, and we don’t want burned sugar.
For those interested in the science behind the crisp shell, I wrote a little bit about how heat affects sugar structures over on the main Delish Dreams site—but for now, focus on that temperature!
Cooking the Syrup to Achieve Crispy Candy Apples
First, you combine the sugar, corn syrup, and water in a saucepan. Only stir until the sugar dissolves, and then—and this is vital—you stop touching it! No stirring once it starts bubbling up. We need a clean boil to prevent crystallization. Affix your candy thermometer and just let it churn away gently until that needle hits 300°F. That’s the hard-crack stage. As soon as you hit it, whisk in your red coloring and extract off the heat. Speed matters here for that **crispy candy apples** texture!
Dipping and Setting the Vibrant Candy Coating
Once the color is swirled in, gently tilt the pot to pool the syrup on one side. Grab an apple by the stick, dip it straight down, and rotate it quickly so the syrup coats evenly all the way to the top. You want to lift it out and let the excess drip back into the pan; just a quick *drip-drip-drip* is needed. If you let it hang too long, you get a thick, blobby bottom! Set the coated apples immediately onto your prepared mat (parchment paper or silicone works best). They need about 30 minutes at cool room temperature to set into that brilliant, **vibrant candy coating**.
Tips for Success with Your Candy Apples
Now, even with the perfect temperature, sometimes things go a little sideways, especially if you’re working in a humid kitchen—yuck! If your coating seems too thin while you’re dipping, don’t panic and toss the whole batch. Just quickly put the saucepan back on the absolute lowest heat for about 30 seconds to a minute, just to warm it back up, then pull it off again. This restores just enough viscosity to get a nice, even coat.
If you ever notice the finished apples feel tacky later on, that’s usually humidity causing the sugar to absorb moisture. My permanent fix? I just make a tiny bit of extra syrup (using half the recipe amounts) and reheat that batch *very* carefully until it hits 310 degrees—that slightly higher temperature really locks it down. Remember, for the best **candy apples**, they should feel hard and cool to the touch, not soft or sticky!
Making Halloween Candy Apples and Other Variations
Once you master that basic red shine, the real fun begins, right? This base recipe is totally adaptable for all your festive needs, whether you’re doing a spooky, dark theme or a bright rainbow display for a birthday. Honestly, for **halloween candy apples**, I love making half black and half neon green—it looks super dramatic!
The easiest way to change things up is just by swapping that one teaspoon of red food coloring for something else. Gel colors are best because they don’t thin out the syrup too much. Want a perfect pink? Use a drop of bright pink gel. For a deep, spooky black, you’ll need a dark black gel, or mix a little blue and brown until you get there. I’ve also played around with flavoring; swapping the vanilla for almond or, better yet, using a really strong cherry extract gives you that classic, almost ‘fake’ fairground fruit flavor that everyone secretly loves!
Caramel Apple Alternatives for Gourmet Candy Apples
Just so we are clear—these are **crispy candy apples**, not soft and chewy caramel apples. Caramel takes a different temperature and has a totally different texture. If you want that classic, crackly shell that you can store on the counter, stick with this hard-crack recipe! It’s just naturally better for those beautiful, brightly colored, **gourmet candy apples** that really pop at parties.
Storage and Serving Suggestions for Your Candy Apples
So, you’ve got these gorgeous, glossy **candy apples** cooling perfectly—yay! Now, we have to talk storage, because this is where many people accidentally sabotage their hard work and end up with weirdly sticky surfaces!
Here is the golden rule: keep them away from the fridge! Cold, damp air makes the beautiful hard candy coating start to sweat and get tacky, and nobody wants that mess. Instead, keep them standing upright on parchment paper inside a loosely covered container at cool room temperature. They are best served within two days for that perfect crisp snap.
They make absolutely stunning centerpieces for **fall dessert recipes**, but they truly shine as easy **party dessert ideas**. Everyone loves picking up a perfectly coated fruit!
Frequently Asked Questions About Candy Apples
I always get questions when I bring these to community events, so here are the big ones that come up about making your own batch of these **simple sweet treats**. Don’t hesitate to reach out if you have more—you can always find my contact info right here!
Why are my homemade candy apple recipe coatings sticky?
Oh, the dreaded stickiness! This almost always comes down to one of two things, and I’ve battled both myself. First, your sugar syrup didn’t get hot enough—it needs to hit that 300°F hard-crack stage to ensure it cools completely solid. Or, maybe you have high humidity in your kitchen, which makes sugar want to cling to everything! If you are dipping quickly, you can sometimes save a batch that’s cooling a little slow by warming the pot on very low heat for just a second or two to thin it out again.
How do I make my candy apples shiny?
Shine is all about preparation and process. You must remove every trace of wax from the apple skin—that quick dip in hot water is crucial! Also, when you cook the syrup, the second it starts to boil, put the spoon down and don’t stir again until you add the color off the heat. Stirring creates tiny air bubbles that dull the shine. A smooth sugar flow equals a smooth, super **glossy candy coating**!
Nutritional Estimate for This Simple Sweet Treat
I always like keeping track of what we toss back at the fall festivals, even though these are meant to be a fun indulgence! Since these **candy apples** are mostly sugar, the numbers aren’t exactly diet-friendly, but hey, they taste like pure joy, right?
Keep in mind, these are just estimates based on the standard ingredients listed. For the most accurate counts, you’d need to check your specific brand labels, of course. You can read my full disclosure statement regarding recipe estimations here.
- Serving Size: 1 apple
- Calories: 350
- Sugar: 85g
- Fat: 0g
- Protein: 0g
Foolproof Classic Red Candy Apples
Follow this simple tutorial to make classic, glossy red candy apples with a perfect, crack-free coating.
- Prep Time: 15 min
- Cook Time: 20 min
- Total Time: 35 min
- Yield: 6 servings
- Category: Dessert
- Method: Stovetop Cooking
- Cuisine: American
- Diet: Vegetarian
Ingredients
- 6 medium firm apples (like Granny Smith or Fuji)
- 6 wooden sticks or skewers
- 2 cups granulated sugar
- 1 cup light corn syrup
- 1 cup water
- 1 teaspoon red food coloring (gel works best)
- 1/2 teaspoon cinnamon extract or vanilla extract
Instructions
- Wash and thoroughly dry the apples. Remove any wax by dipping them briefly in hot water, then dry completely. Insert a wooden stick firmly into the center of each apple.
- Combine the sugar, corn syrup, and water in a heavy-bottomed saucepan. Stir over medium heat until the sugar dissolves.
- Stop stirring once the mixture boils. Insert a candy thermometer.
- Cook the syrup without stirring until it reaches 300 degrees Fahrenheit (hard crack stage). This usually takes 15 to 20 minutes.
- Remove the pan from the heat immediately when it reaches 300 degrees F. Stir in the red food coloring and extract quickly.
- Tilt the pan slightly. Dip each apple into the hot syrup, rotating to coat evenly. Lift the apple out and let excess syrup drip off.
- Place the coated apples upright on a baking sheet lined with parchment paper or a silicone mat.
- Let the apples cool completely at room temperature until the coating hardens, about 30 minutes, before serving.
Notes
- For a shiny coating, avoid stirring the syrup once it begins to boil.
- If the coating becomes too thick while dipping, return the pan to low heat briefly to thin it slightly.
- Use firm apples; softer varieties may slip off the stick.
Nutrition
- Serving Size: 1 apple
- Calories: 350
- Sugar: 85g
- Sodium: 1mg
- Fat: 0g
- Saturated Fat: 0g
- Unsaturated Fat: 0g
- Trans Fat: 0g
- Carbohydrates: 90g
- Fiber: 1g
- Protein: 0g
- Cholesterol: 0mg