

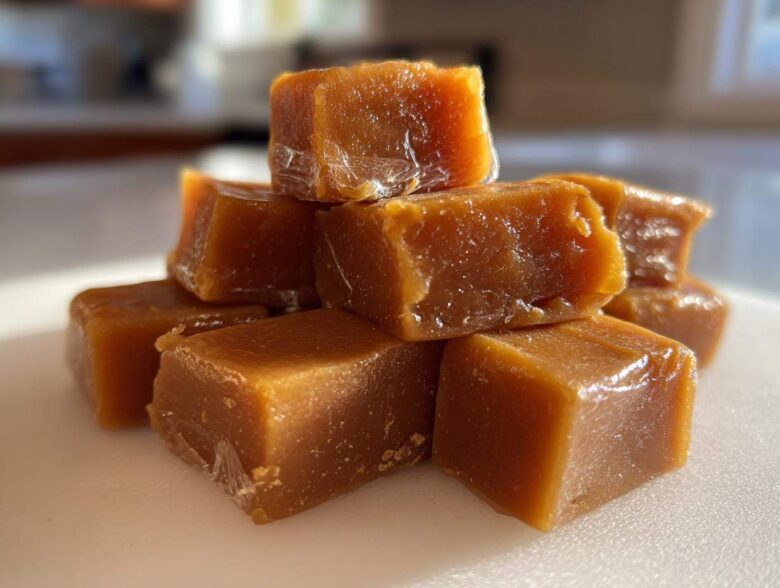
Listen, if you think making candy is strictly for professional pastry chefs or people who own three expensive gadgets, I have news for you: you are so wrong! There’s nothing that beats that first salty, buttery bite of candy you made yourself. Seriously, forget those waxy, drugstore squares. I’m finally spilling the beans on my absolute favorite recipe: the Easy Homemade Soft and Chewy Caramels. I struggled with caramel for years, ending up with either rock-hard blobs or sticky puddles!
But this one changed everything. It’s straightforward, uses ingredients you probably have right now, and the result is pure, nostalgic gold. Trust me when I say the secret isn’t luck; it’s knowing exactly when to take it off the heat, which is why my trusty candy thermometer is my best friend in the kitchen when making this. If you love these, you’ll absolutely adore my recipe for Ritz Cracker Christmas Cookies too—they are dangerously good! Get your parchment paper ready; we’re making the homemade caramel of your dreams!
Why This Is the Best Easy Homemade Caramel Recipe (Soft Chewy Caramels)
I’ve tried so many ways to get that signature soft, chewy texture, and honestly, most of them involve way too much guesswork, which is terrifying when sugar is involved! This method is superior because we control the temperature precisely. That’s what separates a good batch of homemade caramel from a bag of stale taffy you bought years ago.
I love sharing this recipe because it really is a no-fail setup if you just follow the heat markers. When you see the richness of the brown sugar mixing with that butter, you’ll know you’re on the right track to making the ultimate candy. I even wrote a whole post on it, my no-fail caramel recipe, because I want everyone to succeed!
Key Attributes of Our Homemade Caramel
- The texture is exactly right—soft, chewy, and it genuinely melts in your mouth seconds after you start chewing. It’s never rock hard!
- It delivers that classic, rich, and incredibly buttery flavor that store-bought usually misses entirely.
- The process is surprisingly streamlined once you introduce that candy thermometer, making it accessible even for beginner sweets makers.
- These turn out looking gourmet, even though they are simple to execute, making them fantastic for gifting.
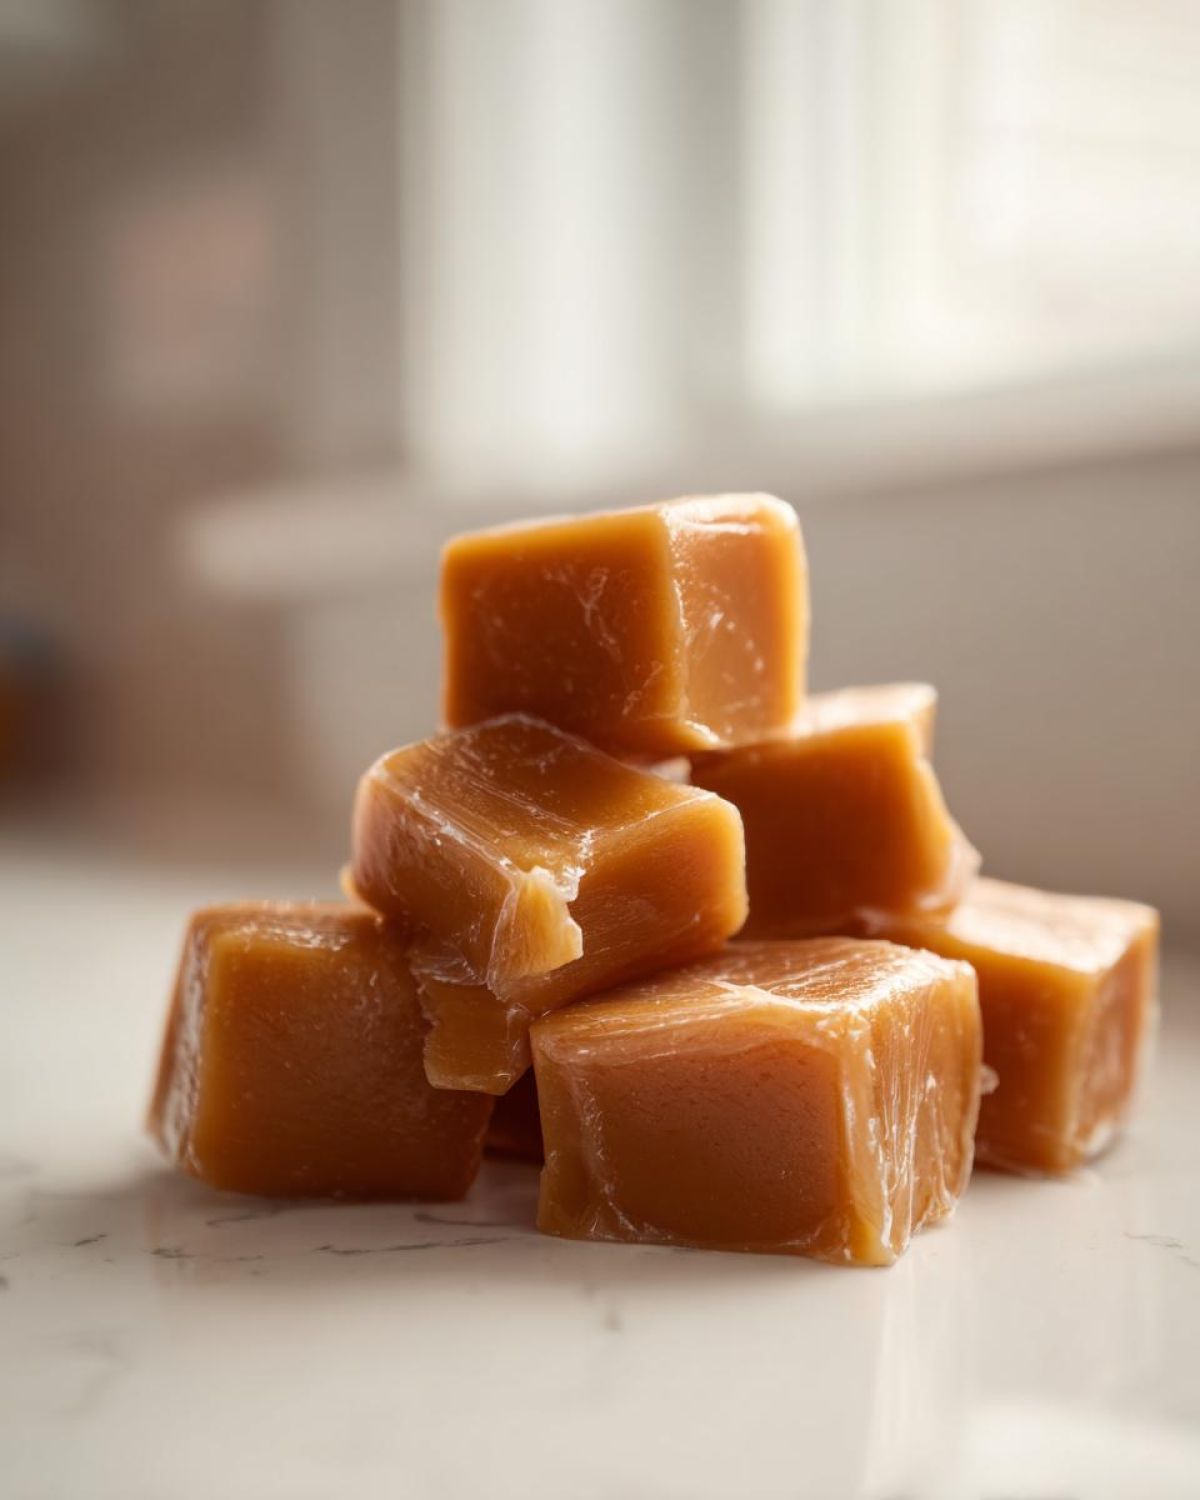
Gathering Ingredients for Your Homemade Caramel
Okay, candy making feels fancy, right? But honestly, the magic here is that it uses basic, good-quality pantry staples. I always lay everything out first—my Mom called this ’mise en place’ for candy, and it keeps you calm when the heat is up! You absolutely cannot substitute ingredients here, especially since we aren’t using any complicated stabilizers.
For the very best texture and flavor, you need to pay attention to a few details in your shopping list. Don’t try to use low-fat cream, or you’ll end up with a huge mess. And make sure that butter is the good stuff!
Here’s what you need pulled and measured before you even think about turning on the stove. We’re making about 64 little squares, which is perfect for my holiday gift tins.
- 1 cup granulated sugar
- 1 cup light corn syrup – this is non-negotiable; it keeps the sugar from turning grainy!
- 1 cup heavy cream – make sure it’s full-fat, please!
- 1 cup packed light brown sugar – make sure you press it into the cup firmly!
- 1 cup (that’s two standard sticks!) unsalted butter – use real butter, not that margarine nonsense!
- 1 teaspoon vanilla extract – pop this out for later.
- 1/2 teaspoon salt – salt really brings out the buttery flavor, so don’t skip it.
Also, grab an 8×8 inch baking pan and line it completely with parchment paper, leaving an overhang on two sides. That overhang is your handle later! Lightly grease that parchment paper with a tiny bit of oil or butter. If you don’t prep that pan perfectly, cutting them later will be a disaster—we learned that the hard way early on! If you want to check out another simple recipe that uses sugar and butter beautifully, you should peek at my caramelized onion dip; it’s savory, but the foundation is the same rich depth!
Step-by-Step Guide: How to Make Caramel at Home
Alright, deep breaths everyone! Making homemade caramel candy is less about complicated techniques and more about respecting the process, especially the heat. If you’ve got your ingredients ready and that parchment-lined pan waiting, we can jump right in. The key takeaway here, and I cannot stress this enough for a classic caramel candy, is that candy thermometer. It stops you from guessing!
Preparation and Initial Cooking for Soft Chewy Caramels
First things first: make sure that 8×8 pan is greased nicely. Once the heat starts, things move fast! Grab your heavy-bottomed saucepan—this is vital because thin pans will scorch the sugar right onto the bottom, and nobody wants burnt bits in their buttery homemade caramel. Toss in the granulated sugar, brown sugar, corn syrup, butter, and salt. Heat this over medium heat, but you must stir constantly until everything looks smooth and the butter is totally melted, and the sugar has dissolved. As soon as it hits a rolling boil, step away from the spoon! Insert that candy thermometer securely and let it cook all by itself until it hits exactly 245 degrees Fahrenheit. That’s the firm-ball stage we’re looking for first.
Reaching the Correct Temperature for Classic Caramel Candy Making Guide
Once we hit 245°F, we pause for a crucial addition. Pull the pan right off the burner. Now, slowly, so slowly, pour in that heavy cream. I mean it—it will bubble up like a science experiment gone wild! Whisk gently just to incorporate it. Once the bubbling calms down a bit, put it back on medium-low heat. Now we stir constantly again until the thermometer reads 240 degrees Fahrenheit. This lower temperature guarantees those soft chewy caramels you want, not a brittle candy bar. Getting this temperature right is the most important part of this candy making guide.
Finishing and Setting Your Homemade Caramel
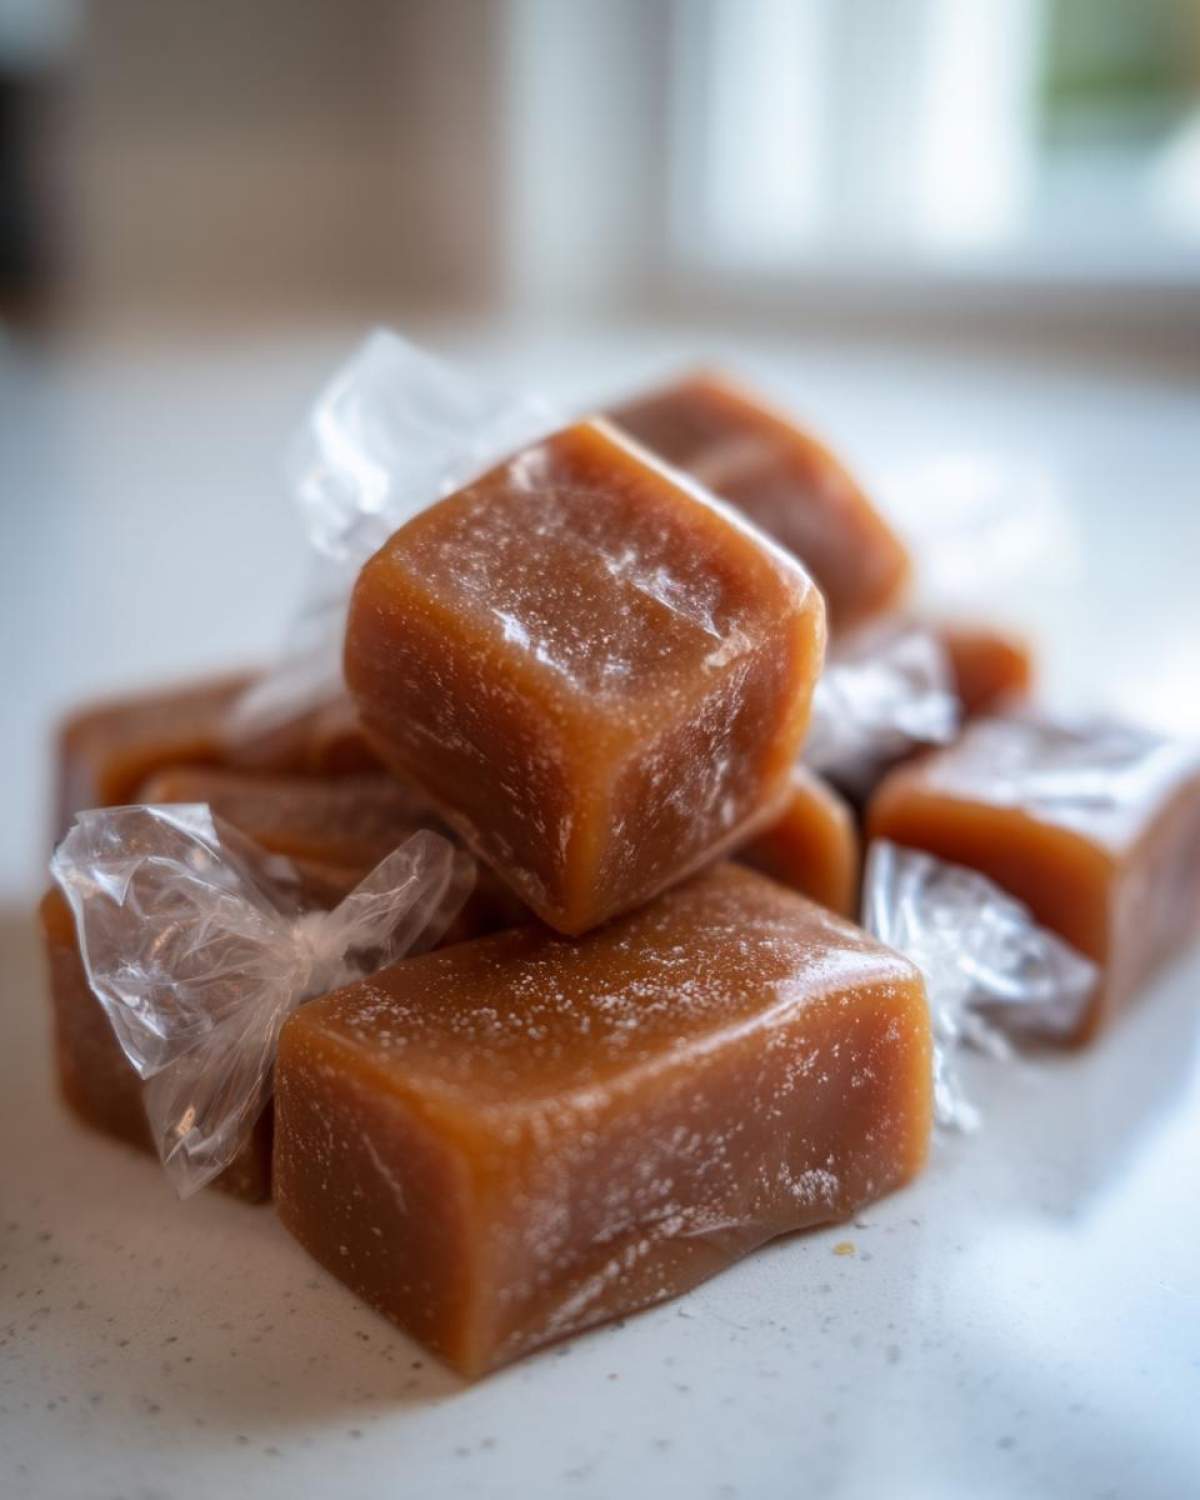
When that thermometer hits 240°F, yank the pan off the heat immediately. Stir in your vanilla extract—that’s the final flavor booster! Pour that gorgeous, thick liquid into your prepared pan. Please, for the love of delicious candy, do not scrape the sides of the saucepan to get every last drop; those little bits clinging to the edges are usually overheated and can make the whole smooth batch grainy. Seriously, leave them! Let the caramel sit, untouched, at room temperature for at least four hours, or until it is completely firm. Once it’s not sticky anymore, use those parchment handles to lift the whole slab out. Then, just cut it up into squares, wrap them tight, and you’ve mastered soft, rich homemade caramel!
P.S. If you’re feeling ambitious after you nail this, check out my recipe for creamy caramelized onion pasta—it’s a totally different way to carry those rich, sugary notes into dinner!
Tips for Perfect Buttery Homemade Caramel Every Time
When you’re dealing with hot sugar, you need all the expert advice you can get, right? I consider these little nuggets of wisdom to be the difference between a perfect batch of homemade caramel and a broken heart. Once you nail the temperature, this recipe is gold, but here are the things I learned over repeated batches that really make a difference.
First, let’s talk about the pan. Seriously, use a heavy-bottomed saucepan. If you use a flimsy, thin pan, the sugar heats unevenly, meaning one small area burns while the rest is barely cooking. That burnt spot will contaminate the whole batch with a bitter flavor, and we want pure, buttery sweetness here. This is the most important safety and quality tip I have!
Next, the thermometer test. I always say it’s non-negotiable, but what if yours decides to prank you or you don’t have one? You can test the candy by dropping a tiny bit of the mixture into a cup of very cold water. If it forms a soft, pliable ball that you can squash between your fingers without burning them, you’re good to go! If it shatters, keep cooking. If it just dissolves, turn off the heat—you overcooked it slightly, but maybe you can still save it as a drizzle recipe!
Finally, mastering texture. Remember I told you we cook to 240°F for soft caramels? That’s my family’s favorite setting. But if you happen to like them a tiny bit firmer—maybe you’re going to chop them up really small, or you prefer a bit more resistance when you chew—you can cook it up to 242 degrees F. On the flip side, if you want truly melt-in-your-mouth caramels that are almost sauce-like, pull the heat at 238 degrees F. Knowing these small adjustments lets you truly customize your homemade caramel batch!
We put so much love into getting these rich, chewy squares right, and if you love a little salty-sweet crunch, you absolutely have to try these caramel ritz cracker cookies next. They are addicting!
Storage & Wrapping Your Caramel Sweets for Gifts
If you manage to have any of these beautiful, buttery squares left over after sampling them (which is a feat in itself!), properly storing them is the next big hurdle. Soft caramels, because of all that wonderful fat and sugar, absolutely love to merge into one sticky brick if you store them incorrectly. My absolute best advice? Wrap every single piece individually. Every time.
I know, it feels tedious, especially if you made the full yield of about 64 pieces. But trust me, the minute you reach into a container and pull out a giant, unwrapped lump, you’ll regret not taking the extra ten minutes to wrap them. Wax paper is the classic choice, but cellophane works beautifully too because it gives them that nice, professional candy-shop look when tied with a little ribbon.
When wrapping, make sure the caramel is totally cool and firm—room temperature is perfect. If you wrap it while it’s even slightly warm, the wrapper will stick to the candy forever, and you’ll tear chunks off when you unwrap it later. For gifting, which these are SO perfect for, try placing the individually wrapped pieces into small tins or sturdy paper boxes layered between squares of parchment paper. That layered protection keeps them fresh and prevents them from squishing each other!
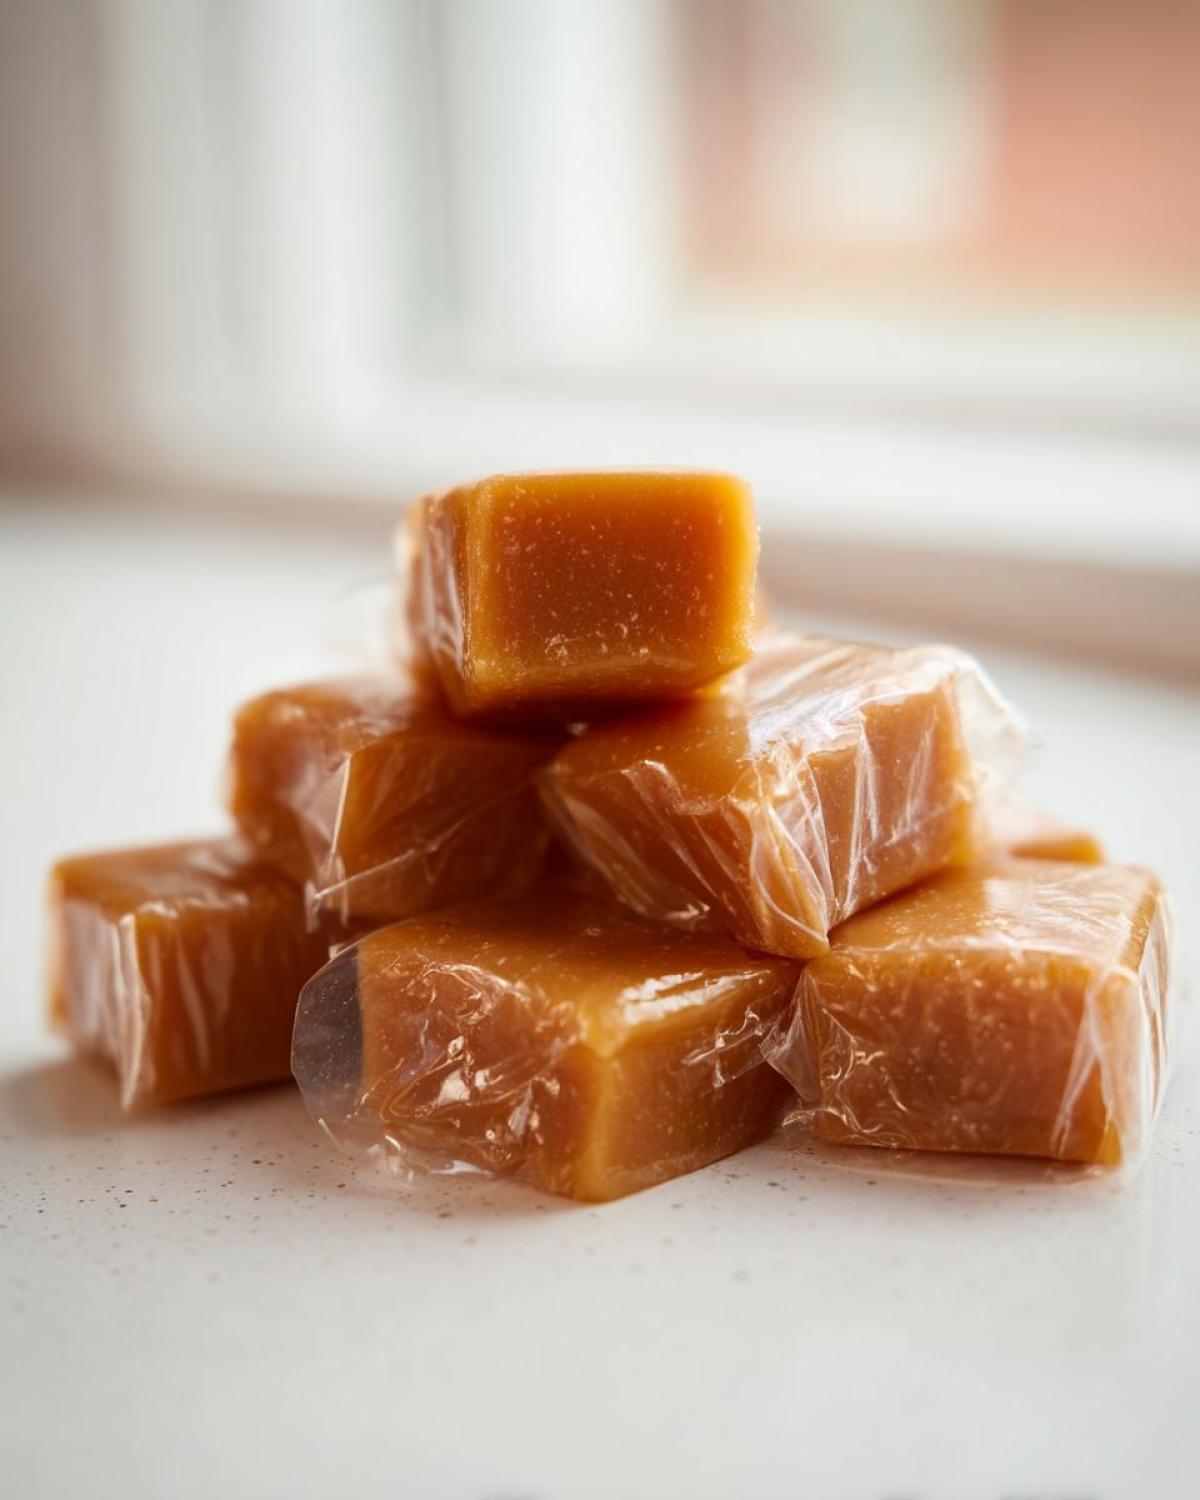
If you have a ton leftover and want to save them for a few weeks, pop them in an airtight container in the fridge for maybe a week or so, but I always bring them back to room temperature before serving just so they get that lovely soft, melt-in-your-mouth texture again. Don’t freeze them, though; the texture usually gets weird! Seeing these little wrapped treasures ready to go under the tree or into a neighbor’s mailbox just makes all that early morning boiling worth it. If you want another easy treat to tuck into those tins right next to these caramels, you have to bookmark my Ritz Cracker Christmas Cookie recipe!
Variations: Turning Your Homemade Caramel into Sauce or Drizzle
So, you’ve mastered the soft, chewy candy, but what if you’re tired of cutting and wrapping? Or maybe you just want something immediate to drizzle over ice cream or dip apples in? Luckily, this exact base is the start for the best homemade caramel sauce you’ll ever make!
The secret to turning these fantastic candies into a smooth, pourable sauce is all about temperature control, just like with the candy itself. Remember in our main recipe, the final temperature we aimed for to get those soft treats was 240°F, right? Well, for a rich caramel drizzle that flows perfectly, you need to stop cooking about 10 to 15 degrees sooner!
If you were following the main instructions, that means you’d stop stirring once the mixture hits about 225°F or 230°F, right after adding the cream back in. That lower temperature keeps the sugars from setting up too firmly. You’ll still use the exact same butter, cream, and sugar ratio, which keeps that perfect buttery flavor.
If you already have a batch of firm homemade caramel squares and you want sauce *now*, don’t panic! Put the squares back into a saucepan over low heat with an extra splash—maybe a quarter cup—of heavy cream or even some milk if you need more liquid. Whisk gently while it melts down. It will take patience, but you can salvage those firmer pieces into a decadent drizzle! Seriously, spooning this over anything—especially brownies—is heavenly. If savory appetizers are more your speed, I have a fantastic recipe for caramelized onion dip that uses a similar flavor profile, just without all the candy cooling time!
Frequently Asked Questions About Making Caramel at Home
I know you’ve got questions. When you’re dealing with sugar and high heat, it’s natural to be nervous! These are the things people ask me the most when they try to whip up their first batch of sweets. Don’t worry about messing up; even the best cooks have the occasional sticky fail!
Can I make this old fashioned caramel recipe without a candy thermometer?
Yes, you absolutely can, but you have to be really observant! Since you aren’t using the thermometer, you rely on the cold water test. Just before you think you’re done cooking, drop a tiny bit of the boiling mixture into a glass of ice-cold water. If it immediately forms a soft ball—meaning you can scoop it out and roll it between your fingers into a squishy ball—it’s done for the soft batch we like. If it becomes hard right away, you went too far! This is the classic way to do an old fashioned caramel recipe.
Why did my homemade caramel crystallize or become grainy?
Ugh, this is the worst! It usually comes down to two things. The number one reason is that you stirred the mixture *after* it started boiling but *before* it reached the temperature stages. Once boiling starts, you let the heat do the work, remember? Stirring introduces sugar crystals from the side of the pot back into the main batch, triggering crystallization. Also, make sure your pot and spoon are spotless; any stray crystal can cause the whole batch to turn grainy. You want those smooth, gourmet caramel bites, not sugar gravel!
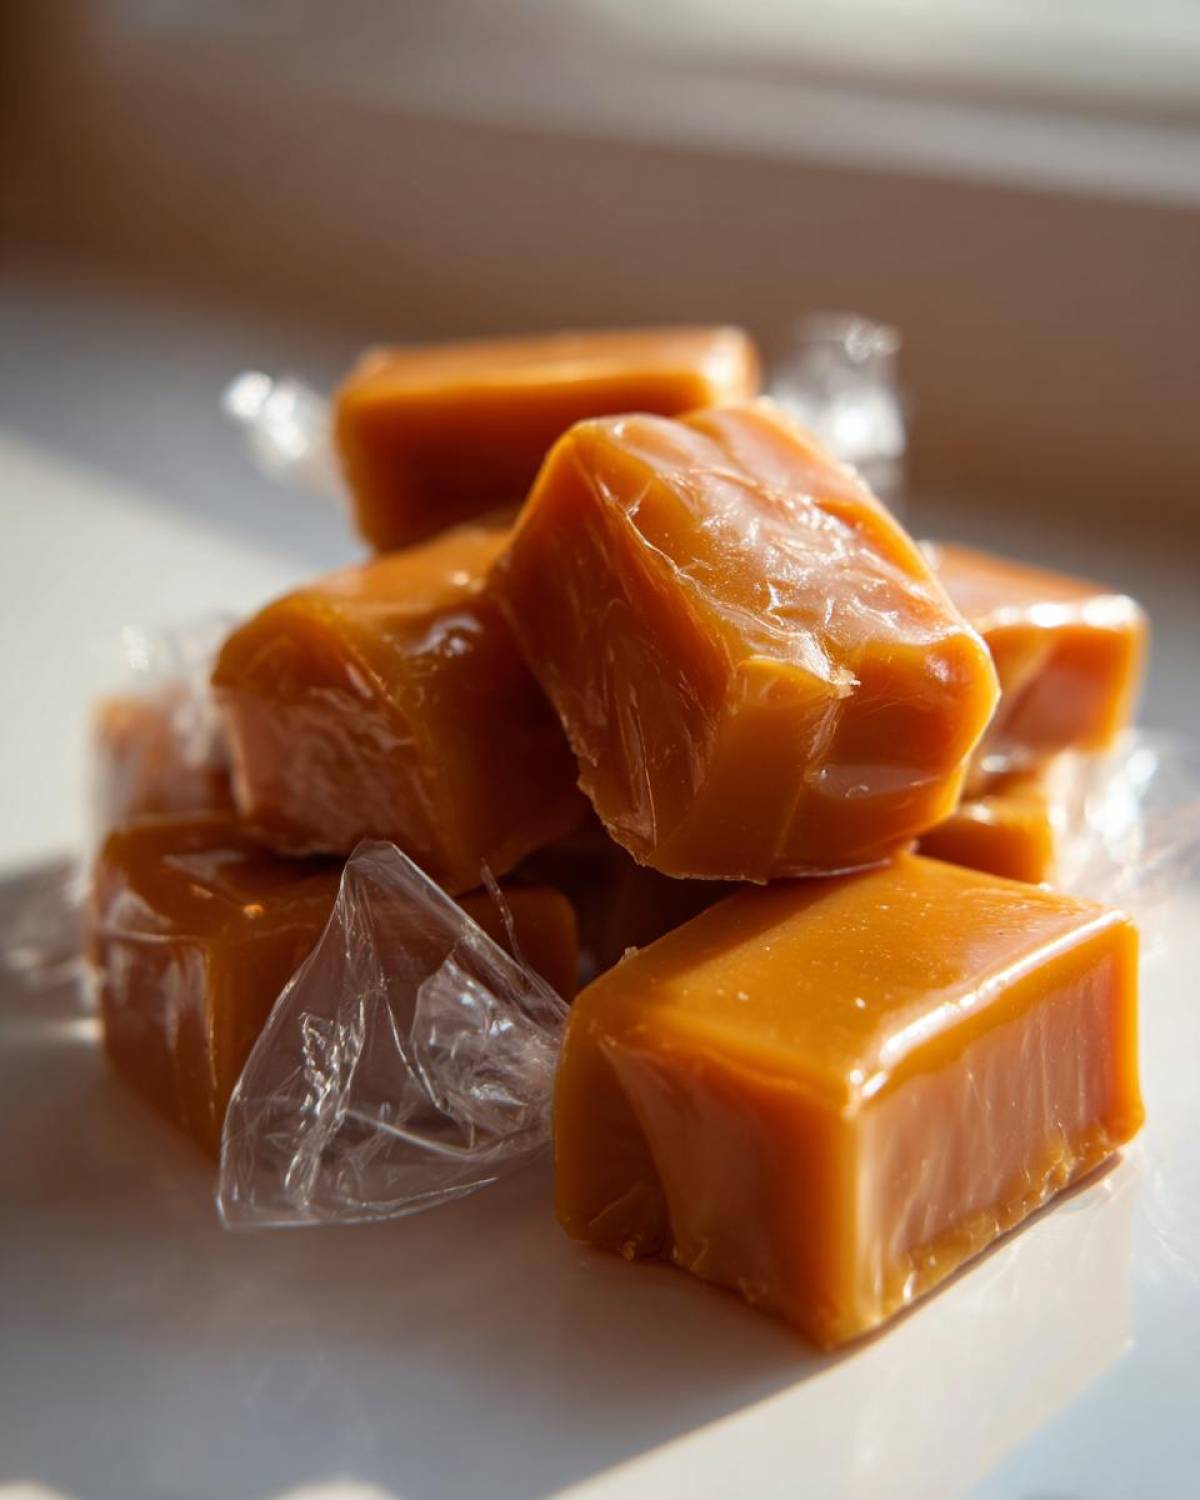
What is the best way to store these melt in your mouth caramels?
The single biggest rule for storing these lovely melt in your mouth caramels is separation! If you pile them up unwrapped, I promise you, they will fuse into one giant, unappetizing caramel slab overnight. You must wrap each piece individually. Wax paper works best because the caramel doesn’t really stick to it, but cellophane is great if you want them to look shiny for gifting. Keep them in an airtight container at cool room temperature. If your kitchen is super humid, pop them in the fridge, but always let them warm up for about 20 minutes before eating so they get that perfect soft texture again!
If you want to explore more savory uses for those sweet flavors, you should definitely check out my easy recipe for creamy caramelized onion pasta next!
Nutritional Estimates for Homemade Caramel
Okay, let’s be real, nobody is making these beautiful, buttery squares because they are trying to eat a health food salad! These are treats, pure and simple. But I always like to give a rough idea of what’s in them, just so you know what you’re enjoying. These numbers are based on dividing the total recipe into the 64 squares listed in the instructions, so remember, this is just an estimate for one single, perfect piece of homemade caramel joy.
Because we are using full-fat cream and real butter, they are rich, but honestly, when you’re eating just one tiny square, it’s surprisingly reasonable for how decadent they taste! Keep in mind these figures don’t account for any extra ingredients you might add, like sea salt on top or if you dip them in chocolate later.
Here is the breakdown based on the core recipe components:
- Serving Size: 1 square (about 1/64th of the batch)
- Calories: 110
- Sugar: 18g (Yes, it’s sugar candy, darling!)
- Fat: 4g (That’s where all the wonderful butter flavor comes from!)
- Carbohydrates: 19g
- Saturated Fat: 2.5g
- Cholesterol: 15mg
- Sodium: 35mg (This is why that half teaspoon of salt matters so much!)
So, there you have it! A little indulgence never hurt anyone, especially when it tastes this fantastic and you made it yourself—that definitely counts for something, right?
Share Your Experience Making This Homemade Caramel Recipe
Now that you’ve conquered sugar alchemy and made your very first batch of the easy homemade caramel recipe, I absolutely have to know how it went! Did you nail that perfect, soft, chewy texture on the first try? Was your kitchen filled with that amazing buttery aroma?
Please don’t just leave here and eat them silently—come back and tell me all about it! Drop a comment below and let me know your experience. Did you wrap them in wax paper or cellophane? Did you manage to save any for gifting, or did you devour the entire 8×8 pan yourself? No judgment here, I promise!
If you’re feeling brave, take a picture of your beautiful, glossy squares and tag me on social media! Seeing my recipes come to life in your kitchens is genuinely the best part of sharing them. If you have any last-minute questions or tips you discovered while making these (maybe you found a better wrapper method!), share them in the comments section so we can all learn together. We’re building a community here, and every successful batch of homemade caramel makes me so proud!
If you are curious about who is sharing all these kitchen secrets, you can always learn more about me and my cooking journey over on the About Us page!
PrintEasy Homemade Soft and Chewy Caramels
Make classic, buttery soft and chewy caramels at home with this straightforward recipe. These are perfect for gifting or enjoying as a sweet treat.
- Prep Time: 15 min
- Cook Time: 35 min
- Total Time: 4 hours 50 min
- Yield: About 64 pieces
- Category: Candy
- Method: Stovetop Cooking
- Cuisine: American
- Diet: Vegetarian
Ingredients
- 1 cup granulated sugar
- 1 cup light corn syrup
- 1 cup heavy cream
- 1 cup packed light brown sugar
- 1 cup (2 sticks) unsalted butter
- 1 teaspoon vanilla extract
- 1/2 teaspoon salt
Instructions
- Line an 8×8 inch baking pan with parchment paper, allowing some overhang for easy removal. Lightly grease the paper.
- Combine the granulated sugar, corn syrup, brown sugar, butter, and salt in a heavy-bottomed saucepan.
- Heat the mixture over medium heat, stirring constantly until the butter melts and the sugar dissolves.
- Stop stirring once the mixture boils. Insert a candy thermometer.
- Cook the mixture without stirring until it reaches 245 degrees Fahrenheit (firm-ball stage). This usually takes 15 to 20 minutes.
- Remove the pan from the heat. Carefully and slowly pour in the heavy cream while whisking gently. The mixture will bubble vigorously.
- Return the pan to medium-low heat. Stir constantly until the mixture reaches 240 degrees Fahrenheit (soft-ball stage).
- Remove from heat and stir in the vanilla extract.
- Pour the hot caramel into the prepared baking pan. Do not scrape the sides of the pan.
- Let the caramel cool completely at room temperature for at least 4 hours, or until firm.
- Once firm, use the parchment overhang to lift the block of caramel out of the pan.
- Cut the block into 1-inch squares. Wrap each square individually in wax paper or cellophane for storage.
Notes
- Use a heavy-bottomed pan to prevent scorching the sugar mixture.
- If you do not have a candy thermometer, you can test the temperature by dropping a small amount of caramel into a cup of cold water; it should form a soft, pliable ball.
- For softer caramels, cook to 238 degrees F. For firmer caramels, cook to 242 degrees F.
Nutrition
- Serving Size: 1 square
- Calories: 110
- Sugar: 18g
- Sodium: 35mg
- Fat: 4g
- Saturated Fat: 2.5g
- Unsaturated Fat: 1.5g
- Trans Fat: 0.1g
- Carbohydrates: 19g
- Fiber: 0g
- Protein: 0.5g
- Cholesterol: 15mg