

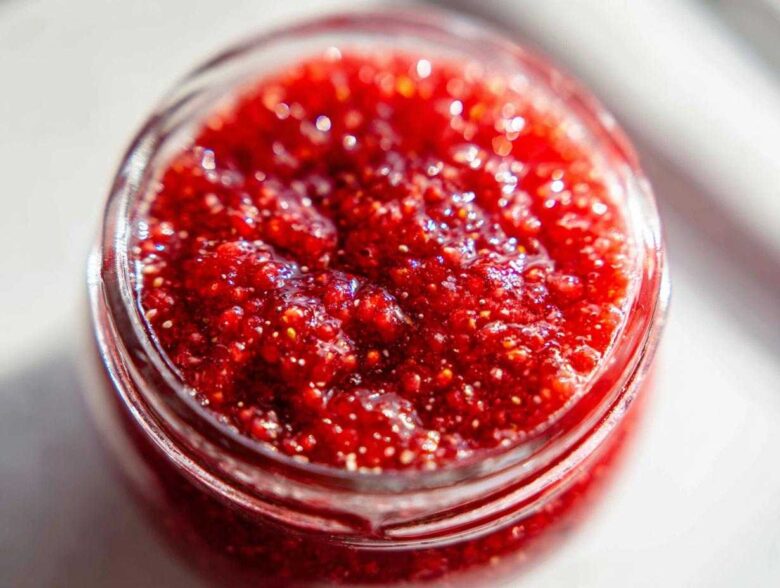
There is nothing, absolutely nothing, like the taste of strawberries picked right off the vine—that sweet, vibrant flavor that screams summer. But when you have a giant haul and summer feels too short, you need a way to keep that sunshine locked in for later! Forget those long, boiling hot days spent standing over a stove trying to get a perfect seal. I promised myself I wouldn’t do that again this year. So, I perfected this incredible strawberry freezer jam recipe, and trust me, it’s a game-changer.
This is the best version I’ve ever made because it requires zero cooking! It’s my tried-and-true no-cook miracle that preserves that incredible fresh fruit taste. It’s so fast; you stir, you wait 20 minutes, and that’s pretty much it. When the peak season hits, this 30-minute wonder saves my entire berry harvest and tastes miles better than anything I’ve ever canned.
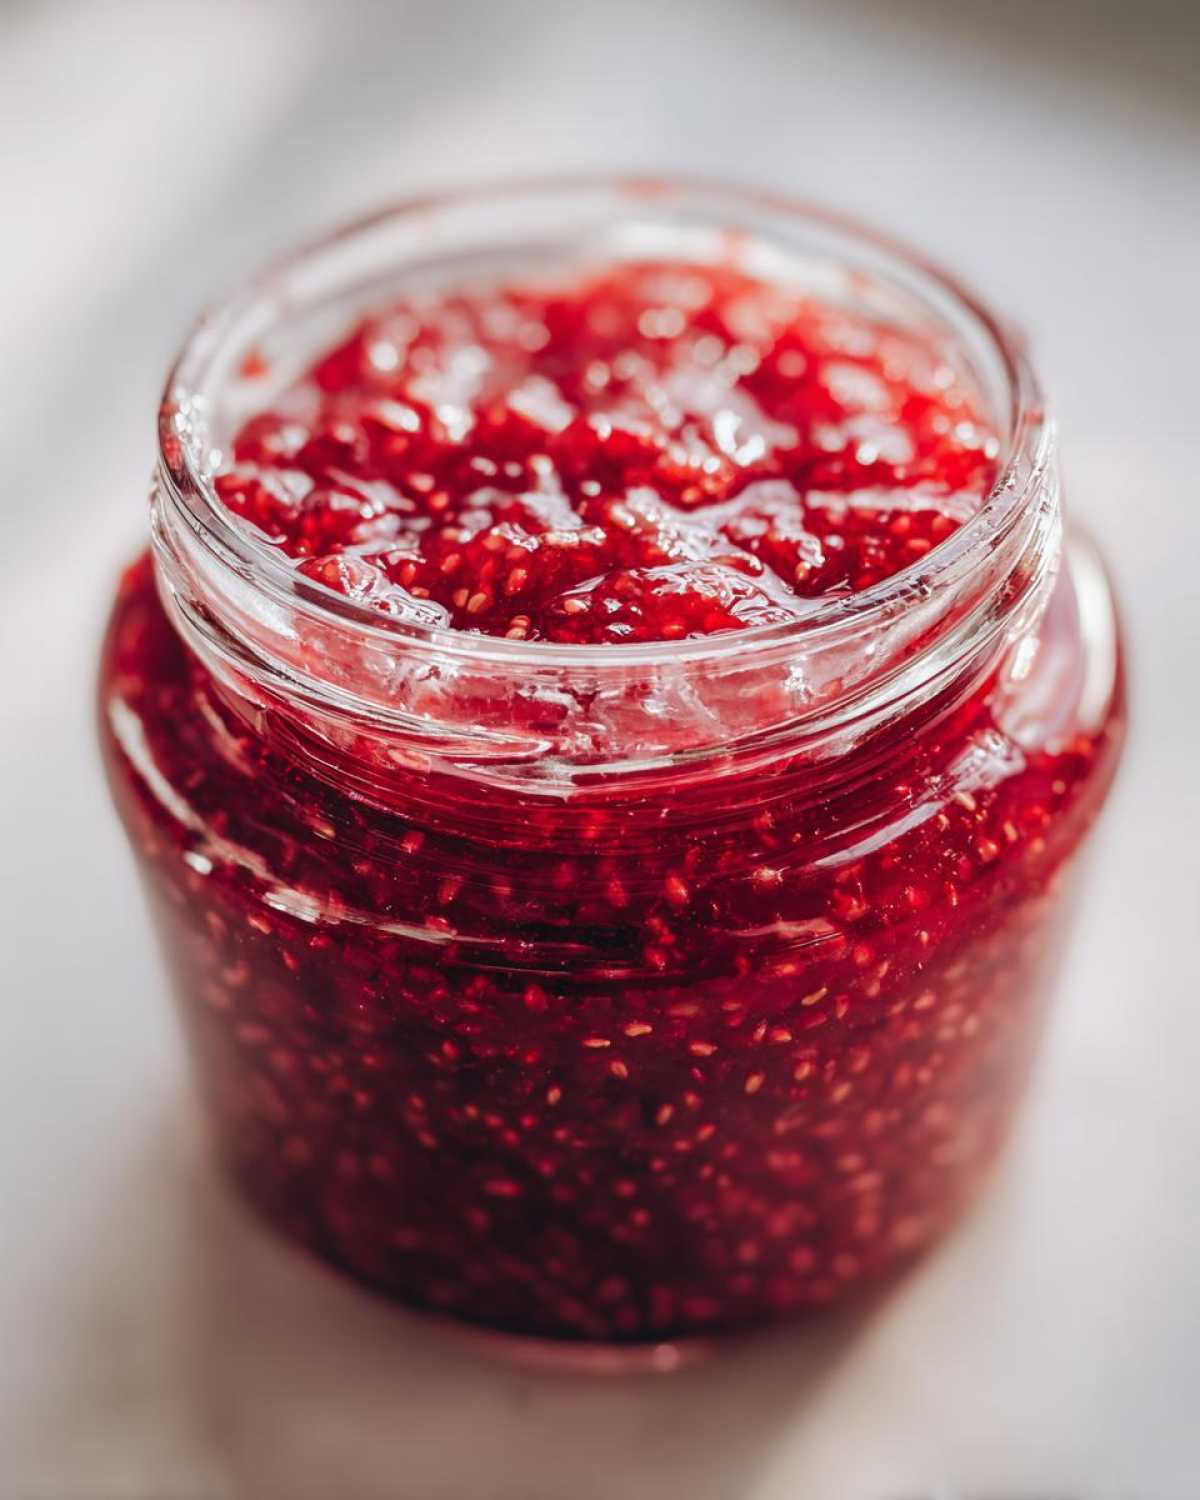
Why This Easy Strawberry Freezer Jam Recipe Works (Beginner Jam Making)
Listen, if you’ve been intimidated by canning, forget that noise! This is the definition of beginner jam making. The whole process, from washing the berries to getting the jars ready for the freezer, takes less than 30 minutes of active work. That’s why I love this recipe so much; it’s one of my favorite quick freezer jam ideas.
The secret to its success, and why I insist on this method, is the lack of heat. When you cook jam, you lose that bright, punchy essence of a fresh strawberry. By skipping the stovetop—making it a true no cook jam recipe—we keep all that sunshine right there in the jar. It tastes like you just mashed the berries five minutes ago!
Speed and Simplicity: The No Cook Jam Recipe Advantage
We’re talking pure speed here. Think about it: wash, crush, stir in sugar, wait 20 minutes, jar, done! There’s no worrying about reaching a specific temperature or waiting for water baths. It’s perfect for when summer berries are screaming to be preserved but you’re running out of daylight. Because we aren’t applying heat, the strawberries stay bright red and intensely flavorful. This is the simplest way to get amazing breakfast toppings, period.
Gathering Ingredients for Perfect Strawberry Freezer Jam
Okay, so the beauty of this strawberry freezer jam recipe is how few things you actually need. It’s gloriously simple. I always keep a few extra containers on hand because I inevitably make a double batch the first time the berries ripen. Once you see how easy this is, you’ll want to give away jars to everyone—they make fantastic hostess gifts!
The yield is about 3 half-pint jars, which sounds small, but trust me, once you start spooning this over your morning yogurt, they vanish fast. I’m usually able to pull about one large bowl of jam from this mix.
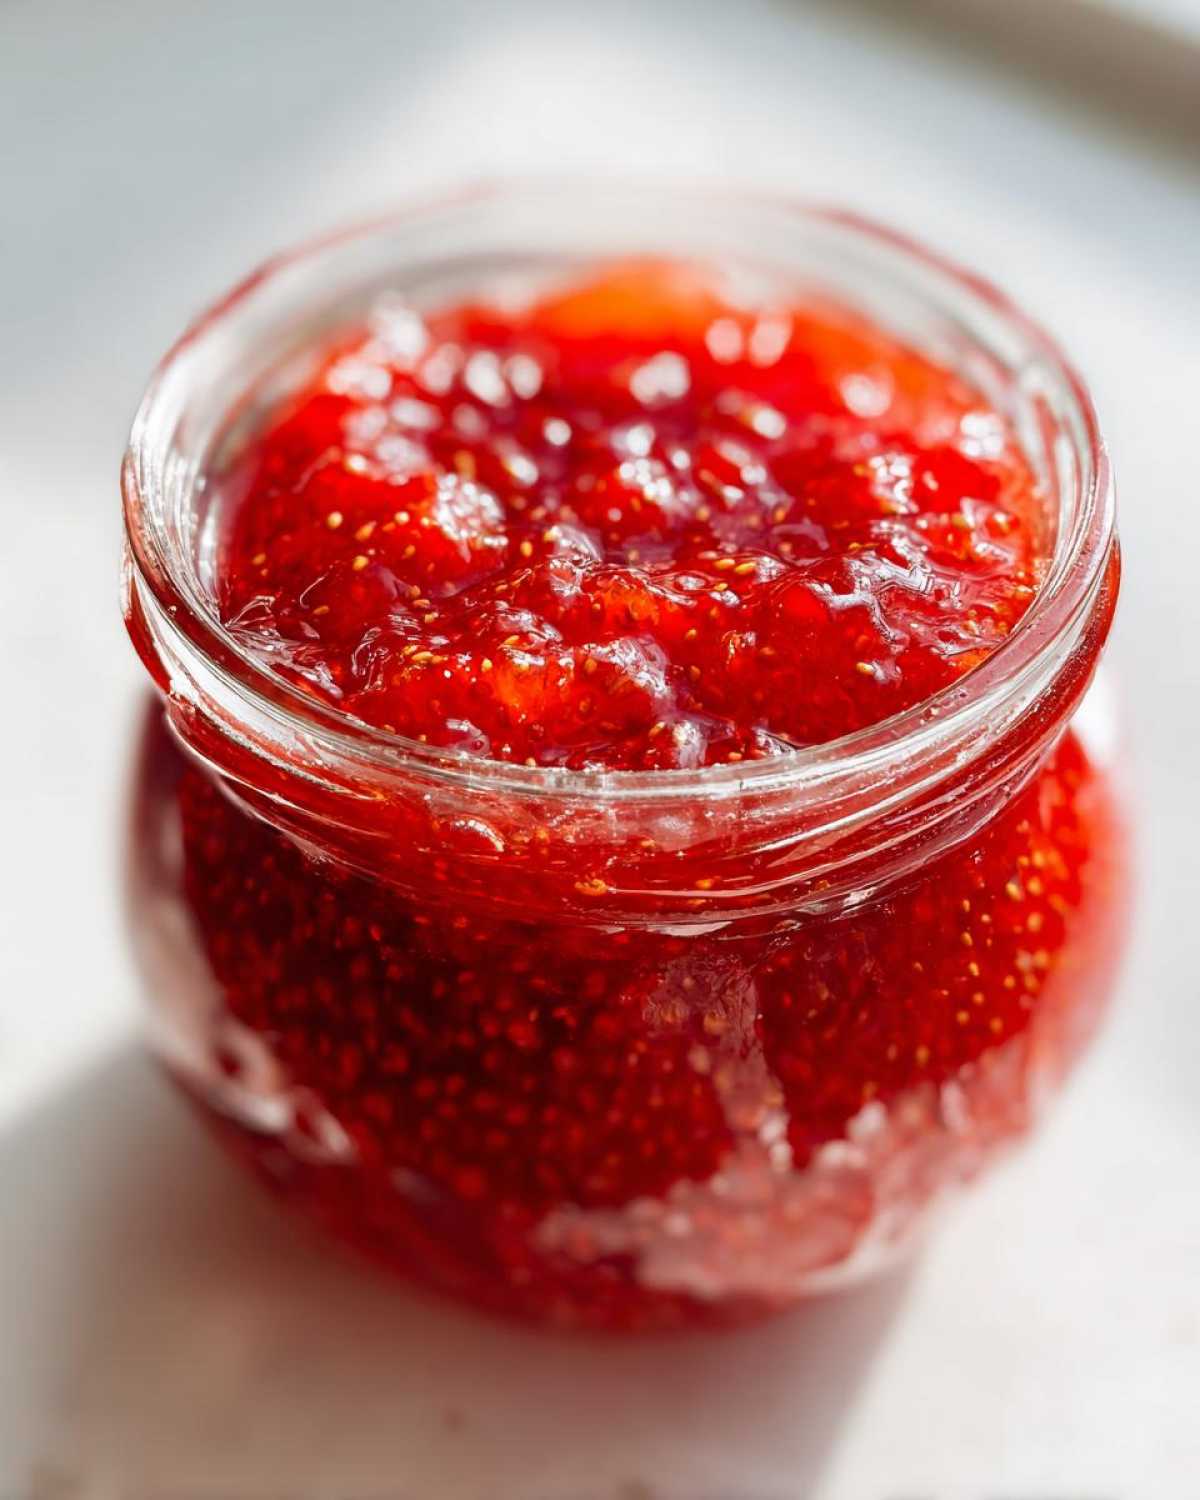
Ingredient Clarity for Your Strawberry Freezer Jam
Here’s the absolute must-have list. Make sure you grab your freshest haul for this, because since we aren’t cooking the flavor out, the quality of the fruit really shines through. Seriously, only use the best, perfectly ripe berries you can find!
- 4 cups fresh strawberries, hulled and crushed to a fine pulp
- 2 cups granulated sugar
- 1 tablespoon fresh lemon juice
My biggest tip? Don’t even think about using those sad, pale strawberries from January. You want berries that are glistening red and smell like pure sunshine. The lemon juice isn’t negotiable either; it helps brighten the flavor and gives us just enough acid needed for that slight set we get without relying on pectin.
Step-by-Step Instructions for Your Quick Freezer Jam Ideas
This is where the magic happens, and I promise, it’s faster than ordering takeout. Seriously, the whole active process feels like 15 minutes max! The key to building trust with this recipe is following the timing exactly, especially that crucial resting period. That soak time is what helps the sugar get incorporated properly without us needing to boil everything down. These steps lead directly to fantastic homemade strawberry preserves!
Before you even start mushing berries, make sure your freezer-safe containers are clean and ready to go. I like using small little glass jars because they look so cute when gifted, but snap-top Tupperware works great too. Just ensure whatever you use can handle the freezer! I actually saw a neat trick for making homemade pizza sauce that used an interesting container prep method in a no-cook context, but for the jam, simple freezer jars are the way to go!
Preparing the Fruit and Dissolving the Sugar
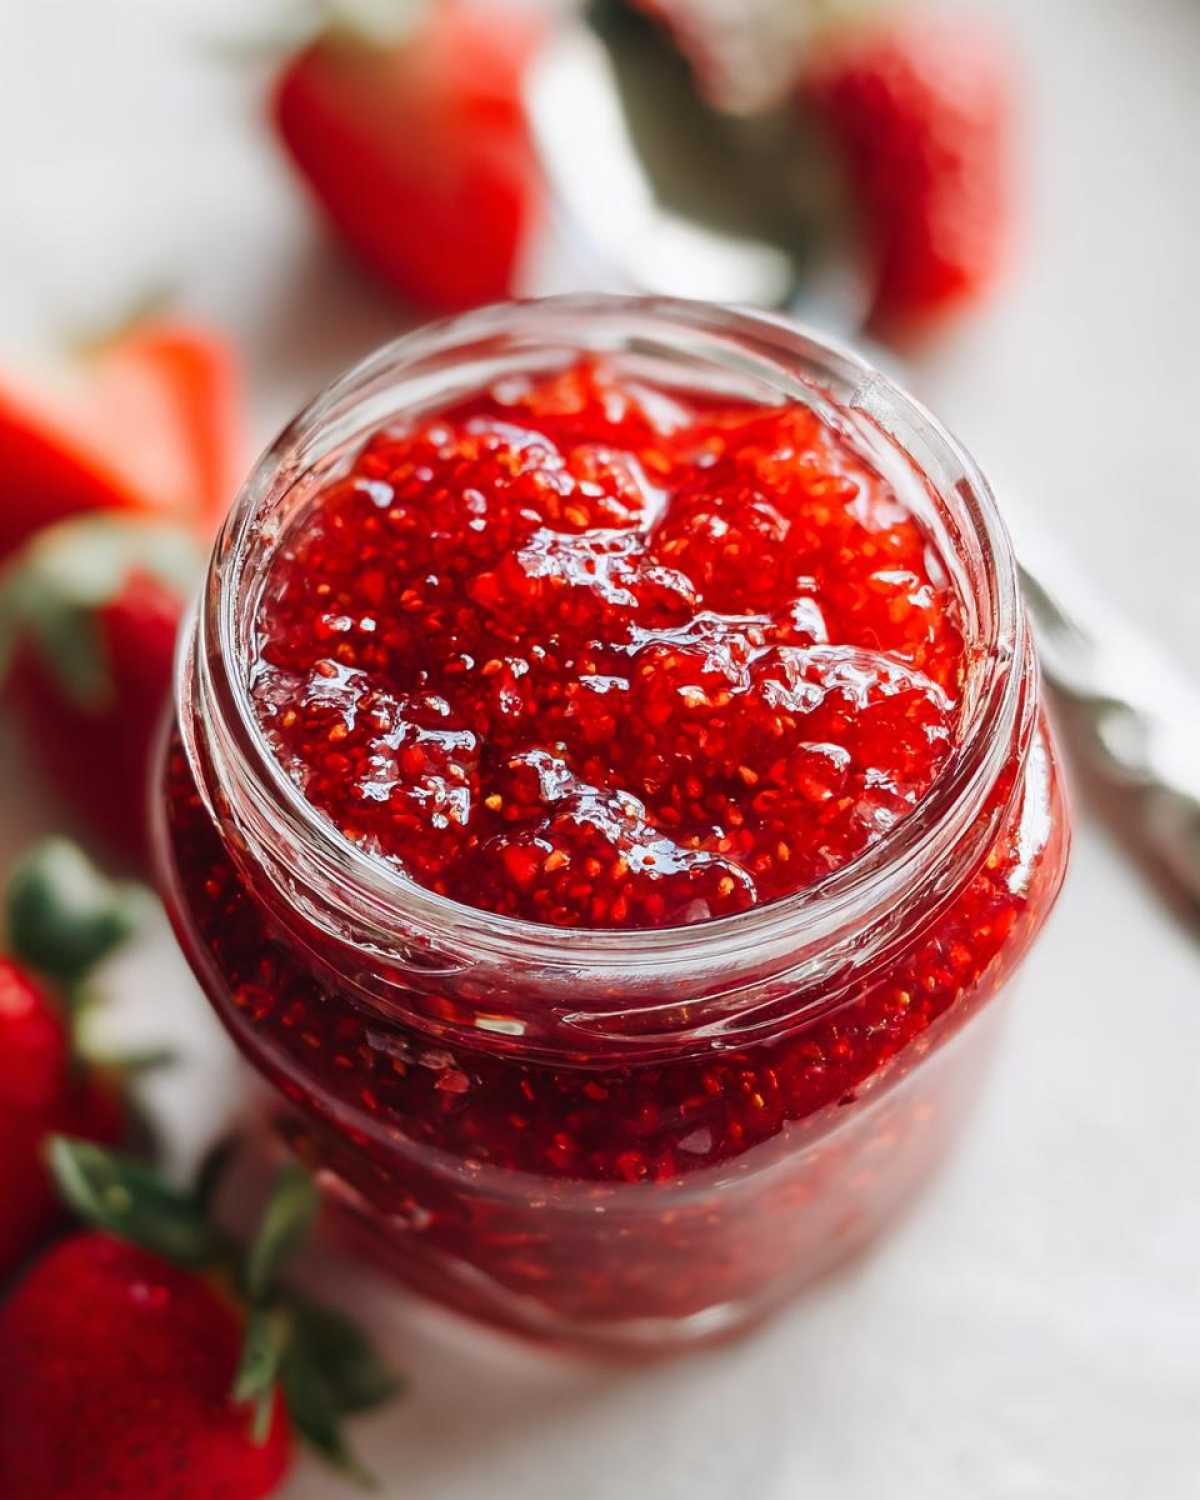
First, take those gorgeous, hulled strawberries and crush them. I prefer using a potato masher right in the bowl because I like little bits of fruit, not total mush. Don’t use your blender unless you want baby food! Once they look suitably smashed, dump in all that granulated sugar. Now, stir, stir, stir! You have to mix this until you can barely feel any grit when you rub a bit between your fingers—that means the sugar is dissolving. This quick mix ensures you get that great texture for your easy freeze jam.
Resting and Jarring Your Homemade Strawberry Preserves
Okay, now put your spoon down! This is the patience part, but it’s barely any time at all. Let that mixture sit on the counter for exactly 20 minutes. Stir it once or twice during that time just to make sure no pockets of dry sugar are settling at the bottom. Once rested, stir in that tablespoon of lemon juice. Then, carefully ladle the mixture into your clean jars, leaving about half an inch of space at the top. That space—the headspace—is vital because the jam expands as it freezes. Seal them up tight and they are ready for their long winter nap—no cooking required!
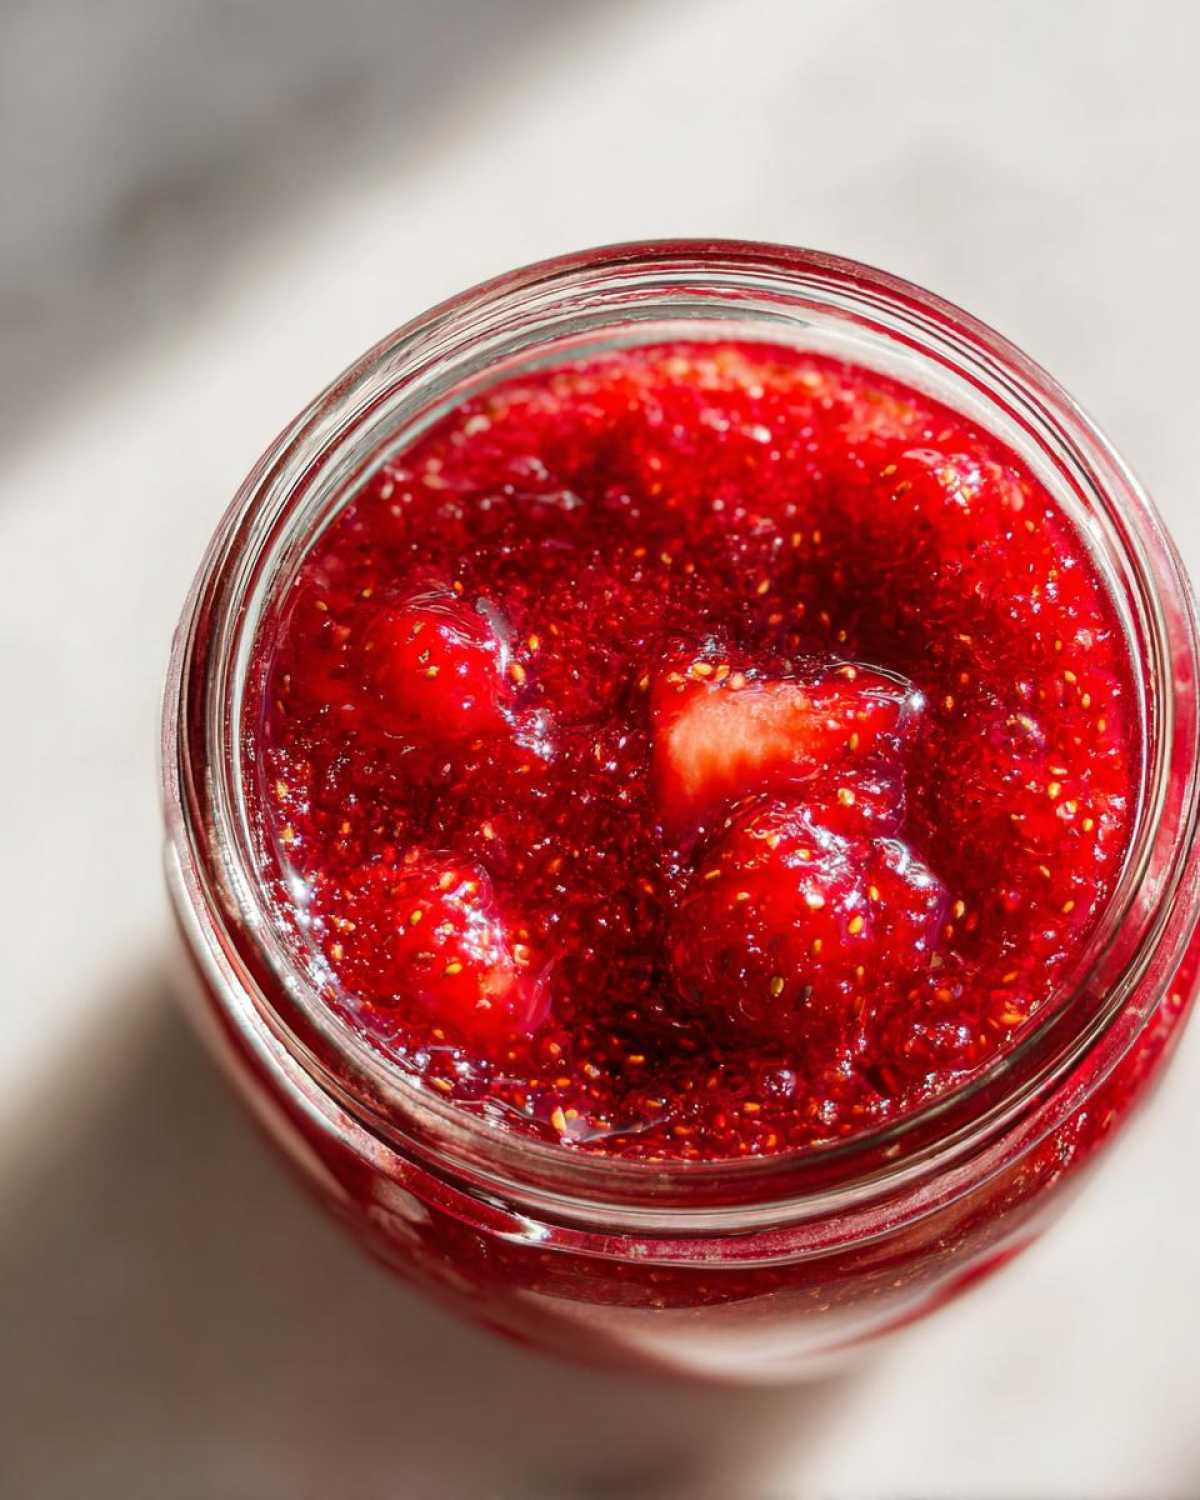
Ingredient Notes and Making Jam Without Pectin
Now, let’s talk about what makes this an actual no cook jam recipe, not a can of boiling sugar! When you look up jam recipes, you see pectin everywhere, and honestly, it can be confusing. But when we rely on super-ripe fruit and a good amount of sugar, we actually don’t need commercial pectin for this freezer version. The sugar and the acid from the lemon juice work together, pulling moisture out of the strawberries slowly as the jam rests and freezes, creating a soft, spreadable set.
This is where you get that incredibly clean, pure strawberry flavor. If you ever want to try my caramelized onion dip, you’ll notice I use high-quality, simple ingredients there, too! It’s the same philosophy: let the star ingredient shine.
Optional Pectin Variation for a Firmer Set
If you are making this ahead of time for a gift and you *really* want that extra-firm, sliced-on-a-plate set, you absolutely can add powdered fruit pectin—usually one standard package. But I have to warn you, if the recipe calls for pectin, you usually have to boil the fruit mixture for a minute or two to activate it correctly. That boiling step slightly changes the flavor profile, making it a bit more like traditional cooked jam. For this specific recipe, though, I vote stick to the sugar set!
Tips for Success with Your Strawberry Freezer Jam
Honestly, keeping this strawberry freezer jam perfect is about respecting the fruit. You can’t cheat Mother Nature here! If your first batch isn’t quite as thick as you hoped, don’t sweat it. It’s still delicious, just more like a sauce than a hard set preserve. My biggest piece of advice is about the crushing consistency. If you leave those chunks too big, the sugar won’t integrate evenly, and you’ll end up with some parts that feel watery! I aim for something closer to coarse applesauce.
Also, pay attention to your containers. I used to use whatever old plastic tub I had lying around, and sometimes the lids would warp just a tiny bit in the freezer, causing freezer burn. Now? I only use small Mason jars with those two-piece lids, or sometimes those little flat plastic containers designed for freezing baby food. They stack nicely and seal airtight. I tried using a homemade burger sauce container once—don’t do that! Stick to food-grade, airtight containers. You can check out my post on the best copycat smash sauce for tips on great container sealing practices, but for jam, simple is best!
Storage and Serving: Enjoying Your Simple Fruit Preserves
So, you’ve got your jars filled up—congratulations! Now the waiting game begins, but it’s easy waiting. This strawberry freezer jam lasts beautifully for about six months in the freezer. I know because I always end up finding a jar I forgot about in February, and it tastes just as bright as the day I made it! When you decide you need a taste of summer, take the jar out of the freezer and let it thaw slowly in the refrigerator. It usually takes about 6 to 8 hours to get nicely soft and spreadable.
Once thawed, it’s ready to be used as your ultimate fresh strawberry spread. Seriously, ditch the store-bought stuff! I use it all the time for my favorite easy breakfast toppings. It’s amazing swirled into Greek yogurt, slathered on thick-cut toast, or just eaten straight off a spoon when no one is looking. My kids go absolutely wild for it on waffles, too. You can find some other great sides for it, or maybe even learn how to roast carrots perfectly, in my honey garlic roasted carrots recipe—but really, this jam is best eaten exactly as is!
Frequently Asked Questions About Strawberry Freezer Jam Recipe
I know you might have a few nagging questions about diving into the world of strawberry freezer jam without cooking, but don’t worry! After making this dozens of times, I’ve figured out all the little hiccups. People always ask me about storage and sweetness, so I’ve gathered the most common ones here. You’ve got this!
How long does this strawberry freezer jam last once thawed?
This is a great question, especially since we aren’t using the high heat of traditional canning! Once you pull a jar out of the freezer and let it thaw in the fridge (which usually takes about 8 hours), it’s best eaten within three weeks. Because it has so much sugar and lemon juice, it stays fresh longer than fresh fruit, but that bright, raw flavor dulls a bit after three weeks. It’s meant to be enjoyed quickly!
Can I use frozen strawberries instead of fresh for this no cook jam recipe?
You sure can, but be aware! If you use frozen, you absolutely must thaw them completely first, drain off any extra liquid they release when thawing, and then proceed! The reason I prefer fresh for this easy freeze jam is that frozen berries can get a little mushy during the thaw. If you use frozen, you might want to crush them a little less vigorously to keep some texture. Think of it as a slight variation on my main recipe.
It’s too sweet! How can I make this jam less sweet?
This recipe relies on a high sugar ratio to ensure a safe set and good flavor preservation without pectin or heat. If you absolutely must reduce sweetness, try cutting the sugar down by no more than 1/4 cup (so 1 3/4 cups total). You might notice it’s softer, though. If you want to cut sugar significantly, you’ll have to look into a commercial pectin that allows for low-sugar recipes, but honestly, I highly recommend trying a small batch this way first. You might be surprised how balanced the fruit makes it! If you ever want to try a different preservation method, check out my thoughts on refrigerator pickles for comparison.
Is this considered a beginner jam making method?
Totally! This is arguably the simplest way to make any kind of fruit spread. If you can stir a bowl and wait 20 minutes, you can master this technique! There is no complicated sterilization, no balancing act with temperature, and no special equipment needed besides containers you probably already have. It’s a fantastic introduction to simple fruit preserves.
Understanding the Nutrition of This Fresh Strawberry Spread
I always get questions about the nutrition side of my recipes, especially since this strawberry freezer jam relies heavily on sugar for that perfect set. I want to be totally upfront: because this avoids cooking and pectin, it relies on a higher sugar content to stay safe and spreadable in the freezer. Please remember that these numbers are just my best estimates based on the ingredients listed, and they can definitely swing based on how sweet your berries were!
For a standard 1/4 cup serving, here’s what you’re looking at for this vibrant fresh strawberry spread:
- Calories: 160
- Sugar: 40g (Yes, that’s why we eat it in small doses!)
- Fat: 0g
- Protein: 0g
- Sodium: 1mg
It’s definitely a treat, not a health food, but oh boy, it tastes like summer! Use it sparingly over yogurt or whole-grain toast for a fantastic easy breakfast topping.
Share Your Homemade Strawberry Preserves Success
Alright, that’s it—you’ve successfully bottled up the sunshine with your own batch of strawberry freezer jam! I am so excited for you to try this, and I really, really want to know how it turned out for you. Did the sugar dissolve properly, or did you have to stir it a little longer? Did you end up eating half the batch straight out of the bowl before it even made it to the freezer?
Don’t be shy! If you loved how easy this make jam without pectin method was, please leave me a rating below. Stars speak louder than words sometimes, but I absolutely love reading your personal notes too. Tell me what you paired your first jar with—was it thick toast? Maybe dolloped on ice cream?
If you took a cute picture of your beautiful jars or the beautiful color of the finished spread, I’d be thrilled if you shared it! You can always reach out to me through my contact page if you have a question or just want to show off your beautiful handiwork. Happy spreading!
PrintEasy No-Cook Strawberry Freezer Jam
Make vibrant, fresh-tasting strawberry freezer jam quickly without cooking. This simple recipe is perfect for beginners and preserves the flavor of fresh strawberries.
- Prep Time: 15 min
- Cook Time: 0 min
- Total Time: 35 min
- Yield: About 3 half-pint jars
- Category: Dessert Topping
- Method: No-Cook Preservation
- Cuisine: American
- Diet: Vegetarian
Ingredients
- 4 cups fresh strawberries, hulled and crushed
- 2 cups granulated sugar
- 1 tablespoon lemon juice
Instructions
- Prepare the strawberries: Crush the hulled strawberries in a large bowl until you reach your desired consistency.
- Mix sugar: Add the granulated sugar to the crushed strawberries and stir well until the sugar dissolves, about 2 minutes.
- Add lemon juice: Stir in the lemon juice.
- Rest the mixture: Let the mixture sit at room temperature for 20 minutes, stirring occasionally. This allows the sugar to fully dissolve and the fruit to release more juice.
- Jar the jam: Ladle the jam mixture into clean, freezer-safe containers, leaving about 1/2 inch of headspace.
- Seal and freeze: Cover the containers tightly and place them in the freezer. The jam will keep for up to 6 months.
- Thaw before serving: Thaw jam in the refrigerator for several hours before using.
Notes
- For a thicker jam without pectin, crush the strawberries finely and let the mixture sit longer, up to 1 hour, before jarring.
- If you prefer a very firm set, you can add 1 package of powdered fruit pectin (like Sure-Jell) following the package directions, but this requires cooking the mixture briefly.
- This jam works well as a topping for toast, yogurt, or ice cream.
Nutrition
- Serving Size: 1/4 cup
- Calories: 160
- Sugar: 40g
- Sodium: 1mg
- Fat: 0g
- Saturated Fat: 0g
- Unsaturated Fat: 0g
- Trans Fat: 0g
- Carbohydrates: 41g
- Fiber: 1g
- Protein: 0g
- Cholesterol: 0mg