

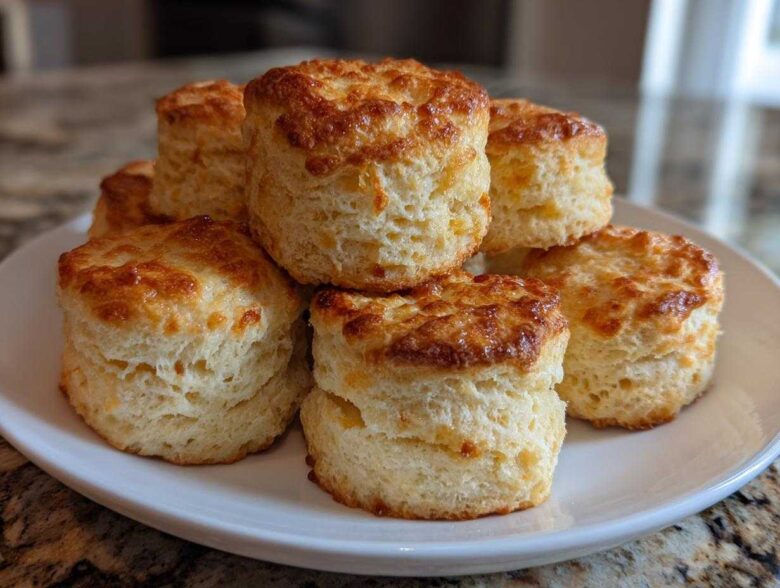
If you’ve ever stared longingly at those perfect, tall rounds in a coffee shop window and thought, “I could never make scones that fluffy,” well, I’m here to tell you that you absolutely can! For years, my scones were either too hard or too flat, which is just heartbreaking when you’re craving a melt-in-your-mouth pastry. But I finally cracked the code. This recipe for The Ultimate Fluffy Buttermilk Scones is my foolproof guide to achieving that incredible height and buttery flakiness every single time. Seriously, once you nail this technique, you’ll never go back to the grocery store bakery. We’re getting those classic, tender scones right here! If you love easy breakfast recipes that feel fancy, stick with me.
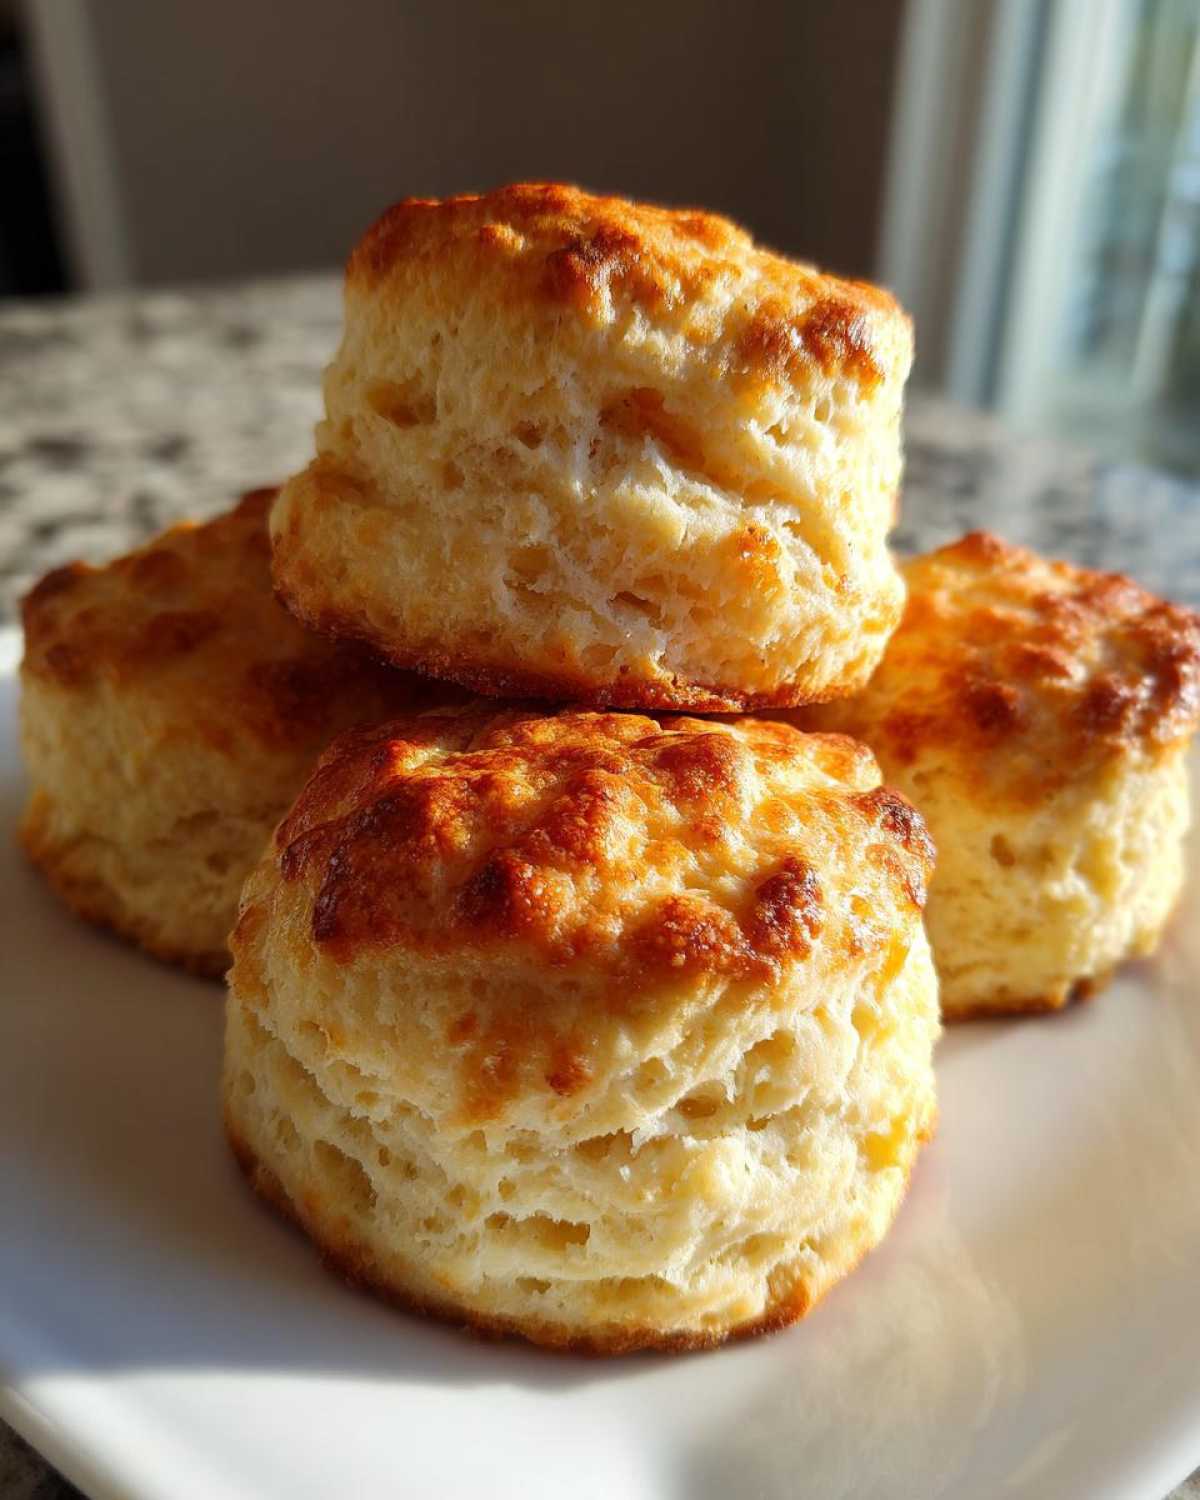
Why This Buttermilk Recipe Makes the Best Scones (E-E-A-T Focus)
I want you to trust this recipe because it’s not just about throwing things together; it’s about understanding the science behind a great pastry. The secret weapon here is, hands down, that cold buttermilk. It brings so much moisture, which keeps the crumb soft for days, but its acidity actually reacts with the baking powder to give you the lift you need. That’s how you end up with the best buttery scones instead of sad, squat discs!
Then there’s the butter. You have to use rock-hard, icy cold butter. When those tiny frozen cubes hit the hot oven, the water in the butter turns instantly to steam. That steam pushes the layers of dough apart, creating those beautiful, flaky pockets. If your butter is warm, it just melts in and you end up with a greasy quick bread, not a scone!
Achieving Tall Flaky Scones: Temperature is Everything
Seriously, if you remember one thing, remember this: keep everything cold. I mean *cold*. I actually keep my flour in the freezer for about 15 minutes before I start mixing, along with the butter and the buttermilk jug. This little trick guarantees you maximize that steam-puff effect. If the dough feels even a little warm while you’re mixing, pop the whole bowl into the fridge for five minutes. This dedication to cold ensures you get those beautiful, tall flaky scones the recipe promises.
Gathering Ingredients for Fluffy Scones Recipe
Okay, let’s look at what you need to wrangle for these dreamy baked goods. Remember what I said about temperature? That’s non-negotiable here! These measurements are exact because we are aiming for a superior texture, but the real magic comes from using everything icy cold. Don’t even think about substituting softened butter!
You’ll need your flour, a little sugar for sweetness—not too much, we want these versatile—baking powder, and salt. Then, the stars: the butter and the buttermilk. Make sure that butter is cut into small cubes, ready to be chilled again if you need a break between measuring and mixing. I always have my 3/4 cup of cold buttermilk waiting in the fridge, ready to go into the well we create.
- 2 cups all-purpose flour
- 1/4 cup granulated sugar
- 1 tablespoon baking powder
- 1/2 teaspoon salt
- 1/2 cup (1 stick) cold unsalted butter, cut into small cubes
- 3/4 cup cold buttermilk
- 1 large egg, lightly beaten (for egg wash)
- 1 tablespoon milk or cream (for egg wash)
How to Make Scones From Scratch: Step-by-Step Tutorial
Ready to see the magic happen? This is where your patience with the cold ingredients pays off! When you see how easy it is to transform basic flour and butter into incredible scones, you’ll wonder why you waited so long to try how to make scones from scratch. First things first, crank that oven up to 400°F (200°C) and get a baking sheet lined up with parchment paper. Don’t start mixing until your oven is warming up, because we need that heat ready to blast those buttery layers!
Next, we incorporate the butter. Use a pastry blender or your fingers to work that cold fat into your dry mix until it looks like rough crumbs, maybe with a few pea-sized chunks still floating around. Then, pour in that cold buttermilk. Mix it super gently with a fork. I mean it—stop mixing the second the flour disappears into the dough. It will look shaggy and messy; that’s perfect! Resist the urge to knead it into submission; overworking the dough is what kills the fluffiness we worked so hard to achieve. Dump it onto a lightly floured surface and pat it into a thick shape, about 3/4 of an inch high. Now, let’s cut these beauties for the big rise.
If you are looking for more general baking inspiration, check out my latest posts right here!
Cutting the Dough: The Secret to Flaky Scones
This feels like such a tiny detail, but trust me, this step is absolutely non-negotiable if you want height! Grab your sharpest biscuit cutter—I highly recommend one that’s at least 2.5 inches wide for the best results—and dip it in flour. You must press straight down and pull straight up! Do not twist the cutter or you’ll actually seal the edges shut. Twisting prevents the layers from separating properly in the heat, which is the main culprit for sad, squat scones.

Scone Glazing Techniques for Golden Tops
For that beautiful coffee shop sheen, we use a quick egg wash. Simply whisk that leftover egg with a tablespoon of milk or cream until it’s frothy. Brush it lightly but evenly over the tops of the rounds—get close to the edges, but try not to let it drip down the sides, as that can interfere with rising. If you prefer a more rustic, less shiny finish, just skip the egg wash and give them a light sprinkle of coarse sanding sugar instead. That contrast looks lovely too!
Tips for Success Making Perfect Buttermilk Scones
Even following the steps perfectly, sometimes things go a little sideways, right? Baking is chemistry, but it’s also a feeling! If your dough feels sticky, don’t panic and dump in extra flour, or you’ll end up with dry biscuits instead of moist scones. Instead, just dust your hands and the work surface very lightly. Another thing I’ve learned is about altitude—if you live high up, you might need to slightly reduce your baking powder because the air pressure changes how much they puff.
If you absolutely cannot find buttermilk (which kills me, because it’s the key ingredient!), you can make a quick substitute: take 3/4 cup of regular milk and stir in one teaspoon of white vinegar or lemon juice. Let it sit on the counter for about five minutes until it just starts to curdle a bit. Warm it up a tiny bit if it’s too cold, but it still needs to be chilled before adding it to the flour mix. These are some of my absolute best baking tips for flaky texture that truly make a difference!
Popular Scone Variations Based on This Recipe
The beauty of this buttermilk base is just how adaptable it is! Once you master the temperature and the gentle mixing for these scones, you can turn them into whatever your heart desires. If you’re craving something fruity, blueberrries are my go-to. Just gently fold about a cup of fresh or frozen blueberries into the dough right after you add the buttermilk—make sure they’re well-coated in flour before adding them so they don’t sink!
For the holidays, I always switch it up with cranberries and orange zest. It’s a showstopper! You can find my detailed recipe if you want the exact spice measurements for that Cranberry Orange Scone here. This foundation works for sweet or savory additions, honestly!
Making Classic English Scone Recipe Style Scones
If you are aiming for the true traditional tea experience, the tweaks are minimal. For a more authentic classic English scone recipe feel, reduce the granulated sugar in the dry mix by one tablespoon and skip any toppings except maybe a light brush of milk instead of egg wash. Serve them slightly warm, split open, with plenty of quality strawberry jam and clotted cream. They shine beautifully when they are simpler!
Serving Suggestions for Your Homemade Scones
Now that you have perfected these glorious, fluffy scones, how should you serve them? Well, honestly, they are amazing piping hot right off the rack, even plain! For the ultimate presentation, especially when hosting brunch baked goods-lovers, you have to go traditional. Think clotted cream and the best raspberry jam you can find. It’s the peak of afternoon tea treats.
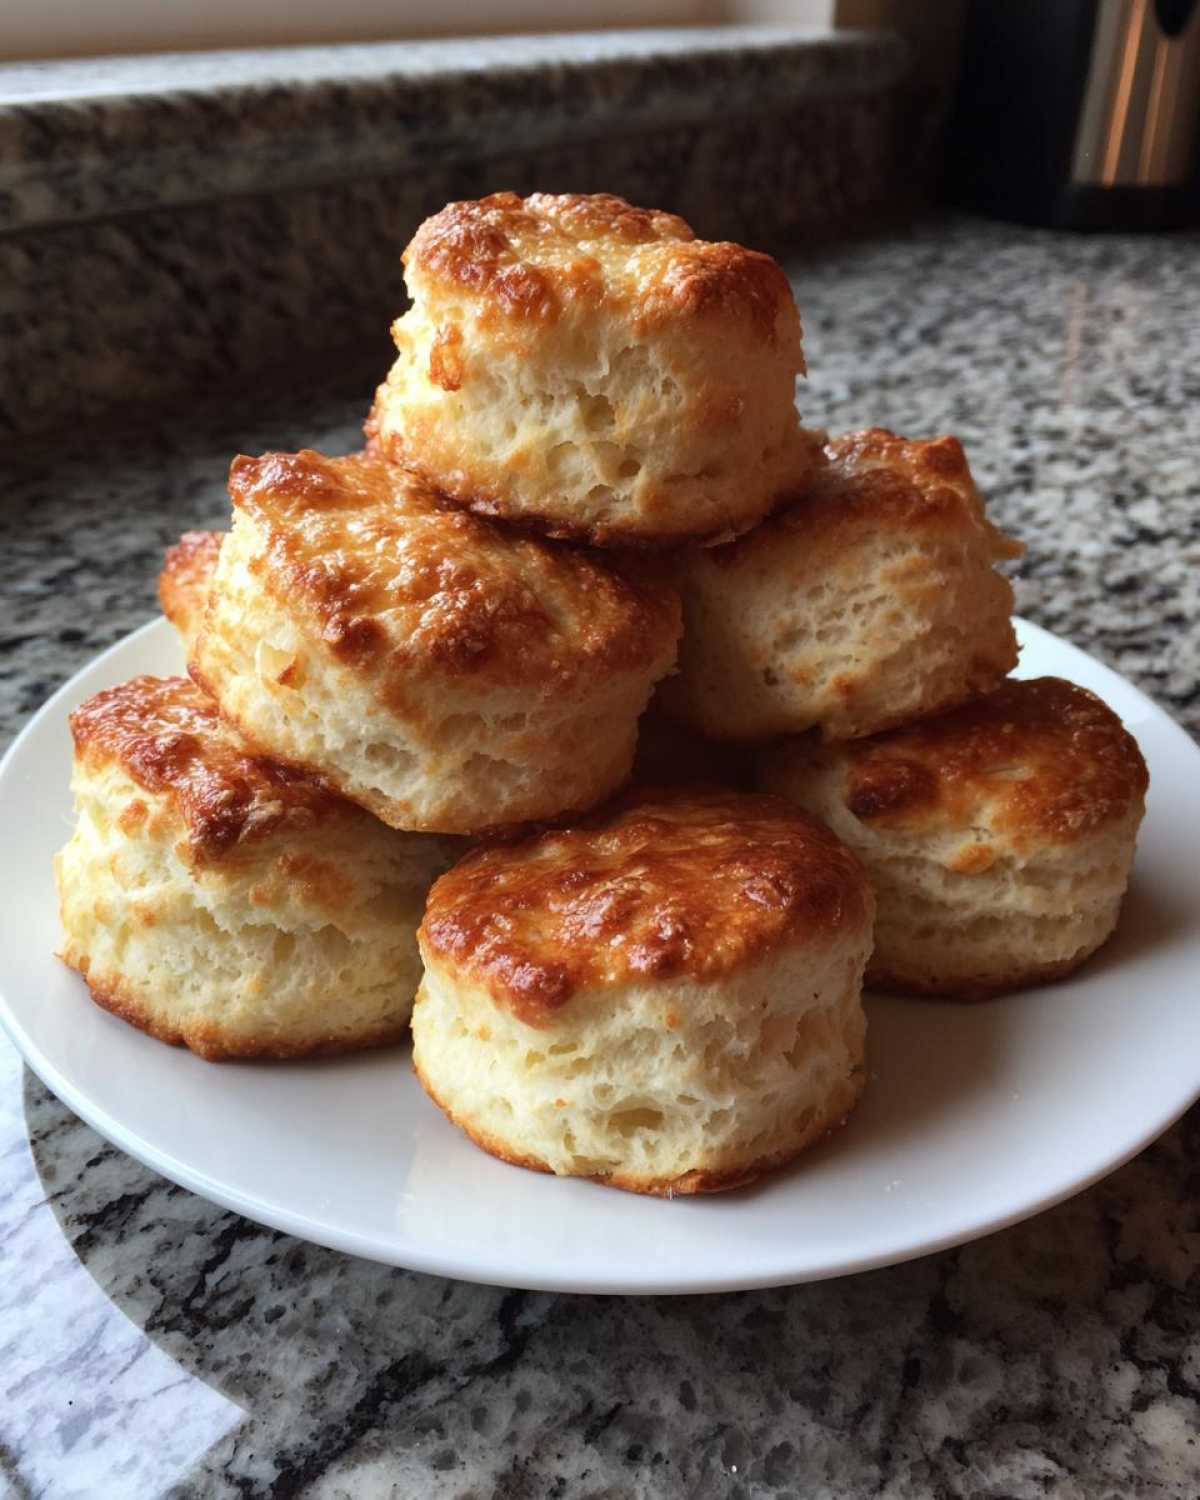
But don’t forget savory! These work perfectly as a base for something cheesy. Try mixing in some sharp cheddar and chopped chives into the dough instead of sugar. Serve those hot ones alongside a rich dip, like my easy homemade caramelized onion dip, or just with herb butter. They are so versatile, which is why this recipe is a forever keeper on my kitchen counter!
Storage and Reheating Instructions for Scones
If you manage to have any of these fluffy beauties left over—which I highly doubt!—storage is easy. Keep your leftover scones in an airtight container at room temperature for up to three days. Don’t refrigerate them, because that’s the fastest way to dry them out and ruin that lovely moist scone tutorial result we worked for!
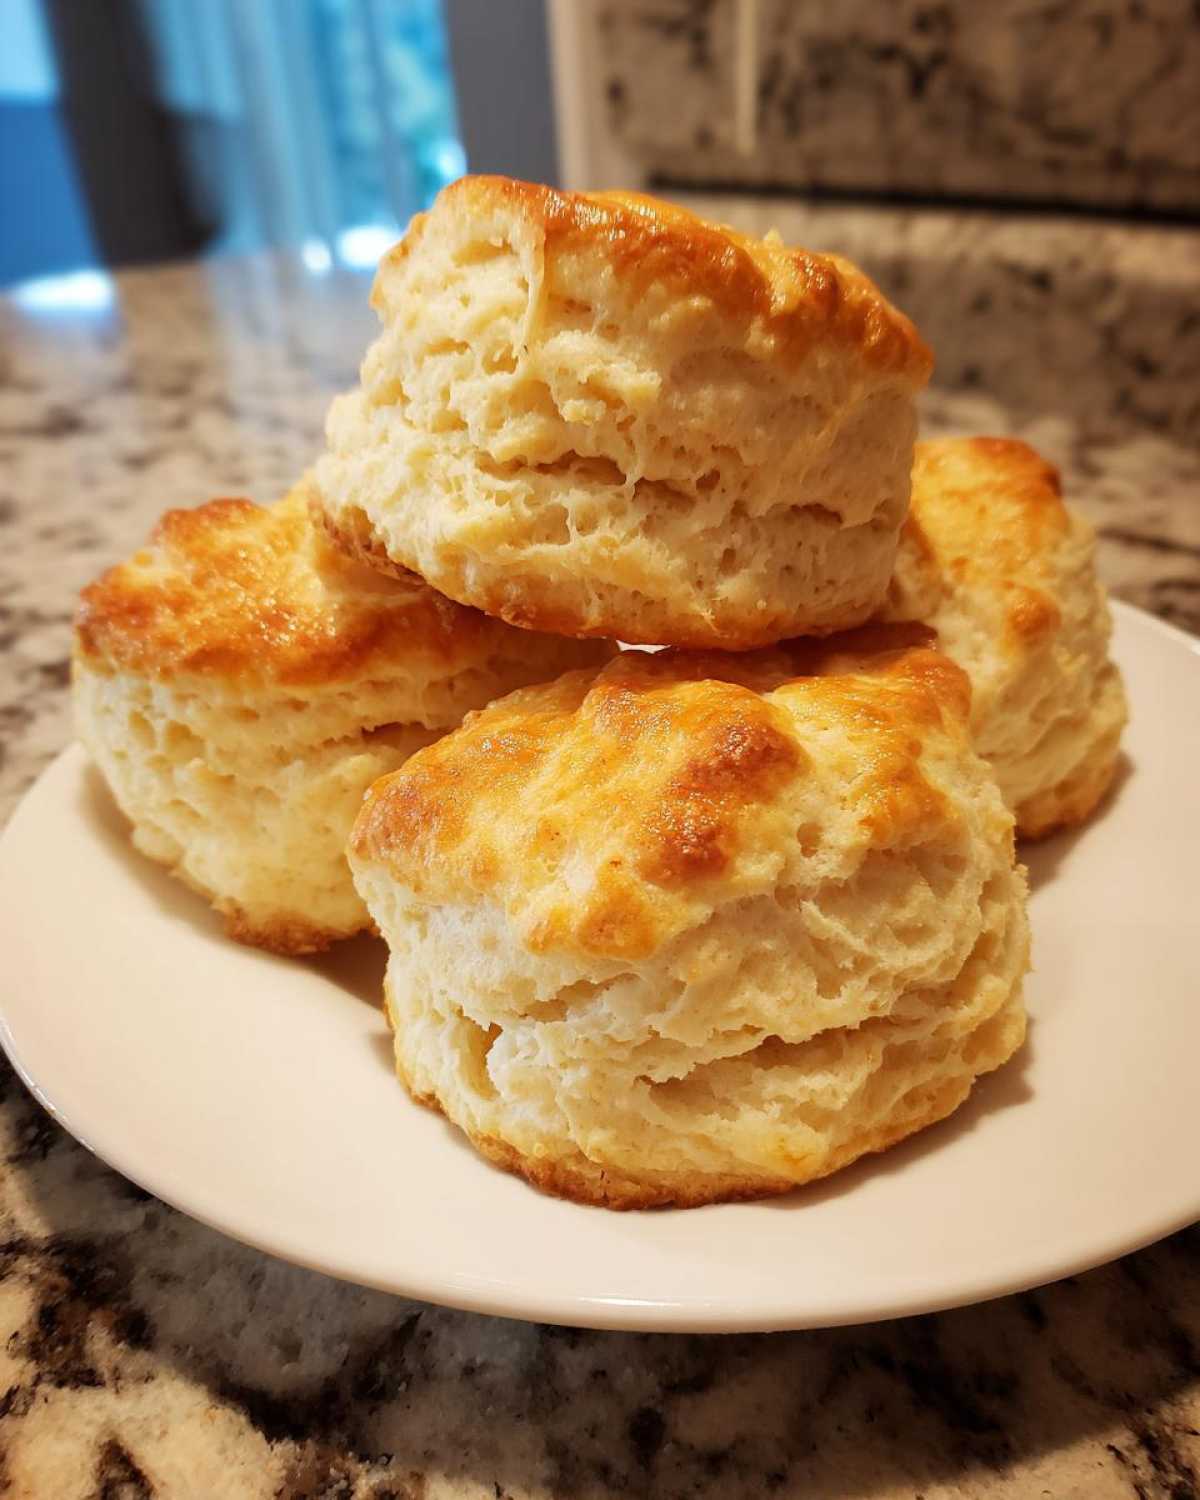
When you want to enjoy one later, reheating is key. Pop them in a 350°F oven for about five to seven minutes until they are warmed through and the outside gets that slight crispness back. The oven revives them perfectly!
Frequently Asked Questions About Making Scones
I always get emails asking the little details about the process, and that’s totally fair! Baking scones can feel intimidating until you know the little tricks. Here are a few things I hear all the time.
Why are my scones coming out dense instead of fluffy?
Nine times out of ten, density comes from two things: either the butter got too warm before baking, or you mixed the dough too much. Remember how I stressed *not* overmixing once the buttermilk goes in? If you keep working the dough, you develop gluten, and gluten equals chewiness, which is the enemy of a fluffy scone! Keep it quick and shaggy.
Can I skip the buttermilk in this scones recipe?
It is really hard to substitute buttermilk if you want these scones this tall and tender. Buttermilk provides acidity and fantastic moisture. If you absolutely must, use the milk/vinegar substitute I mentioned earlier, but know that the texture might lean slightly more toward a biscuit. For future attempts, try to keep buttermilk on hand; it’s great for so many quick bread recipes, too!
Is it really bad if I accidentally twist the biscuit cutter?
Yes, it’s bad—but not world-ending! Twisting seals the edges, trapping steam inside, which prevents the scone from lofting straight up. It results in scones that are shorter and wider, almost like a cookie shape. If you notice it immediately, just gently run a small, sharp knife around the edge of the dough after cutting to ensure the sides aren’t sealed before you bake them.
Reader Engagement and Next Steps
Now that you are armed with all the secrets to achieving the fluffiest, flakiest scones, I truly hope you try this recipe out this week! When you do bake a batch—whether you keep them plain or turn them into chocolate chip wonders—please come back and leave me a star rating and tell me what additions you chose! If you have any trouble or need more help, don’t hesitate to reach out on my contact page!
Reader Engagement and Next Steps
Now that you are armed with all the secrets to achieving the fluffiest, flakiest scones, I truly hope you try this recipe out this week! When you do bake a batch—whether you keep them plain or turn them into chocolate chip wonders—please come back and leave me a star rating and tell me what additions you chose! If you have any trouble or need more help, don’t hesitate to reach out on my contact page!
PrintThe Ultimate Fluffy Buttermilk Scones

Follow this straightforward recipe to bake tall, flaky, and buttery scones using buttermilk for a moist texture. This recipe works well for plain scones or as a base for fruit additions.
- Prep Time: 15 min
- Cook Time: 18 min
- Total Time: 33 min
- Yield: 8 servings
- Category: Breakfast
- Method: Baking
- Cuisine: American
- Diet: Vegetarian
Ingredients
- 2 cups all-purpose flour
- 1/4 cup granulated sugar
- 1 tablespoon baking powder
- 1/2 teaspoon salt
- 1/2 cup (1 stick) cold unsalted butter, cut into small cubes
- 3/4 cup cold buttermilk
- 1 large egg, lightly beaten (for egg wash)
- 1 tablespoon milk or cream (for egg wash)
Instructions
- Preheat your oven to 400°F (200°C). Line a baking sheet with parchment paper.
- In a large bowl, whisk together the flour, sugar, baking powder, and salt.
- Add the cold butter cubes to the dry ingredients. Use a pastry blender or your fingertips to cut the butter into the flour until the mixture resembles coarse crumbs with some pea-sized pieces remaining.
- Make a well in the center and pour in the cold buttermilk. Mix gently with a fork until the dough just comes together. Do not overmix.
- Turn the dough out onto a lightly floured surface. Gently pat or roll the dough into a 3/4-inch thick circle or rectangle.
- Using a sharp, floured biscuit cutter (about 2.5 inches wide), cut straight down through the dough to create rounds. Do not twist the cutter, as this seals the edges and prevents rising.
- Place the cut scones close together on the prepared baking sheet. For taller scones, place them touching; for crispier edges, space them slightly apart.
- In a small bowl, whisk together the egg and milk or cream for the egg wash. Brush the tops of the scones lightly with the wash.
- Bake for 14 to 18 minutes, or until the tops are golden brown and a toothpick inserted into the center comes out clean.
- Transfer the scones to a wire rack to cool slightly before serving.
Notes
- For the flakiest texture, keep all ingredients, especially the butter and buttermilk, very cold.
- If you want to add blueberries or chocolate chips, gently fold 1 cup of additions into the dough after adding the buttermilk.
- To achieve maximum height, press the cutter straight down without twisting.
- Serve warm with jam and clotted cream for a classic afternoon tea experience.
Nutrition
- Serving Size: 1 scone
- Calories: 280
- Sugar: 5
- Sodium: 350
- Fat: 14
- Saturated Fat: 9
- Unsaturated Fat: 5
- Trans Fat: 0
- Carbohydrates: 33
- Fiber: 1
- Protein: 5
- Cholesterol: 55