

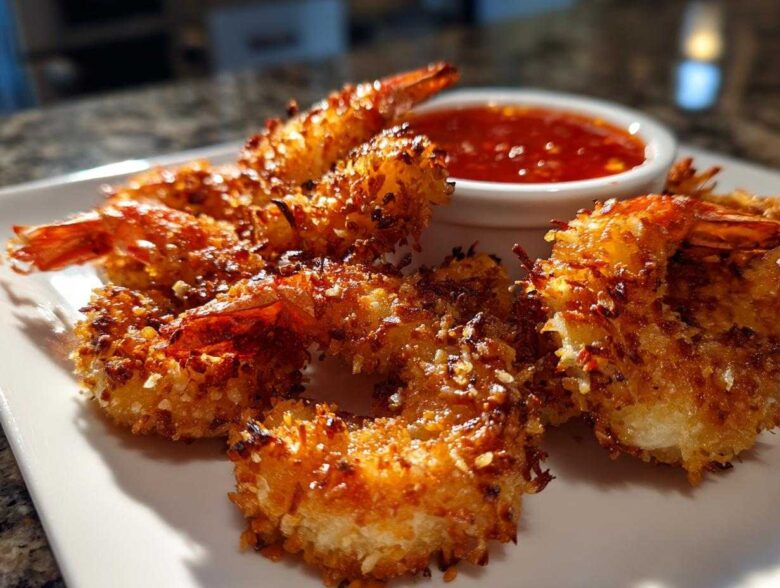
Forget those soggy restaurant disappointments! I’ve cracked the code, truly, on making the absolute crunchiest, brightest Coconut Shrimp you’ve ever tasted right in your own kitchen. Seriously, these aren’t shy on flavor. My favorite thing about this whole recipe is how flexible it is—we can fry them up the classic way, or, if I’m feeling slightly less indulgent, bake them or toss them in the air fryer. And you absolutely cannot skip the simple homemade sweet chili dipping sauce I whipped up to go alongside them. Learning to master that perfect, shattering crunch took some serious trial and error, but trust me, we got there!
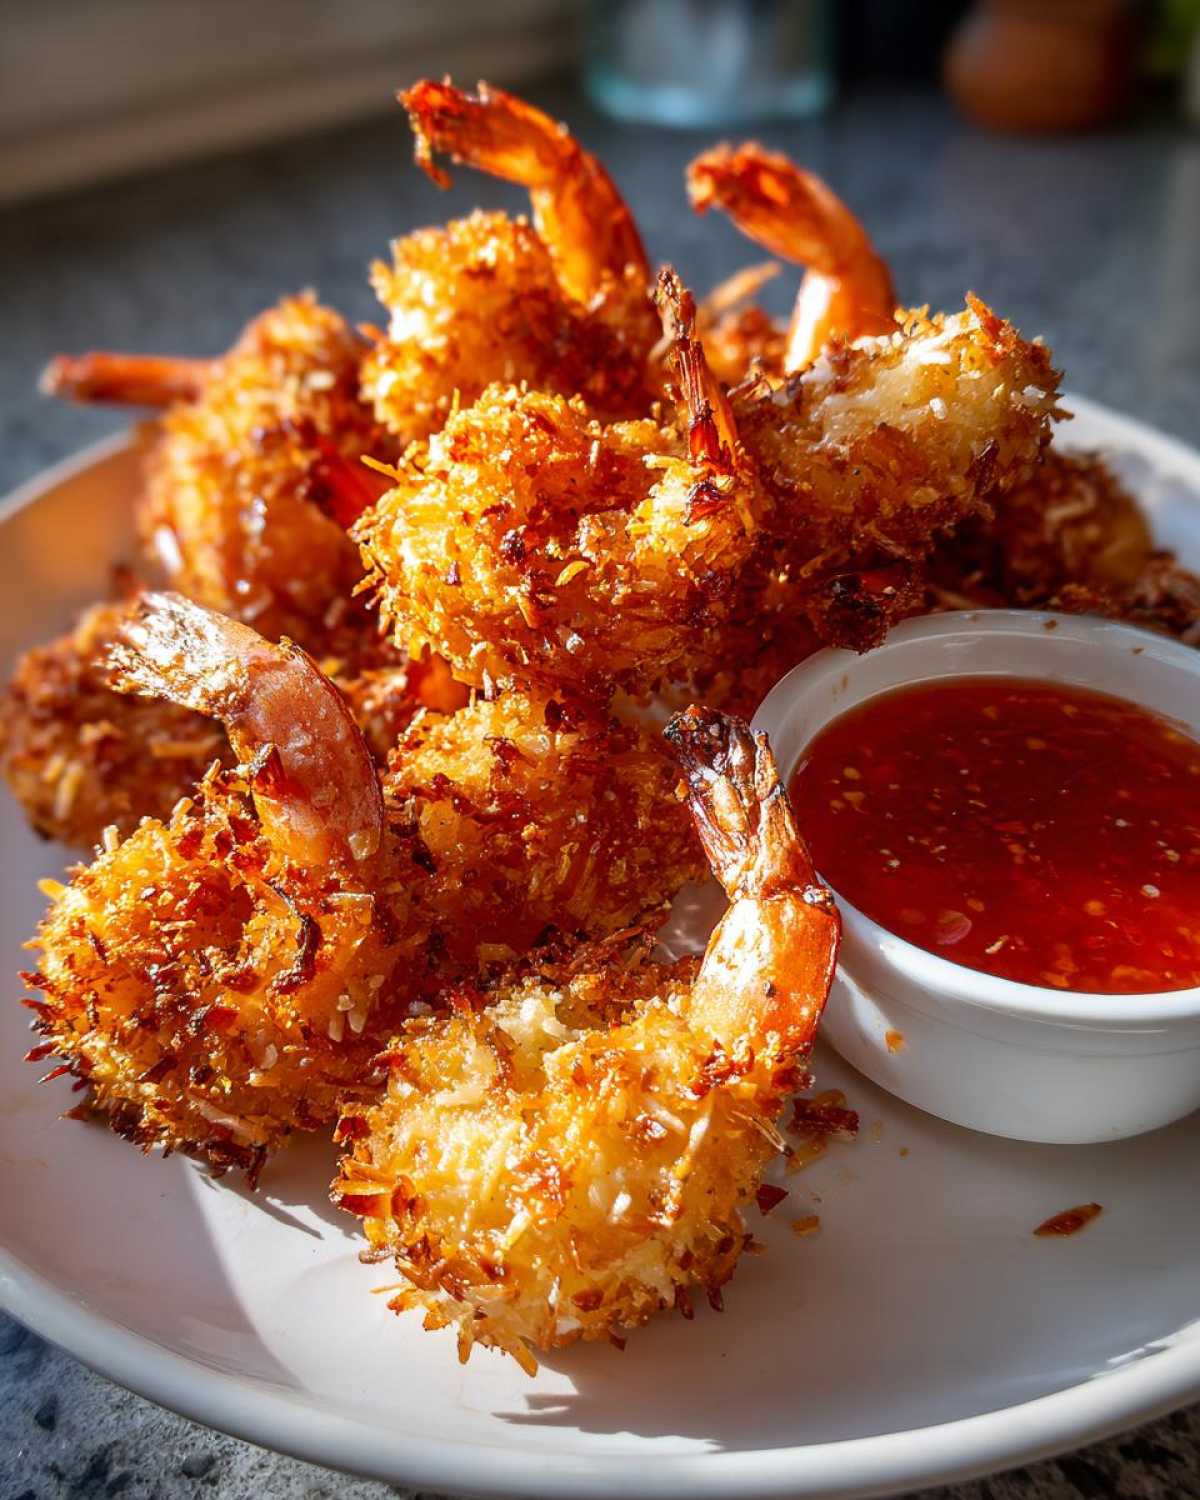
Why This Crispy Coconut Shrimp Recipe Delivers Restaurant Style Results
When you’re aiming for that perfect bite—the kind that shatters just right—you have to respect the science of the coating. We aren’t messing around with standard breadcrumbs here; we are going for genuine restaurant-quality flavor and texture every single time. This Coconut Shrimp Recipe is built on three core principles that guarantee success whether you bake or fry.
Here’s why this method turns out the absolute **best** appetizer:
- We use Panko breadcrumbs—they hold up better to heat and create pockets of air that puff up for that signature crunch.
- Patting the shrimp totally dry is non-negotiable! Moisture is the enemy of adhesion.
- We are sticking to a strict dredging process to ensure a thick, even layer of the **Crunchy Shrimp Coating**.
The Secret to the Best Coconut Shrimp Coating
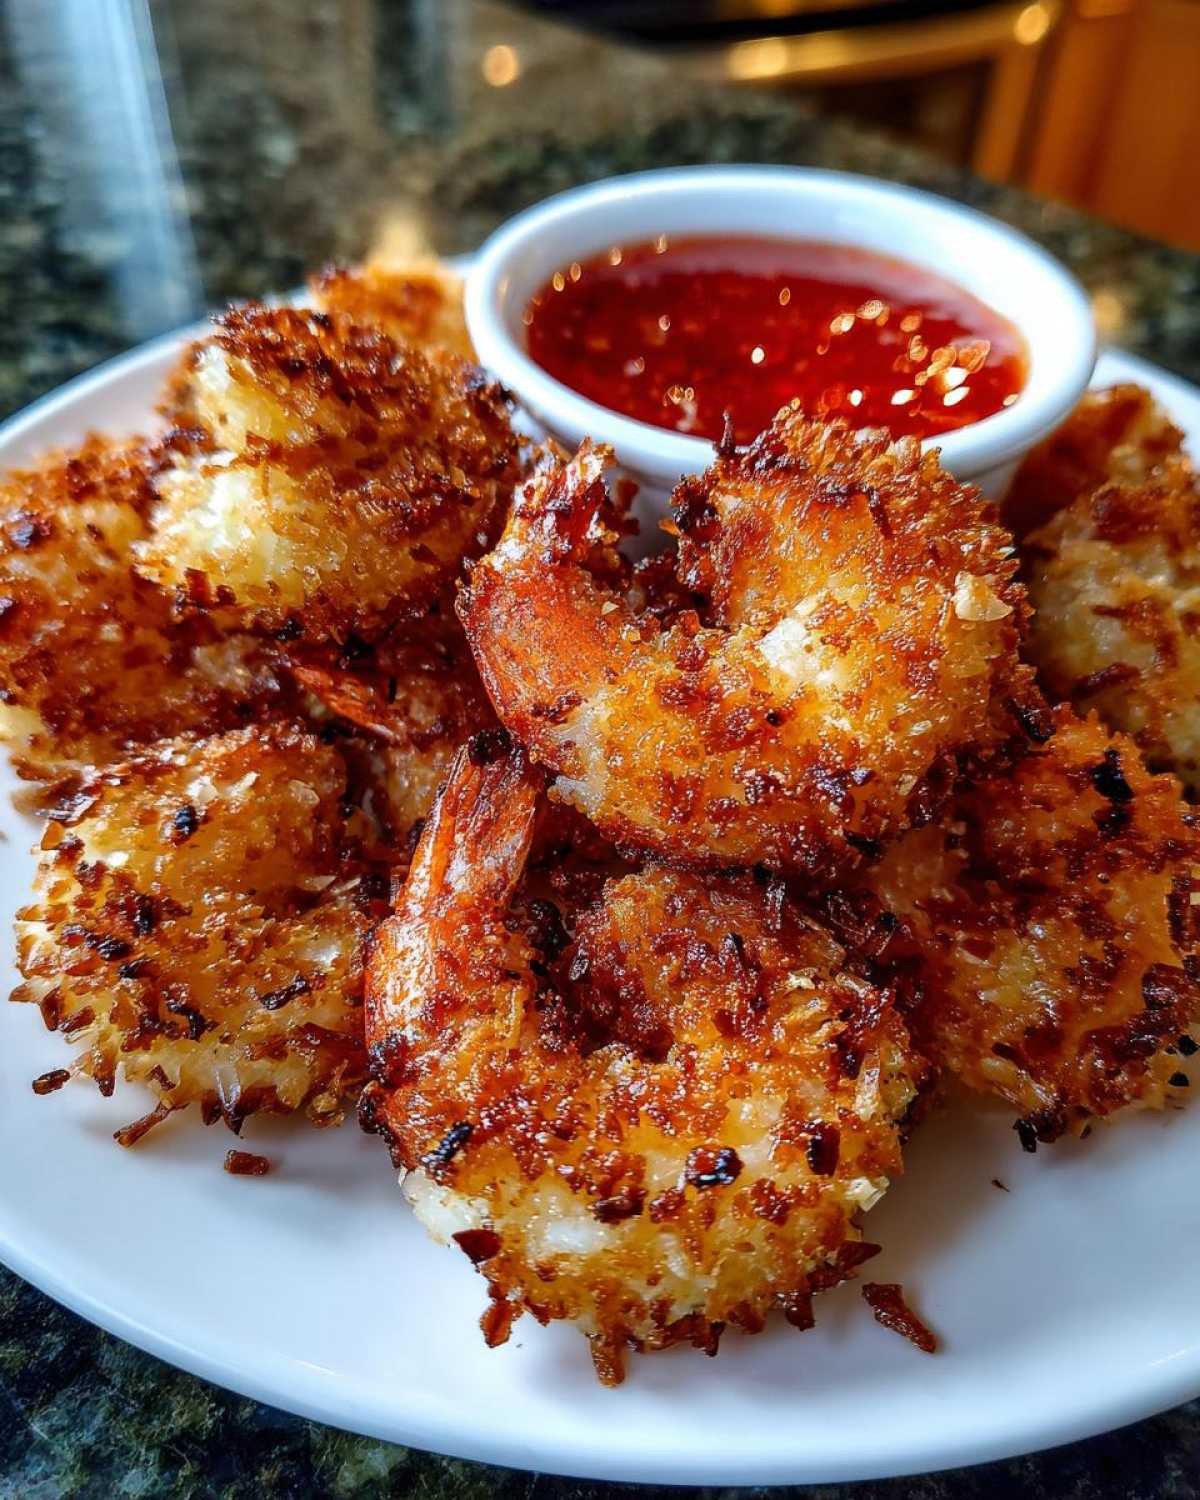
The three-stage dredging setup is how we lock everything in place. First, the flour acts like glue. Then the egg wash makes sure the final layer sticks tight. Finally, the mix of crunchy panko and sweet coconut gets pressed on firmly. This ensures that when these gorgeous **Crispy Coconut Shrimp** hit the heat, nothing slides off—just pure, golden, textured goodness.
Ingredients Needed for Perfect Coconut Shrimp and Sweet Chili Dipping Sauce
If you want this **Coconut Shrimp Recipe** to turn out exactly like the picture, measurements matter! I know it seems fussy, but following these ratios exactly is what separates a decent shrimp from one that deserves a spot on the best appetizer platter. I’ve separated everything so you can gather your baking components first, and then your sauce ingredients. Don’t skip peeling and deveining—it’s worth the extra two minutes!
For the Coconut Shrimp
This is everything you need for the shrimp and the amazing coating process. Remember, we need everything ready before we start dipping!
- 1 lb large shrimp, peeled and deveined (If you use frozen, make sure they are completely thawed and patted bone-dry!)
- 1 cup all-purpose flour (for the initial dredge)
- 2 large eggs, beaten well (this is your binder)
- 1 teaspoon salt (we add this to the flour)
- 1/2 teaspoon black pepper (also goes into the flour)
- 1 cup panko breadcrumbs (the key to crunch!)
- 1 cup sweetened flaked coconut (don’t substitute this for unsweetened unless you really hate happiness)
- 1/2 cup vegetable oil (only if you are choosing the classic fried method)
For the Homemade Sweet Chili Dipping Sauce
This sauce cuts through the richness of the coconut perfectly. Honestly, once you taste this, you’ll never buy the bottle again. It pairs so beautifully with the tropical flavor of the shrimp.
- 1/2 cup sweet chili sauce (store-bought is fine here!)
- 1 tablespoon rice vinegar
- 1 teaspoon fresh lime juice
Step-by-Step Instructions for Easy Coconut Shrimp
I know instructions can look long, but I promise these steps for making **Easy Coconut Shrimp** flow together super fast. We need to get our sauce ready first so it’s chilling while the shrimp waits for its crunchy coat. Once the dredging station is set, the shrimp assembly line moves quickly!
Preparing the Sweet Chili Dipping Sauce
First things first: let’s make that sauce so the flavors can mingle. Just grab a tiny bowl. Whisk together that sweet chili sauce, your rice vinegar, and your little squeeze of lime juice. That’s it! Give it a quick stir and set it aside on the counter. It’s ready when you are.
Setting Up the Coconut Shrimp Breading Station
This setup is the secret to professional results! You need three shallow dishes lined up in a row. Dish one holds your flour, salt, and pepper. Dish two is just for those beaten eggs. Dish three is where the magic happens—mix your panko and coconut really well. Now, grab your shrimp and pat them all dry with paper towels. Seriously, you want them almost dusty dry; this is my expert tip to keep that coating from falling off later!
Coating the Shrimp for Maximum Crunch
Time to bread! Take one dried shrimp and coat it lightly in the flour first, shaking off any clumpiness. Then, dip it completely into the egg mixture. Finally, move it to the panko/coconut bowl. You must press that coating onto the shrimp firmly with your fingers so it really adheres everywhere. Lay the fully coated shrimp out on a clean rack before moving on to the next one. Don’t let them overlap!
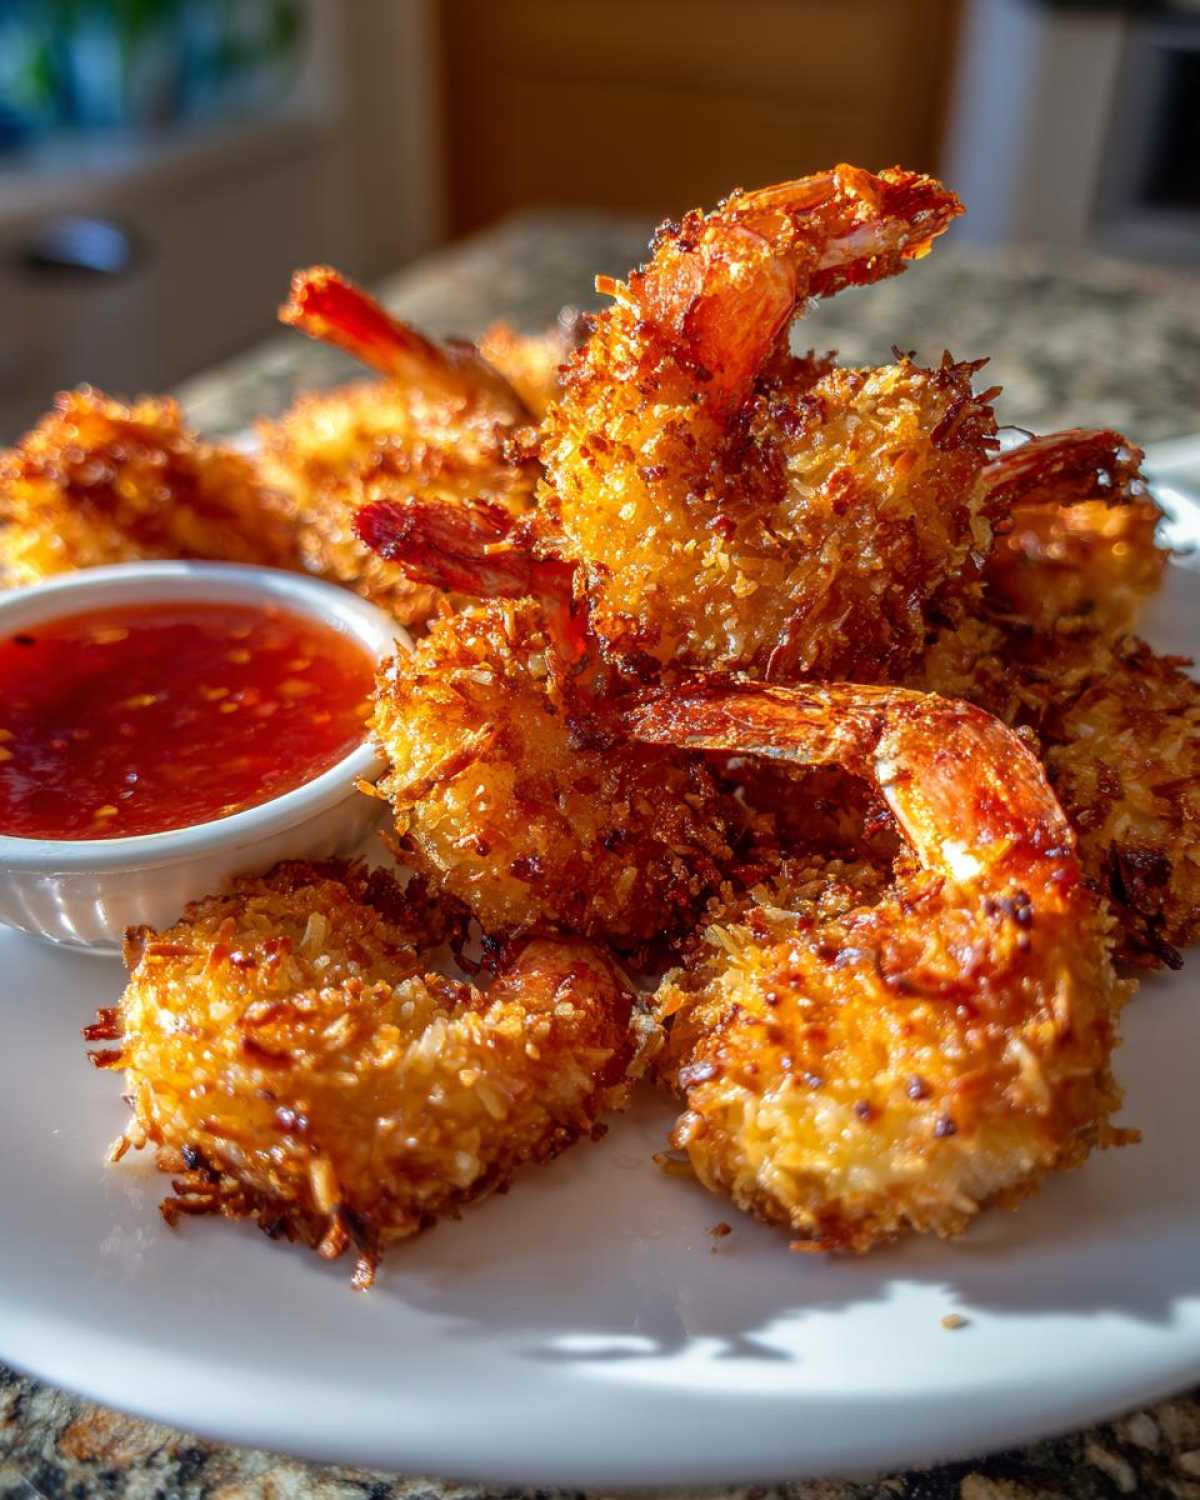
Cooking Methods for Crispy Coconut Shrimp: Fried, Baked, or Air Fryer
Okay, here’s the best part about this recipe—you get to perfectly cook these beauties no matter what setup you have! Whether you crave that authentic deep-fried texture or need a lighter approach, we can make magic happen. Getting the heat right is the key to ensuring the coating browns beautifully before the shrimp overcooks. You can choose your adventure: perfectly **Fried Coconut Shrimp**, wonderfully golden **Baked Coconut Shrimp**, or super quick **Air Fryer Coconut Shrimp**. If you happen to love homemade nuggets too, you might check out my recipe for crispy baked nuggets; the technique for crisping is similar!
Achieving Perfect Fried Coconut Shrimp
If you’re going for pure indulgence, frying is the way to go for the fastest cook time and best color. In a large skillet, heat about half an inch of vegetable oil over medium-high heat until it hits exactly 350°F. If you don’t have a thermometer, drop a tiny piece of coating in—if it sizzles brightly right away, you’re ready! Only fry a few shrimp at a time. Crowding the pan drops the oil temperature, and nobody wants soggy shrimp. They only need about 2 to 3 minutes per side until they are gorgeously golden brown. Drain them quickly on paper towels!
Tips for Baked Coconut Shrimp
If you’re skipping the oil, don’t worry; we can still get these golden! Preheat your oven to a hot 400°F and line a sheet pan with parchment paper. Lay your coated shrimp in a single layer—don’t let them touch each other! This is crucial for even cooking. Before they go in, give the tops a very light spritz with cooking spray; this helps mimic that fried color you love. Bake them for about 12 to 15 minutes, but make sure you flip them around the 7-minute mark so both sides get golden.
Making Air Fryer Coconut Shrimp
The air fryer is my go-to for a quick **Weeknight Shrimp Dinner** because it delivers crunch with minimal fuss. Preheat your air fryer to 380°F. Arrange the shrimp in a single layer in the basket—you absolutely have to cook in batches here, or it just steams! Cook them for 8 to 10 minutes total. Just like baking, flip them halfway through so both sides get that nice crisp texture. These come out incredibly crunchy and fast!
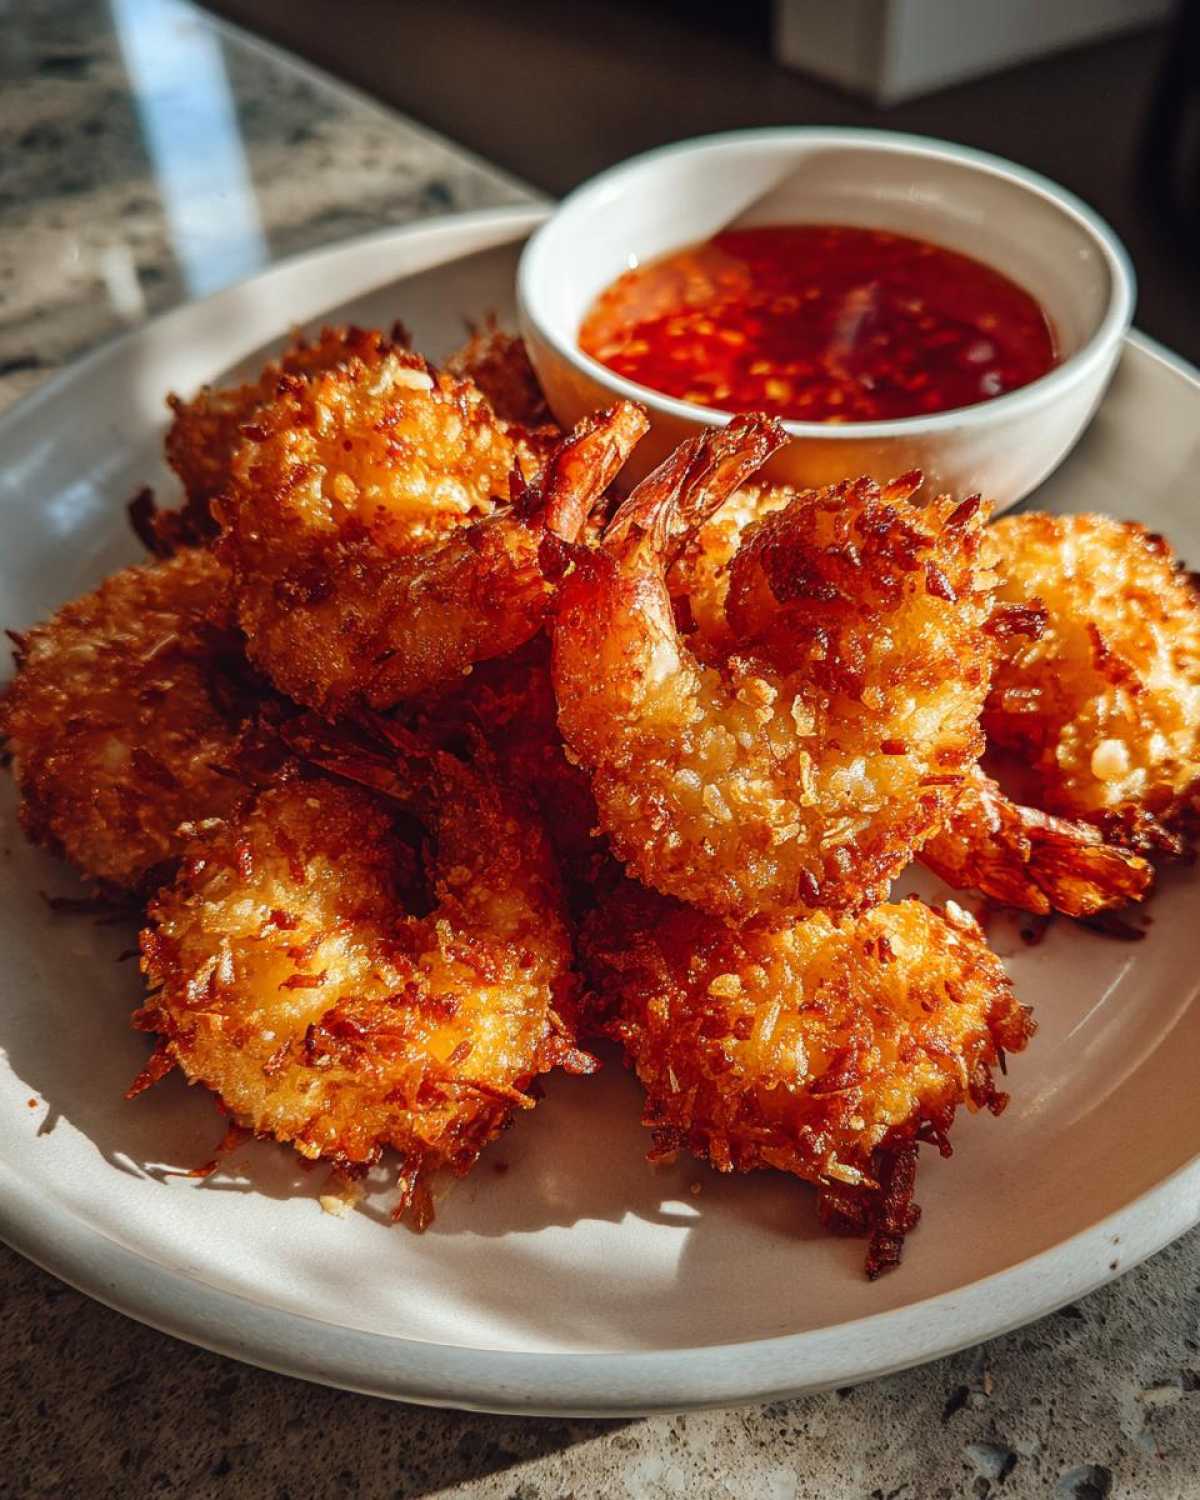
Ingredient Notes and Substitutions for Your Coconut Shrimp Recipe
Part of what makes a recipe truly yours is knowing when you can switch things up—especially if you’re missing one little thing in the pantry! I want this **Coconut Shrimp Recipe** to work for everyone celebrating **Seafood Lovers Dinner** night. Because I test these things constantly, I can tell you exactly what works and what might ruin the crunch factor.
Let’s talk about the coconut first. I insist on sweetened flaked coconut because that sugar content helps it brown beautifully, but if you’re watching sugar intake, you can swap it one-for-one with unsweetened coconut. Just know you might need that extra little spray of oil when baking or air frying:
- **The Shrimp Size:** I used large shrimp here—the size 21/25 range. If you use smaller shrimp, you need to dramatically cut your cooking time, especially when frying, or they will be rubbery little bites!
- **Oil Choice:** For frying, you need a neutral oil with a high smoke point like vegetable or refined peanut oil. Don’t even think about using olive oil; it will smoke and turn bitter before your shrimp are ready.
- **Panko Texture:** Panko is crucial for that airy crispness. If you absolutely do not have it, pulse regular, good-quality dry breadcrumbs in a food processor until they look slightly coarser than normal. But honestly, Panko is worth seeking out!
- **No Eggs? Try This:** If you can’t have eggs, you can use plain yogurt or buttermilk as a substitute for the egg wash. It still creates a sticky base for your panko mix. Just make sure you have a thick coating!
When you understand *why* an ingredient is there, you suddenly gain the confidence to substitute when needed. Follow this advice, and your **Crispy Coconut Shrimp** will always be a winner, no matter what tiny adjustments you make along the way!
Serving Suggestions for This Tropical Shrimp Recipe
Now that you’ve got a pile of piping hot, perfectly crunchy shrimp, the next big question is: what are we eating them with? This **Tropical Shrimp Recipe** is so versatile! I love it as a killer **Coconut Shrimp Appetizer** at parties, but honestly, sometimes I just make a big batch and call it a **Quick Shrimp Recipe** for dinner. It really sings when paired with something bright and fresh to balance out that sweet coconut.
For a party situation, keep things easy. Little bamboo skewers threaded through the tails make them easy to grab right out of the serving bowl. Set out a bunch of little sauce ramekins—maybe one with our sweet chili dip, and another with a slightly tart pineapple salsa for a different flavor punch. People lose their minds over a little salsa on the side!
If you are serving this as a main course, you need some good, hearty sides that soak up any extra sauce and complement the sweet seafood. My absolute go-to is a fluffy rice pilaf; it’s simple enough not to compete with the shrimp, but it makes the meal feel complete. You can find my favorite recipe for easy rice pilaf here. That’s always a winner!
- **For a Light Meal:** Pair the shrimp with a fresh, crisp slaw made with shredded cabbage, carrots, lime juice, and maybe a tiny bit of cilantro. It keeps things light and zesty.
- **For a Dinner Feel:** Serve the shrimp over a bed of mixed greens tossed in a light vinaigrette, or alongside quick-cooking coconut rice.
- **Don’t Forget Your Veggies:** Steamed green beans tossed quickly with a little sesame oil or thinly sliced avocado are great additions to balance the plate.
Honestly, these shrimp are such a knockout item, they make even the simplest side dish seem gourmet. Just make sure you have plenty of dipping sauce on hand because people tend to devour these crispy bites faster than you can make them!
Storing and Reheating Your Homemade Coconut Shrimp
We hardly ever have leftovers, but when we do, I have strict rules about reheating! You absolutely cannot microwave these—the steam will destroy all that beautiful texture we worked hard for. The trick to reviving leftover **Crispy Coconut Shrimp** is getting that dry heat back quickly.
Store any cooled shrimp in a single layer in a shallow, airtight container in the fridge. They should last about two days, though they are best eaten the day you make them, naturally.
To crisp them back up, ditch the microwave! Pop them into a 375°F oven for about 5 to 7 minutes, or better yet, toss them in the air fryer at 350°F for 3 minutes. They turn out almost as perfect as when they were first cooked. Serve them hot alongside any leftover **Sweet Chili Dipping Sauce**!
Frequently Asked Questions About Making Coconut Shrimp
It happens to the best of us—you get halfway through making something for your **Party Shrimp Recipes** collection, and a question pops right into your head! I gathered up the things I hear most often when people try this recipe for the first time. Don’t worry if you have questions; that just means you care about getting that perfect crunch. We want everyone to succeed when they try making these **Homemade Coconut Shrimp**!
What is the best way to prevent the coconut coating from falling off the coconut shrimp?
Oh, this is probably the number one issue people run into! If your coating slides off in the oil or oven, almost every time it comes down to moisture. Remember what I said about patting those shrimp—really pat them! They need to be totally dry before they hit that flour. Then, make sure when you press them into that final coconut-Panko mix, you are squeezing it on there. Don’t gently sprinkle it; press the coating firmly all over the shrimp. Think of it like wrapping a gift ribbon tightly—you need compression for adhesion!
Can I make this coconut shrimp recipe ahead of time?
Yes, you absolutely can, and this is a lifesaver when you’re prepping for a big party of **Seafood Appetizer Ideas**! The number one rule for making these ahead is to do all the prep—the dredging, the coating—and then stop right before cooking. Lay the fully coated shrimp on a baking sheet lined with parchment paper, cover them loosely, and pop them in the fridge for a few hours. When you are ready to serve, you cook them straight from the fridge using your preferred method (air fryer is fantastic for this!). Cooking them totally raw right before serving keeps them at their absolute peak. If you try to cook them and then reheat them later, that amazing crunch starts to fade fast.
If you’d like to know more about my process and why these techniques work so well, you can always check out my About Us page—I share a lot about how I test things in the kitchen!
Rate This Best Coconut Shrimp Recipe
Okay, I’ve shared every secret I have for getting that perfect, shatteringly **Crispy Coconut Shrimp**! Now it’s your turn to try it out and tell me how it went. I really want to know which cooking method you chose.
Did you go old-school with the deep fryer for that authentic taste? Or did you love the speed and crunch of the air fryer? Tell me in the comments below what you thought and please give this recipe a star rating!
If you need to know more about how we keep our site running fairly, you can always check out our site disclaimer.
- How many stars would you give this **Best Coconut Shrimp**? (1 to 5)
- Did you prefer the fried, baked, or air fryer results?
Crispy Panko Coconut Shrimp with Sweet Chili Sauce
Make restaurant-quality crispy coconut shrimp at home. This recipe includes instructions for frying, baking, or air frying, served with a simple homemade sweet chili dipping sauce.
- Prep Time: 20 min
- Cook Time: 15 min
- Total Time: 35 min
- Yield: 4 servings
- Category: Appetizer
- Method: Frying, Baking, or Air Frying
- Cuisine: American
- Diet: Seafood
Ingredients
- 1 lb large shrimp, peeled and deveined
- 1 cup all-purpose flour
- 2 large eggs, beaten
- 1 teaspoon salt
- 1/2 teaspoon black pepper
- 1 cup panko breadcrumbs
- 1 cup sweetened flaked coconut
- 1/2 cup vegetable oil (for frying, optional)
Instructions
- Prepare the dipping sauce: Combine 1/2 cup sweet chili sauce, 1 tablespoon rice vinegar, and 1 teaspoon lime juice in a small bowl. Set aside.
- Set up a three-stage dredging station. Place flour, salt, and pepper in the first shallow dish. Whisk eggs in the second dish. Mix panko breadcrumbs and flaked coconut in the third dish.
- Pat the shrimp completely dry with paper towels. This helps the coating stick.
- Dredge each shrimp first in the flour mixture, shaking off excess.
- Dip the floured shrimp into the egg wash, allowing excess to drip off.
- Press the shrimp firmly into the coconut-panko mixture until fully coated on all sides. Place coated shrimp on a wire rack.
- To Fry: Heat 1/2 inch of oil in a large skillet over medium-high heat until it reaches 350°F. Fry shrimp in batches for 2-3 minutes per side until golden brown and cooked through. Drain on paper towels.
- To Bake: Preheat oven to 400°F. Arrange shrimp on a baking sheet lined with parchment paper. Lightly spray the tops with cooking spray. Bake for 12-15 minutes, flipping halfway, until golden.
- To Air Fry: Preheat air fryer to 380°F. Place shrimp in a single layer in the basket (work in batches). Air fry for 8-10 minutes, flipping halfway, until crispy.
- Serve the hot coconut shrimp immediately with the prepared sweet chili dipping sauce.
Notes
- For an air fryer or baked version, lightly spraying the coated shrimp with cooking spray before cooking helps achieve a better golden color.
- If you prefer a thicker sauce, simmer the dipping sauce ingredients gently for 5 minutes until slightly reduced.
- Use unsweetened coconut if you prefer less sugar in the coating.
Nutrition
- Serving Size: 5 shrimp
- Calories: 350
- Sugar: 12
- Sodium: 450
- Fat: 18
- Saturated Fat: 8
- Unsaturated Fat: 10
- Trans Fat: 0
- Carbohydrates: 28
- Fiber: 2
- Protein: 22
- Cholesterol: 150