

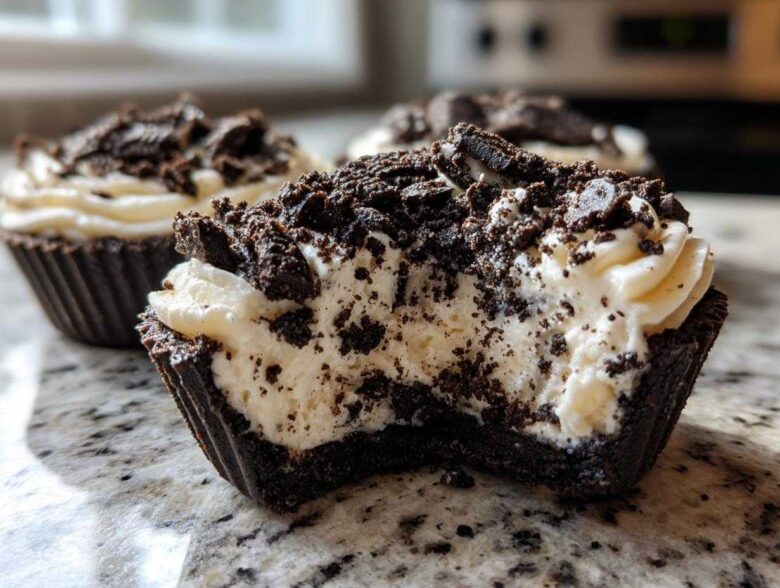
Okay, are you ready for a dessert that basically makes itself while you sit on the couch? I live for those days when I have zero patience but a massive sweet tooth. Forget turning on the oven when it’s ninety degrees outside! That’s why I’m obsessed with these No-Bake Cookies and Cream Pie Cups. They tick every single box for me: individual servings (hello, perfect portion control!), they feature that classic crunchy cookie and heavenly creamy filling combo, and honestly, they set up firmer than most baked goods!
I whipped up a batch of these cups last weekend for a last-minute gathering, and they vanished before the main dessert even hit the table. They look fancy when they’re sitting there in their little paper liners, but trust me, the minimal effort involved is almost shocking. If you need a foolproof, crowd-pleasing dessert that requires zero baking skills, you have found your holy grail right here. We’re talking about pure, unadulterated cookies and cream magic!
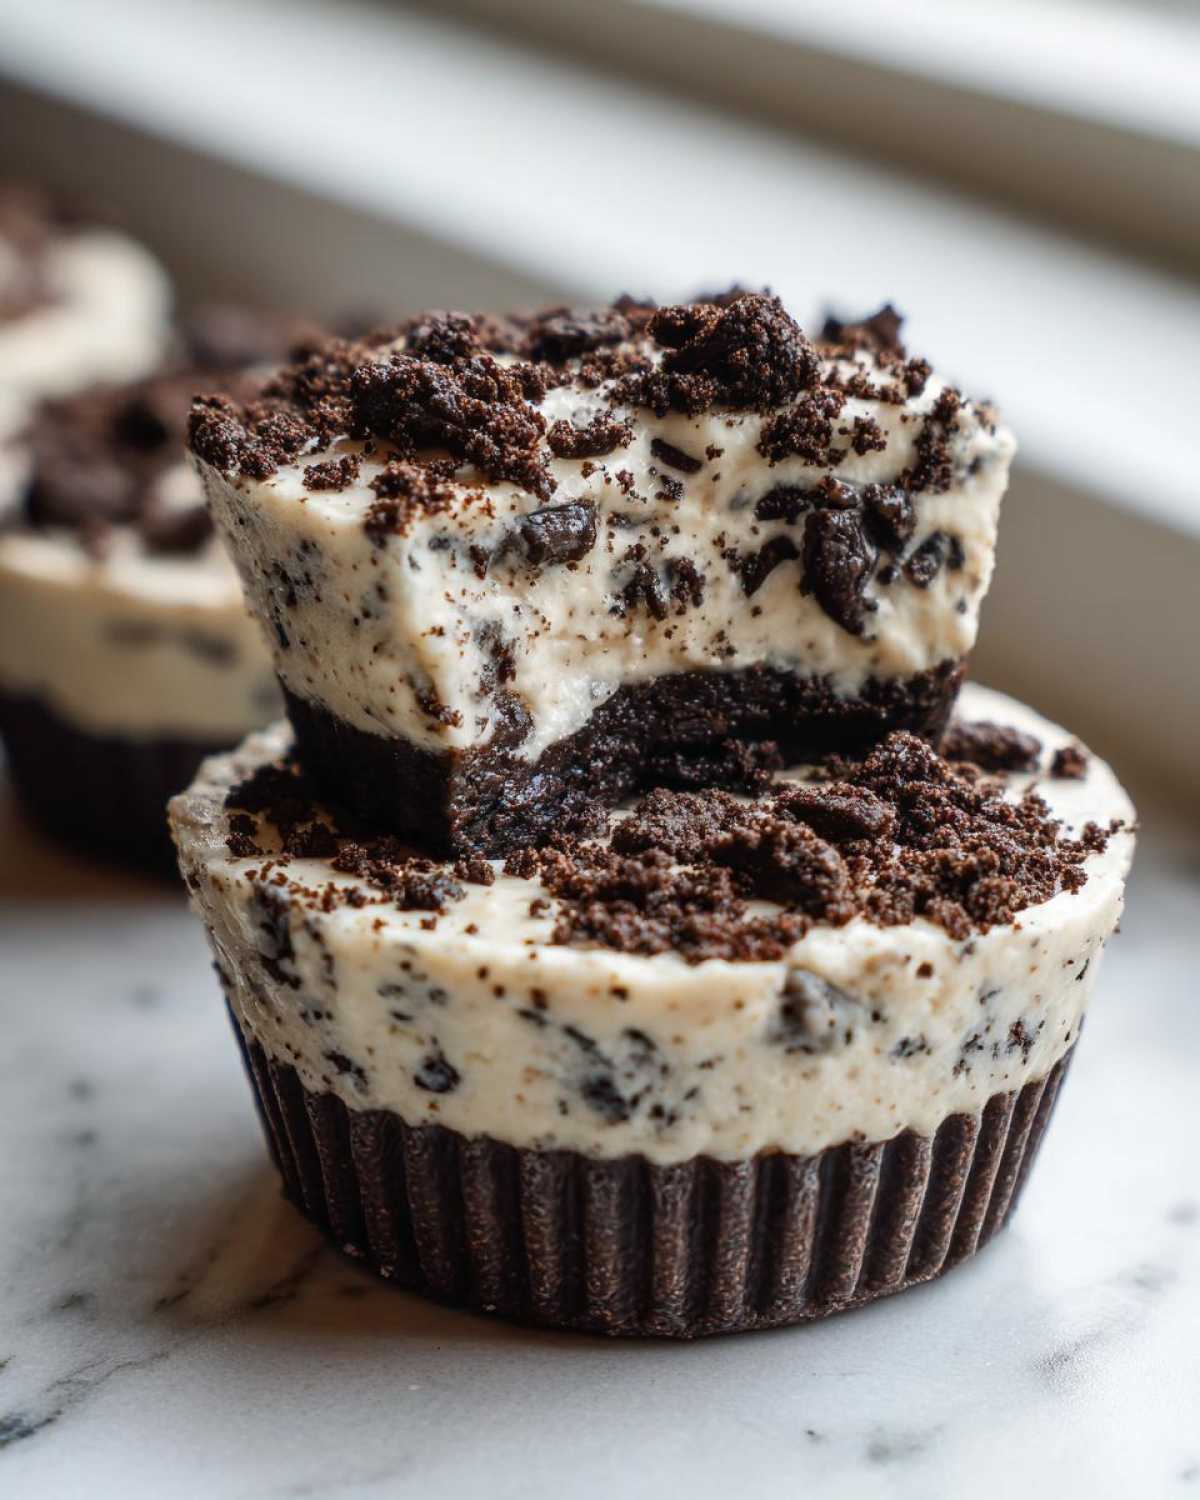
If you want to know more about the site and our philosophy on quick, delicious baking, check out my little note over on the about page!
Why This Recipe for No-Bake Cookies and Cream Pie Cups Works So Well
Honestly, these No-Bake Cookies and Cream Pie Cups are my secret weapon when company shows up unexpectedly. They just work so well because they solve the biggest dessert headaches we all have when we’re busy. Everything about them is designed for speed and simplicity, which I absolutely adore.
- They rely on the freezer and fridge—no worrying about oven temps!
- Serving is simple; you just peel off the liner.
- The texture is reliably creamy every single time.
Quick Dessert Recipes for Busy Schedules
You simply can’t beat the clock on this one. The active mixing time is only about 20 minutes, which is honestly faster than the time it takes my oven to preheat! If you are desperate for Quick Dessert Recipes that impress without the cleanup fuss, this recipe is your go-to. You get them assembled and into the fridge, and then you can forget about them until it’s time to serve.
Perfect Portion Control Desserts
I mentioned this before, but individual servings are a game-changer. No more awkward slicing or messy plate serving! These are fantastic Portion Control Desserts, meaning everyone gets a perfect amount. If you—or your guests—are trying to keep things mindful, having that defined little cup makes it so much easier than staring at a giant pie pan. Plus, they look adorable lined up on a platter!
Gathering Your Ingredients for No-Bake Cookies and Cream Pie Cups
Now that we know these beauties are quick, let’s talk about what you need to grab from the pantry. When you aren’t baking things to solid perfection, the structure comes entirely from the ingredients themselves—especially how cold they get! So, don’t eyeball this part; precision makes the difference between a firm cup and a floppy mess. This recipe for No-Bake Cookies and Cream Pie Cups keeps the shopping list super short, which I love.
You’re basically making two separate things: the crunchy base/garnish and the dreamy filling. Grab everything before you start your mixing because speed is key once the cream cheese comes out!
Crust and Topping Components
This section covers all the chocolate sandwich cookies—the stars of the show, really. You need a big amount for the base, and then a little bit more set aside for that glorious topping you sprinkle on last. Remember, the butter needs to be fully melted so it can glue those crumbs together nice and tight!
- Chocolate sandwich cookie crumbs: 1 1/2 cups (this is for the actual crust base at the bottom).
- Unsalted butter: Make sure it’s melted! We need 6 tablespoons of this.
- Chocolate sandwich cookies: Coarsely chopped—don’t blend these to dust! This is your pretty garnish on top. About 1 cup should do it.
The Creamy No Bake Treats Filling Base
This is where that silky smoothness comes from. Temperature is everything here, so make sure your cream cheese is truly soft—I leave mine out for at least an hour if I forget to microwave it for 10 seconds! These components turn into the best Creamy No Bake Treats you’ll ever have.
- Cream cheese: 8 ounces. It must be softened so it beats smoothly with no lumps.
- Powdered sugar: 1 cup. This dissolves much better than granulated sugar in a cold filling.
- Vanilla extract: Just 1 teaspoon to round out that flavor.
- Frozen whipped topping: You need 1 1/2 cups, and it absolutely must be thawed before folding in.
Step-by-Step Instructions for No-Bake Cookies and Cream Pie Cups
Alright, time to put the ingredients to work! Since we aren’t using the oven, our goal is to build structure using cold temperatures. Follow these steps exactly, and you will end up with the most perfect, stackable, creamy little treats. If you’ve ever made my Chocolate Eclair Cake, you know the logic is similar: build the layers, then step back and let the fridge do the heavy lifting for you. I like to get my muffin tin ready first because once that butter hits the crumbs, things happen fast! You can check out that Chocolate Eclair Cake recipe if you want another easy win!
These instructions will guide you through creating fantastic No-Bake Cookies and Cream Pie Cups that hold their shape beautifully.
Preparing the Crust for Your Cookies and Cream Mini Pies
First things first: get your 6 standard muffin cups lined up with paper liners. Now, in a medium bowl, mix those 1 1/2 cups of cookie crumbs with the 6 tablespoons of melted butter. You want to stir until every single crumb looks like wet sand—no dry patches allowed! That butter is your binder, so make sure it’s coated evenly. Next, take about 2 tablespoons of that moist crumb mixture and press it down *firmly* into the bottom of each lined cup. I use the back of a little measuring spoon for this to really pack it in tight. Once those crusts are pressed, pop the whole tray straight into the freezer while you move on to the rich filling layer.
Making the Oreo Filling Cups Mixture
This is where we turn simple dairy into pure cloud-like goodness. Grab your mixing bowl and beat that softened 8 ounces of cream cheese until it’s totally smooth and light. Seriously, make sure there are no lumps hiding in there! Next, add in the 1 cup of powdered sugar and the vanilla extract. Beat that again until everything is creamy and combined—it should look fluffy now. The final step is the gentlest one. Take your thawed, 1 1/2 cups of whipped topping and gently *fold* it into the cream cheese mixture. I mean gentle! If you beat this part, you deflate all that lovely air, and then you won’t get those wonderful Oreo Filling Cups we are aiming for; we want airy, not dense!
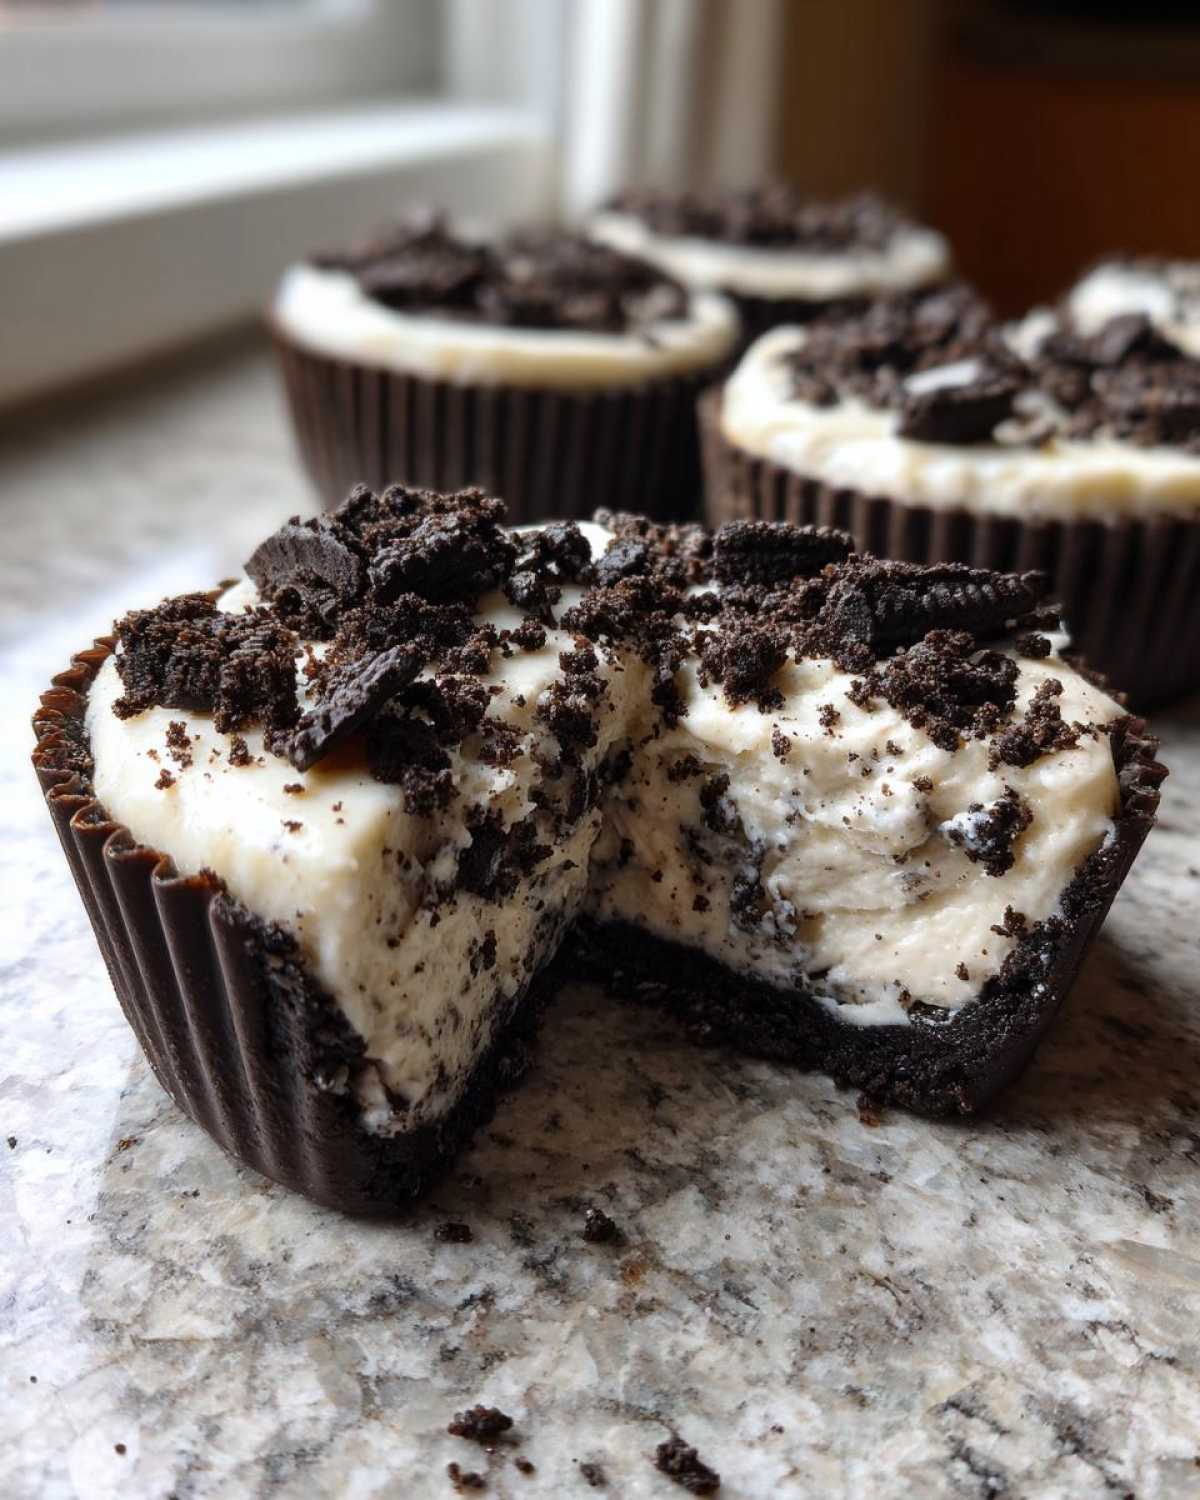
Assembling and Chilling the No-Bake Cookies and Cream Pie Cups
Okay, the crust is chilled and the filling is ready! Pull that muffin tray out of the freezer. Spoon or pipe that creamy filling evenly over the chilled crusts. If you have a piping bag, that’s fun, but a sturdy spoon works just fine too! Once they are all filled up, it’s time for the final flourish: sprinkle that coarsely chopped chocolate sandwich cookie topping over the mounds of cream. Now comes the hardest part: waiting! These cups need a minimum of 4 hours in the refrigerator—but honestly, overnight is even better—to set up properly. Remember to peel off those paper liners right before serving your marvelous No-Bake Cookies and Cream Pie Cups so they look crisp and clean!
Tips for Success with Your No-Bake Cookies and Cream Pie Cups
Making no-bake desserts feels like cheating a little bit because they are so simple, but that doesn’t mean we can skip the little details that make them spectacular! Since these treats rely on chilling to firm up rather than baking, ingredient temperature and quality matter a lot for texture. I’ve made these No-Bake Cookies and Cream Pie Cups enough times that I know exactly where things can go wrong, so let me share my little secrets for making them perfectly stable and ultra-creamy every single time.
Don’t be afraid to tweak things slightly, but always respect the cold ingredients! If you’re looking for other chilled dessert inspiration after you master these, I have some really great advice over on my cheesecake recipe page that you might find helpful for stabilizing fillings!
Ingredient Notes and Substitutions for Creamy No Bake Treats
The recipe calls for frozen whipped topping, which is super stabilized right out of the package—that’s why it integrates so well into the cream cheese without breaking. But what if you don’t keep that stuff around? If that’s the case, you can absolutely whip your own heavy cream! Just grab 1 cup of heavy whipping cream, add a tablespoon of powdered sugar, and beat it until you get stiff peaks. This works perfectly as a substitute for the thawed whipped topping in these Creamy No Bake Treats.
Also, don’t forget about size variations! The standard muffin cups are perfect for snacking, but if you’re making these for a big party or just want to taste-test a few yourself (no judgment here!), you can easily use mini muffin tins. Just remember that if you use the mini tins, you need to decrease the crust pressing time and the overall setting time in the fridge will be cut way down since the layer is so thin. Keep an eye on those little guys!
Storage and Make Ahead Dessert Cups Instructions
One of the things I appreciate most about these decadent little treats is how unbelievably well they keep! Seriously, these are the ultimate Make Ahead Dessert Cups because you can prepare them completely beforehand. If you’re planning a BBQ or a party next week, you can knock these No-Bake Cookies and Cream Pie Cups out on Monday, and they’ll taste just as fresh on Friday!
The key to longevity is keeping them sealed up tight. Once they are fully set (after that 4-hour minimum chill), transfer them into a proper airtight container. You don’t want anything in the fridge messing with that pristine white filling flavor. I usually layer them between sheets of parchment paper if I’m stacking them, just to make sure the topping doesn’t get smooshed down during storage.
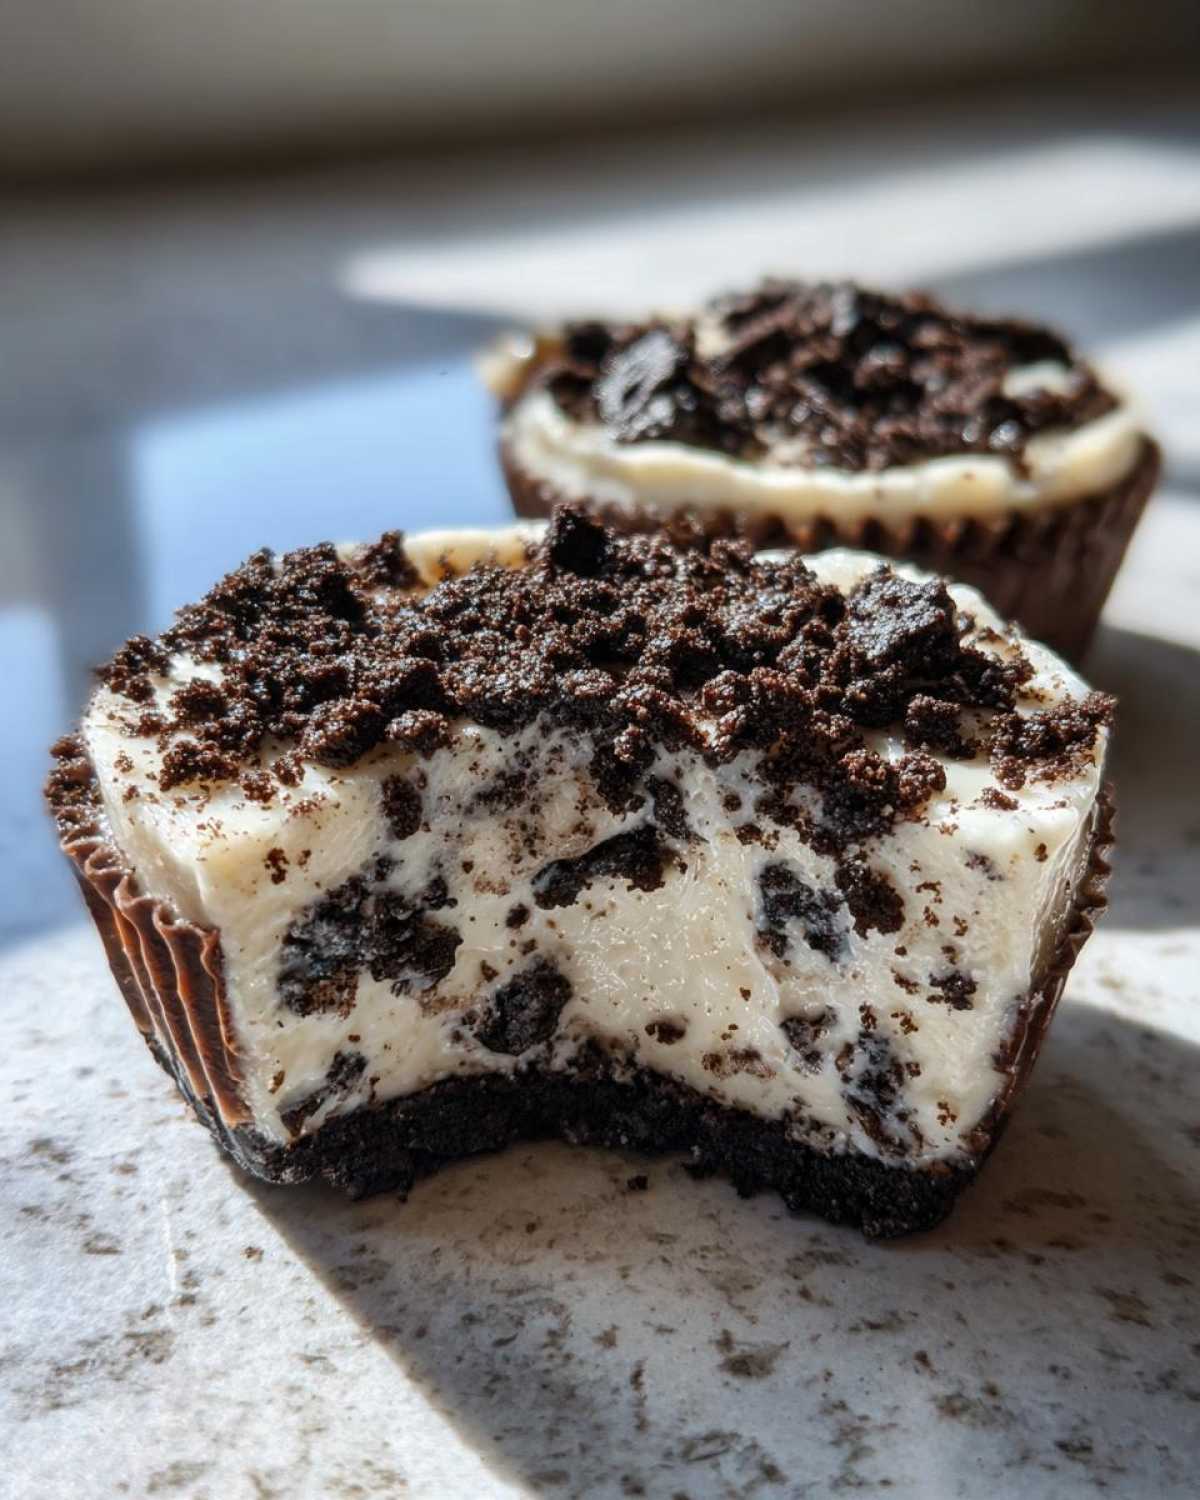
They will stay wonderfully firm and delicious in the refrigerator for up to three full days. That’s a win in my book! If you have any leftovers after that, they’re still safe, but the crust might start to soften just a tiny bit where it meets the filling. If you’re curious about other desserts that thrive in the cold, you should absolutely check out my tips for the Brownie Refrigerator Cake—it uses a similar low-and-slow storage principle!
Frequently Asked Questions About No-Bake Cookies and Cream Pie Cups
I know you might have questions, because changing up a beloved classic—even a no-bake classic—can feel a little stressful! I’ve gathered the stuff people ask me most often when they first try making these Individual No Bake Desserts. Don’t worry; there are no silly questions when it comes to getting that perfect creamy texture! If you’re ever curious about our site policies, you can always check the privacy policy link.
Can I use a different cookie than chocolate sandwich cookies for these Individual No Bake Desserts?
That’s a great question! While the classic flavor profile absolutely relies on that dark chocolate sandwich cookie crunch, you totally can experiment if you need to. If you use something like vanilla wafers or even graham crackers, you are going to end up way more in the realm of a “No Bake Cheesecake Cups” flavor rather than cookies and cream. If you decide to go that route, make sure you slightly increase the amount of chocolate you fold into the filling, or maybe add a tablespoon of cocoa powder to the crust mixture just to give it that deep chocolate hit we expect!
How do I ensure the filling for my No Bake Dessert Cups sets up correctly?
This is all about the cold and the stabilization! For these No Bake Dessert Cups to firm up properly, you have to respect that 4-hour chill time, minimum. The primary reason they set beautifully is because we are using thawed *whipped topping*—that stuff is engineered to hold its shape. If you substitute it with heavy cream that you whip yourself (which is totally doable, as I mentioned before!), you must whip it to stiff peaks, not just soft billows. If the cream isn’t stiff, the filling will be too loose, and those cups won’t hold up when you try to peel the liner off. Trust me, firm filling is the goal here!
Estimated Nutrition for No-Bake Cookies and Cream Pie Cups
Okay, buckle up—we need to talk numbers, but don’t stress too much! Since these are rich, creamy, and loaded with chocolate sandwich cookies, they aren’t exactly a light salad. This information is super helpful if you need to track things, but I want you to remember that this is just an estimate based on the standard ingredients I use and general database calculations.
Treat these figures as a good guideline for one of these fabulous Individual No Bake Desserts. Whenever I serve these, I always tell people they are worth every single calorie because they are just that good!
For one serving (which is 1 cup), here is a breakdown of what we are looking at:
- Calories: 450
- Sugar content: Roughly 35g
- Total Fat: Around 30g (Be aware, this includes about 18g of saturated fat from the cream cheese and butter!)
- Carbohydrates: 42g total, with only about 1g of dietary fiber.
- Protein contribution: About 4g per cup.
Keep in mind that the nutrition can definitely shift based on the specific brand of chocolate cookies you use, plus whether you use my substitution suggestion of heavy cream instead of the pre-whipped topping. If you use lower-fat cream cheese, you’ll cut down on that saturated fat number easily!
Share Your Experience Making These No-Bake Cookies and Cream Pie Cups
Whew! We made it through the entire recipe, and now the best part begins: hearing from you! Now that you know how simple it is to make these amazing treats, I seriously want to know how they turned out in your kitchen. Did you stick perfectly to the recipe, or did you sneak in a splash of espresso powder in the filling? Did you use mini tins or the standard cups?
Please, please leave a rating below so other people know you loved these No-Bake Cookies and Cream Pie Cups as much as I do! If you made any little tweaks or substitutions—maybe you used a different type of chocolate cookie for the base—share those genius ideas in the comments. Every modification helps the next reader feel confident trying it out.
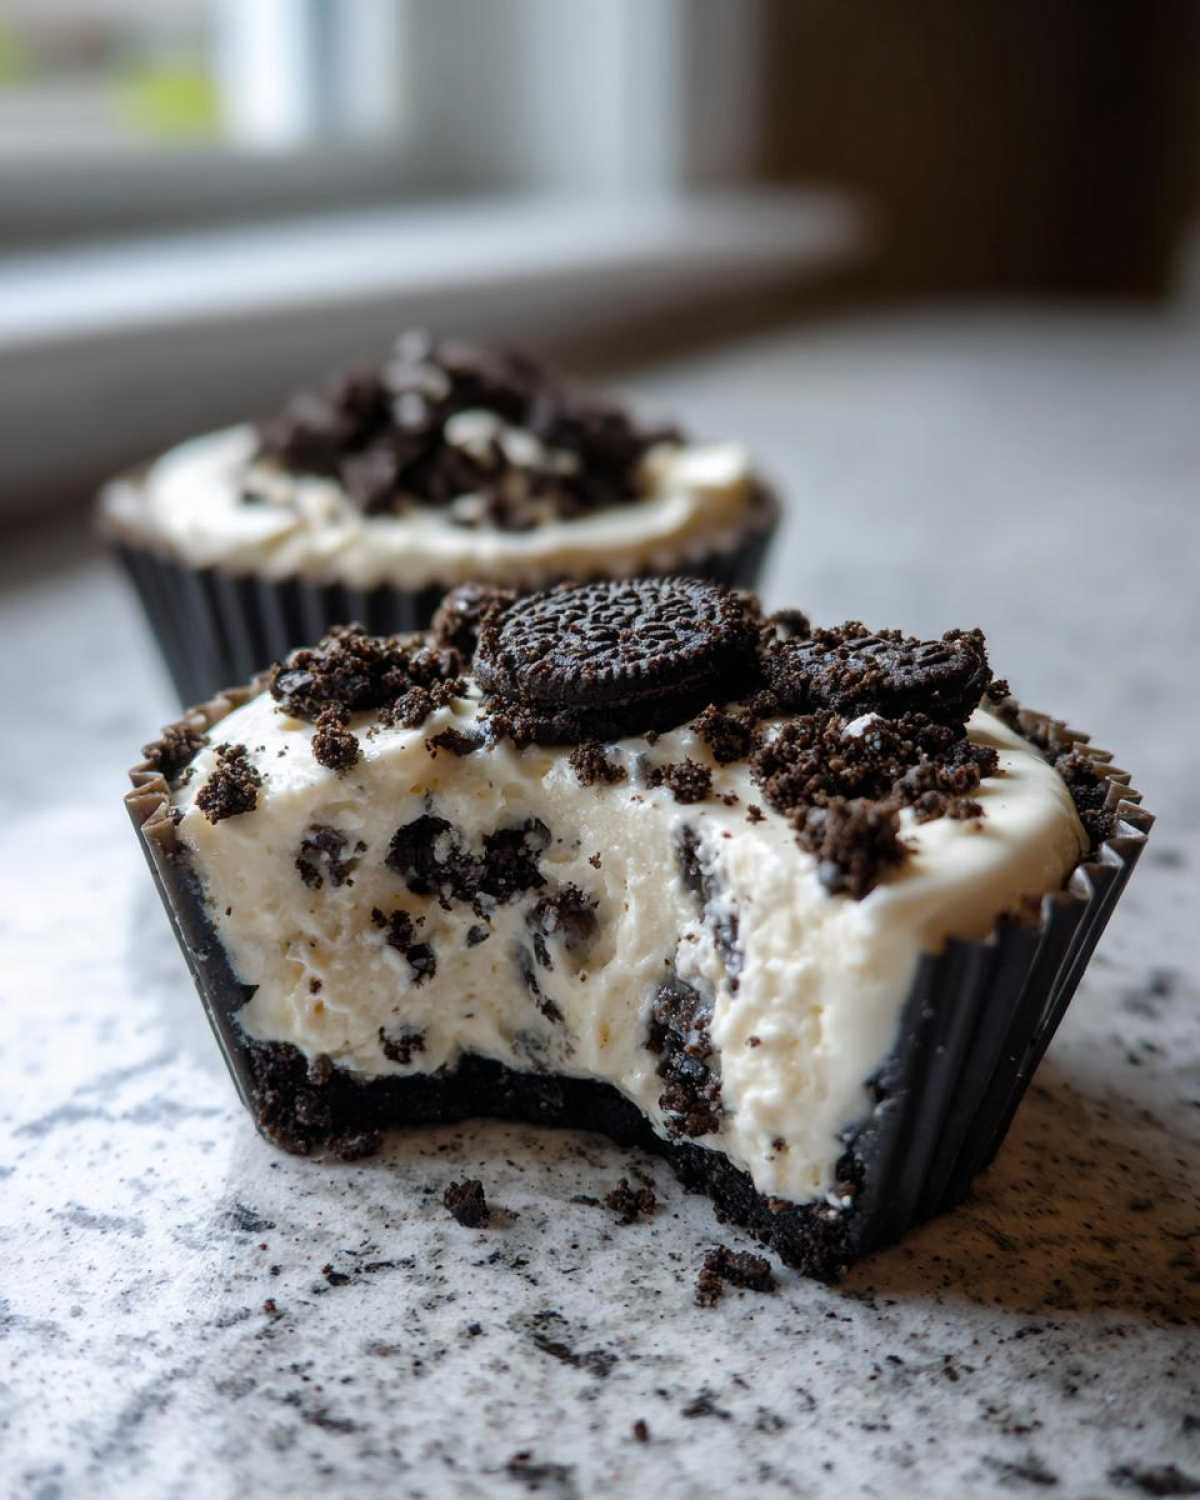
And if you snapped a picture of your perfectly set, creamy cups, I’d be so honored if you shared it on social media and tagged me! Nothing makes my day more than seeing my favorite recipes coming to life in your homes. If you have any general questions, or maybe just want to tell me how quickly your family devoured them, you can always reach out through the contact page!
PrintNo-Bake Cookies and Cream Pie Cups
Make individual, no-bake dessert cups featuring a crushed cookie crust and a creamy cookies and cream filling. These are simple to prepare and serve.
- Prep Time: 20 min
- Cook Time: 0 min
- Total Time: 4 hr 20 min
- Yield: 6 servings
- Category: Dessert
- Method: Chilling
- Cuisine: American
- Diet: Vegetarian
Ingredients
- 1 1/2 cups chocolate sandwich cookie crumbs (about 24 cookies)
- 6 tablespoons unsalted butter, melted
- 8 ounces cream cheese, softened
- 1 cup powdered sugar
- 1 teaspoon vanilla extract
- 1 1/2 cups frozen whipped topping, thawed
- 1 cup chocolate sandwich cookies, coarsely chopped for topping
Instructions
- Combine the cookie crumbs and melted butter in a bowl. Mix until the crumbs are evenly moistened.
- Press about 2 tablespoons of the crumb mixture firmly into the bottom of 6 standard muffin cups lined with paper liners. Place the cups in the freezer while you prepare the filling.
- In a large bowl, beat the softened cream cheese until smooth. Add the powdered sugar and vanilla extract, beating until fully combined and creamy.
- Gently fold the thawed whipped topping into the cream cheese mixture until just combined. Do not overmix.
- Spoon or pipe the filling evenly over the chilled crusts in the muffin cups.
- Top each cup with the coarsely chopped chocolate sandwich cookies.
- Refrigerate the cups for at least 4 hours, or until firm. Remove the paper liners before serving.
Notes
- You can use mini muffin tins for smaller, bite-sized portions.
- If you do not have whipped topping, you can substitute it with 1 cup of heavy cream whipped to stiff peaks.
- These cups store well in an airtight container in the refrigerator for up to 3 days.
Nutrition
- Serving Size: 1 cup
- Calories: 450
- Sugar: 35
- Sodium: 320
- Fat: 30
- Saturated Fat: 18
- Unsaturated Fat: 12
- Trans Fat: 0
- Carbohydrates: 42
- Fiber: 1
- Protein: 4
- Cholesterol: 75