

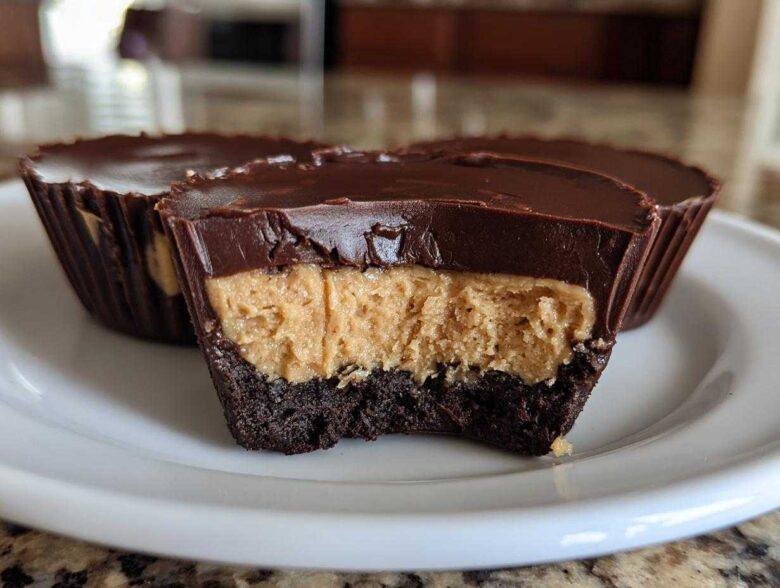
Oh my gosh, if you are anything like me, sometimes you just NEED a show-stopping dessert, but the mere thought of turning on the oven makes you want to take a nap instead. That’s when my collection of ultra-easy, make-ahead sweets comes in handy! These treats are my secret weapon for when company drops by unexpectedly or when I just can’t quit chocolate and peanut butter. Seriously, these **No-Bake Chocolate Peanut Butter Cheesecake Cups** are the solution to all your dessert dilemmas. They come together in minutes—just mixing and layering—so honestly, I’ve tested this exact recipe dozens of times trying to nail the perfect chilling time for maximum indulgence. I even think they are almost as easy as that chocolate eclair cake I shared last spring, but these individual portions are just so fun!
Why You Will Love These No-Bake Chocolate Peanut Butter Cheesecake Cups
Honestly, what’s not to love about these little bites? They hit every single happy spot in my dessert-loving brain. They are truly the definition of a quick no bake recipe that seems fancy!
- They are completely oven-free! Hello, peace and quiet in the kitchen all summer long.
- Portion control is built-in because they are individual cups—though I rarely stop at one!
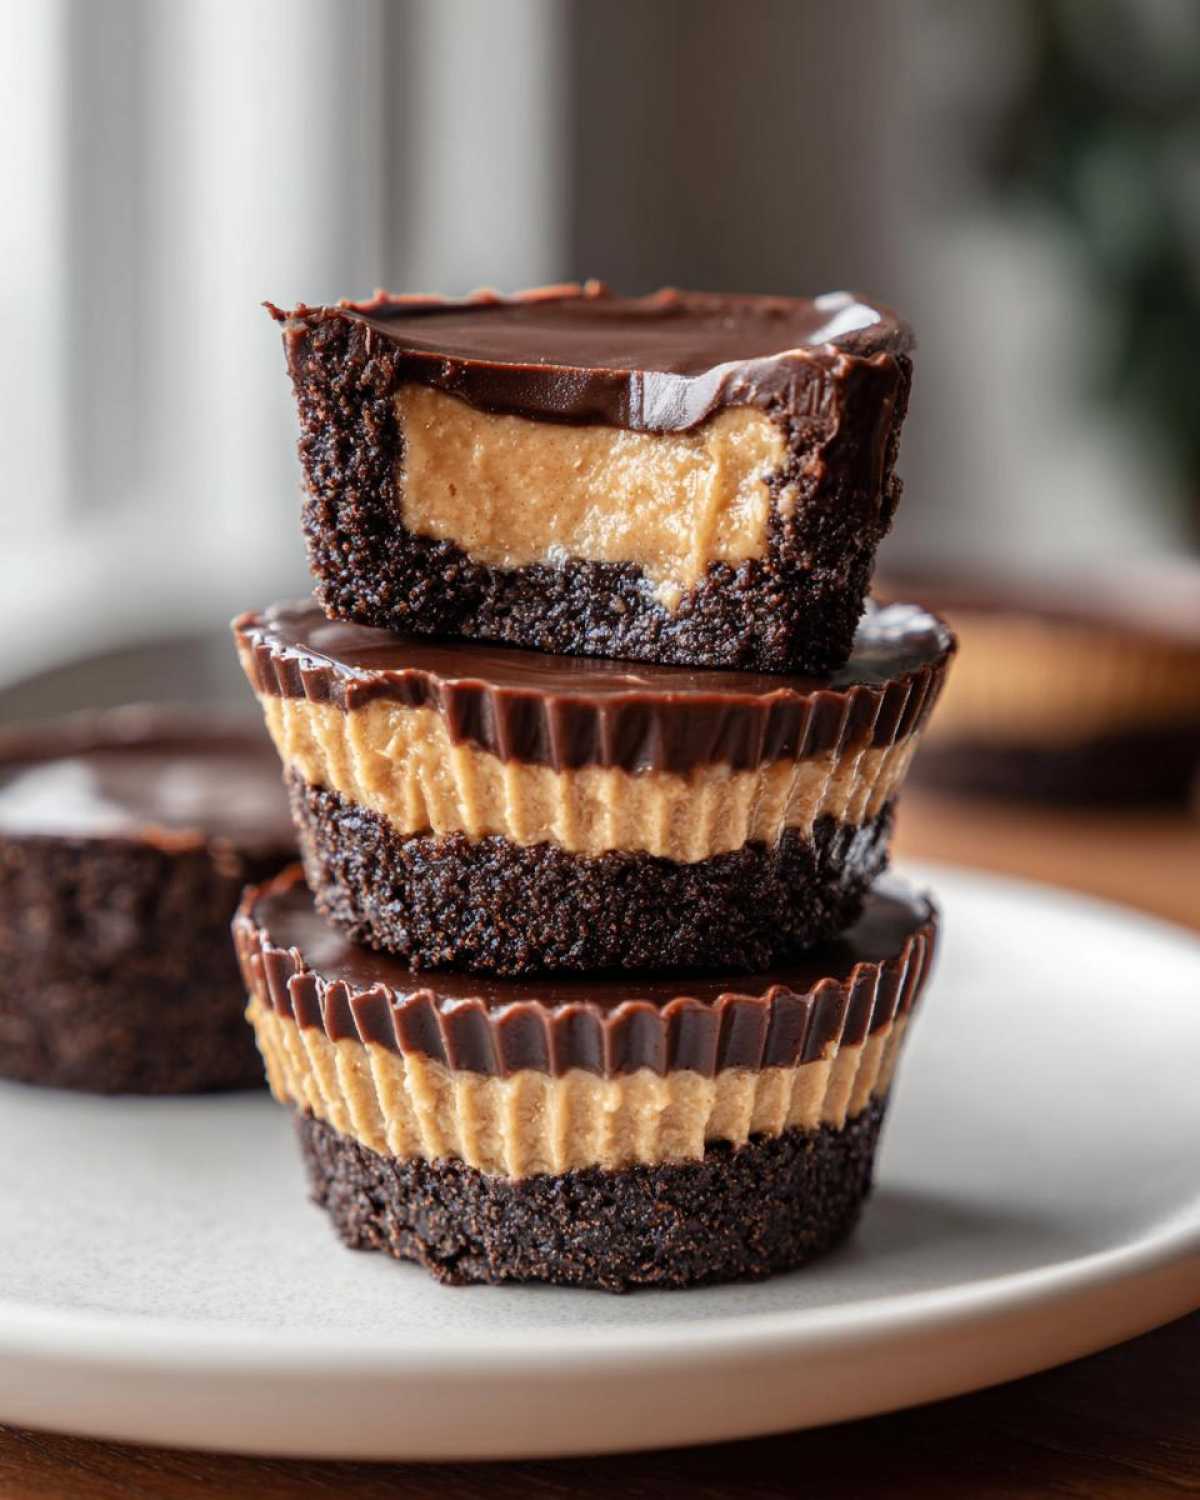
- The layers are incredible: crunchy chocolate crust, ridiculously creamy peanut butter filling, and that shiny chocolate top. It’s the ultimate easy individual cheesecake experience.
- They freeze beautifully, making them perfect for last-minute dessert emergencies.
Gathering Ingredients for No-Bake Chocolate Peanut Butter Cheesecake Cups
Okay, let’s talk supplies! Because these aren’t baked, the quality of what you put in really shines through. You don’t need much, but you do need things ready to go, like making sure that cream cheese is truly soft—room temperature is key! I always get everything laid out beforehand so assembly is a breeze. When you’re ready to make these cheesecake cups, here’s what you’ll pull from the pantry and fridge.
For the Chocolate Crust
- 1 1/2 cups chocolate wafer cookie crumbs (You can crush these yourself in a baggie—it’s therapeutic!)
- 1/4 cup unsalted butter, melted (Make sure it’s fully melted so it binds everything together nicely.)
For the Creamy Peanut Butter Filling
- 8 ounces cream cheese, softened (And I mean really soft, take it out an hour early!)
- 1/2 cup creamy peanut butter (No chunky stuff in the main filling, promise!)
- 1/2 cup powdered sugar
- 1 teaspoon vanilla extract
- 1/2 cup heavy whipping cream (This needs to be cold for whipping later.)
For the Chocolate Ganache Topping
- 4 ounces semi-sweet chocolate, chopped (The chips work well here, or finely chopped bars are even better!)
- 1/4 cup heavy whipping cream (This is separate from the cream used for the filling.)
Step-by-Step Instructions for No-Bake Chocolate Peanut Butter Cheesecake Cups
Alright, time to put this all together! Because we’re keeping things oven-free, timing is all about organization and chilling. Grab those little cups—muffin liners work great, or even cute little ramekins if you have ‘em. Follow these steps exactly, and you’ll have perfectly layered **No-Bake Chocolate Peanut Butter Cheesecake Cups** ready to impress.
Preparing the Cookie Crust Base
First, let’s make that simple foundation. In a medium bowl, toss your chocolate wafer crumbs with that melted butter. You want every crumb to be nicely moistened; it should look like slightly damp sand. Next, take about 2 tablespoons of that mixture and press it firmly into the bottom of each of your 6 serving cups. Don’t pack it too hard or it gets rock-solid, just firm enough. Pop these crusts right into the fridge while you whip up the next layer. Ten minutes is plenty for this quick chill.
Making the Rich Peanut Butter Filling
This is where the magic happens! In a big bowl, beat that softened cream cheese until it’s super smooth—no lumps allowed. Now add your creamy peanut butter, powdered sugar, and vanilla. Mix it up until everything is combined and glossy. Separately, you need to whip your 1/2 cup of cold heavy cream until you get stiff peaks. This is crucial for lightness! Once the cream is whipped, gently fold it into the peanut butter base using a spatula. Be gentle when folding; we want to keep all those lovely air bubbles for a creamy texture!
Assembling and Setting the Cups
Now you can pull those chilled crusts out of the fridge. Spoon or pipe that glorious peanut butter filling evenly over the crusts in all your cups. You can smooth the tops with the back of a spoon, or if you are feeling fancy, use a piping bag! Back they go into the refrigerator. They need at least 1 hour hanging out in that cold air to firm up before we add the final crowning touch.
Creating the Smooth Chocolate Ganache
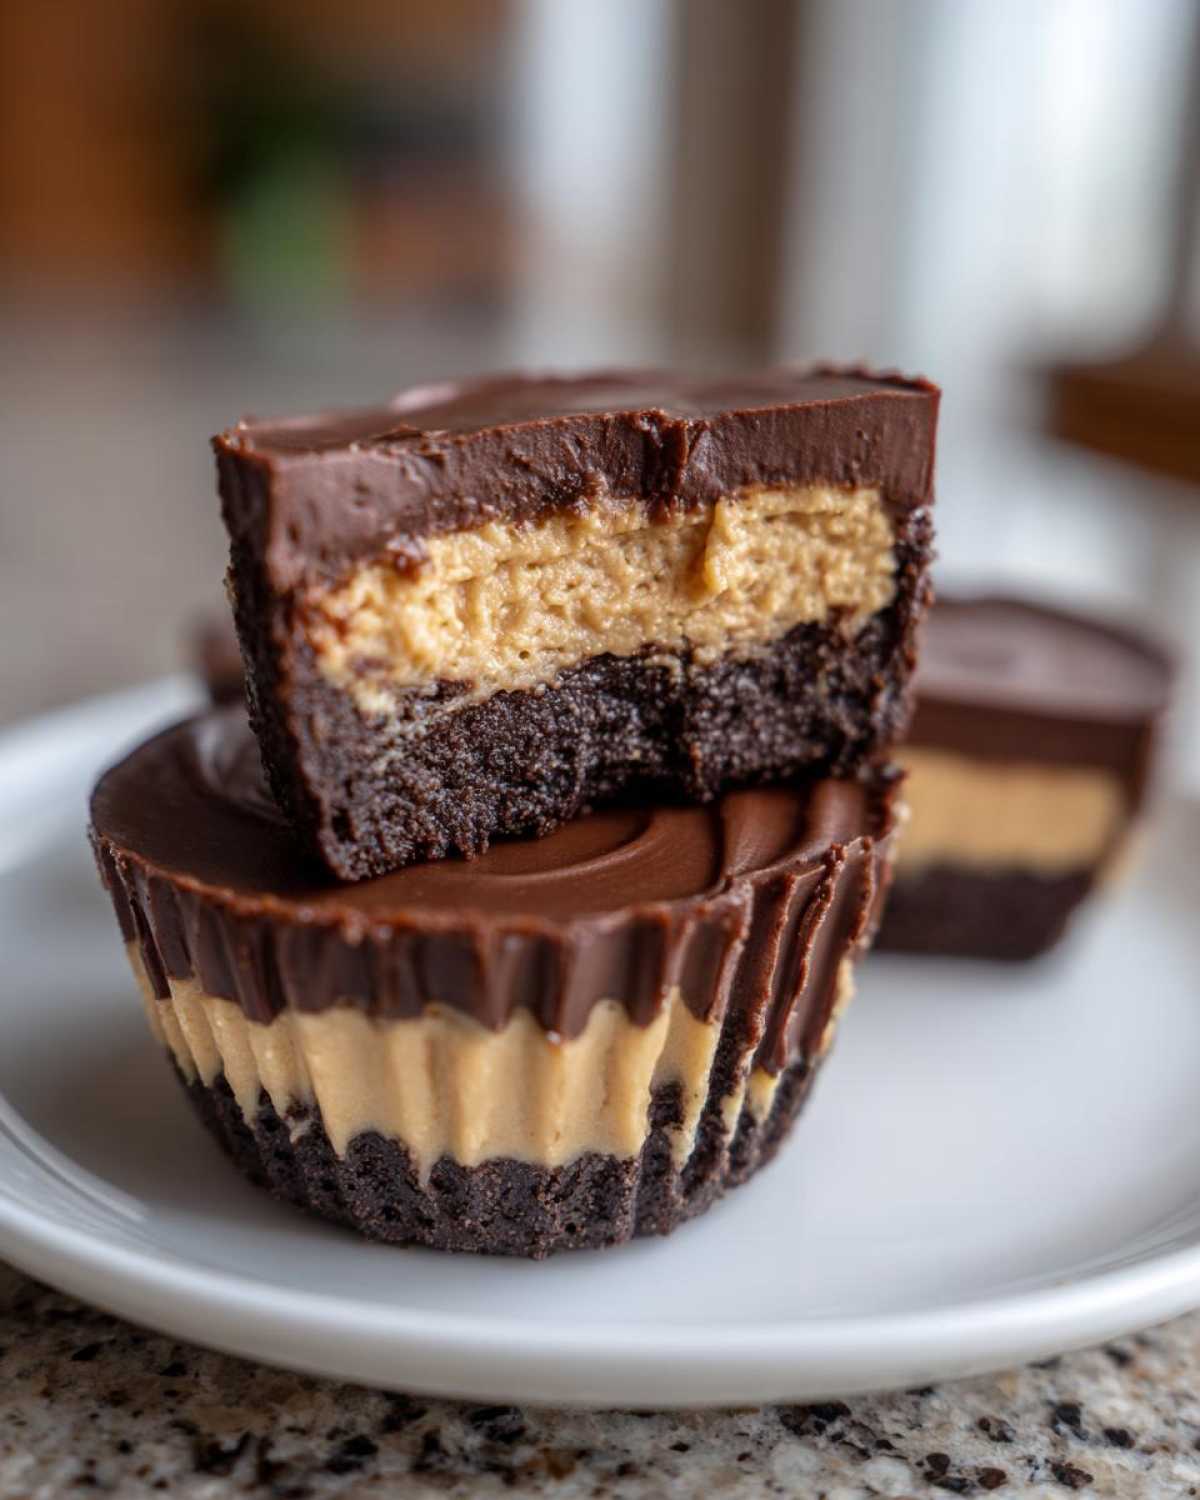
Time for the best part: chocolate! Chop up your semi-sweet chocolate into a heatproof bowl. Heat up that last bit of heavy cream (the 1/4 cup) in a small saucepan until it just starts to simmer around the edges—watch it closely! Pour that hot cream right over the chocolate. Resist the urge to touch it for two full minutes—let the heat do the work! Then, whisk it gently, starting in the center, until you have a silky, smooth ganache. This topping is what elevates these from simple treats to incredible Chocolate Peanut Butter Treats.
Final Chill Time for Perfect No-Bake Dessert Cups
All that’s left is drizzling! Pour a thin layer of that warm ganache over the set peanut butter filling in each cup. This is what seals the deal for these No Bake Dessert Cups. Seriously, try not to stick a spoon in here! Return the whole batch to the refrigerator. For them to be completely firm and cut nicely, you must chill them for a minimum of 2 hours, though honestly, 4 hours makes them absolutely perfect for serving.
Expert Tips for Perfect No-Bake Chocolate Peanut Butter Cheesecake Cups
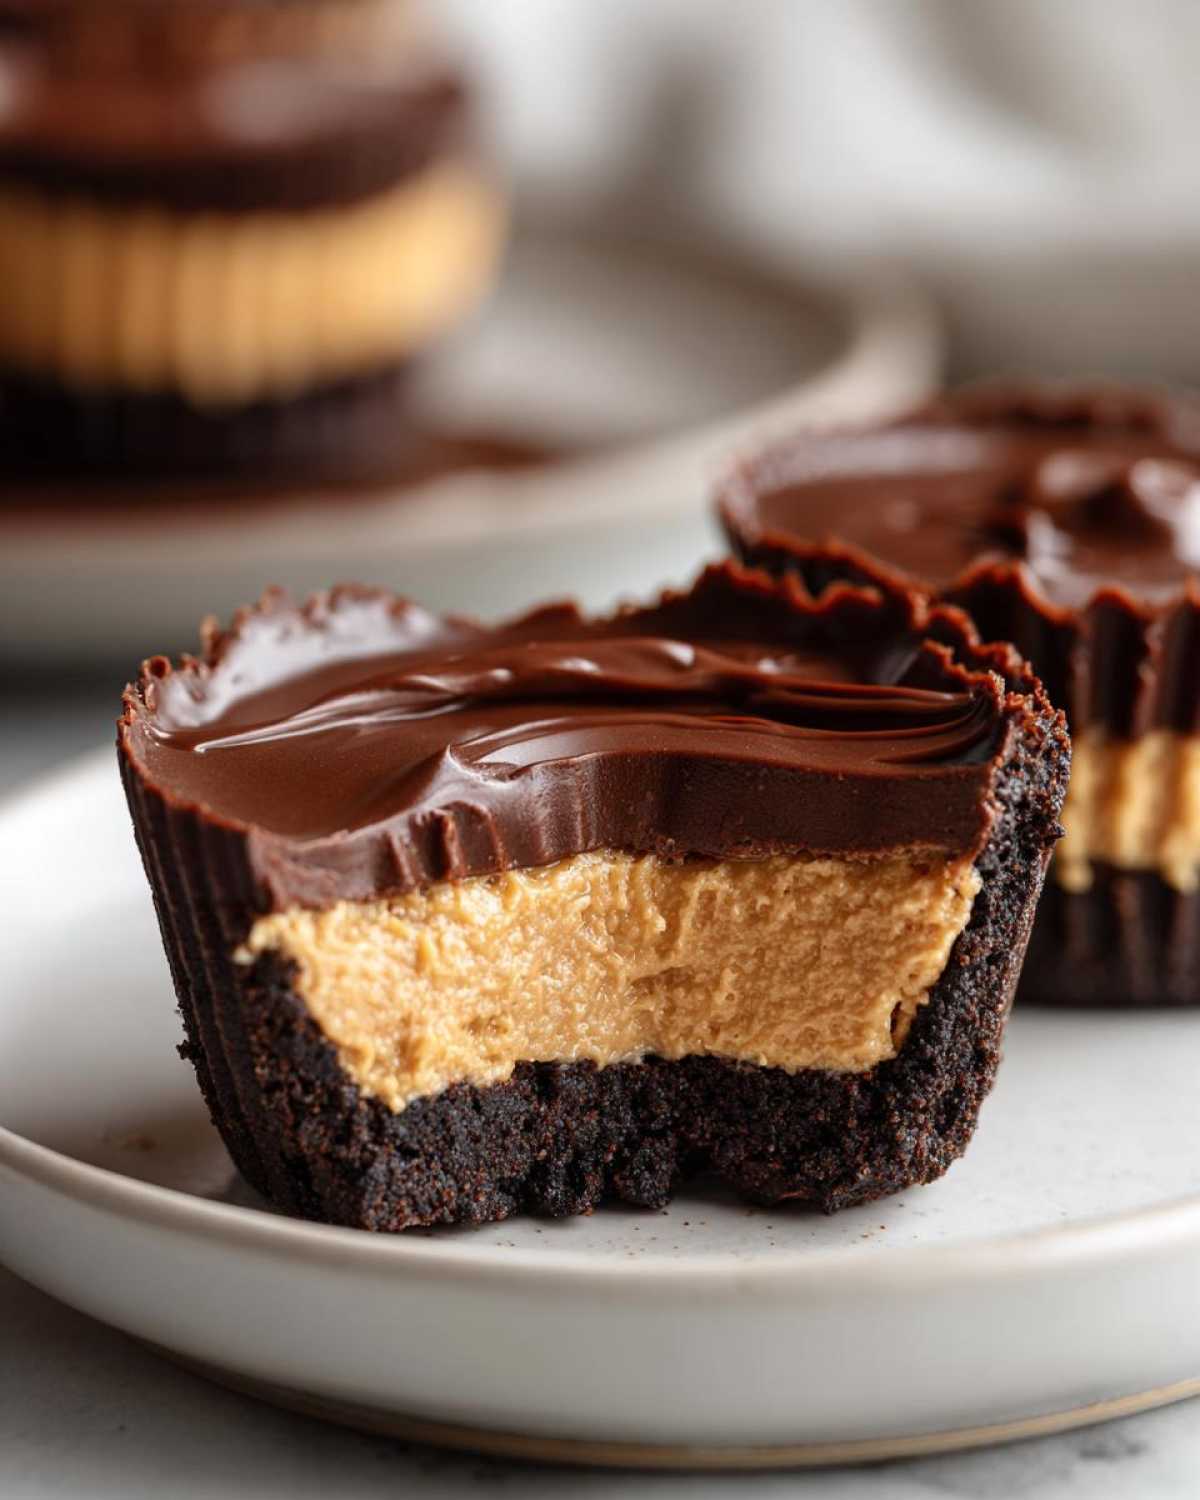
Getting these treats just right is all about fighting the dreaded ‘runny filling,’ which is easy to avoid if you know the secrets! Remember when I mentioned the heavy cream? It must be very cold when you whip it. If it’s not cold enough, you’ll end up with a loose, sad puddle instead of those beautiful stiff peaks we need for structure in this indulgent no bake cheesecake.
Another quick word on the crust: if you find it crumbling when you press it down, your butter might have been too cool. If that happens, just put the cups in the freezer for 5 minutes before adding the filling—that instantly firms everything up. Trust me, a solid, set crust is the foundation for all that creamy goodness!
Ingredient Notes and Substitutions for Your No-Bake Recipe
I mentioned how important the cream cheese temperature was, but let me hammer that home one more time. If that block isn’t soft enough to mash easily with just a spoon tip, you will end up with little pebbles of cream cheese staring back at you in your filling. That’s just not the texture we want in these no-bake chocolate peanut butter cheesecake cups!
Now, about those crust crumbs—if you don’t have chocolate wafers on hand, don’t panic! You can absolutely swap those out for standard graham crackers. Just be sure to mix in about 1 tablespoon of unsweetened cocoa powder with the crumbs and melted butter. That little bit of cocoa powder is just enough to deepen the flavor so you still get that rich chocolate note when you bite down. Easy fixes like this mean you never have to skip making a treat!
Serving Suggestions for These Mini Peanut Butter Desserts
These little Mini Peanut Butter Desserts look fantastic all on their own, but the toppings are where you can truly personalize them for a party! For a real knockout presentation of these Simple Dessert Portions, I always grab some chopped salted peanuts and sprinkle them right onto the wet ganache before the final chill. The salt cuts through the richness beautifully.
Last spring, I served these at my neighbor’s anniversary party. I drizzled a little melted peanut butter over the top of the ganache in a zigzag pattern just before serving—wow! They disappeared almost instantly. They’re perfect served chilled right alongside a tiny dollop of fresh whipped cream, too.
Storage and Make Ahead Sweet Treats Instructions
These are truly lifesavers when it comes to planning ahead for parties! Since these **No-Bake Chocolate Peanut Butter Cheesecake Cups** rely on chilling and not baking, they are perfect for making a day or two ahead of time. I usually whip them up the afternoon before a big event, and they are even better the next day once everything has really settled.
You can comfortably keep them covered tightly in the refrigerator for up to three days. If you want to push it longer, they are great candidates for freezing! Store them in a single layer in an airtight container with wax paper between layers. They thaw out perfectly after just an hour on the counter. I always prep a double batch using my make ahead sweet treats method whenever I know company is coming!
Frequently Asked Questions About No Bake Dessert Cups
I get so many questions once people start making these little gems! It’s usually about texture, because we all want that perfect, sturdy, yet creamy bite in our No Bake Dessert Cups. Don’t worry, I’ve put together the most common things folks ask as they assemble these
Can I use crunchy peanut butter instead?
You absolutely can, but you have to be ready for a different experience! If you swap creamy peanut butter for crunchy, your filling will have little nutty surprises in every bite. It adds great flavor and texture, but just know it won’t be quite as smooth and uniform as the original recipe. For the creamiest texture possible, stick to smooth, but crunch is certainly delicious!
What is the minimum setting time needed for these Creamy Chocolate Cups?
This is super important for the structural integrity of your Creamy Chocolate Cups! While you need 1 hour of chilling after the peanut butter layer goes on, you really shouldn’t rush the final step. For the ganache to set up nicely and not just melt when you touch it, you must give everything a minimum of 2 hours total refrigeration time. If you can manage 3 hours? Even better!
Can I make these in a large pan instead of individual cups?
Yes, you can definitely turn this into one giant treat! You’d want to use a 9-inch springform pan for easy release. Press your crust into the bottom, but since the depth is much greater than in little cups, you must plan for a longer chill time. Instead of 2 hours, give the whole pan at least 4 to 6 hours, or even better, let it set overnight in the fridge before slicing and serving those rich peanut butter layers.
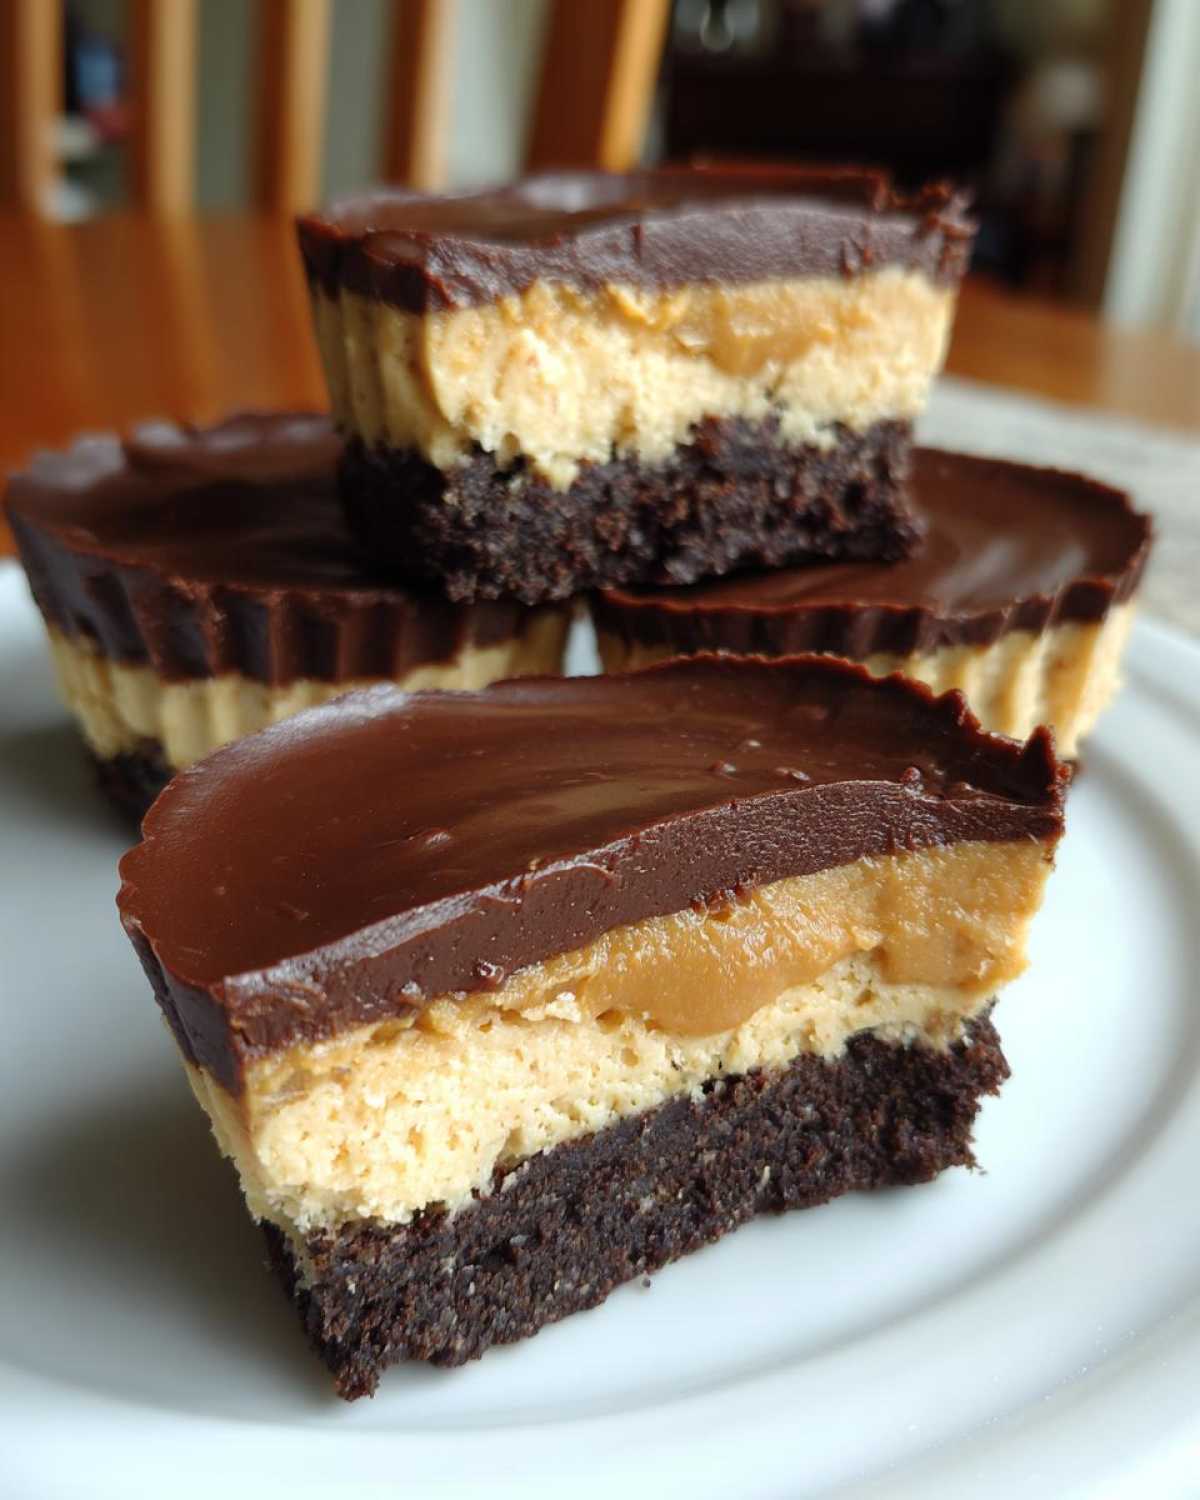
Estimated Nutritional Snapshot for Rich Peanut Butter Dessert
I always look at the nutrition guide just to keep myself slightly honest, ha! Remember, because we aren’t using any scientific equipment here, these numbers are just my best educated guess for one of these No-Bake Chocolate Peanut Butter Cheesecake Cups. They are definitely a treat, not a diet food, but oh so worth it!
- Serving Size: 1 cup
- Calories: 450
- Sugar: 35g
- Fat: 32g
- Protein: 10g
Please keep in mind these numbers are estimates. The exact values totally depend on what brand of chocolate wafer crumbs and peanut butter you grab off the shelf. Everything in moderation, right?
Share Your Experience Making These No Bake Cheesecake Bites
Now that you have your hands on the absolute best **No-Bake Chocolate Peanut Butter Cheesecake Cups**, I need to know how they turned out! Did you use chopped peanuts on top? Which kind of chocolate wafer crumbs did you grab?
Please pop down into the comments below and give this recipe a star rating! I absolutely love reading about your successes and seeing how you customized these No Bake Cheesecake Bites. And if you snap a picture, don’t forget to share it on social media and tag me—I’m always looking for more reasons to celebrate these simple desserts!
PrintNo-Bake Chocolate Peanut Butter Cheesecake Cups
Make easy, individual cheesecake cups with layers of chocolate crust, creamy peanut butter filling, and a rich chocolate topping. This recipe requires no oven.
- Prep Time: 20 min
- Cook Time: 0 min
- Total Time: 2 hours 20 min
- Yield: 6 servings
- Category: Dessert
- Method: Chilling
- Cuisine: American
- Diet: Vegetarian
Ingredients
- 1 1/2 cups chocolate wafer cookie crumbs
- 1/4 cup unsalted butter, melted
- 8 ounces cream cheese, softened
- 1/2 cup creamy peanut butter
- 1/2 cup powdered sugar
- 1 teaspoon vanilla extract
- 1/2 cup heavy whipping cream
- 4 ounces semi-sweet chocolate, chopped
- 1/4 cup heavy whipping cream (for ganache)
Instructions
- Combine the chocolate wafer crumbs and melted butter in a bowl. Mix until the crumbs are evenly moistened.
- Press about 2 tablespoons of the crumb mixture into the bottom of 6 small cups or mini muffin liners. Chill the crusts for 10 minutes.
- In a separate bowl, beat the softened cream cheese, peanut butter, powdered sugar, and vanilla extract until smooth.
- In a clean bowl, whip the 1/2 cup of heavy cream until stiff peaks form. Gently fold the whipped cream into the peanut butter mixture until just combined.
- Spoon or pipe the peanut butter cheesecake filling evenly over the chilled crusts. Return the cups to the refrigerator to set for at least 1 hour.
- For the topping, place the chopped chocolate in a heatproof bowl. Heat the remaining 1/4 cup of heavy cream until simmering. Pour the hot cream over the chocolate and let it sit for 2 minutes. Whisk until smooth to create a ganache.
- Pour a thin layer of chocolate ganache over the set peanut butter filling in each cup.
- Chill the cheesecake cups for a minimum of 2 hours, or until firm, before serving.
Notes
- You can use graham cracker crumbs mixed with 1 tablespoon of cocoa powder if you do not have chocolate wafers.
- For a firmer texture, use 1 cup of heavy cream in the filling instead of 1/2 cup.
- Garnish with chopped peanuts or a drizzle of melted peanut butter before serving.
Nutrition
- Serving Size: 1 cup
- Calories: 450
- Sugar: 35
- Sodium: 250
- Fat: 32
- Saturated Fat: 14
- Unsaturated Fat: 18
- Trans Fat: 0
- Carbohydrates: 38
- Fiber: 2
- Protein: 10
- Cholesterol: 65