

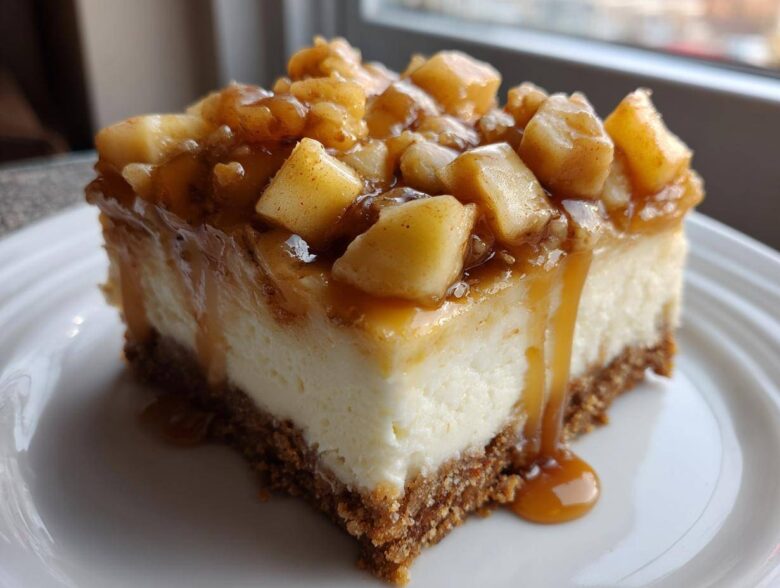
When the air starts getting crisp and those gorgeous autumn spices start calling my name, you know I’m already dreaming about my mixer. Forget basic cookies; what I really crave are desserts that feel substantial, beautiful, and taste like they took days to make—even if they’ve got a surprisingly simple secret weapon! That’s where my ultimate apple cheesecake bars come in. Seriously, these aren’t just bars; they are little slices of heaven stacked perfectly. We’re talking about rich, buttery crust on the bottom, a cloud-like layer of creamy cheesecake, bright spiced apples on top, and—wait for it—a gorgeous caramel drizzle. Believe me when I say I worked hard to get the crumb just right on that crust and keep the cheesecake layer from cracking. This recipe for Caramel Apple Cheesecake Bars is the one that finally sticks the landing every single time.
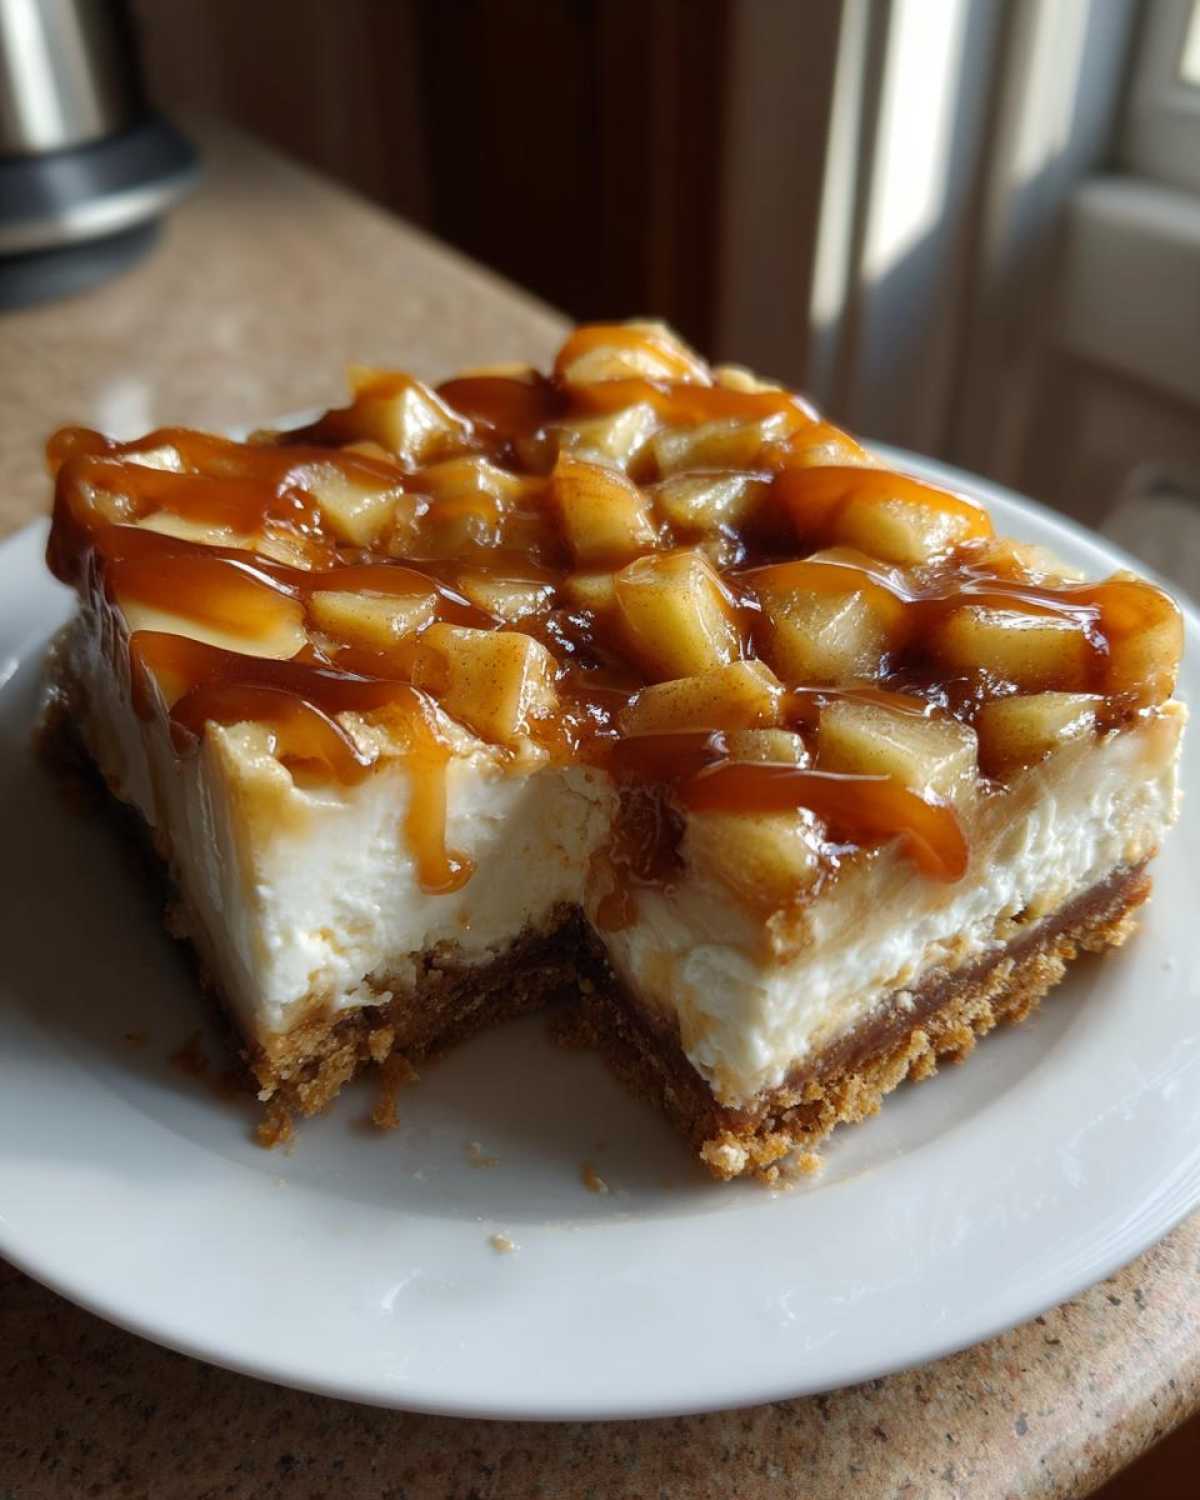
Why You Will Love These Easy Apple Cheesecake Bars
It’s easy to think layered desserts are complicated, but these are truly game-changers when you need a quick but impressive bake. I promise, these deliver big on flavor without stress!
- The flavor combo is pure perfection. That tart apple against the sweet, creamy filling? Yes, please!
- They make the best Fall Dessert Bars because they’re handheld!
- These manage to be incredibly rich but still feel light enough.
- Seriously, these Easy Apple Cheesecake Bars are perfect for holidays or just a Tuesday night.
Gathering Ingredients for Caramel Apple Cheesecake Bars
Okay, listen up, because the magic in these apple cheesecake bars starts here! You can’t cut corners on the quality if you want that amazing layered effect. I’ve learned that the temperature of your ingredients matters way more than my Aunt Carol ever let on. For the apples, skip the boring ones; we need crisp, tart action. And for the cream cheese? It needs to cooperate!
Don’t panic about the list; it just breaks down into three simple groups: the base, the creamy middle, and the spiced topping. Remember, cold unsalted butter, cut into pieces is crucial for the crumble base, and those apples must be peeled, cored, and diced perfectly for the filling to sit nicely on top.
For the Buttery Crust Cheesecake Bars Base
This needs flour, a little bit of that brown sugar for color, salt, and the very cold butter. Mix it until it honestly looks like chunky sand. That coarse texture is what gives us the chew we want in the bottom layer.
For the Creamy Filling and Spiced Apple Filling Recipe
This is where the texture comes together! You absolutely must have room temperature cream cheese—if it’s cold, you’ll have lumps, and nobody wants a lumpy cheesecake layer in their beautiful bar! We also need granulated sugar, one egg, vanilla, those gorgeous diced apples, cinnamon, lemon juice to brighten everything up, and don’t forget the cinnamon magic for that spiced apple component. You can add some candied pecans here if you want a little extra crunch, too!
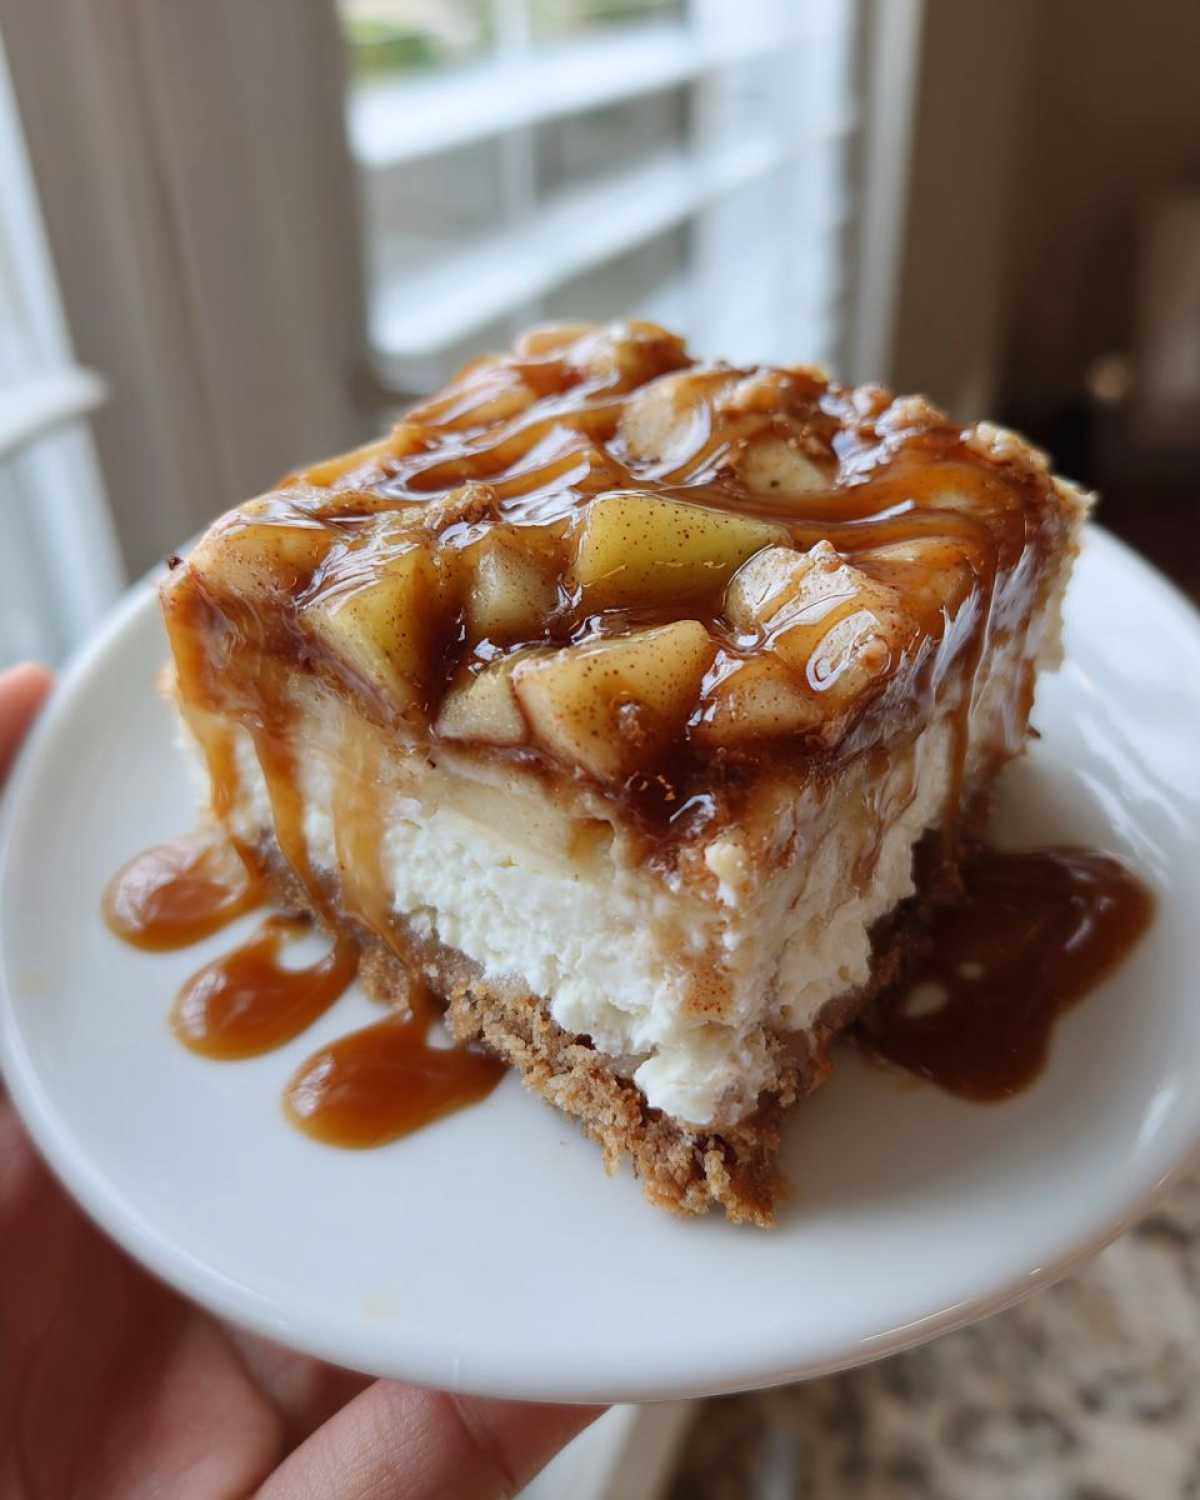
Step-by-Step Instructions for Layered Apple Cheesecake Bars
Okay, let’s get this baking party started! The structure of these Layered Apple Cheesecake Bars is what sets them apart, and it all comes down to following these steps in order. First things first: get that oven preheated to 350 degrees F. I always line my 8×8 inch pan with parchment paper first, making sure I leave an overhang on two opposite sides. This is my cheating way out; it lets you lift the whole thing out later like a little dessert blanket, which saves your fingers!
Preparing and Baking the Buttery Crust Cheesecake Bars
Grab your bowl for the crust ingredients. Whisk your flour, brown sugar, and salt together first. Then, toss in that cold, cut-up butter. You have to work fast here! I use my fingers to mash the butter into everything until it looks like just coarse crumbs. Don’t overthink the size of the crumbs, honestly. Press that mixture down firmly into the bottom of your lined pan—press hard! This is important so your crust doesn’t crumble when you try to cut them later. Pop that into the oven by itself for just 10 minutes to set up.
Assembling the Cheesecake and Spiced Apple Filling Recipe
While the crust is getting happy in the oven, whip up that lovely filling. Remember what I said about room temperature cream cheese? Beat it with the sugar until it’s super smooth—no speed needed, just patience. Then gently mix in the egg and vanilla, stop right when it disappears. Pour that creamy goodness over your warm, pre-baked crust. Now for the apples: Toss your diced Granny Smiths with the other little bit of sugar, cinnamon, and lemon juice. You want those apples coated nicely before you spoon them out evenly right on top of the cheesecake layer. They look beautiful mounded up there!
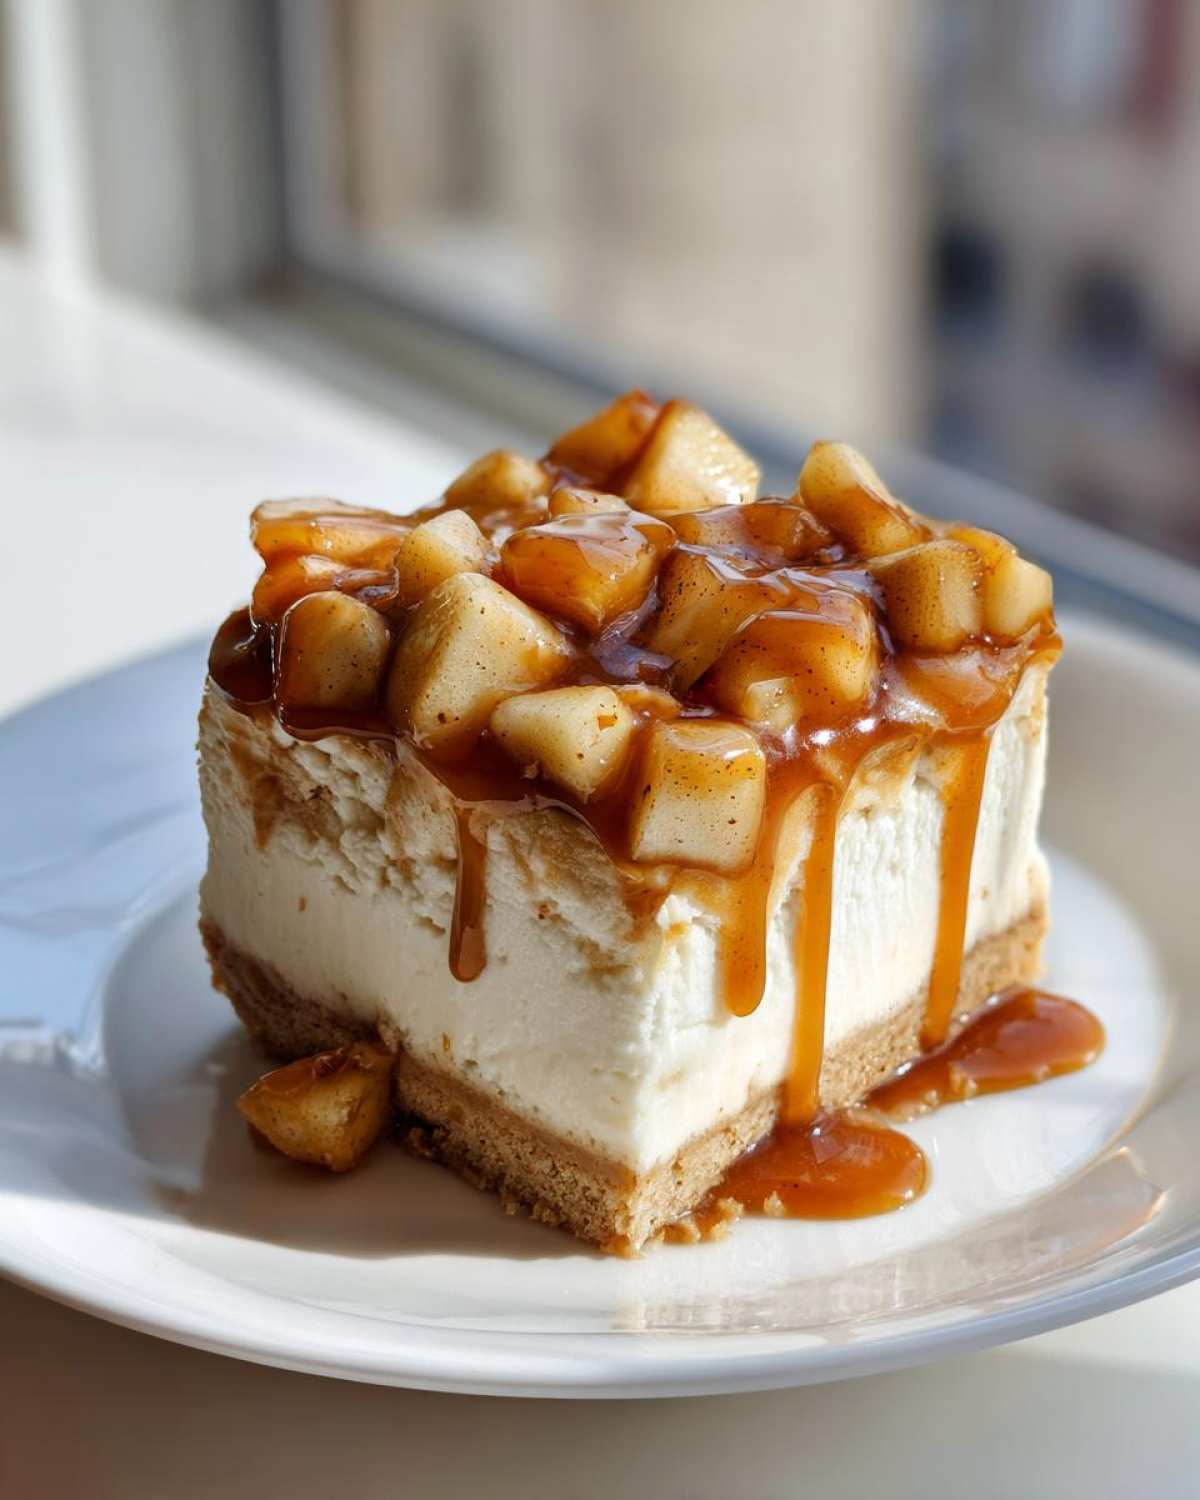
Final Bake, Cooling, and Caramel Application for Apple Cheesecake Bars
Time to put it all back in the oven! Bake these beauties for about 30 to 35 minutes. You’re looking for the edges to look set and firm, but the very center might still jiggle just a tiny bit. It’s okay! That’s flavor! Once it’s out, you must let it cool completely right there on the counter. Don’t rush this part, or the layers will run together when you slice them. Once it’s totally cool, drizzle that caramel sauce all over like you’re painting. Seriously, wait until it’s chilled in the fridge for at least 2 hours before you dare use those parchment overhangs to lift it out and slice those perfect apple cheesecake bars!
Tips for Perfect Apple Crumble Cheesecake Bars
I know, I know, getting those perfect, non-messy cuts on layered bars can feel like trying to herd cats. The absolute biggest thing you have to do here is chill time! Seriously, if you cut these while they are even slightly warm, the cheesecake layer will smear everywhere. Be patient! Also, stick with Granny Smith apples if you can. They hold their shape beautifully and their tartness is exactly what cuts through the richness of the cheesecake and complements the sweetness of the caramel drizzle.
Now, if you wanted to turn these into Apple Pie Cookies in bar form, you can easily make them into proper Apple Crumble Cheesecake Bars. Next time you are making the crust, remember what I said in the notes? Before you press the first part into the pan, set aside about a half-cup of that crumb mixture. After you top the apples, just sprinkle that reserved mixture over the top. It bakes up into the most amazing, buttery streusel topping. It’s such a simple switch but makes them look and taste extra special!
Variations on Classic Apple Cheesecake Bars
Once you nail our main recipe for these sensational Caramel Apple Cheesecake Bars, you’ll want to start tinkering, I know I always do! The beauty of a good bar recipe is how easily it morphs into something new. If you’re feeling extra autumnal or maybe you just prefer a dessert that looks fully enclosed, you can certainly transform these into something resembling Apple Pie Cheesecake Bars.
For that vibe, you just need to reserve a bit more of that buttery crust mixture before you press the first layer. Instead of sprinkling it all on top before baking (which makes a crumble), just press half of the reserved mix on top of the spiced apples before the final bake. It creates a beautiful, slightly firmer crust on top!
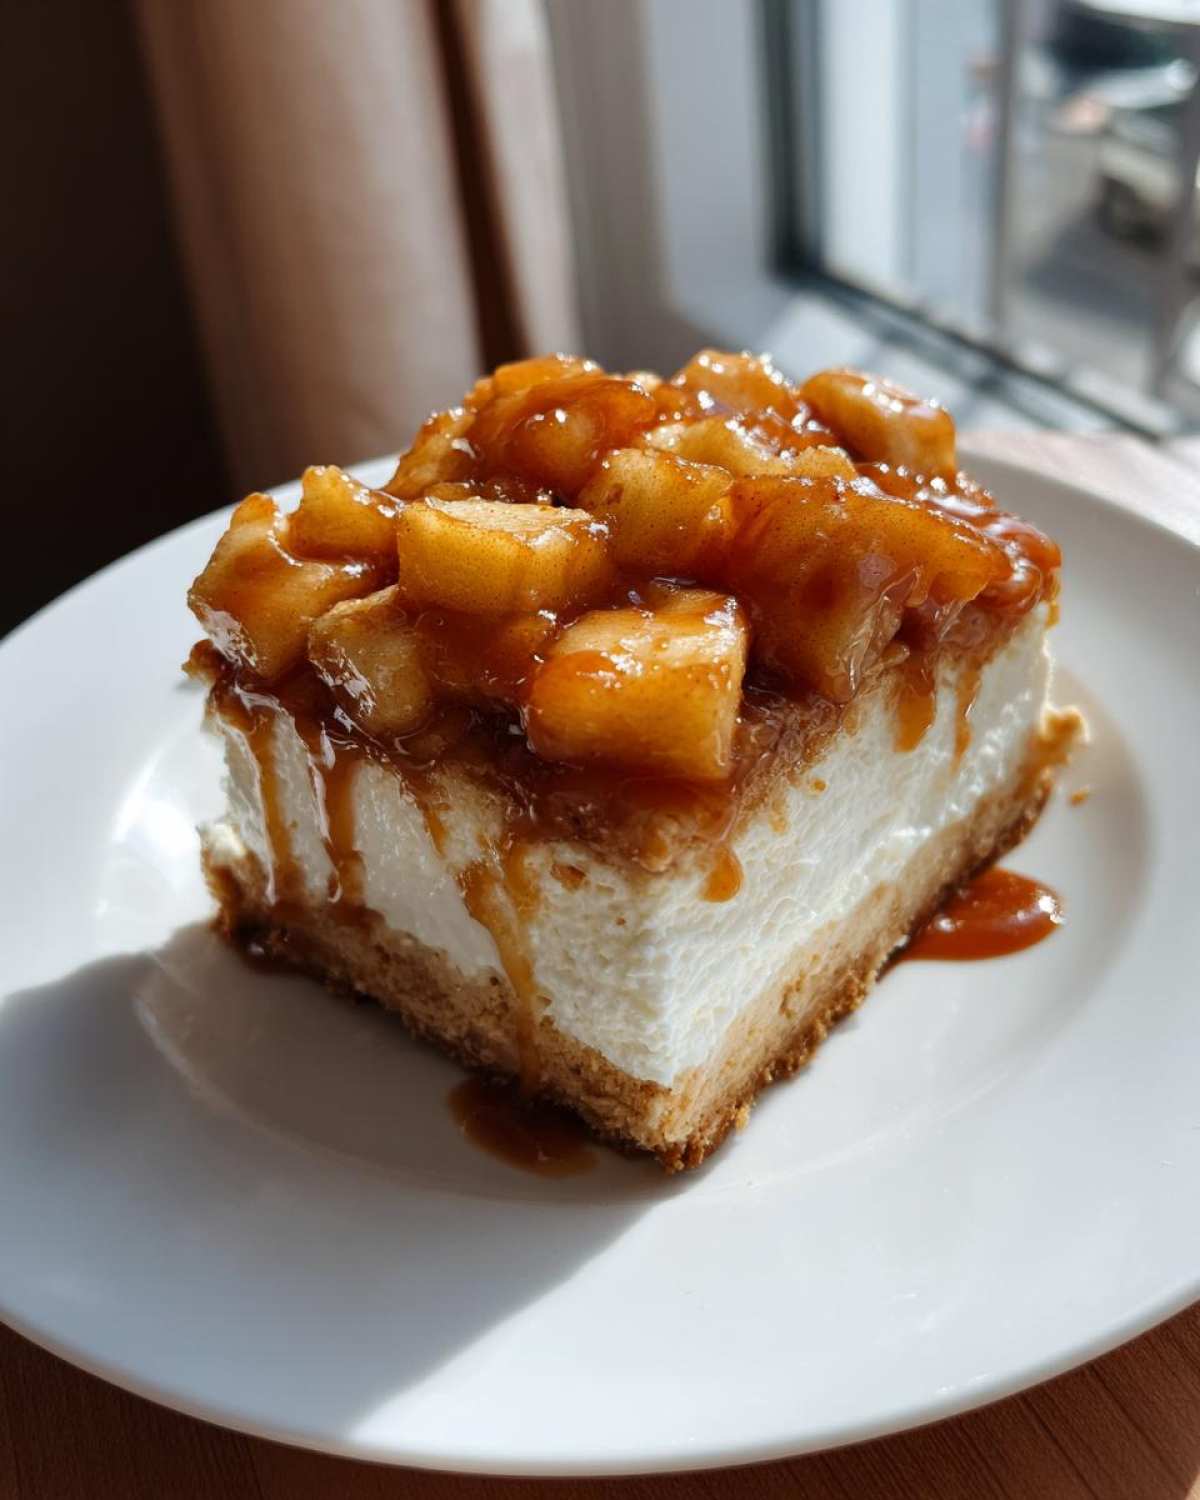
Now, I know some folks are looking for shortcuts, and I get it—sometimes you just can’t turn the oven on. While this recipe is baked all the way through for that perfect creamy texture, you can definitely check out my totally No Bake Apple Cheesecake Bars recipe if you need something purely chilled. But for these squares, baking is essential to get that distinct layering that makes them so special for your Thanksgiving Cheesecake Desserts lineup.
Storage and Make Ahead Cheesecake Bars Instructions
The very best part about these apple cheesecake bars is that they actually get *better* the next day! Seriously, the flavors meld together while they chill. You want to store any leftovers in an airtight container in the refrigerator. They stay perfectly fresh and sturdy like this for up to four days. Trust me, there’s almost always some left!
If you are making these way ahead for your bigger gatherings—like getting ready for the Thanksgiving Cheesecake Desserts menu—you can totally freeze them once they are cut! Drizzle the caramel on *after* they thaw, though. Place small squares between layers of wax paper in a freezer-safe container, and they’ll be great for about two months. That makes prep for big potlucks so much easier on me!
Frequently Asked Questions About Apple Cheesecake Bars Recipe
I always get tons of great questions after people try these apple cheesecake bars for the first time! It’s natural when you’re working with layers; you want everything to look picture-perfect, right? Here are the biggest things people ask me about achieving that ideal texture and flavor combination.
Can I make these apple cheesecake bars without baking?
That’s a good thought, especially when it’s blazing hot outside! While I do have a fantastic No Bake Apple Cheesecake Bars recipe if you need strictly chilled treats, this particular recipe relies on baking. We need that initial 10 minutes to set the buttery crust base, and then the second bake is essential to get the cheesecake filling firm enough to hold up the spiced apples. If we skipped that, we’d end up with a soft, runny mess instead of clean, structured squares.
What is the best way to achieve a creamy apple cheesecake squares texture?
This is all about temperature control, my friend! The number one mistake people make is using cream cheese straight from the fridge. If it’s cold, it won’t beat evenly, and you’ll end up fighting lumps the whole way through, ruining that smooth texture we want in our creamy apple cheesecake squares.
You need that block of cream cheese soft—think spreadable, but not melty goop. Also, keep that mixer on low or medium speed when you add the egg and vanilla. Over-beating develops too much air, which can cause cracking or sinking during the cooling process. Gentle mixing keeps things beautifully creamy!
How do I get those super clean cuts when slicing?
Trust what I said in the main instructions: chilling is non-negotiable! You need at least two hours once they are completely cooled to room temperature—and honestly, overnight is even better. If you try to cut them when they are even slightly warm, the cheesecake layer will just drag downward. Also, make sure your knife is clean before every slice. I quickly wipe the blade under hot water and dry it between cuts. That little bit of warmth helps glide right through the layers for perfect, beautiful Homemade Apple Cheesecake squares!
Can I skip the caramel drizzle on top?
Oh, you absolutely can! I love the added depth the caramel brings, especially how it mingles with the cinnamon from the Spiced Apple Filling Recipe, but if caramel isn’t your jam, there are great swaps. A simple dusting of powdered sugar works beautifully if you are going for an ‘Apple Pie Cheesecake Bars’ look. Or, if you used the streusel topping variation, sometimes just a tiny sprinkle of extra cinnamon-sugar on top is all you need!
Estimated Nutritional Data for Homemade Apple Cheesecake
Now, I always tell everyone that these numbers are just a general guide, you know? Every brand of cream cheese or caramel sauce you use is going to tilt the scales slightly differently. But so you have a good idea of what you’re diving into with these wonderful apple cheesecake bars, here is the breakdown based on our standard recipe yield for one square.
Per bar, you’re looking at roughly 280 calories. It’s got about 16 grams of fat, 32 grams of carbs, and a decent little 4 grams of protein to keep you going. It’s a treat, for sure, but oh my goodness, worth every bite!
Share Your Best Apple Dessert Bars Creations
Now that you’ve baked up these absolutely stunning apple cheesecake bars, I really, *really* want to see what you came up with! Did you love the tartness of the Granny Smiths? Did your caramel drizzle turn out perfectly shiny?
Don’t be shy! Head down to the comments section below and let me know how that buttery crust held up for you. Tell me if you tried the streusel on top or stuck to the classic caramel. Leaving a rating helps me know that this recipe is making its way into your own cherished family recipe collection!
I always check in here, so feel free to tell me all about your baking adventure. If you snap a picture of your beautiful squares, be sure to share it—I love seeing your gorgeous Apple Dessert Bars creations! Happy baking, folks!
PrintCaramel Apple Cheesecake Bars
Bake these layered bars featuring a buttery crust, creamy cheesecake filling, spiced apple topping, and a drizzle of caramel.
- Prep Time: 20 min
- Cook Time: 45 min
- Total Time: 65 min
- Yield: 16 bars
- Category: Dessert
- Method: Baking
- Cuisine: American
- Diet: Vegetarian
Ingredients
- 1 1/2 cups all-purpose flour
- 1/2 cup packed light brown sugar
- 1/4 teaspoon salt
- 1/2 cup (1 stick) cold unsalted butter, cut into pieces
- 8 ounces cream cheese, softened
- 1/2 cup granulated sugar
- 1 large egg
- 1 teaspoon vanilla extract
- 2 medium apples (like Granny Smith), peeled, cored, and diced
- 1/4 cup granulated sugar
- 1 teaspoon ground cinnamon
- 1 tablespoon lemon juice
- 1/4 cup caramel sauce (store-bought or homemade)
Instructions
- Preheat your oven to 350 degrees F. Line an 8×8 inch baking pan with parchment paper, leaving an overhang on two sides for easy removal.
- Prepare the crust: In a medium bowl, mix the flour, brown sugar, and salt. Cut in the cold butter using a pastry blender or your fingers until the mixture resembles coarse crumbs. Press this mixture evenly into the bottom of the prepared pan. Bake the crust for 10 minutes.
- Prepare the cheesecake layer: In a separate bowl, beat the softened cream cheese and 1/2 cup granulated sugar until smooth. Beat in the egg and vanilla extract until just combined. Pour this mixture over the warm, pre-baked crust.
- Prepare the apple layer: In a small bowl, toss the diced apples with 1/4 cup granulated sugar, cinnamon, and lemon juice. Spoon the spiced apples evenly over the cheesecake layer.
- Bake for 30 to 35 minutes, or until the edges are set and the center is mostly firm.
- Let the bars cool completely on a wire rack. Once cool, drizzle the top evenly with caramel sauce.
- Chill the bars in the refrigerator for at least 2 hours before lifting out using the parchment overhang and cutting into squares.
Notes
- Use firm, tart apples like Granny Smith for the best texture and flavor contrast.
- For a streusel topping, reserve 1/2 cup of the crust mixture before pressing it into the pan, then sprinkle it over the apples before baking.
- You can make these ahead; they store well covered in the refrigerator for up to four days.
Nutrition
- Serving Size: 1 bar
- Calories: 280
- Sugar: 22
- Sodium: 110
- Fat: 16
- Saturated Fat: 10
- Unsaturated Fat: 6
- Trans Fat: 0
- Carbohydrates: 32
- Fiber: 1
- Protein: 4
- Cholesterol: 55