

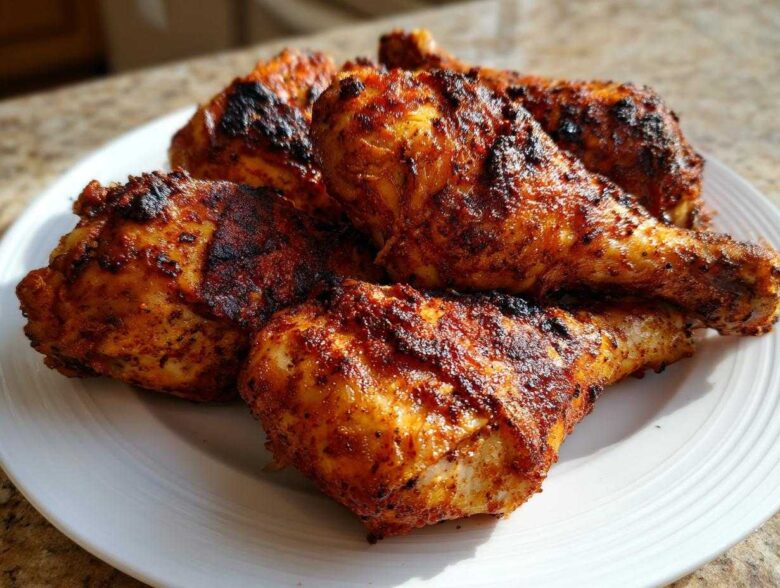
Oh my gosh, let’s talk about chicken legs because I spent way too many years sadly eating drumsticks that were dry as dust on the outside and suspiciously pale on the skin. I swear, it felt like a culinary competition just to get that amazing, crispy skin without incinerating the meat underneath! Well, guess what? I cracked the code, and I’m practically vibrating with excitement to share it with you. Forget everything you thought you knew about Baked Chicken Legs. This recipe is the game-changer. We are talking about seriously juicy meat tucked under a shattering, perfectly golden, crackly crust. This isn’t just dinner; it’s the standard you’re going to hold all other Sunday dinners to. Trust me, once you nail this technique, you’ll never go back!
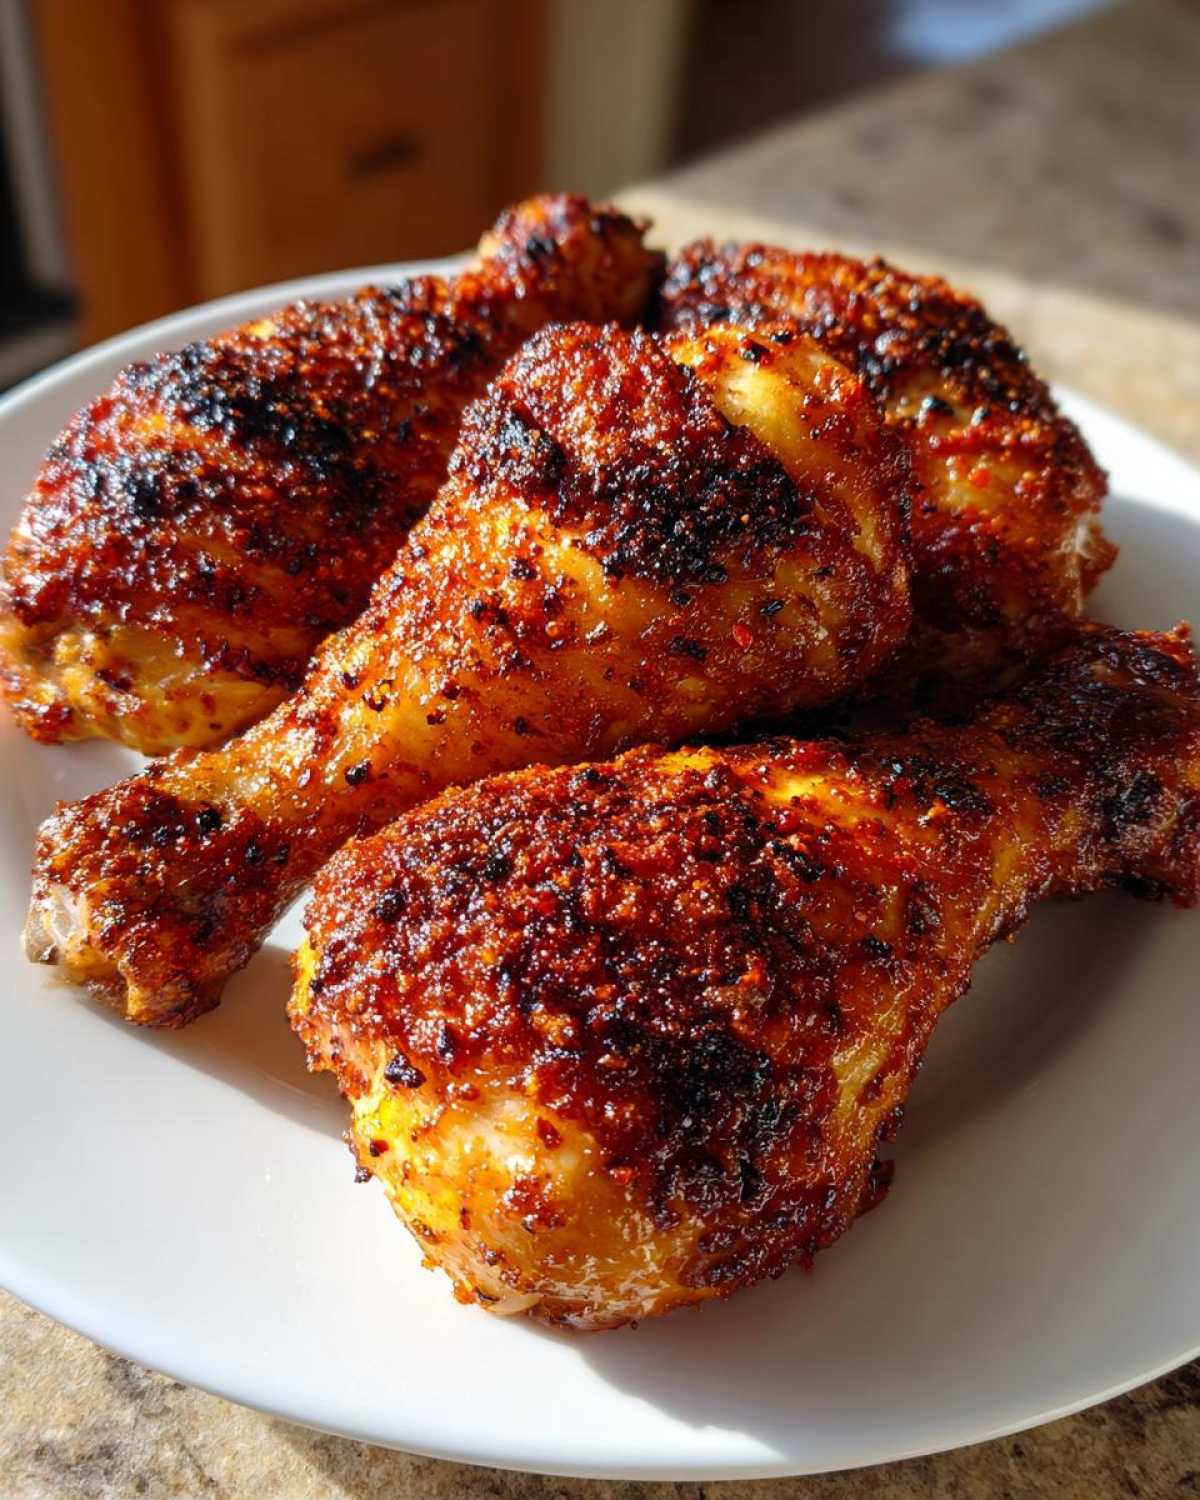
Why You Will Love This Easy Baked Chicken Legs Recipe
Seriously, I wouldn’t put this recipe in front of you unless it was absolutely foolproof. I know you’re busy, so this isn’t some multi-day brine situation. Here’s why this method for Easy Baked Chicken Legs is about to become your weeknight staple:
- It delivers that elusive Crispy Skin Chicken Legs Oven texture without ever needing to fry them. That gorgeous shattering crackle is real, I promise!
- The meat stays incredibly moist. We’re talking tender, pull-apart juicy every single time, which checks off the Juicy Baked Chicken Legs recipe box immediately.
- Prep time is practically zero! You just mix up the spices and toss them. It’s the Quick Baked Chicken Legs recipe you’ve always needed.
- The spice blend we use is versatile. It’s a fantastic starting point for your own Best Baked Chicken Legs Seasoning adventures, but it tastes amazing all on its own.
- These are perfect for simple weeknight meals, but honestly, they look fancy enough for company. They are prime Dinner ideas with Chicken Legs!
- For an all-in-one meal, check out how I sometimes turn this into a full sheet pan wonder with some potatoes and carrots. You can see my tips for easy sheet pan cooking over here: crispy baked chicken guide.
Ingredients for the Ultimate Crispy Skin Chicken Legs Oven Method
When it comes to the best Baked Chicken Legs, you don’t need a mile-long list! We’re keeping this simple, but we are using ingredients that actually perform. Don’t skimp on the salt though; that’s where the flavor barrier starts!
- 8 large chicken legs – make sure they are bone-in and skin-on, please!
- 2 tablespoons of good, honest olive oil.
- 1 teaspoon salt (yes, that much!), because salt draws out moisture for crisping.
- 1 teaspoon black pepper, freshly ground if you can!
- 1 teaspoon paprika—sweet paprika works best here.
- 1 teaspoon garlic powder.
- 1/2 teaspoon dried thyme for that lovely woodsy note.
Ingredient Notes and Preparation for Baked Chicken Legs
Okay, listen up, this is the most important thing before anything hits the oven. You MUST pat your chicken legs completely dry using paper towels. I mean, bone-dry! Residual moisture is the enemy of crispy skin, so really take a minute to blot every single crevice of that skin. We are using full, skin-on legs, and you want to leave any visible excess fat tabs trimmed off, but keep that beautiful skin intact!
How to Prepare Juicy Baked Chicken Legs recipe Step-by-Step
This is where the magic happens, and honestly, learning how to bake chicken legs the right way is a total confidence booster in the kitchen. It’s super active for about ten minutes, and then the oven does all the heavy lifting. Follow these steps exactly, and you’ll have those perfectly finished legs guaranteed.
Preheating and Pan Preparation for Baked Chicken Legs
First things first—blast that oven! We’re setting the temperature high right from the start at 425 degrees Fahrenheit (that’s 220 Celsius). Now, for the pan setup, this is my secret weapon against soggy bottoms: Line a sheet pan with parchment paper, but then put a wire rack on top of that paper. The rack is essential because it lets the heat wrap all the way around the chicken leg. If you don’t have a rack, just make sure your legs aren’t touching when you lay them out!
Seasoning and Coating for Perfect Baked Chicken Legs
Grab a medium bowl—no need to dirty a bunch of dishes here. Whisk together your olive oil, salt, pepper, paprika, garlic powder, and thyme until it looks like a nice, rusty-red paste. Next, drop those bone-dry chicken legs right into that spice mix. Use your hands, really get in there, and massage that coating all over every piece. We want every single inch covered because that’s where all the flavor lives!
Baking Times and Temperature for Crispy Skin Chicken Legs Oven
Pop the coated legs onto your prepared rack, making sure they have some personal space around them. They bake for about 35 to 45 minutes total. You absolutely *must* check the temperature with a meat thermometer; we are aiming for 165 degrees Fahrenheit in the thickest part. If you want that unbelievable crunch, sneak them under the broiler for the last two or three minutes—seriously, watch them like a hawk when you do this! Once they hit temp, pull them out and let them chill for about five minutes before serving. You can check out more details on nailing that crispy skin right here: crispy baked chicken guide.
Tips for the Best Baked Chicken Legs Seasoning Combinations
While the garlic and thyme combo we used above is my go-to for a classic, savory weeknight meal, you can really transform these Baked Chicken Legs just by swapping out that dry rub! Don’t get stuck in a rut; chicken is the perfect canvas for flavor experimentation. This is where you can really make the recipe your own and find your favorite version of my Best Baked Chicken Legs Seasoning.
If you’re feeling frisky, ditch the thyme and try these flavor boosters:
- Smoky BBQ Twist: Replace the paprika with smoked paprika, add 1 teaspoon of onion powder, and mix in 2 tablespoons of your favorite dry BBQ rub instead of the dried herbs. You can even brush on some actual BBQ sauce in the last 10 minutes of baking for a slightly sticky glaze!
- Spicy Kick: If your family loves heat, add 1/2 teaspoon of cayenne pepper and a dash of smoked sea salt to the original spice mix. It gives you a lovely warmth without being overwhelmingly hot.
- Lemon Herb Zest: This is bright and fantastic! Skip the thyme and add the zest of one full lemon into your oil/spice mix, and then maybe throw in a tablespoon of dried oregano instead. It tastes just like the Mediterranean!
No matter which seasoning you choose, remember that crucial final step: resting. Letting the chicken rest for those five minutes after it comes out of the oven allows the juices, which got super excited by the high heat, to settle back into the meat. If you cut it too soon, all that moisture spills out onto the cutting board instead of staying inside, and boom, you’ve lost your juiciness! Want to pair those gorgeous seasoned legs with something equally flavorful? My recipe for honey garlic roasted carrots is the perfect sweet sidekick!
Troubleshooting Common Issues with Baked Chicken Legs
Look, even the best Baked Chicken Legs recipe can hit a snag sometimes. Don’t sweat it if your first batch isn’t perfect! Usually, the problems people run into come down to one or two really focused things, and once you know the trick, you’ll never have the issue again.
The biggest complaint I ever hear is, “My chicken is dry!” If this happens, it’s almost always one thing: overcooking. Remember, we aim for 165 degrees Fahrenheit. If your meat thermometer reads 175, you’ve cooked the moisture right out. Pull it the second you hit that target! Another thing: make sure your oven thermometer is accurate. Sometimes ovens lie to us about the temperature!
Then there’s the dreaded soggy skin. Ugh, I hate that! Soggy skin means steam got trapped underneath the meat. Did you use a rack over your baking sheet? That wire rack is non-negotiable for getting that perfect Crispy Skin Chicken Legs Oven finish because it lets the air circulate underneath. Also, if you skipped the paper towel drying step—shame on you! Wet skin steams; dry skin crisps. It’s simple science, really.
If your spices look burned but the chicken isn’t done, that usually means the sugar content in your rub—even if it’s just a tiny bit from the paprika—is getting too much direct heat. Try moving the rack down one level in the oven for the middle part of the bake, and only use the broiler for that quick blast at the very end.
Serving Suggestions for Dinner Ideas with Chicken Legs
Once you have these incredible, juicy, crispy Baked Chicken Legs resting temptingly on the counter, you need sides that can stand up to that savory, herby crust! We want things that are satisfying but don’t steal the spotlight from the main event. This is simple, hearty food, so the sides should reflect that.
My first suggestion is always something creamy to soak up any flavor spots left on your plate, and for that, you absolutely cannot beat mashed potatoes. I whip up a huge batch of my creamy fluffy mash every time because the texture is just divine with the crisp skin.
If you want something less heavy but still filling, a nice grain works wonders. I love tossing these legs alongside a big batch of my easy rice pilaf. It takes on all the little leftover seasonings that settle onto the pan. Wow, what a meal!
And because we need a little green with all that goodness, keep it simple! Roasted green beans tossed in olive oil and sprinkled with a little sea salt are perfect. Or, if you are using the broiler trick and your oven is already hot, just throw some halved asparagus spears onto the sheet pan underneath the rack for the last 12 minutes. Easy cleanup, amazing flavor—that’s what I call good Dinner ideas with Chicken Legs!
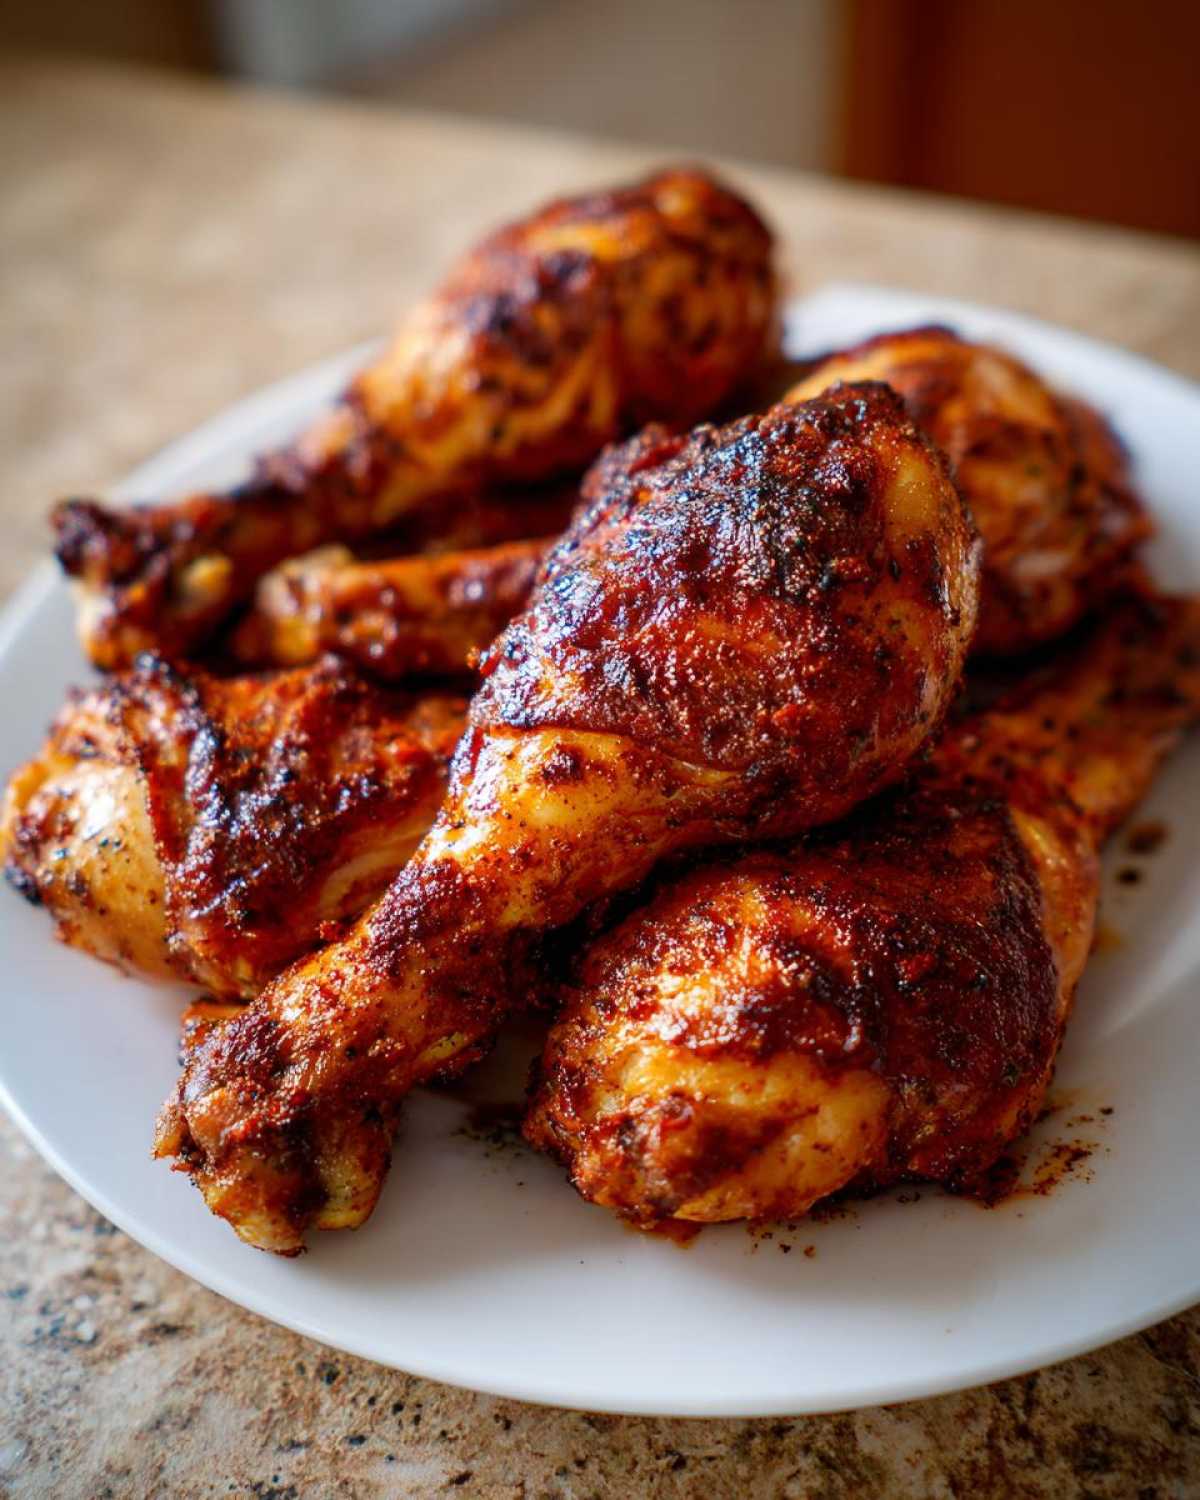
Storage and Reheating Instructions for Juicy Baked Chicken Legs recipe
Okay, you’ve made the perfect batch, and maybe you have some leftovers. First off, good job! Secondly, you definitely don’t want to ruin that amazing texture when you reheat them tomorrow. The key to keeping these Juicy Baked Chicken Legs tasting great later is storing them correctly and reheating them gently.
When it comes to storage, these are best eaten the day you make them, obviously, but they hold up really well! Once they are completely cooled down—and I mean cool, not just lukewarm—tuck them into an airtight container. They’ll stay perfectly delicious in the fridge for about three to four days, tops. Don’t leave them sitting out at room temperature for too long; safety first, always!
Now, reheating is where people mess up and end up with dry chicken again. Please, I beg you, skip the microwave if you care about the skin! The microwave just turns that beautiful crispiness into sad, soft leather. The best way to revive these Baked Chicken Legs is back in the oven.
Set your oven to a very low temperature, maybe 300 degrees Fahrenheit. Pop the legs onto a clean baking sheet—you don’t need a rack this time, just lay them flat—and let them warm up slowly for about 10 to 15 minutes. This gentle heat warms through the meat without drying it out. If you used the broiler trick last time, the skin will crisp up a little naturally just from the low heat! If you’re in a massive rush, a quick 60 to 90 seconds in the microwave works, but toss a tiny splash of water into the container with them to trap a little steam and keep the meat from seizing up.
Frequently Asked Questions About Oven Baked Chicken Drumsticks
I always get questions after posting this recipe because people are just as obsessed with crispy chicken as I am! Here are a few things I hear all the time about how to cook these beautifully. These quick answers should help if you have any last-minute doubts before sliding your pan in!
What is the best chicken legs oven temperature and time?
Trust me on the temperature! For the ultimate Crispy Skin Chicken Legs Oven result combined with juicy meat, you want a high, consistent blast of heat. The absolute best setting we use for these Oven Baked Chicken Drumsticks is 425 degrees Fahrenheit (220 Celsius). You’ll bake them there for about 35 to 45 minutes, depending on the size of your legs. If you go much lower, you risk steaming the skin instead of rendering the fat and making it crispy. If you want them done faster, you can raise the heat, but you have to be much more vigilant about checking that internal temperature!
Can I make this a Simple Baked Chicken Legs recipe using only salt and pepper?
Oh, absolutely you can make this a Simple Baked Chicken Legs recipe using just salt and pepper! Chicken is forgiving like that. If that’s what you have on hand, go for it! You’ll still get perfectly cooked, juicy meat because the technique with the drying and the high heat is still in place. The only thing you sacrifice is the depth of flavor. The paprika and garlic powder we use give you that beautiful color and savory backbone. If you only use S&P, you’ll have lighter-colored chicken, but it’ll still taste great, especially if you plan on dipping it in sauce later!
I also get asked a lot about getting the right internal reading, so if you want a deeper dive into checking meat safety and temperature perfection, my general food safety guide is over here at my kitchen philosophy page.
Estimated Nutritional Data for Baked Chicken Legs
Okay, real talk time: since we are dealing with bone-in, skin-on chicken legs, the exact numbers can swing around a bit depending on how much fat renders off and what brand of paprika you use. But I always like to give you a ballpark idea of what you’re looking at so you can plan your weeknight meals! We made sure this is a relatively Healthy Baked Chicken Legs option because we aren’t adding extra butter or flour coatings.
These estimates are based on serving two legs per person (which is what the recipe yields for 4 servings). Remember, this is just guidance, not a doctor’s order! Always check the details of the specific ingredients you use.
Here’s the breakdown for about two legs:
- Serving Size: 2 chicken legs
- Calories: 350
- Protein: 38g (That’s fantastic muscle fuel!)
- Fat: 20g (A good chunk of that is healthy skin-on fat)
- Saturated Fat: 5g
- Unsaturated Fat: 15g
- Carbohydrates: 1g
- Sugar: 1g
- Sodium: 450mg
- Cholesterol: 120mg
Remember, if you’re feeling concerned about sodium or fat, you can always try making these legs with less salt or carefully trimming some skin away *before* coating them, though it might compromise that amazing crispiness! For full context on how I handle nutrition claims and general ingredient sourcing on the blog, you can glance over my official disclaimer page. Enjoy knowing that this is a high-protein, flavorful meal!
Share Your Family Favorite Baked Chicken
Whew! That’s it—you now have my foolproof method for achieving the best Baked Chicken Legs known to mankind. They come out crackling, juicy, and smelling like pure comfort food. I honestly hope this recipe becomes a staple for your family dinners, just like it is for mine.
Now the pressure is on! I want to see what you create. Please, please, please hit those stars below and let me know you tried this recipe. Tell me how long it took for your skin to get that perfect crispiness! Did you stick with the garlic-herb blend, or did you try one of those spicy variations we talked about?
If you tweaked the spices or tried a different vegetable side dish, drop all the details in the comments section. I love reading your kitchen experiments! You can send me pictures or shout about your success directly on my contact page too. Happy roasting, talk soon!
PrintThe Ultimate Crispy Skin Baked Chicken Legs

Follow this simple recipe to bake chicken legs that are juicy on the inside and have perfectly crisp skin.
- Prep Time: 10 min
- Cook Time: 45 min
- Total Time: 55 min
- Yield: 4 servings
- Category: Dinner
- Method: Baking
- Cuisine: American
- Diet: Low Fat
Ingredients
- 8 large chicken legs (drumsticks and thighs attached)
- 2 tablespoons olive oil
- 1 teaspoon salt
- 1 teaspoon black pepper
- 1 teaspoon paprika
- 1 teaspoon garlic powder
- 1/2 teaspoon dried thyme
Instructions
- Preheat your oven to 425 degrees Fahrenheit (220 degrees Celsius). Line a baking sheet with parchment paper or place a wire rack on top of the baking sheet.
- Pat the chicken legs completely dry using paper towels. This step is crucial for crispy skin.
- In a medium bowl, combine the olive oil, salt, pepper, paprika, garlic powder, and thyme. Mix well.
- Place the dried chicken legs in the bowl and toss them until they are evenly coated with the seasoning mixture.
- Arrange the chicken legs on the prepared baking sheet, ensuring there is space between each piece for air circulation. Do not let them touch.
- Bake for 35 to 45 minutes. The internal temperature of the thickest part of the meat should reach 165 degrees Fahrenheit (74 degrees Celsius).
- For extra crispiness, switch the oven to the broiler setting for the last 2 to 3 minutes, watching carefully to prevent burning.
- Remove from the oven and let the chicken rest for 5 minutes before serving.
Notes
- For the crispiest skin, place the chicken on a wire rack set over the baking sheet. This allows air to circulate underneath.
- If you prefer a saucy finish, brush your favorite BBQ sauce on the chicken during the last 10 minutes of baking.
- To ensure juiciness, do not overcook the chicken past 170 degrees Fahrenheit internal temperature.
Nutrition
- Serving Size: 2 chicken legs
- Calories: 350
- Sugar: 1
- Sodium: 450
- Fat: 20
- Saturated Fat: 5
- Unsaturated Fat: 15
- Trans Fat: 0
- Carbohydrates: 1
- Fiber: 0
- Protein: 38
- Cholesterol: 120