

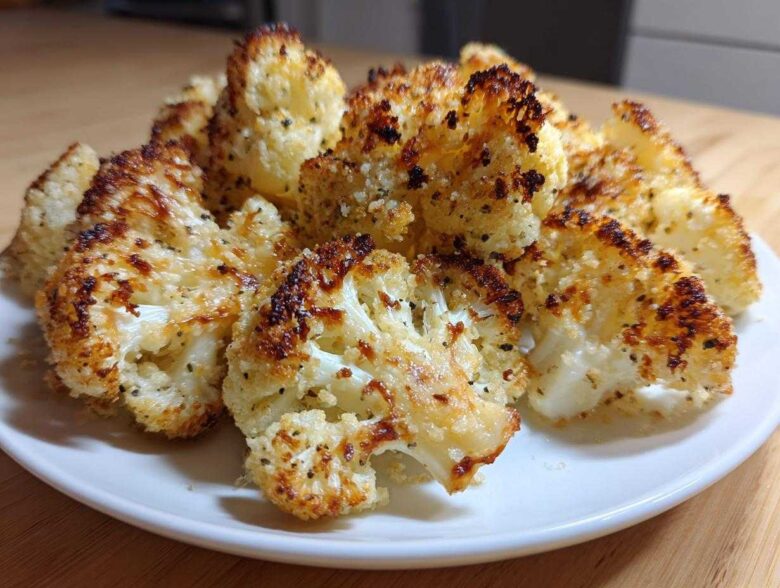
Listen, I know weeknight side dishes can feel like an afterthought, but they shouldn’t be! If you’re tired of sad, soggy vegetables, stick with me because I finally cracked the code for the most addictively flavorful side dish out there: my ultimate Garlic Parmesan Roasted Cauliflower. Seriously, this recipe elevates the humble floret into something truly crispy and addicting. I’ve roasted more cauliflower in my life than I care to admit, let me tell you, finding that sweet spot where the edges are perfectly browned but the center is still tender took serious trial and error. But I finally nailed the timing and the cheesy blast you get right at the end. Trust me, your family will actually ask for this vegetable dish!
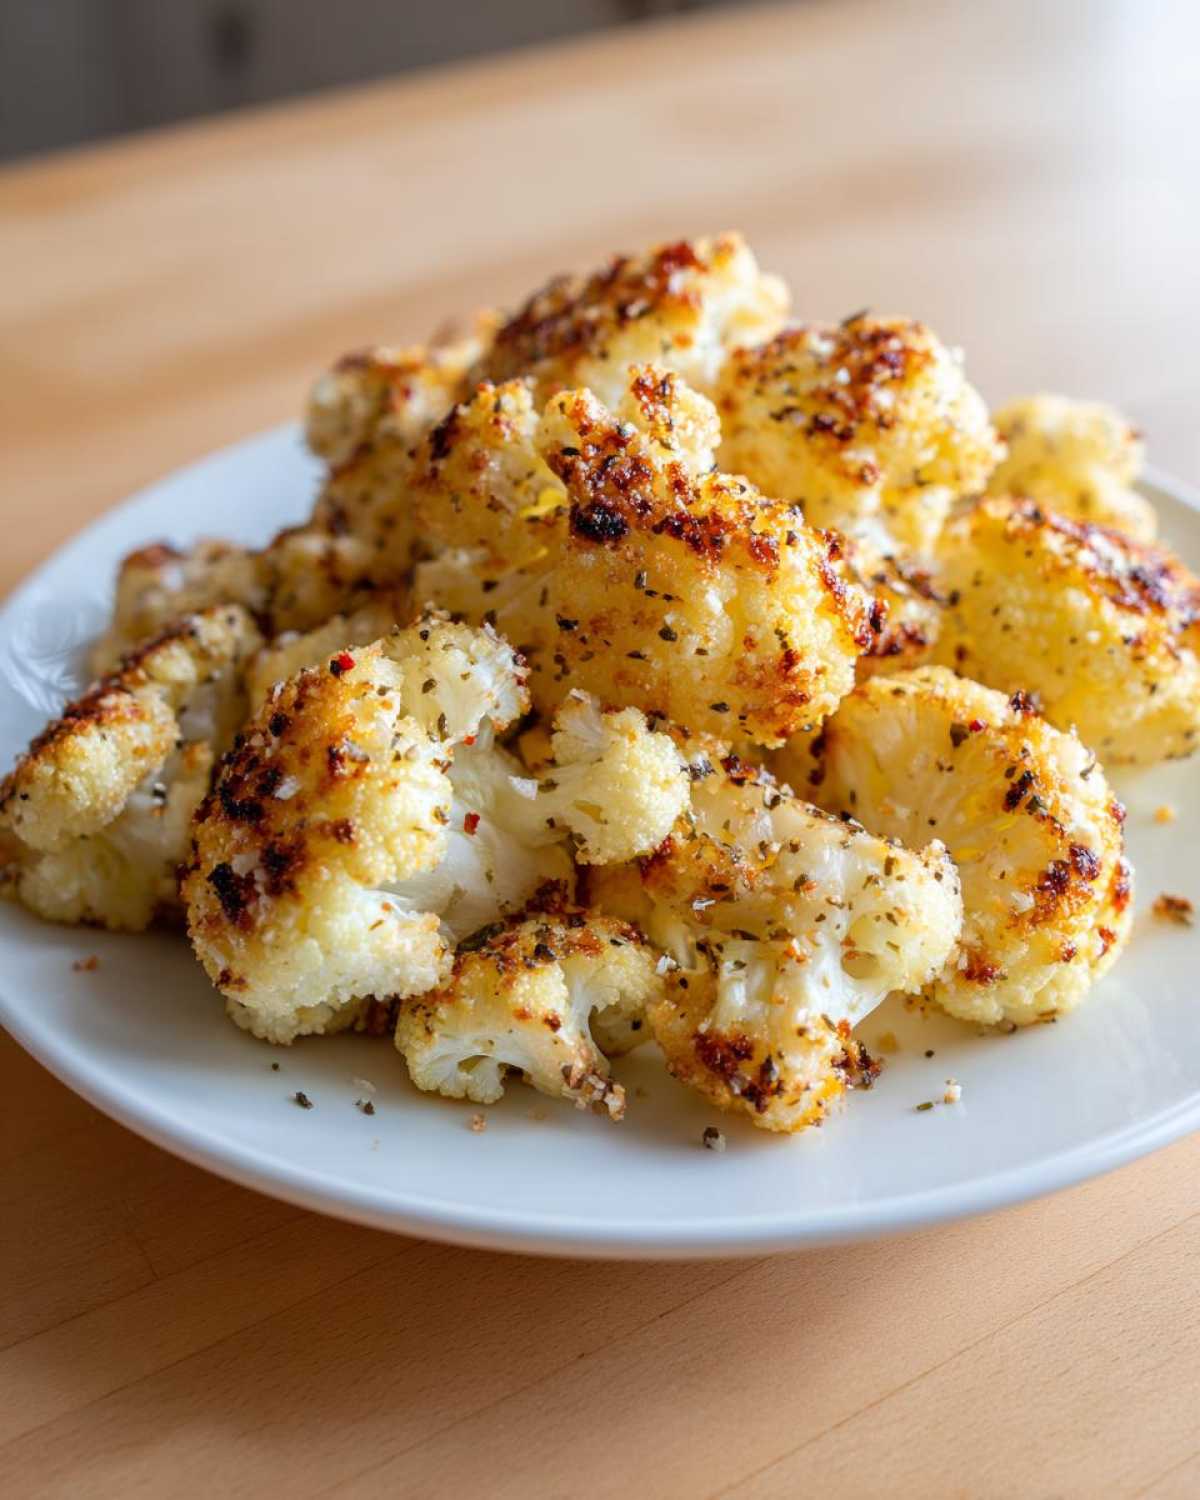
Why This Garlic Parmesan Roasted Cauliflower Recipe Works (Easy Roasted Vegetables)
If you need foolproof side dishes for busy nights, this is your new staple! There’s so much to love about this simple preparation:
- It delivers maximum flavor with minimal effort – it’s basically a fancy Toss and Roast Cauliflower technique.
- The two-stage roasting ensures you get beautifully Crispy Cauliflower Bites without burning the cheese.
- It’s packed with savory goodness, making it one of the best Garlic Parmesan Side Dishes you’ll ever make.
- It fits perfectly into most healthy eating plans, serving as a wonderful Low Carb Vegetable Recipes staple.
Gathering Ingredients for Perfect Garlic Parmesan Roasted Cauliflower
Okay, let’s talk about what you actually need! The beauty of this dish—the ultimate Roasted Cauliflower Recipe—is that it starts with just a few simple things. But precision matters here. If you eyeball the garlic, you might end up with bland spots or, worse, burnt bits! We want that perfect, even flavor distribution.
You’ll need one large head of cauliflower, cut into florets (I always aim for pieces about the size of a large grape). For the oil, three tablespoons of good quality olive oil usually does the trick. Then comes the flavor core: three cloves of garlic, which you absolutely must mince finely. Don’t use the jarred stuff if you can help it; fresh garlic makes a difference here, trust me! We season it up with salt, pepper, and a touch of paprika. And finally, the star finish: half a cup of Parmesan cheese.
Here is exactly what you’re going to grab:
- 1 large head cauliflower, cut into florets
- 3 tablespoons olive oil
- 3 cloves garlic, minced
- 1/2 cup grated Parmesan cheese
- 1/2 teaspoon salt
- 1/4 teaspoon black pepper
- 1/4 teaspoon paprika
Ingredient Clarity and Preparation Notes
I cannot stress this enough: make sure those cauliflower florets are totally dry before they even see the oil! If they’re wet, they steam instead of roast, and we are aiming for crispy, not soggy. That’s how we get the Best Roasted Cauliflower texture.
Also, if you have a block of Parmesan, grate it yourself if you can manage the effort! Pre-shredded cheese often contains anti-caking agents which can sometimes prevent it from melting quite as smoothly as we want in those final moments. We need that cheese to hug the cauliflower nicely.
Step-by-Step Instructions for Crispy Cauliflower Bites
Alright, this is where the magic truly happens! Getting the timing right is what separates these amazing Crispy Cauliflower Bites from the bunch that sits sadly on the plate. Follow these steps exactly, especially the part about waiting to add the cheese, and you’ll get that incredible roasted finish every single time.
Preheating and Initial Tossing for Flavorful Roasted Cauliflower
First things first, get that oven cranked up! You want it hot – 400 degrees Fahrenheit (or 200 Celsius if you’re metric) is the minimum for great roasting action. Line a baking sheet, that’s crucial for cleanup, but make sure you’re not using too small a pan. Cauliflower needs space to breathe, so spread those oiled and seasoned florets out in a single layer. If you pile them up, they steam, and we absolutely do not want steam here!
Toss them well with the oil, minced garlic, salt, pepper, and that little bit of paprika until everything looks evenly coated. Then, pop that tray into that hot oven for a good 20 minutes. Go do something else! Don’t touch them!
The Critical Cheese Application in Your Garlic Parmesan Roasted Cauliflower
This is the secret move for perfect Flavorful Roasted Cauliflower. Once those 20 minutes are up, pull the tray out—careful, it’s hot!—and quickly sprinkle that half cup of Parmesan cheese evenly over the hot cauliflower. The heat from the veggies starts melting it naturally, which is exactly what we want. Then, send it back in for just 5 to 10 more minutes.
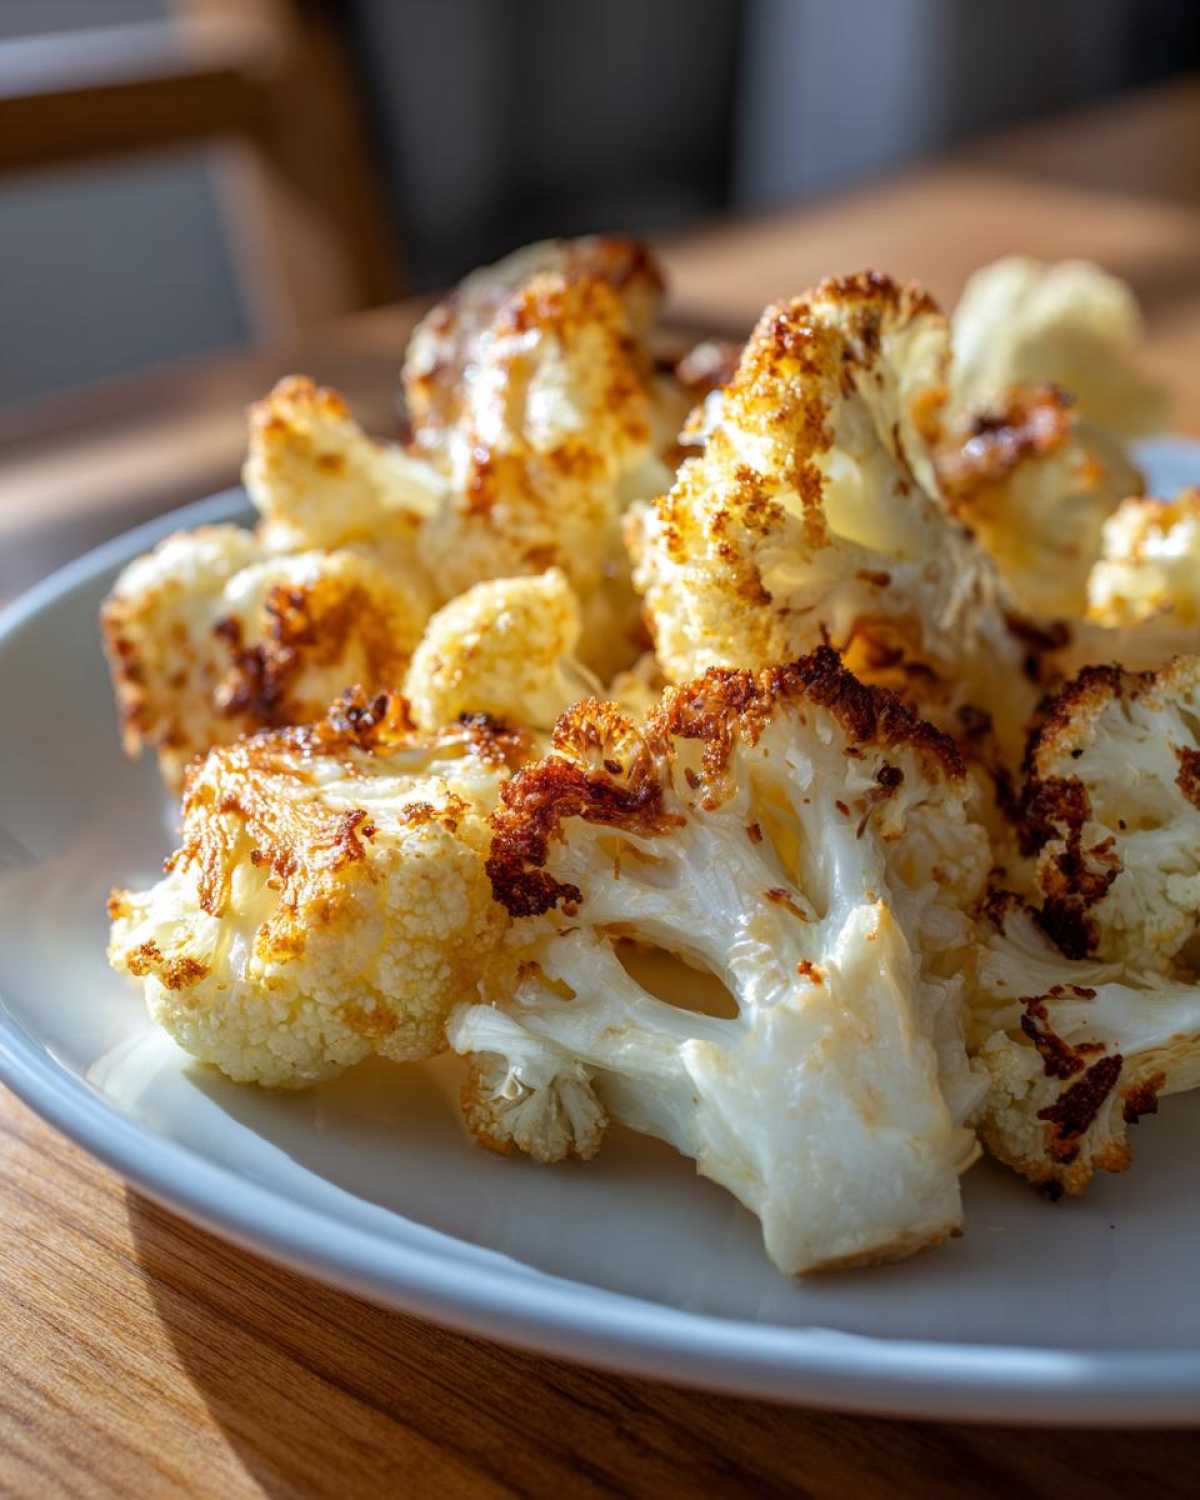
You’re looking for the edges to get dark and crispy, and the cheese should be bubbly and lightly browned. That’s it! Serve them immediately while they are piping hot so you get maximum crunch factor right away.
Tips for Success with Your Roasted Cauliflower Recipe
Look, I hand you the instructions, but sometimes you need that little extra nudge to go from good to great, right? Achieving the Best Roasted Cauliflower texture isn’t about luck; it’s about controlling the moisture! Remember that first instruction? Make sure those florets are bone-dry before they hit the oil. I usually chop mine, then lay them on a clean kitchen towel while the oven preheats, just patting them dry. It sounds fussy, but it’s the difference between crispy edges and steamed bottoms.
My biggest pet peeve when I see people making Parmesan Roasted Veggies is overcrowding the pan. If you see pieces touching, you’re steaming them! I know these florets smell amazing tossing in the spices, but you absolutely have to give them their own personal space on that baking sheet. If you have a huge head of cauliflower, use two sheets. Trust me on this one, the separation allows that hot air to circulate and give you those wonderful little crispy bits we worked so hard for.
Also, regarding the heat: 400°F is your friend. Don’t try to speed it up by bumping it to 450°F without watching closely. That extra heat will scorch the garlic before the cauliflower is tender inside. We cook in stages for a reason, keeping the garlic flavor low and slow first, and only adding the cheese at the end so it melts beautifully instead of turning into dusty brown flakes. It’s all about timing!
Variations for Your Cheesy Roasted Cauliflower
Now, I know some people follow my directions to the letter, which is great, but this base recipe for Cheesy Roasted Cauliflower is just begging for a little customization! If you want to punch up the freshness, toss in a quarter cup of fresh parsley right after it comes out of the oven with the cheese—that bright green against the gold is gorgeous.
Do you like a little kick? Red pepper flakes added a minute before the final roast are fantastic. That little bit of heat cuts right through the richness of the Parmesan beautifully. Since this is already a fantastic Keto Cauliflower Side, you don’t have to worry about adding carbs when you spice things up!
If you’re out of Parmesan, don’t panic! You can definitely use another hard, salty cheese. Romano works wonderfully, though it’s slightly sharper. Or, if you’re trying to do a dairy-free version, you can skip the sugar coatings at the end and toss it with lemon zest and toasted breadcrumbs for crunch instead. It won’t be the *exact* same, but it’s still a killer side dish!
Serving Suggestions for This Garlic Parmesan Side Dish
The best part about having such an intensely flavorful side like this Garlic Parmesan Side Dish is that it pairs well with just about anything you’re throwing on the grill or roasting up!
Honestly, this roasted cauliflower is hearty enough to stand next to a simple protein and steal the show. It is absolutely perfect alongside grilled steak or crisp-skinned chicken thighs. The saltiness of the cheese just elevates those savory mains, doesn’t it?
If you’re planning a big pasta night, skip the heavy creams and let the cauliflower do the heavy lifting for your vegetable course. It’s amazing served alongside a bright lemon chicken pasta or even dolloped right on top of something creamy like my famous Marry Me Chicken Pasta for an extra layer of cheesy goodness!
It’s versatile, which is why I always make a double batch!
Storage and Reheating Instructions for Leftover Garlic Parmesan Roasted Cauliflower
Now, if you’re like me, you probably never have leftovers, but just in case you managed to save any of this amazing Flavorful Roasted Cauliflower, you need to store it right! Pop any remaining florets into an airtight container immediately. Don’t let them sit out too long, especially since we are dealing with cheese.
When it’s time to reheat—and I mean this—throw away the microwave! That’s a guaranteed trip back to soggy town. The best way to bring back that crispness is to spread them on a baking sheet and hit them with 350°F for about 5 to 8 minutes, or use your air fryer for 3 minutes. That hot blast revives the crispy edges instantly!
Frequently Asked Questions About Parmesan Roasted Veggies
I get asked the same few things about this recipe all the time, especially when people try making Parmesan Roasted Veggies for the first time. It’s usually about texture or equipment, so let’s clear those up right now so you nail this on your first try!
Can I use pre-cut or frozen cauliflower for this recipe?
You technically can, but I advise against it for the best results on this Roasted Cauliflower Recipe. Pre-cut cauliflower is almost always a little damp, and frozen is definitely wet. If you must use it, thaw it out completely and press it between layers of paper towels until you think it’s dry, and then press it again! The goal for Crispy Cauliflower Bites is minimizing surface moisture before it hits the hot oven!
I don’t have an oven right now. Can I use an air fryer for this Garlic Parmesan Roasted Cauliflower?
Yes, you absolutely can! The air fryer is fantastic for getting incredibly Healthy Roasted Cauliflower. Just work in batches so you don’t crowd the basket! Toss everything as normal, but roast at 380°F (195°C) for about 12 to 15 minutes total. Add the Parmesan for the last 3 minutes of cooking time. Watch it closely because the air fryer cooks faster!
What if I don’t have fresh garlic? Can I use garlic powder instead?
If you’re in a pinch, yes! That’s why I mentioned it in the notes. If you swap the 3 fresh cloves for powder, start with about half a teaspoon mixed in with the salt and pepper during the initial toss. But honestly, the flavor complexity you get from softly sautéing (or just warming) the fresh minced garlic in the oil first really boosts the overall impact of your Garlic Parmesan Side Dish.
My cheese burned before the cauliflower was tender. What did I do wrong?
This happens if you add the cheese too early! Remember, we pre-roast for 20 minutes to soften the vegetable. That 20 minutes cooks the cauliflower about 80% of the way. You only sprinkle the cheese on for the final 5–10 minutes when the outside is already starting to brown. If you add it right at the beginning, it has too much time in the heat and burns before the inside is cooked through, which ruins the gorgeous finish on your Cheesy Roasted Cauliflower.
Nutritional Estimates for Garlic Parmesan Roasted Cauliflower
Okay, so we’ve made this amazing, flavorful dish, but sometimes you just need to know what you’re eating, right? Especially if this is going into your rotation for Low Carb Vegetable Recipes! While I’m a baker first and a nutritionist second, I always run my favorite recipes through a calculator just to get a ballpark idea.
These numbers are based on serving the recipe out to four people, which gives you a nice, generous portion. Remember that how much oil you actually use or exactly how salty your Parmesan is will make tiny differences in the final tally. It’s just an estimate, so don’t stress about the decimal points too much!
Here’s the general breakdown:
- Serving Size: 1 serving
- Calories: 150
- Sugar: 3g
- Sodium: 350mg
- Fat: 10g (with 3g saturated fat)
- Carbohydrates: 11g
- Fiber: 4g
- Protein: 7g
See? It’s a perfect side dish that brings tons of flavor without wrecking your macros for the day! As always with homemade recipes, please check out the full details on the site disclaimer if you need exact nutritional tracking. Enjoy every crispy, cheesy bite!
PrintGarlic Parmesan Roasted Cauliflower

A simple recipe for making crispy, flavorful roasted cauliflower coated in garlic and Parmesan cheese.
- Prep Time: 10 min
- Cook Time: 30 min
- Total Time: 40 min
- Yield: 4 servings
- Category: Side Dish
- Method: Roasting
- Cuisine: American
- Diet: Vegetarian
Ingredients
- 1 large head cauliflower, cut into florets
- 3 tablespoons olive oil
- 3 cloves garlic, minced
- 1/2 cup grated Parmesan cheese
- 1/2 teaspoon salt
- 1/4 teaspoon black pepper
- 1/4 teaspoon paprika
Instructions
- Preheat your oven to 400 degrees Fahrenheit (200 degrees Celsius). Line a large baking sheet with parchment paper.
- Place the cauliflower florets in a large bowl. Drizzle with olive oil and toss to coat evenly.
- Add the minced garlic, salt, pepper, and paprika to the bowl. Toss again until the cauliflower is well coated with the seasonings.
- Spread the seasoned cauliflower in a single layer on the prepared baking sheet. Do not overcrowd the pan.
- Roast for 20 minutes.
- Remove the baking sheet from the oven. Sprinkle the grated Parmesan cheese evenly over the hot cauliflower.
- Return the cauliflower to the oven and roast for another 5 to 10 minutes, or until the cheese is melted and the edges of the cauliflower are lightly browned and crispy.
- Serve immediately.
Notes
- For extra crispiness, ensure the cauliflower florets are dry before tossing them with oil.
- If you prefer a stronger garlic flavor, you can add 1/2 teaspoon of garlic powder along with the salt and pepper.
- To prevent the cheese from burning, add it only during the last part of the cooking time.
Nutrition
- Serving Size: 1 serving
- Calories: 150
- Sugar: 3
- Sodium: 350
- Fat: 10
- Saturated Fat: 3
- Unsaturated Fat: 7
- Trans Fat: 0
- Carbohydrates: 11
- Fiber: 4
- Protein: 7
- Cholesterol: 10