

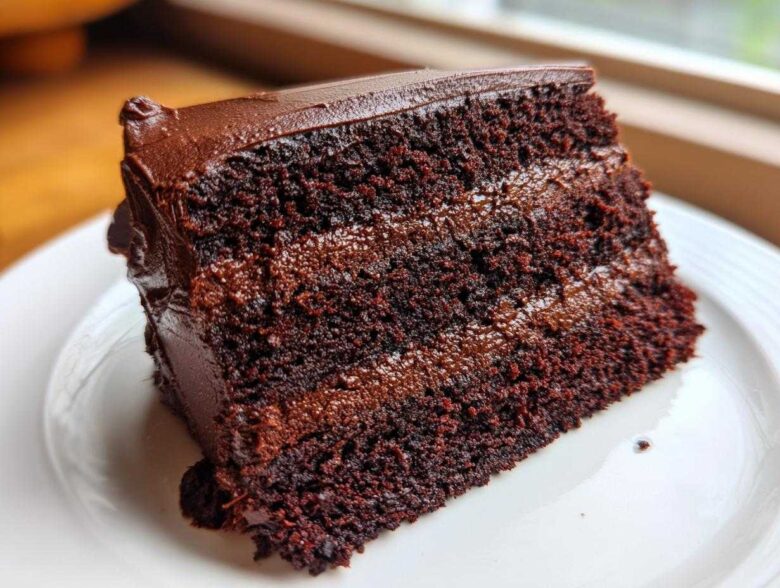
If you’re chasing that dream of a truly decadent, melt-in-your-mouth chocolate cake but dread the pile of dirty dishes that usually comes with it, then stop right there! I finally cracked the code on the absolutely perfect homemade chocolate cake that achieves incredible fudgy softness without turning your kitchen into a disaster zone. This isn’t just any recipe; this is the one-bowl wonder I’ve been perfecting for years, and trust me, it delivers the richest, most tender crumb you can imagine.
I know you see a million ‘easy’ cake recipes out there, but this one truly lives up to the hype. It’s incredibly simple to put together—just whisk and pour—and yet it tastes so intensely chocolatey, like something you’d pay a fortune for at a fancy bakery. It sets the standard for what a homemade chocolate cake should be.
This moist chocolate cake recipe is my go-to for everything from last-minute birthdays to quiet Sunday treats.
Why This Easy One-Bowl Homemade Chocolate Cake Stands Out
This recipe isn’t trying to be fussy; it’s designed to deliver maximum decadence with minimal fuss, which is why it’s quickly become my *best chocolate cake recipe* for reliable results. Forget waiting around for complicated resting times or juggling three different bowls—we’re getting deep, rich chocolate flavor using the simplest method I know.
Everyone deserves a fantastic, deeply chocolatey cake without needing hours in the kitchen. This is definitely the one to keep handy when you need a quick but absolutely unforgettable **homemade chocolate cake**.
Achieving the Perfect Moist Chocolate Cake Texture
How do we get that unbelievably moist texture every single time? It all comes down to the liquids! We’re using buttermilk, which adds a little acidity that keeps everything tender. But the real trick? Dumping in a cup of hot water or coffee right at the end. It blooms the cocoa powder, releasing all that hidden chocolate flavor, and ensures you get that delightfully soft, **tender crumb cake** everyone raves about.
Simple Steps for a Rich Chocolate Cake From Scratch
This is pure alchemy happening in one bowl! Honestly, the appeal of **one bowl baking** on a busy day cannot be overstated. When I make this **from scratch chocolate cake**, I feel like I’m cheating because the prep work is so minimal, yet the final product tastes like it took all day long. It’s truly the gateway cake for anyone who thinks baking from scratch is too hard.
This classic chocolate cake proves ease doesn’t mean sacrificing quality. See my tips on one bowl baking for even more streamlined methods!
Ingredients for Your Homemade Chocolate Cake and Frosting
Okay, now for the good stuff! Listing ingredients is always a crucial step, and I want to be super clear here so your **homemade chocolate cake** comes out perfectly the first time. Everything you need is pretty standard pantry fare, which is another win for a simple, everyday showstopper dessert!
We are splitting this up into two easy parts: what goes into the ridiculously thin batter, and what makes that creamy, dreamy chocolate frosting that just begs to be eaten with a spoon. Don’t worry about unusual items; we’re keeping this classic and straightforward.
This section is all about making sure you have everything ready for your chocolate eclair cake inspiration, though ours is a little more robust!
Cake Batter Components for Your Homemade Chocolate Cake
When gathering these, make sure you have your eggs ready to go, but keep that buttermilk cold. The hot liquid comes last! Here are the dry team members first:
- 1 3/4 cups all-purpose flour
- 1 3/4 cups granulated sugar (Don’t skimp here!)
- 3/4 cup unsweetened cocoa powder (Use a good quality one!)
- 1 1/2 teaspoons baking soda
- 1 1/2 teaspoons baking powder
- 1 teaspoon salt
And here are the wet ingredients we’ll mix in next for our **homemade chocolate cake**:
- 2 large eggs (Room temperature is nice, but whatever works!)
- 1 cup buttermilk (This is key for tenderness!)
- 1/2 cup vegetable oil (Keeps it moist without weighing it down)
- 2 teaspoons vanilla extract
- 1 cup hot water or hot brewed coffee (Remember, coffee makes the chocolate sing!)
Decadent Chocolate Buttercream Frosting Ingredients
This frosting whips up beautifully and pipes like a dream. The most important note here: your butter absolutely has to be softened. If it’s cold, you’ll end up with lumpy frosting, and nobody has time for that!
- 1 cup unsalted butter, softened (Softened means you can press into it easily, but it’s not greasy or melted!)
- 3 1/2 cups powdered sugar (Sift this if you can; it makes a difference!)
- 1/2 cup cocoa powder
- 1/2 cup milk (Whole milk works best here)
- 1 teaspoon vanilla extract
Step-by-Step Instructions for the Best Chocolate Cake Recipe
Alright, put on your apron! Now that we have all the beautiful ingredients laid out, let’s get this **best chocolate cake recipe** into action. It’s surprisingly fast, which is why I adore using this method when the chocolate craving hits hard. Remember, patience during the mixing is key to achieving that gorgeous, tender crumb later on.
First things first—always preheat your oven! We need it humming along at 350°F (175°C) before anything else happens. While it heats up, take a minute to properly grease and flour your two 9-inch round cake pans. I like to use a tiny bit of cooking spray followed by a dusting of cocoa powder instead of flour; it keeps the outside edge just as dark as the inside!
Preparing the Pans and Mixing the Homemade Chocolate Cake Batter
This is where the magic of the one-bowl wonder happens. Grab your largest mixing bowl—seriously, use big one—and dump in all your dry ingredients: the flour, sugar, cocoa powder, baking soda, baking powder, and salt. Give it a really enthusiastic whisk together. We want everything evenly distributed before we introduce the moisture!
Next, pour in your wet ingredients: the two eggs, the buttermilk, the oil, and the vanilla. Use your electric mixer on medium speed and beat this for a solid two minutes. It’s going to look thick, almost like a very heavy pudding at this point. Don’t panic; this is normal for our **homemade chocolate cake**!
Now for the surprise finish that makes this cake so moist: slowly stir in that cup of hot water or coffee. Slowly, I mean it! The batter will thin out dramatically—it’s supposed to be almost watery! Don’t worry if you see some lumps initially; keep stirring until it’s just smooth. Truly, even cookie batter is thicker than this before baking!
Baking Times and Cooling for a Tender Crumb Cake
Divide that thin batter evenly between your two prepared pans. Pop them into that preheated 350°F oven for 30 to 35 minutes. How do you know they’re done? Stick a wooden pick right into the center—if it comes out clean, you are GOLDEN. Overbaking is the enemy of a **tender crumb cake**, so pull them out right when that pick is dry!
Let those beauties cool in their pans for about 10 minutes. Seriously, don’t rush this part, or they might break when you try to flip them! After 10 minutes, gently invert them onto a wire cooling rack. They need to be stone-cold before any frosting touches them, or you’ll have a chocolate puddle instead of a beautiful chocolate layer cake.
Creating the Rich Chocolate Cake with Frosting
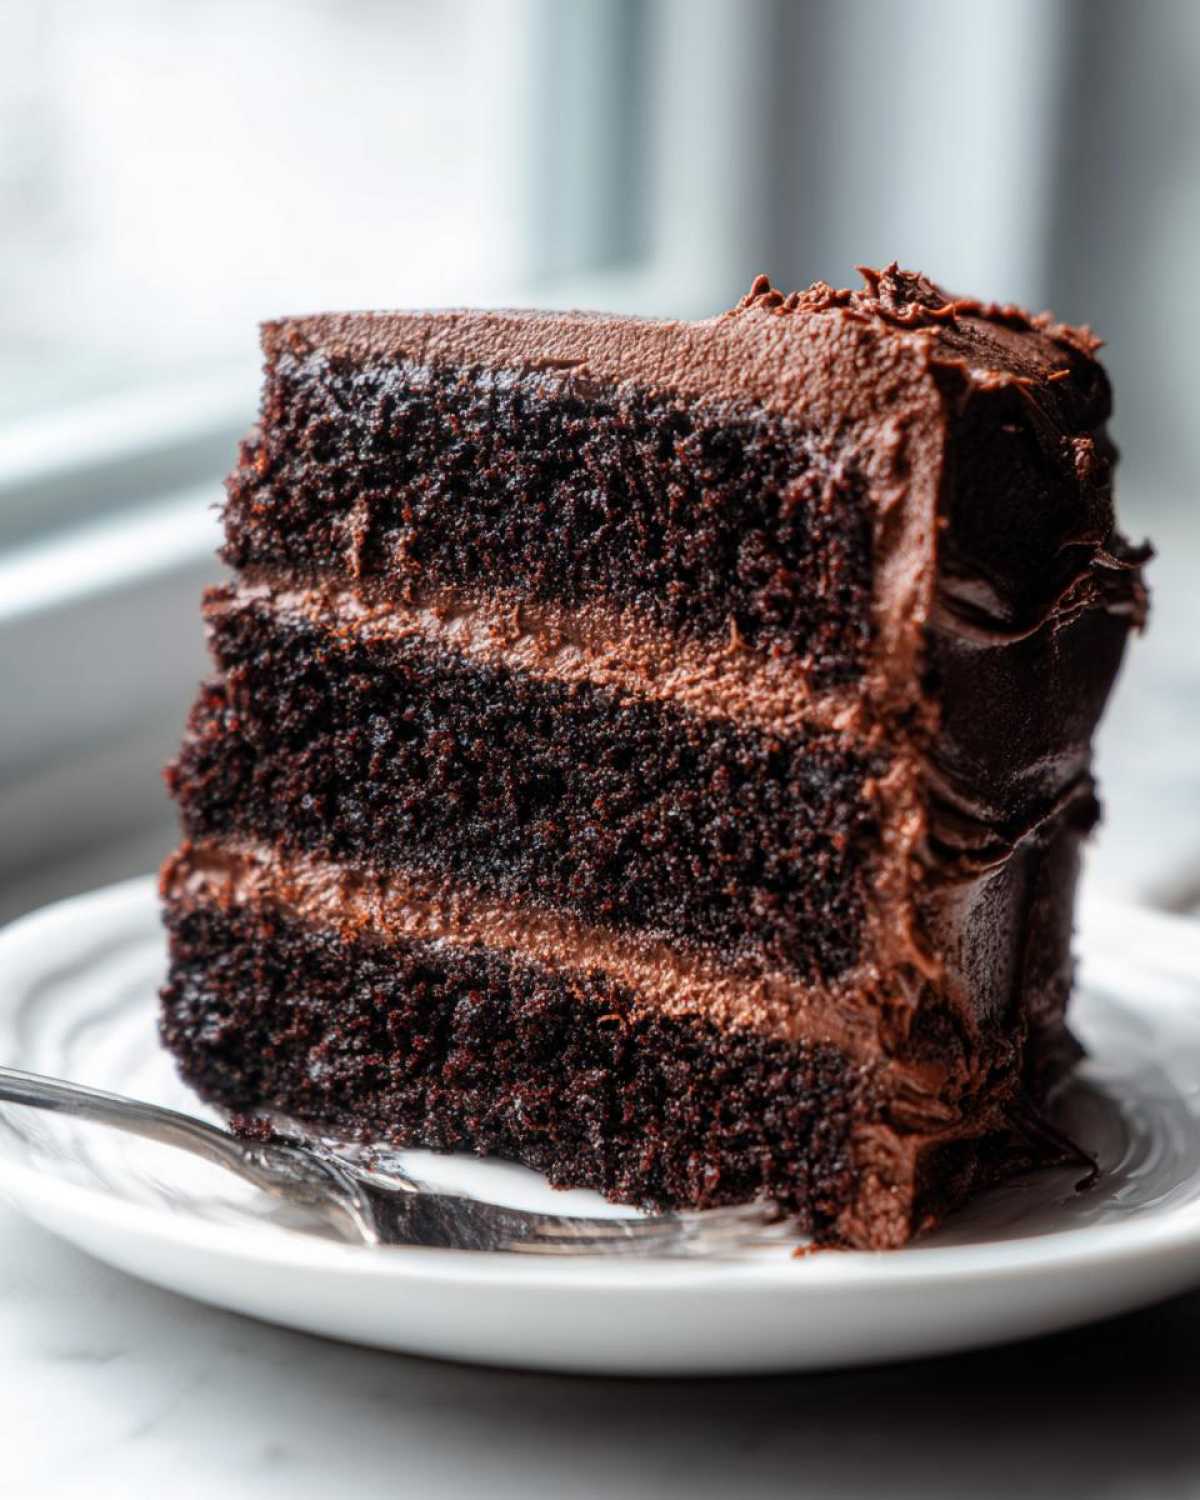
While the layers are cooling, let’s make the decadent topping. Start by beating that softened butter on its own until it is light and creamy—this traps air, which is critical for fluffiness. Now, you’ll gradually add the powdered sugar and cocoa powder in alternating small batches with the milk. You want to go slow to avoid a sugar explosion!
Once everything is mostly incorporated, drizzle in the vanilla. Then, turn that mixer up to high speed and whip it for two full minutes until it’s wonderfully light and fluffy. This whipping step is what takes it from being a thick, sweet paste to the perfect soft frosting for your rich chocolate cake! Once the cakes are completely cool, stack, fill, and frost away!
Expert Tips for a Truly Decadent Homemade Dessert
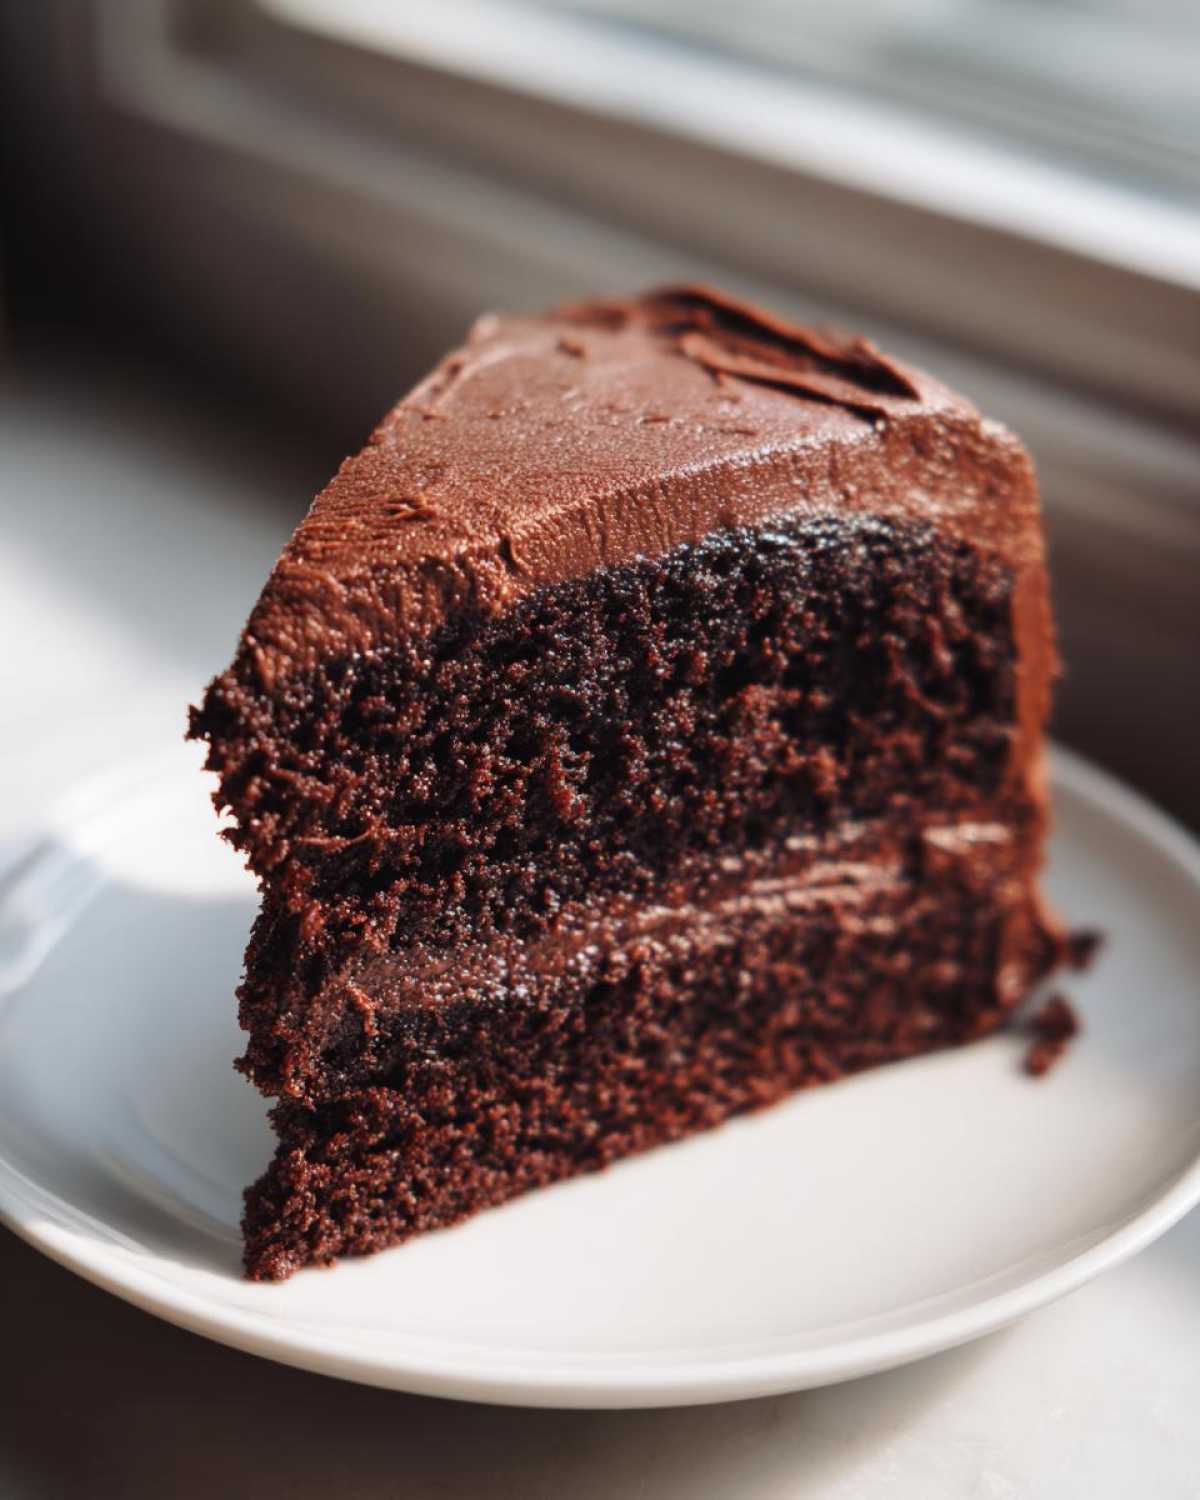
Even though this is our simple, one-bowl recipe, there are always a few little secrets I use to push this **homemade dessert** from ‘great’ to ‘absolutely unforgettable.’ These aren’t complicated steps, but they make a huge difference in the final flavor and feel. Sometimes the best baking knowledge comes from trial and error, and I’ve made enough of these cakes to know exactly where to focus the effort!
I always feel like sharing these little nudges helps everyone unlock that professional bakery quality right in their own kitchen.
The Secret to Deep Cocoa Flavor
When you looked at the ingredients, you saw the suggestion to use hot water or hot brewed coffee, right? Please, please, please, if you can handle caffeine, use the coffee! It doesn’t make the cake taste like mocha; I promise. What it does is act as a solvent for the cocoa powder mixed on step one.
Heat wakes up the cocoa solids, allowing them to dissolve more thoroughly into the batter. When you add that hot liquid, you are essentially unlocking a deeper, darker, almost smoky chocolate nuance that you just cannot extract using cold water. It deepens the overall experience, making this feel like a truly decadent chocolate dessert without adding more sugar or fat.
Troubleshooting Common Texture Issues
Mistakes happen—it’s baking! But usually, texture problems are easy to fix if you know what caused them. If, heaven forbid, your cake comes out a bit dense or gummy, that almost always points to overmixing after the flour went in. Remember how I stressed stirring in that hot liquid until *just* combined? That’s to keep the gluten strands gentle. Too much beating develops gluten, making your cake tough instead of tender.
Now, if you accidentally made a dry slice—which I sometimes do if I forget the coffee—don’t fret for next time! The fix is simple: check your cakes about five minutes earlier than the recipe suggests. A few minutes too long in the oven sucks the moisture right out. Next time, rely on that wooden pick inserted near the center; if you see moist crumbs clinging to it, pull it out, because residual heat will finish cooking it perfectly as it cools down. Learn more about flavor profiles over at my chocolate milk recipe post for other cocoa tips!
Serving Suggestions for Your Celebration Cake
We’ve made the ultimate **rich chocolate cake**, and now comes the fun part: deciding how to serve this beautiful creation! Because this flavor profile is so deep and satisfying, it pairs wonderfully with almost anything, but I have a few favorite ways I like to dress it up when it’s time to pull out the party plates.
If you’re using this for a big event, like a milestone birthday or a holiday gathering, you want it to look as good as it tastes. Take a look at my thoughts on making this a true showstopper for any celebration. You might even find inspiration for next year’s party!
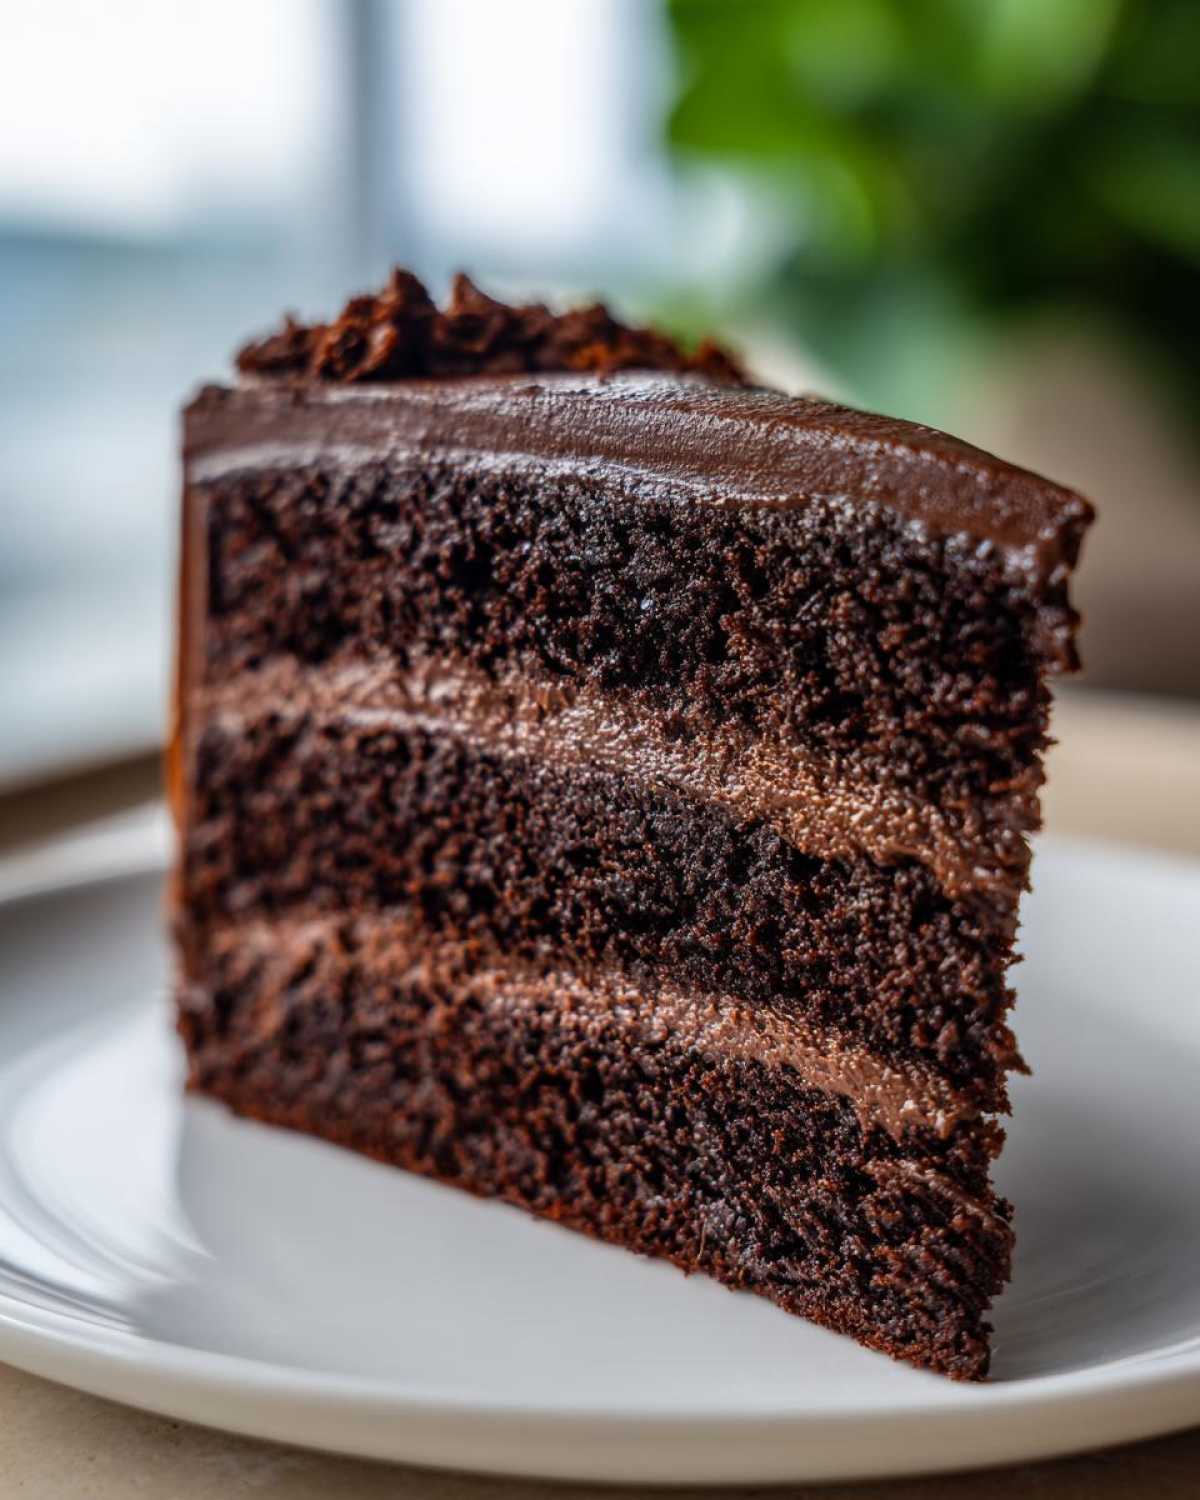
For the ultimate **birthday cake recipe**, I always recommend going big on the frosting garnish we already made. But if you’re looking for a twist, think about the fresh fruit!
- A Simple Pop of Color: Fresh raspberries scattered lightly over the top of the chocolate buttercream offer a tart, bright counterpoint to the deep cocoa. They look stunning against the dark frosting.
- For a Holiday Vibe: Dust the top lightly with powdered sugar right before serving—it looks like a fresh snow dusting on a dark landscape. You can even add a sprinkle of edible gold dust if you’re feeling fancy!
- Extra Fudgy Texture Boost: If you decided to bake these as layers, don’t be afraid to add a few chocolate shavings or curls between the layers along with the frosting. That little bit of solid chocolate just enhances the **fudgy chocolate cake** experience.
- Elegant Serving: Sometimes, simplicity speaks volumes. Serve a slice warm (reheated for just a few seconds in the microwave!) with a side of vanilla bean ice cream. The contrast between the warm cake and cold cream is just to die for.
You can find loads of other ideas for making this a showstopper over on my dedicated birthday cake recipe guide, but honestly, this cake needs very little help to shine!
Storage and Reheating Instructions for Leftover Cake
So, you managed to have leftovers of this glorious chocolate masterpiece? Good for you! Protecting this tender crumb for later enjoyment is almost as important as baking it perfectly in the first place. Unlike many dry cakes, this one needs a little special attention because we want to keep all that moisture locked in.
When it comes to storage, your main decision is how long you need to keep it and whether it’s frosted or naked.
Room Temperature Storage
If you frosted the cake with that lovely buttercream we made, and you plan on eating it within two to three days, room temperature is usually best! Why? Buttercream handles room temperature better than the fridge, which can make the cake feel a little stiff. Just cover the cake loosely with a cake dome or even an overturned large bowl to keep dust and pets away.
If the cake is unfrosted, wrap each layer tightly in plastic wrap first, and then wrap it again in aluminum foil. This keeps the air out, which is the enemy of moisture retention. This way, it stays perfect for about three days.
Refrigeration Tips
If your kitchen is warm, humid, or you need the cake to last longer—say, up to a week—the fridge is your friend. But you have to prep it right first. If the cake is frosted, place it uncovered in the fridge for about 30 minutes until the frosting firms up. Once it’s firm, then you can cover it tightly with plastic wrap. This sounds counterintuitive, but it stops the plastic wrap from sticking horribly and dragging bits of the frosting onto the wrap!
You must bring refrigerated slices back to life before serving! Don’t eat it straight from the cold! Cold mutes flavor and makes the cake feel dense. To bring back that soft, fluffy texture, slice what you need and let it sit on the counter for at least an hour before cutting.
How to Reheat for that Fresh-Baked Gooeyness
If you are desperate for that fresh-from-the-oven sensation, the microwave is your secret weapon for a single slice. Don’t try to microwave the whole cake! Take just one slice and wrap it loosely in a slightly damp paper towel—yes, damp! Microwave it for about 8 to 10 seconds on medium power. That quick steam from the paper towel warms it up gently and makes the inside feel incredibly gooey and fresh again. It’s perfect if you want to eat a warmed slice alongside a scoop of vanilla ice cream!
Frequently Asked Questions About This Easy Chocolate Cake
I get so many great questions about this recipe, which tells me how many of you are actually heading into the kitchen to make this amazing **homemade chocolate cake**! It’s the questions that help me refine things and make sure everyone succeeds on their first try. Here are a few things I hear most often about getting this ultra-moist cake just right.
If you have a question about making this **moist chocolate cake** that isn’t covered here, pop down to the comments! I love hearing how your baking turned out.
Can I make this a chocolate layer cake using different pan sizes?
Oh absolutely, you can scale this up or down, but you absolutely have to watch your baking time like a hawk! My instructions call for two 9-inch rounds, which works perfectly for an average bake time. If you decide to make it a big 9×13 sheet cake—which is great for easy serving—it might need closer to 35 or 40 minutes because the heat has to travel farther to the center.
If you want true tall layers, say three layers instead of two, you’ll need to divide the batter into three pans, and they will bake faster, maybe clocking in around 25 to 30 minutes. Always use that wooden pick test! Adjusting the pan size changes the surface area, so the thinner the batter, the quicker it cooks. Don’t try to bake this as cupcakes first, though; they cook way too fast and often dry out before they get that perfect fudgy center we’re after.
What is the best substitute for buttermilk in this simple chocolate cake recipe?
Buttermilk is wonderful because of its acidity, which reacts with the baking soda to give you that extra lift and keeps the crumb so tender—it’s a star in this **simple chocolate cake recipe**. But I know not everyone keeps a carton of buttermilk in the fridge!
So, here’s my favorite easy swap if you’re in a pinch: take one cup of regular milk—whole milk is best, but 2% works—and stir in one tablespoon of white vinegar or lemon juice right into the measuring cup. Give it a little swirl and let it sit on the counter for about five minutes. It will curdle slightly, and voilà! You’ve got a fantastic, homemade sour milk substitute ready to go. It works almost exactly like the real thing for achieving that famously **moist chocolate cake** texture.
For even more quick baking fixes, check out my tips on making fudgy chocolate mug cake recipes!
Why is my cake batter so thin? Is something wrong?
This is the question I get the most, and I’m so glad you asked! No, sweet friend, nothing is wrong! This is one of the secrets to why this is the **best chocolate cake recipe**—it uses hot liquid (water or coffee) added right at the end. This thins the batter out considerably. It should look quite runny, much looser than your average standard cake batter. If it looks thick, you might have forgotten the hot liquid, and you’ll end up with a stiffer, less fudgy result.
Can I skip the hot liquid and use regular room temperature water?
You can, but I really, really advise against it if you want *this* specific result. The hot liquid is essential because it “blooms” the cocoa powder. Blooming is just a fancy word for dissolving the cocoa solids in heat, which releases their maximum flavor potential. If you use cold water, the flavor will be muted, and the cake won’t have that deep, rich, dark color we’re aiming for in a truly decadent chocolate cake. Stick to the hot liquid for the best result!
Estimated Nutritional Data for This Classic Chocolate Cake
Now, I know for most of us making a **classic chocolate cake**, we aren’t really thinking about the nutrition label—we are thinking about pure joy! But because I like to be thorough, and because some of you lovely bakers might need to plan ahead, I’ve put together the estimated data for one slice of this wonderful cake as described in the recipe.
Keep in mind, these numbers are based on standard measurements and the ingredients listed. If you use extra-rich butter or add a mountain of frosting, your numbers are going to shift! It’s all about balance, isn’t it?
If you want a full breakdown of how I calculate these things or why I include this information, you can always check out my formal recipe disclaimer page.
- Serving Size: 1 slice
- Calories: Approximately 450
- Sugar Content: Around 55g (It’s a celebration cake, after all!)
- Total Fat: Roughly 24g (Much of this comes from that glorious butter in the frosting!)
- Protein: About 5g
- Carbohydrates: Around 60g
- Cholesterol: Approximately 75mg
See? It’s all there! But honestly, the best measurement for this cake is the smile it puts on people’s faces as they take that first bite of rich, fudgy goodness. Enjoy every single calculated (or un-calculated!) calorie!
Share Your Baking Success
Now for the best part of sharing any recipe—seeing it come to life in *your* kitchen! I put so much love and so many failed bakes (we don’t talk about those!) into perfecting this incredibly moist **homemade chocolate cake**, and I absolutely live to see your creations.
Don’t be shy! Once you’ve frosted that beautiful **chocolate layer cake** and sliced into that tender crumb, I want to see how it turned out for you.
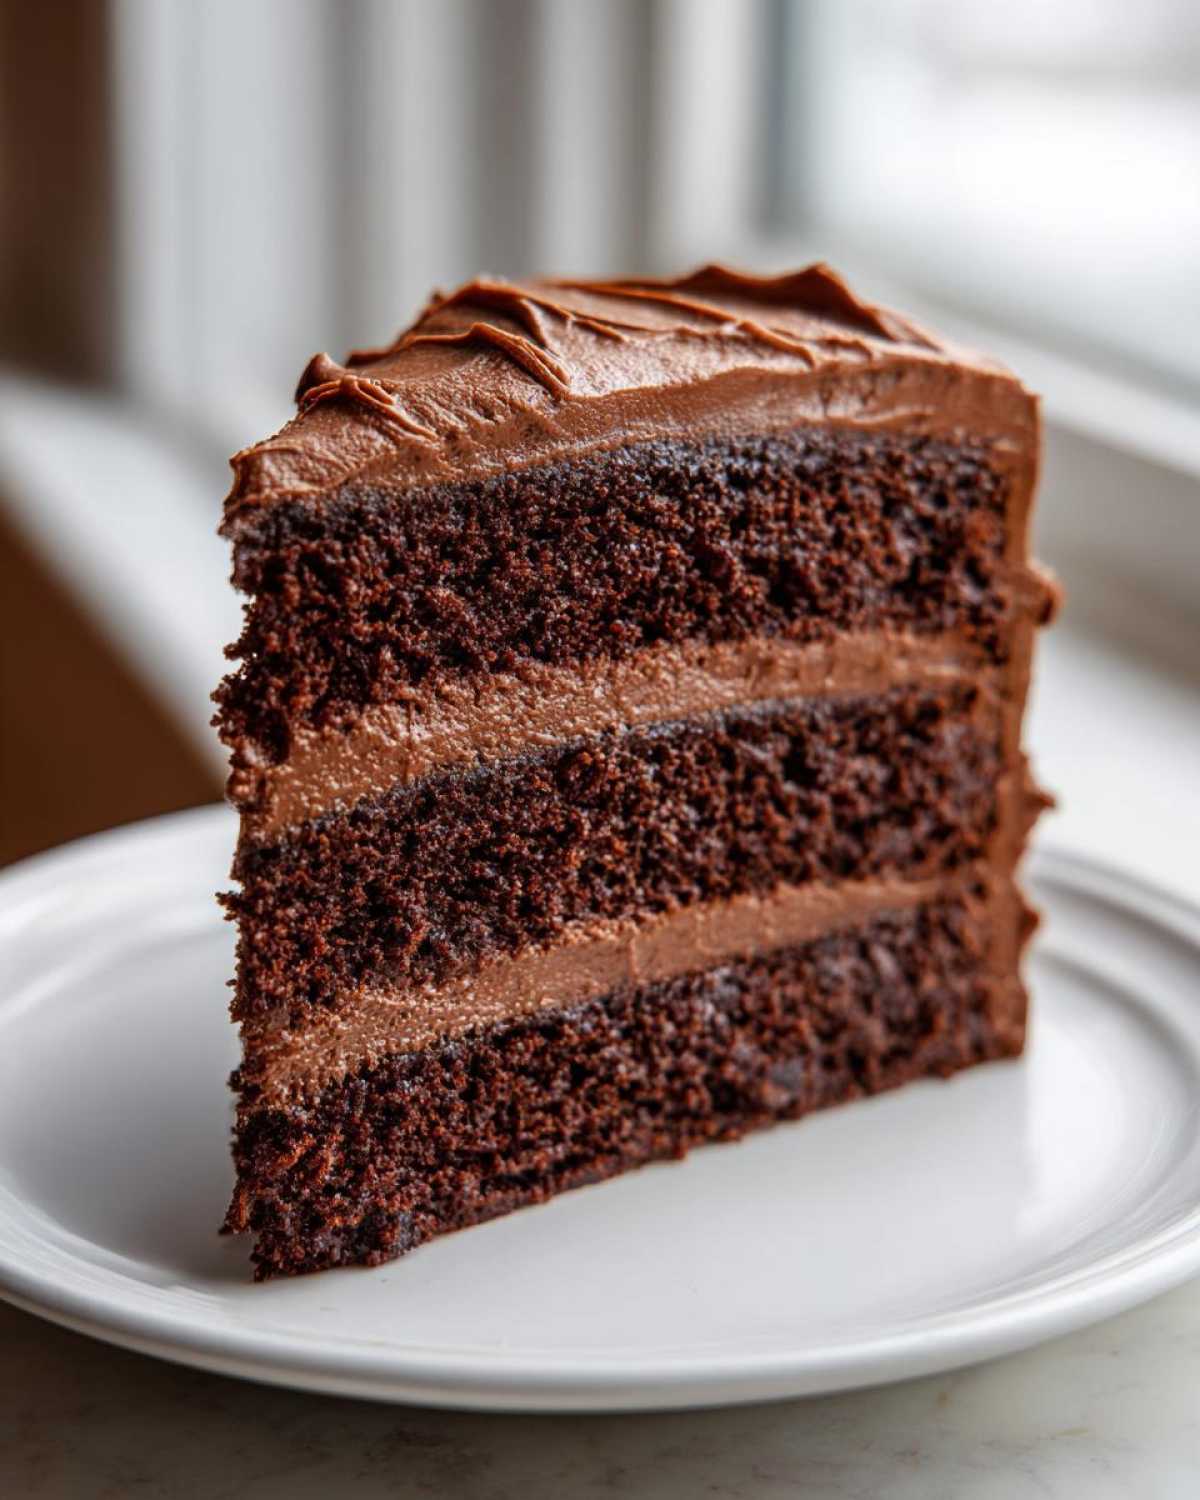
- Rate and Review: If you made this, please hop up to the top of the page and give it a star rating! Those ratings really help other bakers trust this recipe and try this *easy chocolate cake* for themselves.
- Snap a Photo: Take a picture of your finished cake—especially if you tried a fun way to garnish it! Tag me on social media. I love seeing how you decorate for your parties and celebrations.
- Leave Feedback: Did you use hot coffee? Did you make the frosting extra fluffy? Let me know what tweaks you made in the comments below. Your feedback helps me keep this recipe—the best chocolate cake recipe—even better for everyone who reads my site.
I’m always learning, and I truly appreciate you taking the time to bake along with me. Happy baking from my kitchen to yours!
Check out my story while you wait for comments to load!
PrintEasy One-Bowl Moist Homemade Chocolate Cake
Make a rich, tender, and moist chocolate cake from scratch using a simple one-bowl method. This recipe includes instructions for a decadent chocolate buttercream frosting.
- Prep Time: 20 min
- Cook Time: 35 min
- Total Time: 55 min
- Yield: 12 servings
- Category: Dessert
- Method: Baking
- Cuisine: American
- Diet: Vegetarian
Ingredients
- 1 3/4 cups all-purpose flour
- 1 3/4 cups granulated sugar
- 3/4 cup unsweetened cocoa powder
- 1 1/2 teaspoons baking soda
- 1 1/2 teaspoons baking powder
- 1 teaspoon salt
- 2 large eggs
- 1 cup buttermilk
- 1/2 cup vegetable oil
- 2 teaspoons vanilla extract
- 1 cup hot water or hot brewed coffee
- For Frosting: 1 cup unsalted butter, softened; 3 1/2 cups powdered sugar; 1/2 cup cocoa powder; 1/2 cup milk; 1 teaspoon vanilla extract
Instructions
- Preheat your oven to 350°F (175°C). Grease and flour two 9-inch round cake pans.
- In a large bowl, whisk together the flour, sugar, cocoa powder, baking soda, baking powder, and salt.
- Add the eggs, buttermilk, oil, and vanilla extract to the dry ingredients. Beat with an electric mixer on medium speed for two minutes.
- Carefully stir in the hot water or coffee until the batter is smooth. The batter will be thin.
- Pour the batter evenly into the prepared cake pans.
- Bake for 30 to 35 minutes, or until a wooden pick inserted into the center comes out clean.
- Let the cakes cool in the pans for 10 minutes before inverting them onto a wire rack to cool completely.
- To make the frosting, beat the softened butter until creamy. Gradually add the powdered sugar and cocoa powder, alternating with the milk. Beat until smooth, then add vanilla. Beat on high speed until light and fluffy.
- Once the cakes are completely cool, frost and stack the layers.
Notes
- Using hot coffee instead of hot water deepens the chocolate flavor without making the cake taste like coffee.
- For a fudgier texture, slightly reduce the baking time.
- Sift the powdered sugar and cocoa powder for the frosting to prevent lumps.
Nutrition
- Serving Size: 1 slice
- Calories: 450
- Sugar: 55g
- Sodium: 300mg
- Fat: 24g
- Saturated Fat: 14g
- Unsaturated Fat: 10g
- Trans Fat: 0g
- Carbohydrates: 60g
- Fiber: 3g
- Protein: 5g
- Cholesterol: 75mg