

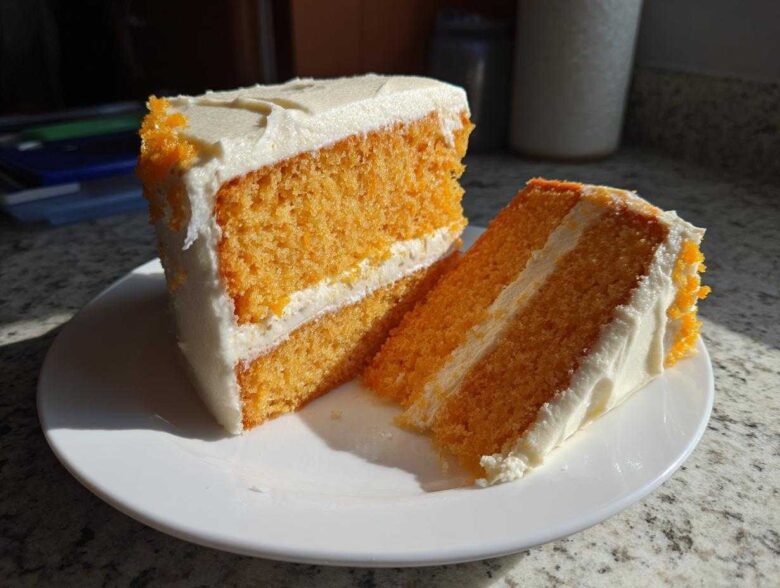
Oh, I am so excited you stopped by! Is there anything better than that first bite of something that tastes exactly like happy childhood memories? When the weather gets warm, my brain immediately goes straight to those frozen orange and vanilla popsicles we used to beg for at the pool—and that’s exactly where this Creamsicle Cake was born. This isn’t one of those dry, boring citrus cakes you sometimes run into. Trust me, this one is incredibly moist, bursting with bright orange flavor, and topped with the fluffiest frosting you could imagine.
I’ve tested countless orange cakes over the years, especially since I bake so much for summer parties, but I always come back to this exact formula. It’s reliable, it holds up beautifully on a picnic table, and honestly, the aroma while it bakes is pure sunshine. If you’re looking for the best way to capture those creamy, nostalgic orange flavors in a perfect layer cake, you’ve absolutely found it!
If you’ve tried my Cranberry Orange Cake, you know I love a good citrus moment, but this one hits different!
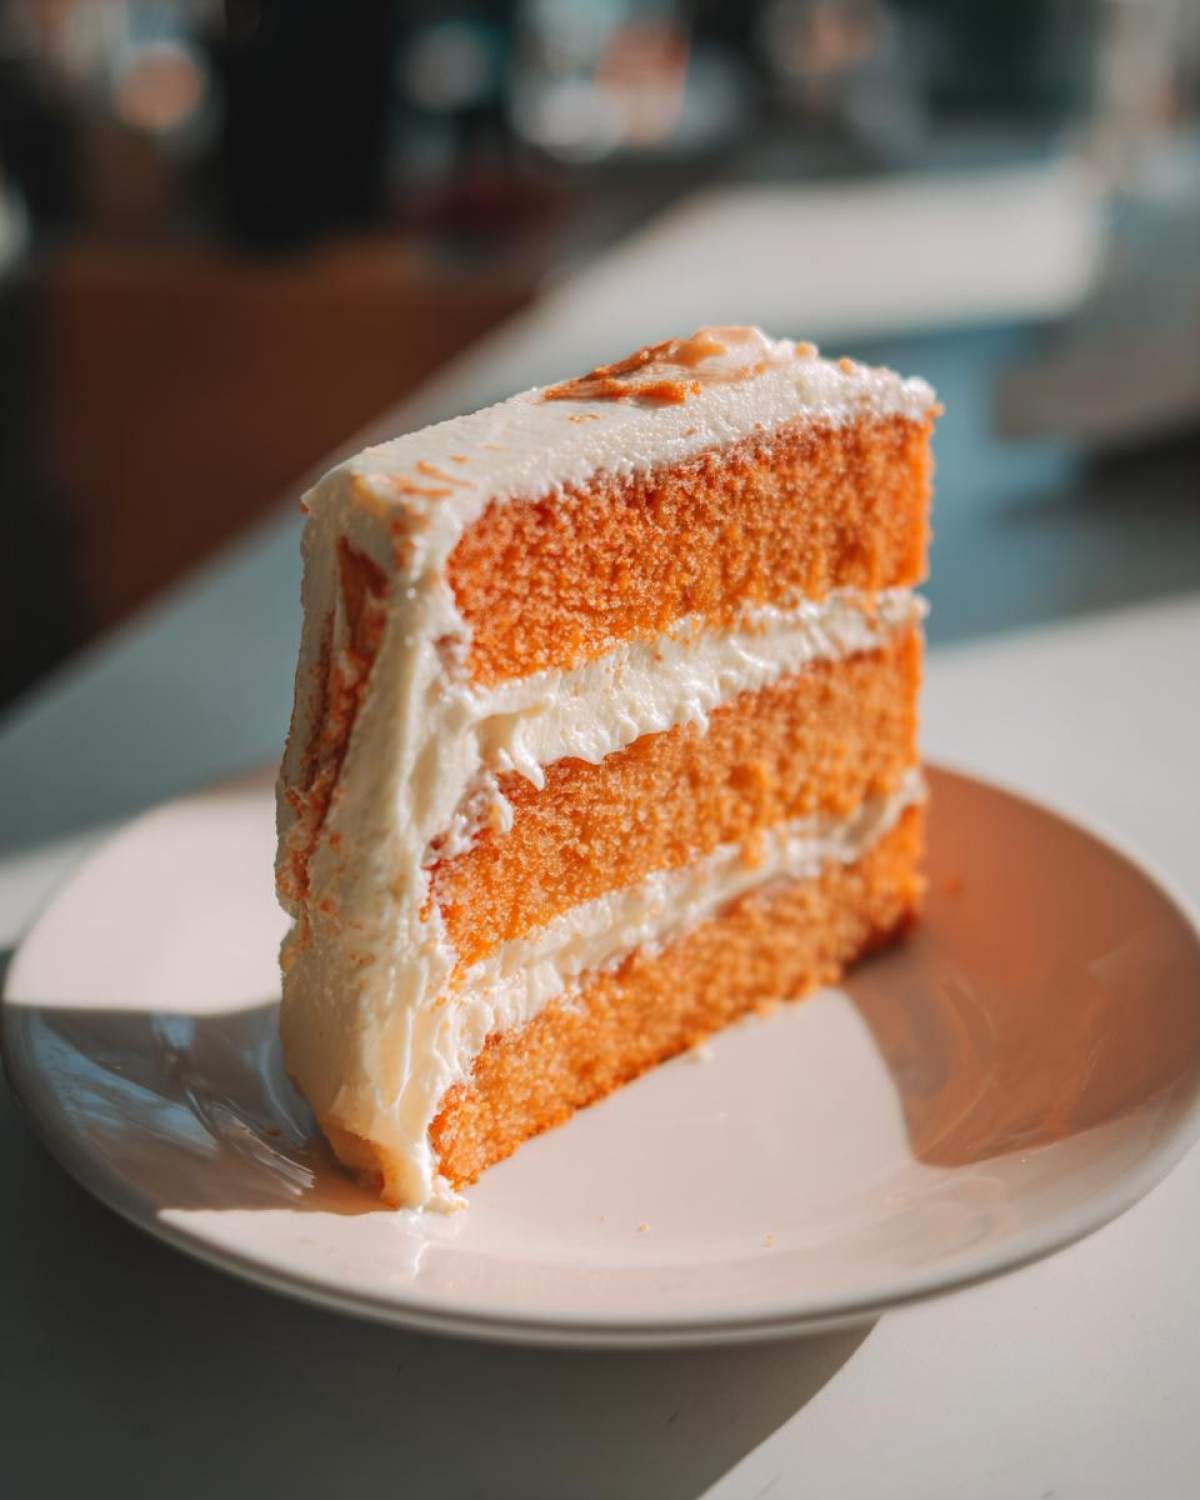
Why This Creamsicle Cake Recipe Delivers Nostalgia and Flavor
I know we all have that one dessert that instantly transports us back to childhood summers, and for me, this is it. I promise you’ll want to keep this Creamsicle Cake recipe saved because it’s just that consistently good. It’s simple enough for a weeknight treat but pretty enough for any gathering!
- It is impossibly light and moist—not heavy or dense at all.
- That bright, tart orange flavor really shines through without tasting artificial.
- The frosting is pure magic; it’s fluffy, creamy, and doesn’t weigh the cake down.
- It feels like a genuine slice of happy nostalgia!
Key Attributes of Our Creamy Vanilla Orange Cake
When testing for the perfect balance in this dessert, I found that the right combination of juice and zest really makes the difference. This Creamy Vanilla Orange Cake manages to balance the sweet cream element perfectly against that refreshing citrus burst. You get that lovely layered flavor profile, just like the classic popsicle. No soggy layers, no overly sweet buttercream—just pure, happy cake!
Gathering Ingredients for Your Perfect Creamsicle Cake
Okay, the secret to making this dessert sing is definitely using fresh ingredients, especially for that orange punch! You can’t fake the aroma you get from freshly grated zest, right? I always have my citrus ready before I even think about pulling out the mixer. Since this Creamsicle Cake is simple, the quality of what you put in really shines through. You’ll need just a few things for the cake layers and then a few more for the topping.
If you want to see another recipe where fresh citrus really matters, you should check out my blueberry muffins—they rely heavily on lemon zest!
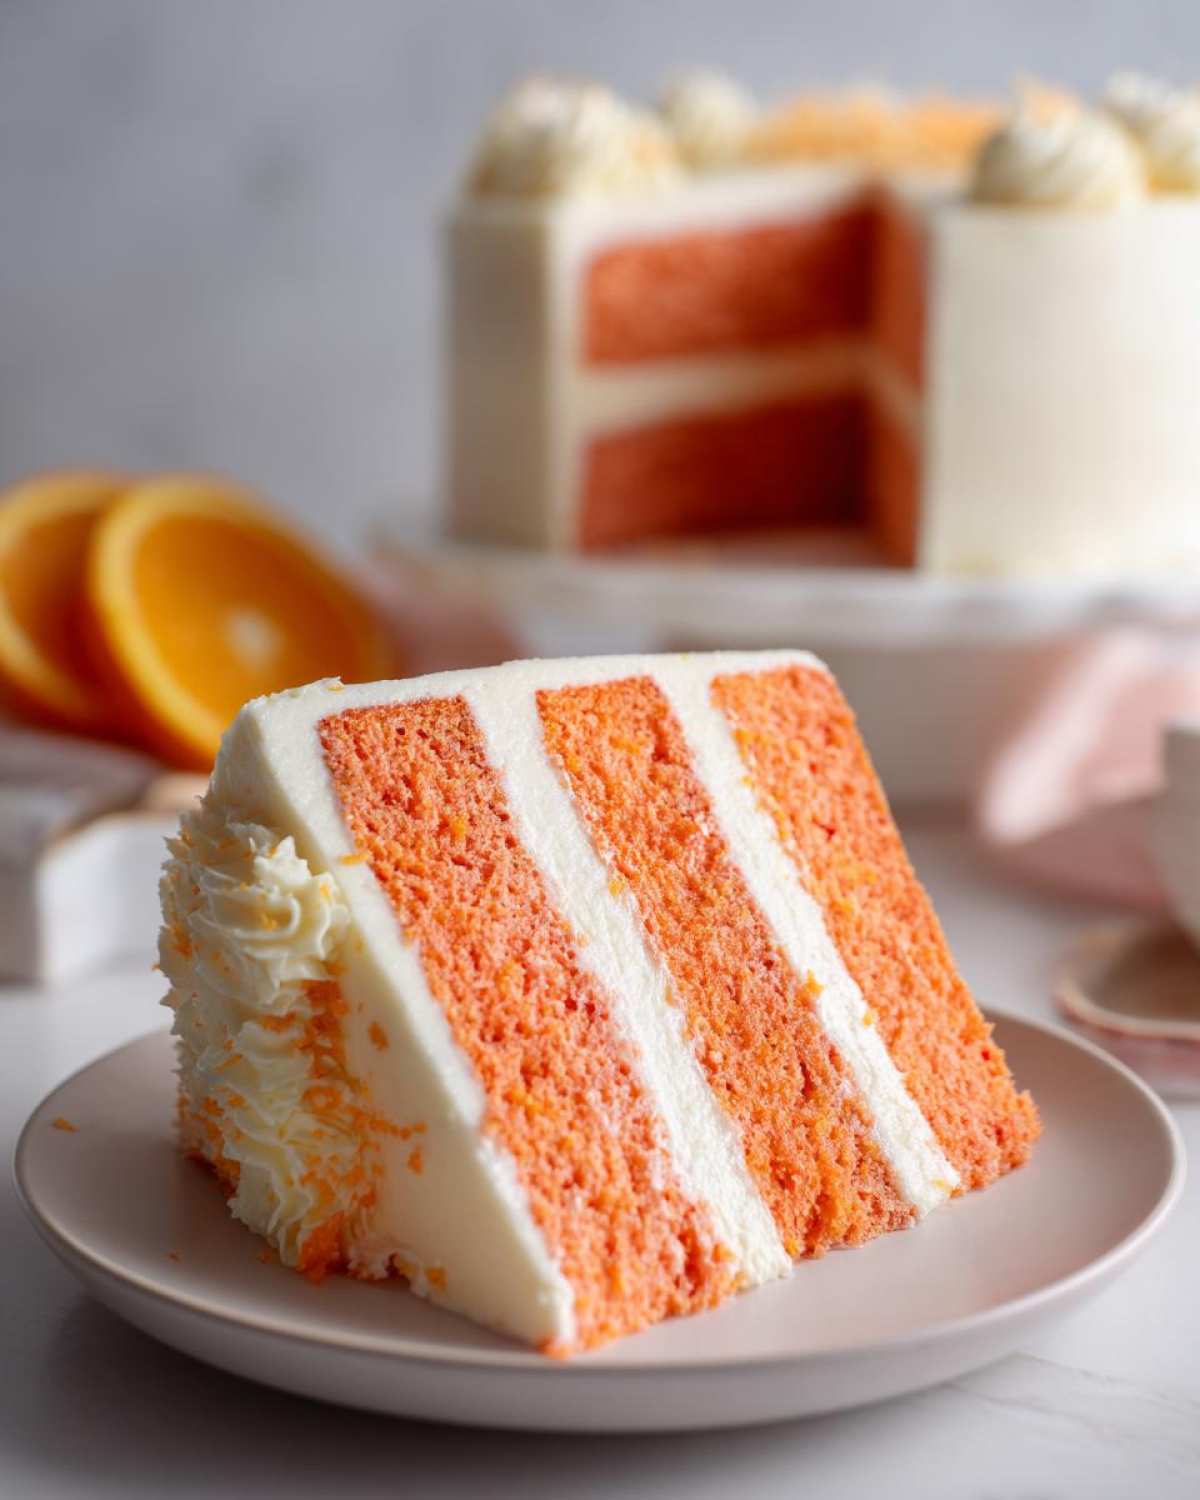
Cake Layer Ingredients
You will need one and a half cups of all-purpose flour, paired with one and a half teaspoons of baking powder and half a teaspoon of salt. For the fat, grab half a cup of unsalted butter, making sure it’s nice and softened! We use one cup of granulated sugar, two large eggs, and one teaspoon of vanilla extract. For the liquid and flavor base, you’ll need half a cup of milk, a quarter cup of fresh orange juice, and a full tablespoon of orange zest.
Fluffy Creamsicle Frosting Ingredients
This frosting is what makes it a true Dreamsicle Cake! You’ll need half a cup of powdered sugar, a quarter cup of heavy cream—and this MUST be cold, by the way—and a quarter teaspoon of orange extract for that extra little kick. A tiny splash more of orange juice goes in too, just depending on how stiff you want your Fluffy Creamsicle Frosting to be.
Step-by-Step Instructions for the Light and Moist Orange Cake
Getting this Creamsicle Cake right is all about managing the wet and dry elements so you don’t wake up that gluten monster! We’re going for airy and tender here, so pay close attention when mixing. If you followed my recipe for vanilla cupcakes, you know exactly what I mean about mixing gently!
Preparing the Cake Batter for the Creamsicle Cake
First things first: get that oven humming at 350 degrees F (175 C) and make sure your 8-inch pans are greased and floured—we don’t want any sticky surprises later on. Whisk your dry stuff (flour, baking powder, salt) together in a bowl. In your big mixer bowl, cream the softened butter and sugar until it looks light and fluffy. Pop in the eggs one by one, mixing well after each one, and stir in the vanilla. Now, combine your milk, orange juice, and that beautiful zest in a small separate bowl.
Here’s the important part: Alternate adding the dry mixture and the wet mixture to your butter base. You always want to start and finish with the dry ingredients. Mix only until *just* combined. Seriously, stop the second you don’t see streaks of flour anymore. Overmixing is the enemy of a moist cake!
Baking and Cooling the Orange Creamsicle Cake Layers
Divide that beautiful batter evenly between your two prepared pans. Bake them for about 25 to 30 minutes. How do you know they are done? Use that trusty toothpick test; if it comes out clean, you’re golden! Don’t pull them out early! Let them sit sweetly in the pans for about 10 minutes to firm up a little bit. After that relaxation period, you carefully invert them onto a wire rack to cool completely. You absolutely must wait until they are totally cool before frosting, or you’ll end up with a melted, sad orange puddle!
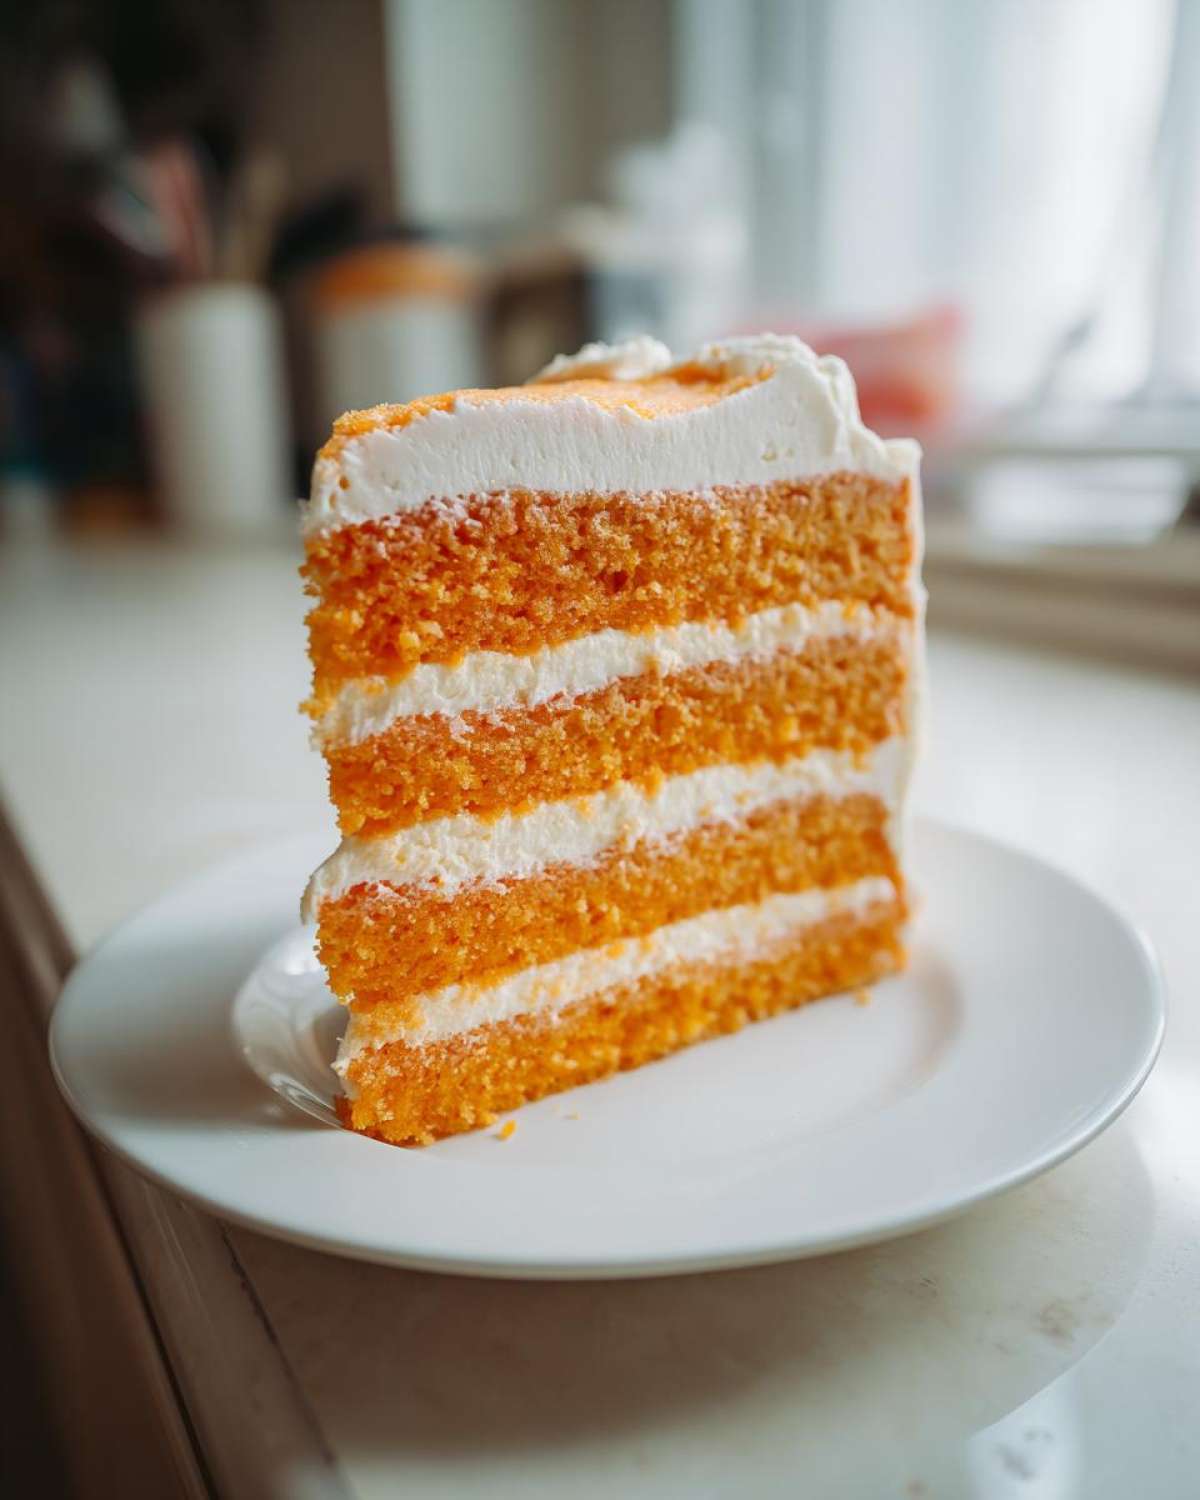
Crafting the Creamy Frosting for Your Dreamsicle Cake
Now for the part that truly screams ‘Creamsicle!’ We aren’t messing around with heavy, overly sweet American buttercream here; we want something airy that feels like that perfect frozen foam!
This frosting technique is super simple, but you have to pay attention to the texture of your cream. Take that quarter cup of cold heavy cream and whip it until you start seeing soft peaks forming. You know, when you lift the whisk and the peaks start to gently flop over. That’s the sweet spot!
Next, slowly, and I mean *slowly*, incorporate that powdered sugar while the mixer is running on low. You don’t want a sugar cloud exploding in your face! Once it’s mostly mixed in, add your orange extract and whatever splash of orange juice you need. I usually taste it here—if it needs a tiny bit more zestiness to match the cake, I add a drop more extract.
Keep mixing until you reach that beautiful, smooth, spreadable consistency. It should hold its shape but still look incredibly light. This Fluffy Creamsicle Frosting is the cloud our citrus cake layers need. This is the only way I make frosting for my Dreamsicle Cake; it just tastes cleaner and lighter!
Assembling Your Party Ready Citrus Cake
Okay, the baking is done, the layers are perfectly cool—phew! Now we get to the fun part: stacking this beautiful Creamsicle Cake together. Before you start frosting, take a quick look at your layers. Sometimes, even when you think you’ve baked them perfectly flat, one just decides to dome a little, right? If you notice that, grab a long serrated knife and just gently level the top off. You want those layers to sit flat against each other so your final cake stands straight and proud.
Place your first cake layer onto your serving platter or cake stand. Scoop about a third of that glorious, fluffy frosting right in the middle and gently spread it out all the way to the edges. Don’t press down hard, or you’ll squish the cake!
Carefully set the second layer on top. Now you get to make it look pretty! Cover the top and the sides with the remaining frosting. Remember what the notes said? If you can pop this whole amazing creation into the fridge to chill for at least 30 minutes before cutting, the slices come out much cleaner. I actually prefer serving this cake when it’s slightly cool rather than room temperature; it makes that bright orange flavor pop even more!
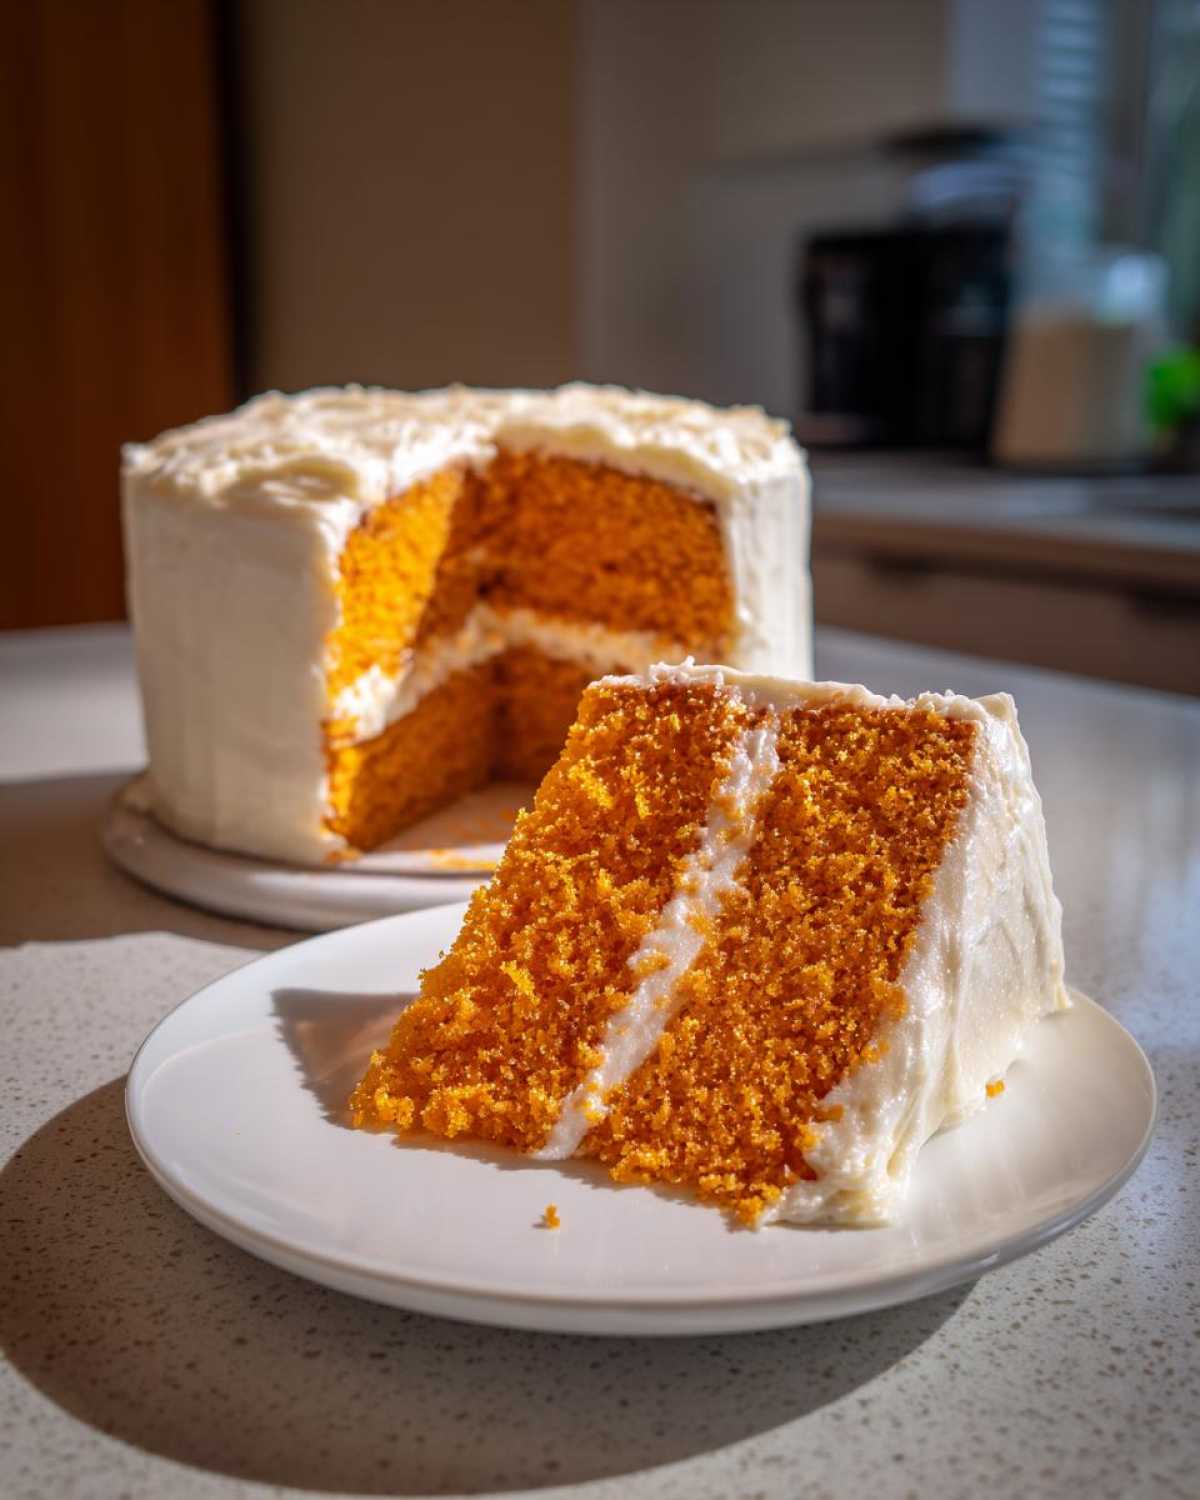
If you need inspiration for different cake shapes, sometimes I use a big Bundt pan instead—you can check out how I handle fillings for my Red Velvet Bundt Cake if you want to try a different presentation for this wonderful Creamsicle Cake!
Tips for Success with Homemade Creamsicle Flavors
Even though this Creamsicle Cake recipe is straightforward, there are a couple of little tricks I’ve learned over the years to make sure you get that authentic, sunny flavor every single time. It’s all about respecting the citrus, you know? When I shared my lemon zucchini bread, people always asked how to get that strong lemon punch—it’s the same secret here!
Don’t be scared by the list item mentioning gelatin; that’s just an option if you want to take this thing into poke-cake territory, which is also amazing for a summer picnic. But for the basic layer cake, focus on your fresh ingredients!
Ingredient Spotlight: Maximizing Orange Zest Flavor
Listen, you can get orange juice pretty much anywhere, bottled, frozen, concentrated—but if you want that bright, floral, almost perfume-like quality that screams ‘orange,’ you have to use the zest. Juice gives you the necessary liquid and tartness, but the actual aromatic oils are trapped right in those tiny little bumps on the skin.
When you zest the orange, try only to get the bright orange part. That white stuff underneath, the pith, is bitter, and trust me, it will ruin the delicate balance of our Creamsicle Cake. I use a microplane zester because it gives me the fluffiest zest strands that disappear beautifully into the batter, giving you flavor without weird texture spots. It really is the easiest way to amp up that homemade Creamsicle flavor profile!
Storage and Serving Suggestions for This Refreshing Orange Dessert
Because our beautiful cake has that light, airy whipped cream frosting, we definitely need to keep it chilled. This Refreshing Orange Dessert must be stored in an airtight container in the refrigerator. It usually stays wonderfully fresh for about three days, but frankly, my family never leaves any leftovers past day two!
You really don’t need to reheat this cake at all; it tastes fantastic straight from the chill. If you want to make it extra special when serving, try pairing a slice with some fresh raspberries or blueberries—the slight tartness of the berries plays so nicely with the vanilla and orange flavor!
As far as presentation goes, I love topping it with a tiny curl of fresh orange zest right before serving for that beautiful color pop. If you’re looking for other bright, fruity treats, you might enjoy my Strawberry Shortcake Cheesecake recipe!
Frequently Asked Questions About the Best Orange Cake Recipe
I always get questions whenever I post pictures of this vibrant cake online! It’s funny how often people ask about adapting classic recipes. Here are a few things I hear most often regarding this Creamsicle Cake and similar citrus bakes. If you have another burning question, pop it down in the comments!
Can I make this Creamsicle Cake as a Poke Cake?
Oh yes, you absolutely can! That’s actually a really fun variation, especially for bigger summer gatherings where you want extra moisture. If you want to turn this into a Simple Poke Cake Recipe, just let the cake cool slightly, poke holes all over it with a dowel or a thick straw, and pour about half a package of room-temperature orange gelatin mixture over the top while it’s still warm. Then, chill it thoroughly before frosting. It adds a whole other level of citrusy juiciness to your Creamy Vanilla Orange Cake!
How long does this Creamy Vanilla Orange Cake last?
Because we are using real heavy cream in the frosting (we aren’t using stabilizers or a heavy glaze), this cake needs to stay in the fridge. In an airtight container, this Creamy Vanilla Orange Cake stays perfectly moist and delicious for about three days. If you plan on having leftovers past that, I’d recommend just freezing the plain cake layers wrapped tightly, and then whipping up a fresh batch of frosting when you want to serve the last piece!
For tips on storing other types of moist desserts, you can always check out what I learned making my Chocolate Eclair Cake!
Share Your Experience Making This Creamsicle Cake
I hope this recipe brings as much sunshine to your kitchen as it does to mine! Seriously, baking is all about sharing, and I truly cannot wait to hear how your Creamsicle Cake turned out. Did it taste just like summer vacation?
Don’t be shy! If you made it, please leave a quick star rating right below this. A simple five stars tells me you loved this light and moist orange cake, and it really helps other people find this perfect nostalgic dessert. I read every single comment that comes through!
And if you took a gorgeous photo of your finished Creamsicle Cake—especially if you got some good light on that fluffy frosting—please share it on Instagram or Facebook and tag me! I love seeing you enjoy these recipes. You know, supporting small blogs like this one by sharing helps me keep developing even more amazing, reliable recipes for you, like the ones you can read about here on our About Page. Happy baking, my friend!
PrintMoist Orange Creamsicle Layer Cake

A moist layer cake featuring bright orange cake layers topped with a creamy vanilla-orange frosting, reminiscent of a classic Creamsicle popsicle.
- Prep Time: 20 min
- Cook Time: 30 min
- Total Time: 50 min
- Yield: 10 servings
- Category: Dessert
- Method: Baking
- Cuisine: American
- Diet: Vegetarian
Ingredients
- 1 1/2 cups all-purpose flour
- 1 1/2 teaspoons baking powder
- 1/2 teaspoon salt
- 1/2 cup unsalted butter, softened
- 1 cup granulated sugar
- 2 large eggs
- 1 teaspoon vanilla extract
- 1/2 cup milk
- 1/4 cup fresh orange juice
- 1 tablespoon orange zest
- 1/2 cup powdered sugar (for frosting)
- 1/4 cup heavy cream (for frosting)
- 1/4 teaspoon orange extract (for frosting)
Instructions
- Preheat your oven to 350 degrees F (175 degrees C). Grease and flour two 8-inch round cake pans.
- In a medium bowl, whisk together the flour, baking powder, and salt. Set aside.
- In a large bowl, beat the softened butter and sugar together until light and fluffy.
- Beat in the eggs one at a time, mixing well after each addition. Stir in the vanilla extract.
- In a small bowl, combine the milk, orange juice, and orange zest.
- Alternate adding the dry ingredients and the wet ingredients to the butter mixture, beginning and ending with the dry ingredients. Mix until just combined. Do not overmix.
- Divide the batter evenly between the prepared cake pans.
- Bake for 25 to 30 minutes, or until a toothpick inserted into the center comes out clean.
- Let the cakes cool in the pans for 10 minutes before inverting them onto a wire rack to cool completely.
- To make the frosting, beat the heavy cream until soft peaks form. Gradually beat in the powdered sugar, orange extract, and a splash of orange juice until you reach a smooth, spreadable consistency.
- Once the cakes are completely cool, place one layer on a serving plate. Spread a layer of frosting on top. Place the second layer on top and frost the top and sides of the entire cake.
Notes
- For an extra burst of orange flavor, you can use orange-flavored gelatin mixed into the cake batter instead of some of the milk.
- Chill the cake for at least 30 minutes before slicing for easier serving.
- Use fresh orange zest for the best citrus aroma.
Nutrition
- Serving Size: 1 slice
- Calories: 350
- Sugar: 35
- Sodium: 180
- Fat: 18
- Saturated Fat: 10
- Unsaturated Fat: 8
- Trans Fat: 0
- Carbohydrates: 45
- Fiber: 1
- Protein: 4
- Cholesterol: 75