

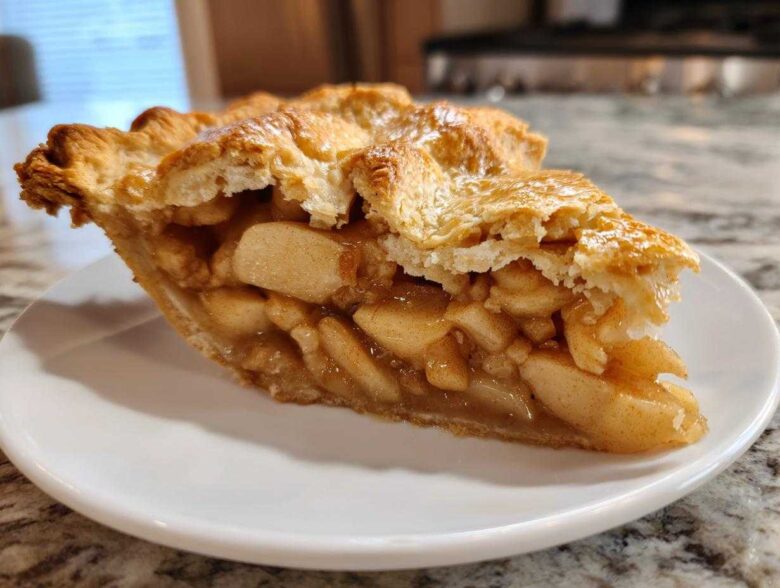
Oh, there is nothing better in the whole wide world than the smell of a true, homemade apple pie baking in the oven, is there? It just instantly snaps me back to my childhood kitchen. I spent years chasing that perfect slice—you know the one! Crisp, golden edges meeting a molten, warmly spiced apple filling. It felt impossible until I stopped following those fussy, formal recipes and started focusing on the simple science of butter and cold water. Trust me when I say this easy apple pie recipe, with its buttery, flaky double crust, is the one that finally made me stop buying frozen pies forever. We are going to make a classic that just tastes like home!
Why This Classic Apple Pie Recipe Delivers Comfort Food Baking Perfection
You don’t need to be a pastry chef to nail this recipe. We designed this for maximum flavor payoff with minimal stress. My goal was to bottle that feeling of sinking your teeth into a slice of pure, traditional American dessert.
- The Crust Is Everything: We focus on keeping that butter ice-cold, which guarantees those signature airy pockets and flaky layers.
- Perfectly Spiced Apples: Using a blend of apples gives you the best contrast—tartness balanced by sweetness. No mush allowed!
- It’s Actually Easy: The steps are laid out simply, making this a fantastic weekend baking project or a stress-free addition to any holiday menu. It’s true comfort food baking!
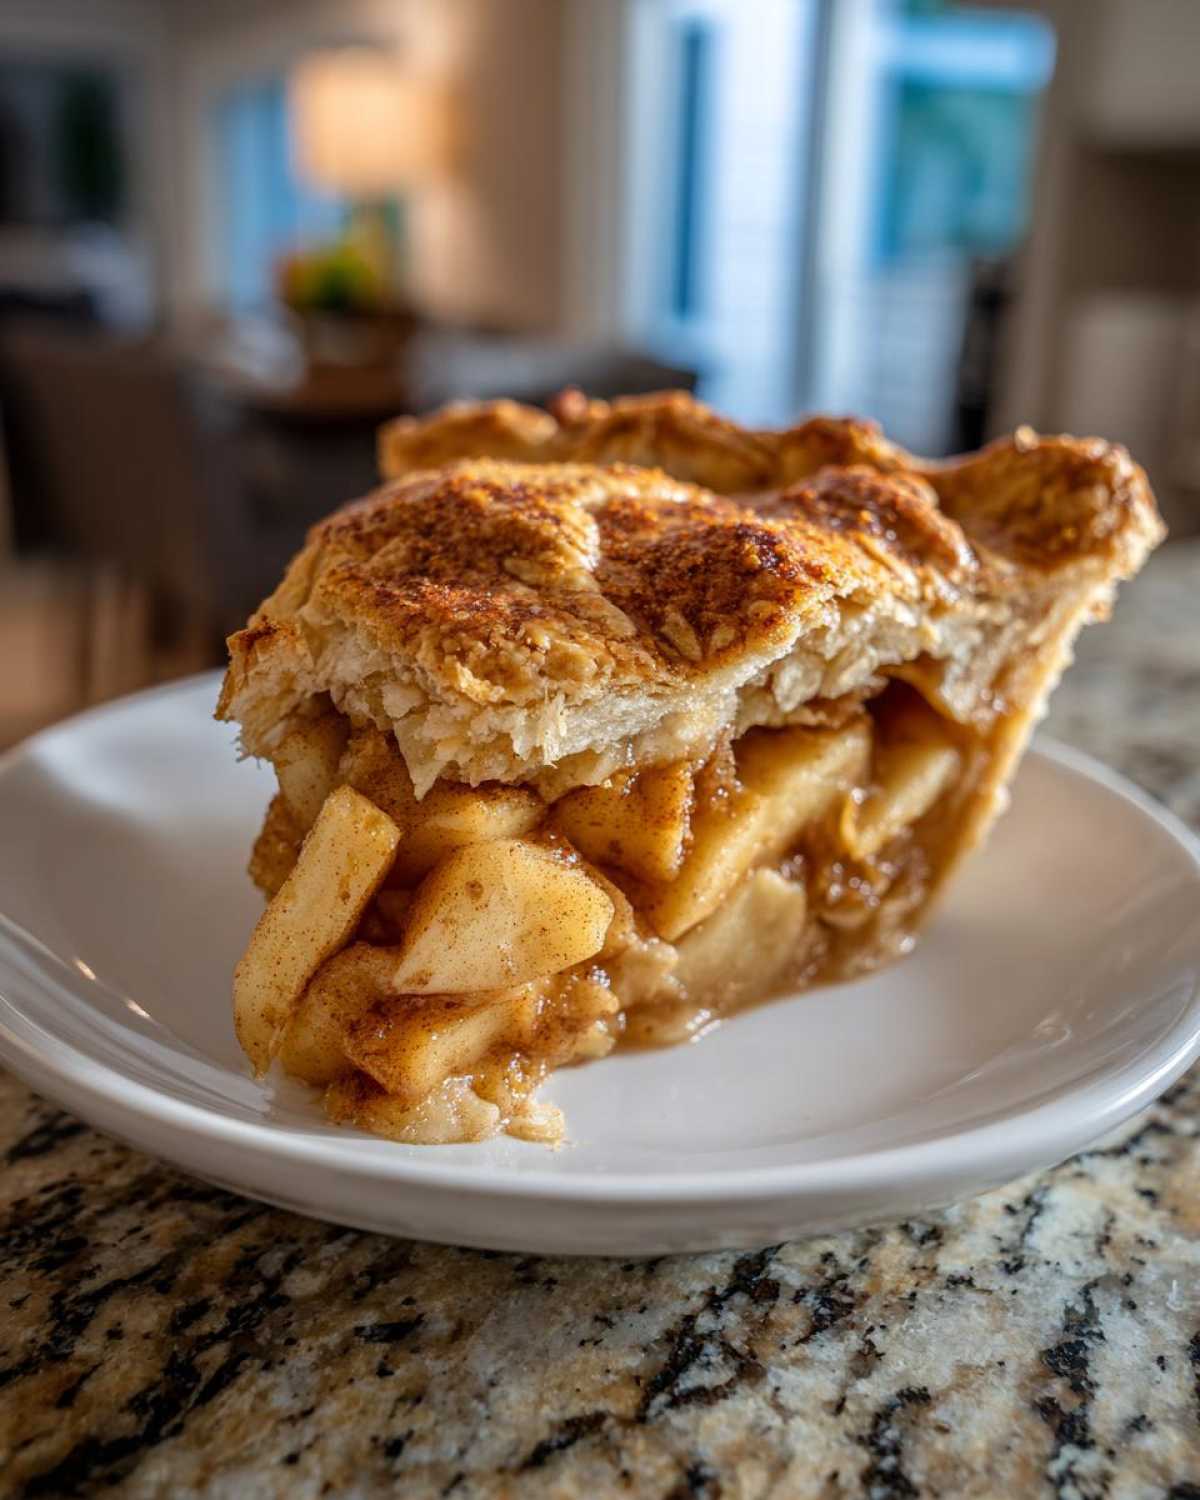
Ingredients for the Ultimate Apple Pie
Okay, let’s talk supplies! You know how I feel about grabbing whatever’s close by—sometimes that works, but for a show-stopping apple pie, the ingredient quality matters. I’ve listed everything you need for both the crust and the filling right here. Don’t just glance over the details on preparation; those steps are what separate a good pie from a slice that makes people ask for the recipe!
For the flaky crust, we need two and a half cups of all-purpose flour, salt, and a full cup of unsalted butter. And listen closely: that butter has to be cut into small cubes and completely cold—I mean, nearly frozen! We combine that with about half a cup of ice water. Keep the rest of that water chilling until the very last second.
The filling requires about six medium apples. This is my big secret: you MUST use a mix! I always grab three crisp, tart Granny Smiths and three sweet, juicy Honeycrisps. These get tossed with the sugars—we use both granulated and light brown sugar for depth—and then our spice quartet: cinnamon, nutmeg, allspice, and just a couple of tablespoons of flour to thicken up those natural apple juices. Don’t forget that splash of lemon juice to keep everything bright!
Ingredient Notes and Substitutions for Your Apple Pie
The apple blend is non-negotiable for me. If you can’t find Honeycrisp, try Gala, but make sure you’re balancing anything sweeter with a very tart apple like Granny Smith. That tartness cuts through the richness of the crust beautifully. If you’re feeling adventurous, you can swap out the allspice for a pinch of cardamom. It gives it a warm, slightly unexpected flavor!
When it comes to the butter for the crust, please, please use real butter. Margarine just won’t give you that incredible, buttery shatter we’re after. If you absolutely must swap the sugars, use just dark brown sugar instead of both, but you’ll lose some of that crystalline texture sugar provides when mixed with cold fat. Keep that butter super cold—I sometimes even freeze my flour mixture for ten minutes before adding the water. That’s how you guarantee those flaky pockets!
Flaky Pie Crust Secrets: Making the Dough for Your Apple Pie
The crust is where all the magic happens, right? If you’ve ever tried to rush this part, you probably ended up with something that tasted more like a cracker than a buttery cloud. My biggest tip for achieving those perfect layers is simple: cold, cold, cold! We’re talking ice water, butter straight from the freezer, and quick hands. That’s the secret to any good flaky pie crust.
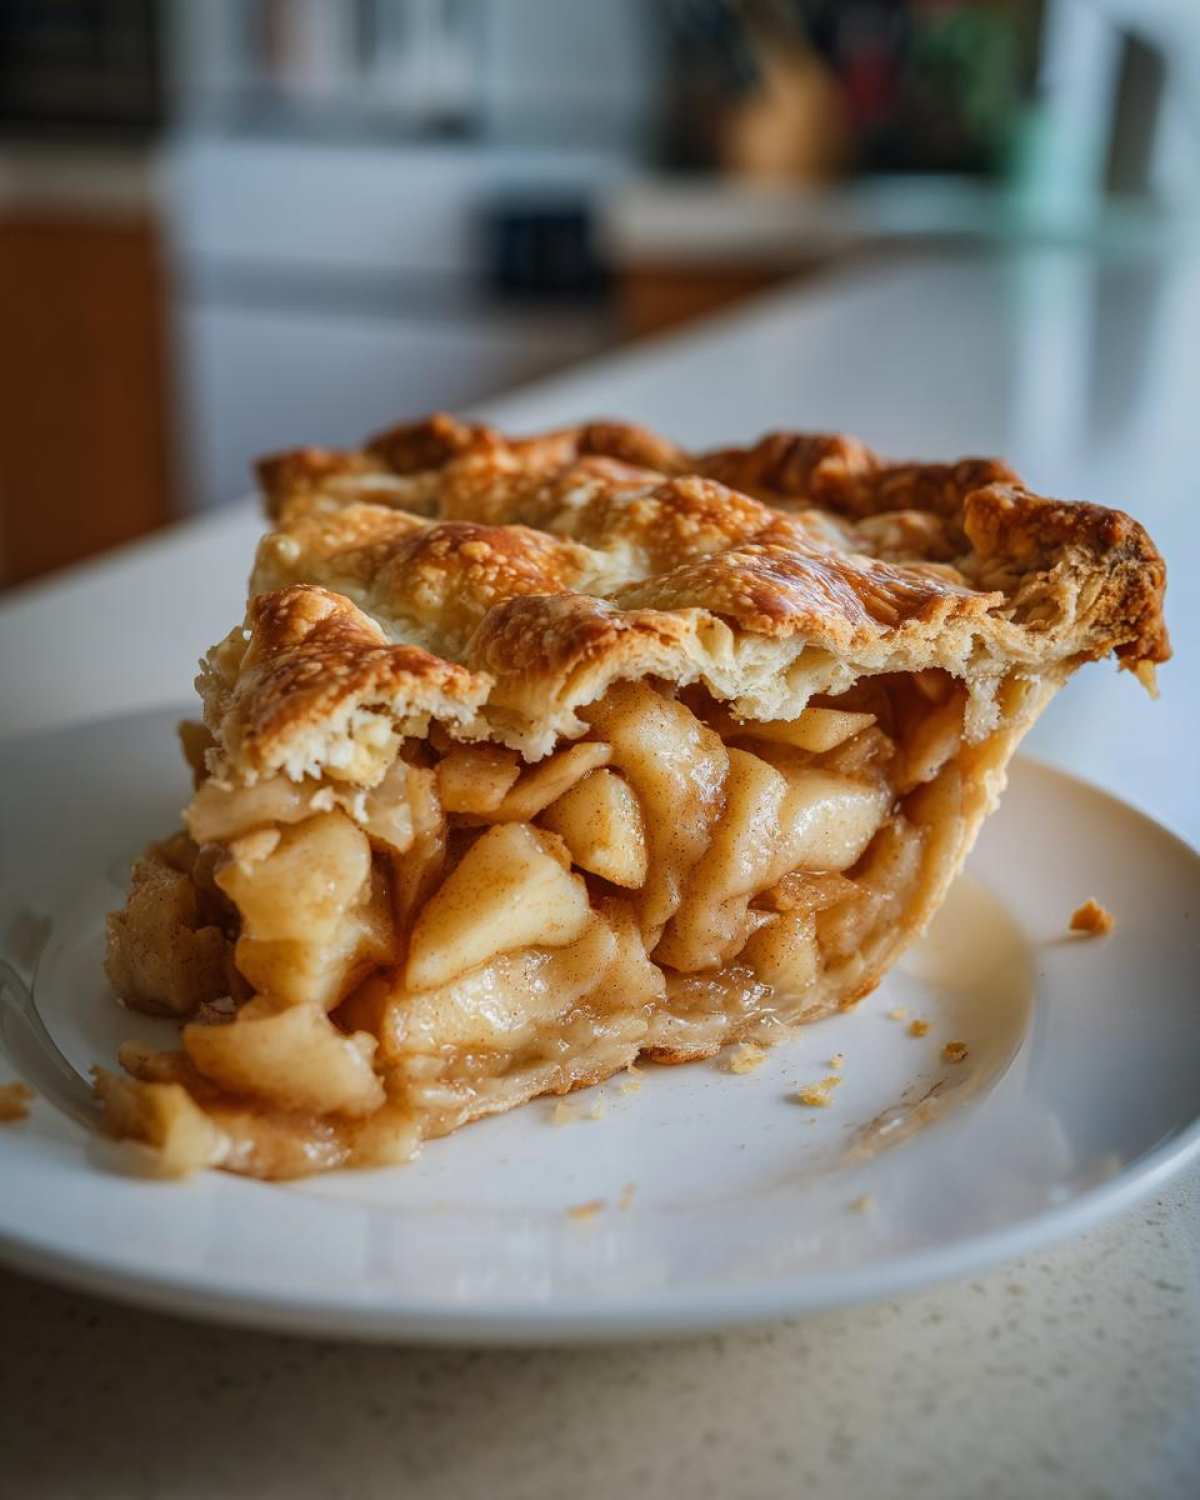
When you cut the butter into the flour, don’t try to blend it all smooth. You want jagged, pea-sized chunks of butter still visible in the flour mixture. Those chunks are literally steam pockets waiting to happen! Once they melt in the hot oven, they create separation, which gives you that wonderful shatter.
Mix in that ice water just until the dough starts to cling together. Stop mixing immediately—seriously, stop before you think you should! Overmixing develops gluten, and gluten means tough crust, which is the enemy of any good homemade apple pie. Once you have two rough disks, wrap them up tight. They must chill in the fridge for at least one hour. That resting time is crucial for relaxing the dough so it rolls out like silk later on!
How to Create the Best Apple Filling for Your Apple Pie
Now that our crust dough is chilling out and getting happy in the fridge, we can focus on the star of the show: those apples! Getting the filling right is the key to a truly superior homemade apple pie. You want tender apples, not mushy apples, and a sauce that’s thick and bubbly, not runny.
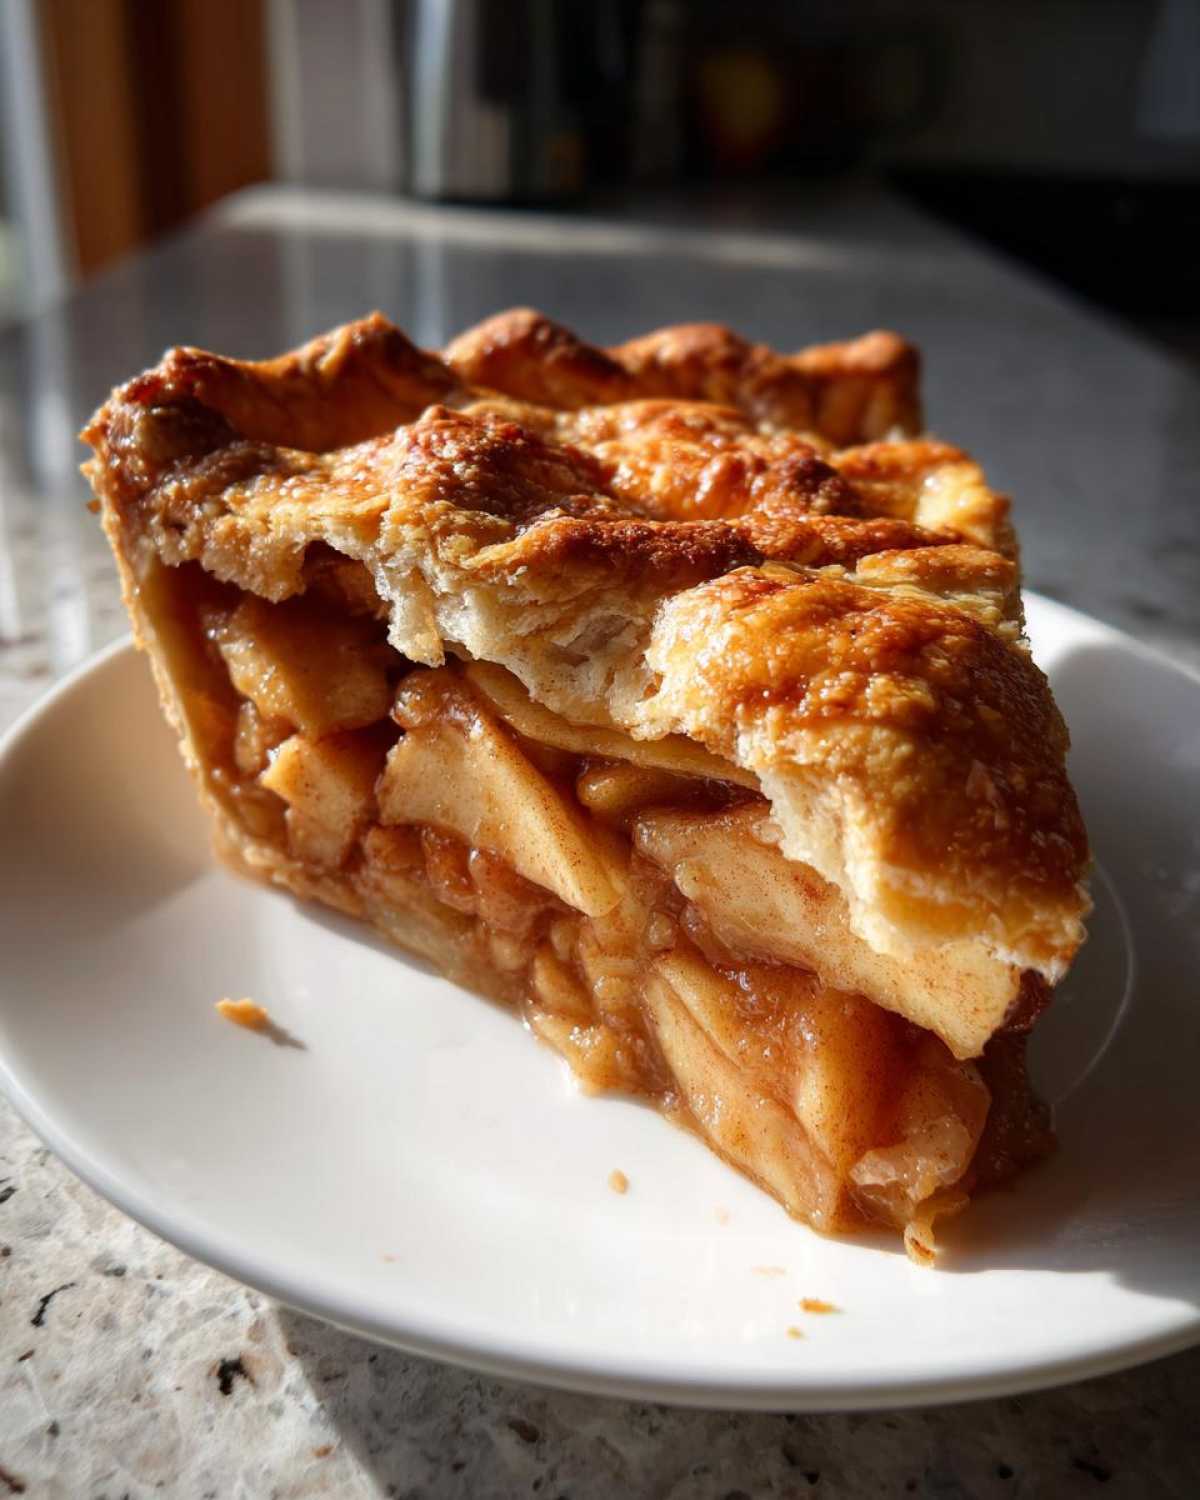
Once your apples are peeled, cored, and sliced about a quarter-inch thick, it’s time to coat them really well. Toss them right in your bowl with all those sugars, spices, and the flour. That flour is super important; it’s what thickens up all those lovely apple juices so you don’t end up with a soupy mess at the bottom of your perfectly crimped crust.
Don’t forget that little dash of fresh lemon juice! It doesn’t make the pie sour, not at all. It just wakes up the flavor of the apples and spices, making them taste even more like themselves. Toss everything gently until every single apple slice has a dusting of cinnamon and sugar clinging to it. Then, let that mixture sit for about ten minutes while you get your dough ready. It’s worth the little bit of patience!
Step-by-Step Instructions for Assembling Your Apple Pie
Alright, this is where everything comes together—the moment we turn cold dough and spiced fruit into a genuine apple pie masterpiece! First, make sure you preheat that oven to a pretty high 425 degrees Fahrenheit. That initial heat shock is key for getting the bottom crust set quickly.
Take one chilled dough disk and roll it out on a lightly floured surface until it’s about twelve inches wide. Gently drape this over your nine-inch pie plate. Don’t stretch it—just let it settle in there, leaving about an inch of overhang. That’s going to be crucial for sealing later. Pour in all those gorgeous, saucy apples, making sure they are mounded slightly in the center because they cook down.
Next up is the top crust, rolled out just like the bottom one. Lay it carefully over the apples. Now, you want to seal it tight, so trim the edges, then pinch the top and bottom layers together all the way around. This part takes a little practice, but just work slowly to create a nice, decorative crimp. Don’t forget to cut several good slits right in the middle of that top crust! These vents let steam escape; if you skip this, you risk a dome-shaped explosion in your oven!
Baking Temperature Adjustments for a Golden Apple Pie
We don’t bake this pie at one temperature, no sir! Pop the pie onto a baking sheet—this saves your oven floor from any sugary drips! Bake it hot at 425°F for the first 15 minutes. That blast of heat sets the bottom crust and starts the flaking process.
After that, drop the temperature down to 375°F and let it bake for another 40 to 50 minutes until it’s golden brown everywhere and the filling bubbles up happily. If you notice those outer edges getting too dark while the center is still cooking? Grab some aluminum foil and loosely tent those edges. It’s an old trick, but it works every time!
Tips for Success When Making Homemade Apple Pie
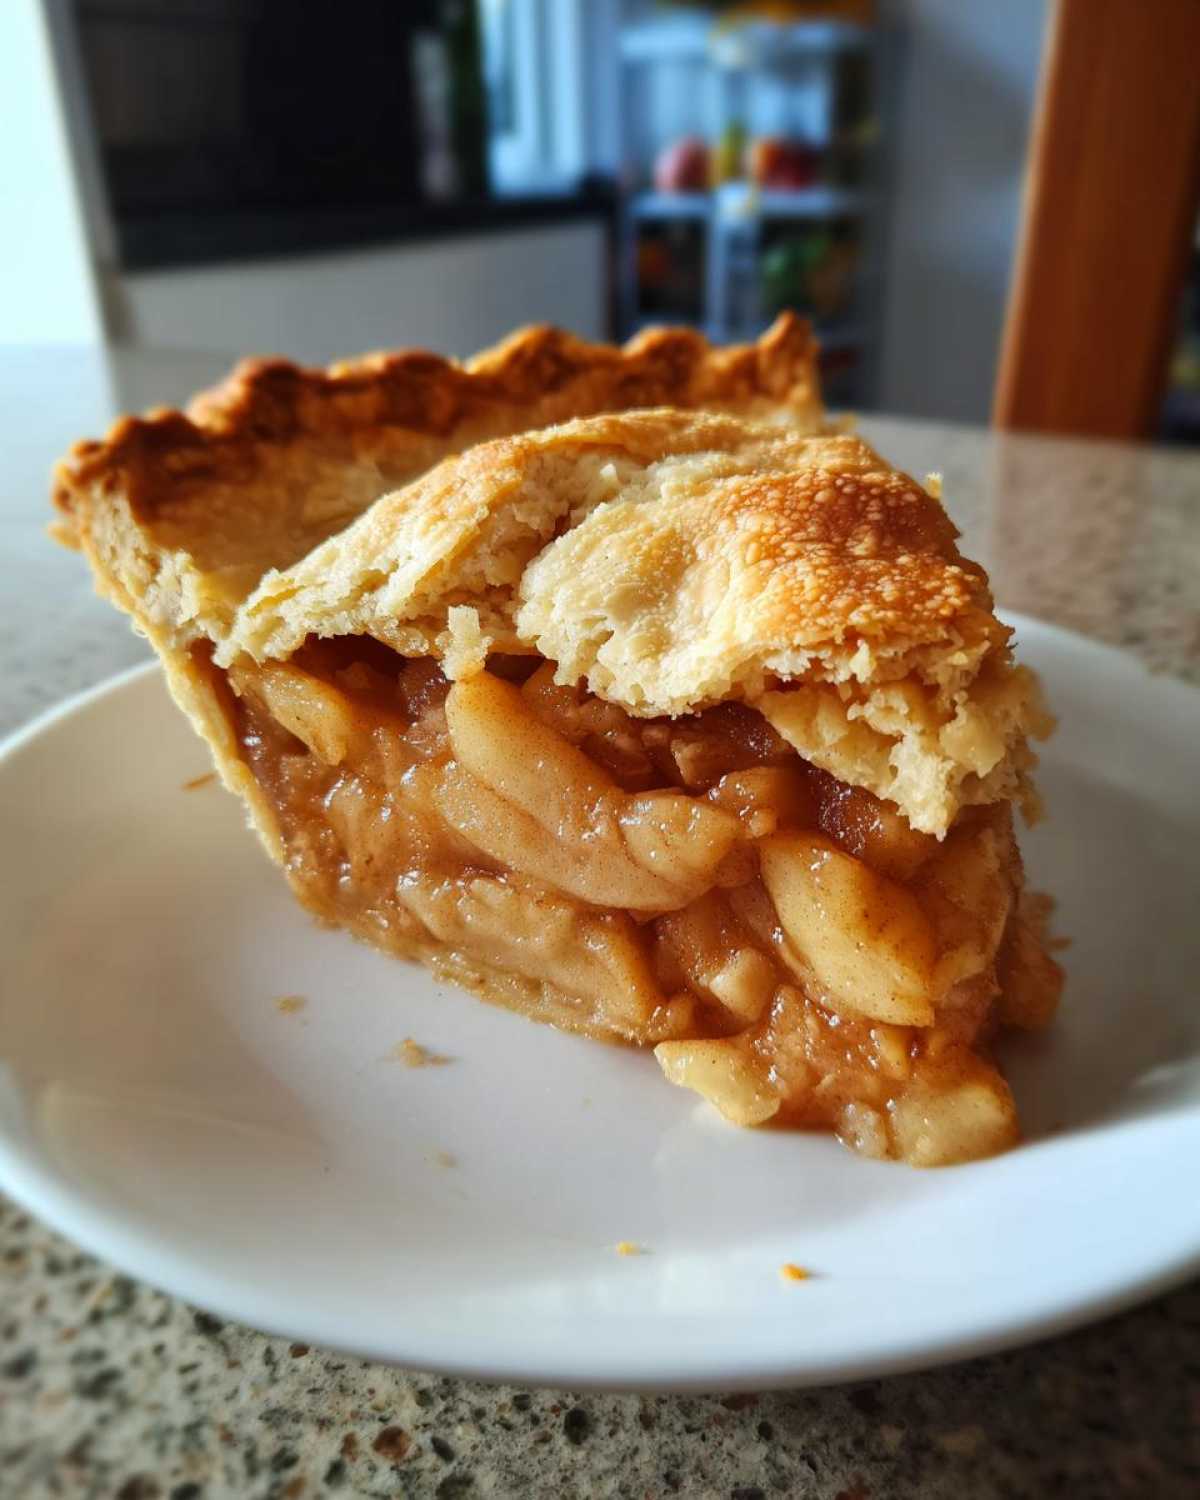
I know you’re just dying to dig in the second that apple pie comes out of the oven, but please, fight the urge! I learned this the hard way when my first batch oozed into a sad, soupy puddle all over the cutting board. The single most crucial thing you can do after pulling this beauty out is let it rest. You absolutely must let it cool for a full three hours on a wire rack.
That chilling time isn’t just about avoiding burns; it lets the flour thickener in the filling fully absorb the apple juices. If you cut it early, the filling won’t set into that beautiful, thick sauce you want. It needs time for those starches to work their magic completely.
Also, if you plan on freezing extra slices for later—and I always do—wrap them tightly in plastic wrap and then foil once they are totally cool. They keep beautifully, and the crust holds up surprisingly well!
Serving Suggestions for Your Traditional American Dessert
So, you finally have that perfect golden slice of classic apple pie sitting in front of you. What’s the move? For me, there are only two acceptable accompaniments!
First, and this is non-negotiable in my house, is a scoop of high-quality vanilla bean ice cream. The contrast between the warm, spiced slices and the melting cold cream is pure heaven. A close second, and you might think I’m crazy, is a thin slice of sharp cheddar cheese melted right over the top of a warm piece. That salty bite cuts through the sweetness perfectly. It’s a fantastic, rustic tradition you need to try!
Storage and Reheating Instructions for Leftover Apple Pie
Hopefully, you have some leftovers, because this pie is just as good the next day! If you didn’t finish the whole thing after cooling, you have options. For the first day, leaving it covered on the counter is totally fine since it’s a low-moisture baked good. But if you’re keeping it longer than 24 hours, pop it into the fridge.
When you want to reheat a slice, ditch the microwave. That thing zaps moisture and makes the crust soggy faster than you can blink! Instead, place your slice on a baking sheet—maybe even give the bottom a quick spritz of water—and heat it in a 350-degree oven for about ten minutes. That little bit of dry heat brings back that delightful crust crispness!
Frequently Asked Questions About Making Apple Pie
I always get a ton of questions after I share this recipe because people are nervous about pie crusts! Don’t be! I’ve gathered the most common queries here to hopefully put your mind at ease about making your own homemade apple pie.
Can I use store-bought pie crust instead of making my own?
Oh, absolutely! I totally advocate for simple dessert recipes when life gets busy. If you use a good quality, all-butter store-bought crust, you can skip the first step entirely. Just make sure you let it warm up on the counter for about 15 minutes before rolling so it doesn’t crack when you unroll it. It’s still going to be a fantastic fall baking recipe!
My filling was too runny—what went wrong?
That usually comes down to two things, dear. First, did you let the pie cool completely? Remember that three-hour rest time? That’s essential for the flour to thicken everything up. Second, make sure you’re using the right amount of flour and that your apples weren’t swimming in extra liquid when you poured them in. If it happens, don’t worry! Scoop out the top layer of apples, let the rest cool, and serve the runniest bits over ice cream—still delicious!
Can I freeze this classic apple pie recipe?
Yes, you certainly can freeze it! For the best results, I suggest freezing the pie *before* you bake it. Assemble the entire thing, cover it tightly in plastic wrap and foil, and freeze it flat. When you’re ready to bake it, just add about 20 minutes to the total bake time, making sure to remove the plastic wrap first, of course!
Do I have to use a mix of Granny Smith and Honeycrisp apples?
Honestly, I think it’s the key to the best apple filling! Granny Smiths give you that necessary tartness to balance the sugar, and Honeycrisps hold their shape perfectly and offer sweetness. If you only use sweet apples, the pie can taste a bit flat. Aim for that mix for the best flavor contrast!
PrintClassic Easy Apple Pie with Flaky Double Crust
A reliable recipe for a traditional American apple pie featuring a buttery, flaky double crust and a perfectly spiced filling using a mix of tart and sweet apples.
- Prep Time: 45 min
- Cook Time: 65 min
- Total Time: 110 min
- Yield: 8 servings
- Category: Dessert
- Method: Baking
- Cuisine: American
- Diet: Vegetarian
Ingredients
- 2 1/2 cups all-purpose flour
- 1 teaspoon salt
- 1 cup (2 sticks) cold unsalted butter, cut into small cubes
- 1/2 cup ice water, plus more if needed
- 6 medium apples (a mix of Granny Smith and Honeycrisp recommended)
- 3/4 cup granulated sugar
- 1/4 cup packed light brown sugar
- 1 teaspoon ground cinnamon
- 1/4 teaspoon ground nutmeg
- 1/8 teaspoon ground allspice
- 2 tablespoons all-purpose flour (for thickening)
- 1 tablespoon lemon juice
- 1 large egg, beaten (for egg wash)
- 1 tablespoon milk or water (for egg wash)
Instructions
- Prepare the crust: In a large bowl, whisk together the flour and salt. Cut in the cold butter using a pastry blender or your fingers until the mixture resembles coarse crumbs with some pea-sized pieces of butter remaining.
- Gradually add the ice water, one tablespoon at a time, mixing until the dough just comes together. Do not overmix. Divide the dough in half, flatten each half into a disk, wrap in plastic, and chill for at least 1 hour.
- Prepare the filling: Peel, core, and slice the apples about 1/4 inch thick. In a large bowl, toss the apple slices with granulated sugar, brown sugar, cinnamon, nutmeg, allspice, 2 tablespoons of flour, and lemon juice until evenly coated.
- Preheat your oven to 425 degrees Fahrenheit (220 degrees Celsius).
- Assemble the bottom crust: On a lightly floured surface, roll out one disk of dough into a 12-inch circle. Carefully transfer it to a 9-inch pie plate. Trim the edges, leaving a 1-inch overhang.
- Fill the pie: Pour the apple mixture into the crust. Dot the top of the apples with a few small pieces of leftover cold butter, if desired.
- Assemble the top crust: Roll out the second disk of dough. Place it over the filling. Trim the edges and crimp the top and bottom crusts together to seal. Cut several slits in the top crust to allow steam to escape.
- Apply egg wash: Whisk the egg and milk/water together. Brush the top crust lightly with the egg wash. Sprinkle lightly with extra sugar for shine, if you like.
- Bake: Place the pie on a baking sheet (to catch drips). Bake at 425 degrees Fahrenheit for 15 minutes. Then, reduce the oven temperature to 375 degrees Fahrenheit (190 degrees Celsius) and continue baking for 40 to 50 minutes, or until the crust is golden brown and the filling is bubbly. If the edges brown too quickly, cover them loosely with aluminum foil.
- Cool: Let the pie cool on a wire rack for at least 3 hours before slicing and serving. This allows the filling to set properly.
Notes
- For the flakiest crust, keep all ingredients, especially the butter and water, very cold.
- Use a mix of apples for the best flavor balance between tartness and sweetness.
- If you prefer a simpler top, use a crumb topping instead of a full second crust.
Nutrition
- Serving Size: 1 slice
- Calories: 450
- Sugar: 35g
- Sodium: 250mg
- Fat: 25g
- Saturated Fat: 15g
- Unsaturated Fat: 10g
- Trans Fat: 0g
- Carbohydrates: 58g
- Fiber: 3g
- Protein: 5g
- Cholesterol: 60mg