

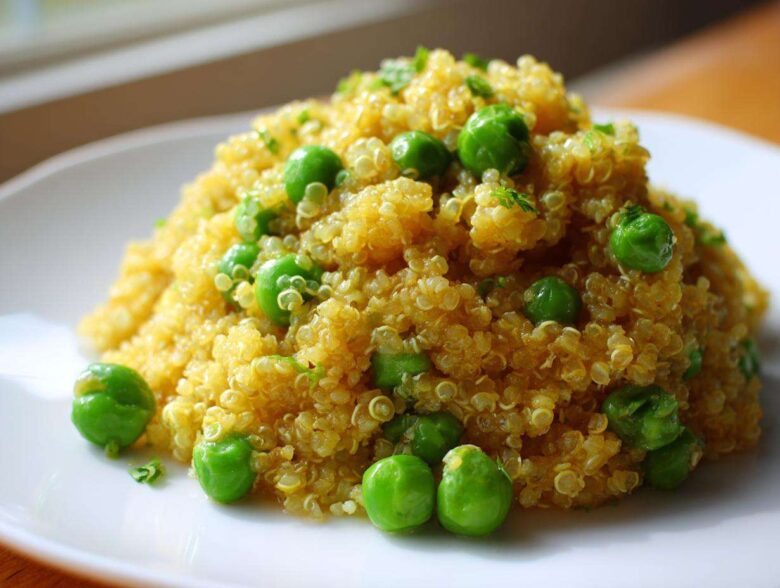
Okay, deep breaths—I know the feeling. It’s 6 PM, dinner is halfway done, and you realize you’re serving chili with… nothing. Or maybe you’re just tired of rice, but you need something quick, savory, and definitely not boring. Trust me, I’ve been there more times than I care to admit!
This is where my absolute go-to, failsafe side dish comes in clutch: the **Garlic Butter Quinoa Green Peas**. Seriously, it tastes like you spent way more time on it than you actually did. It’s fast, it uses pantry staples, and that combination of rich butter, fragrant garlic, and sweet peas turns plain old quinoa into something spectacular. If you want more inspiration for easy recipes, check out my main recipe page!
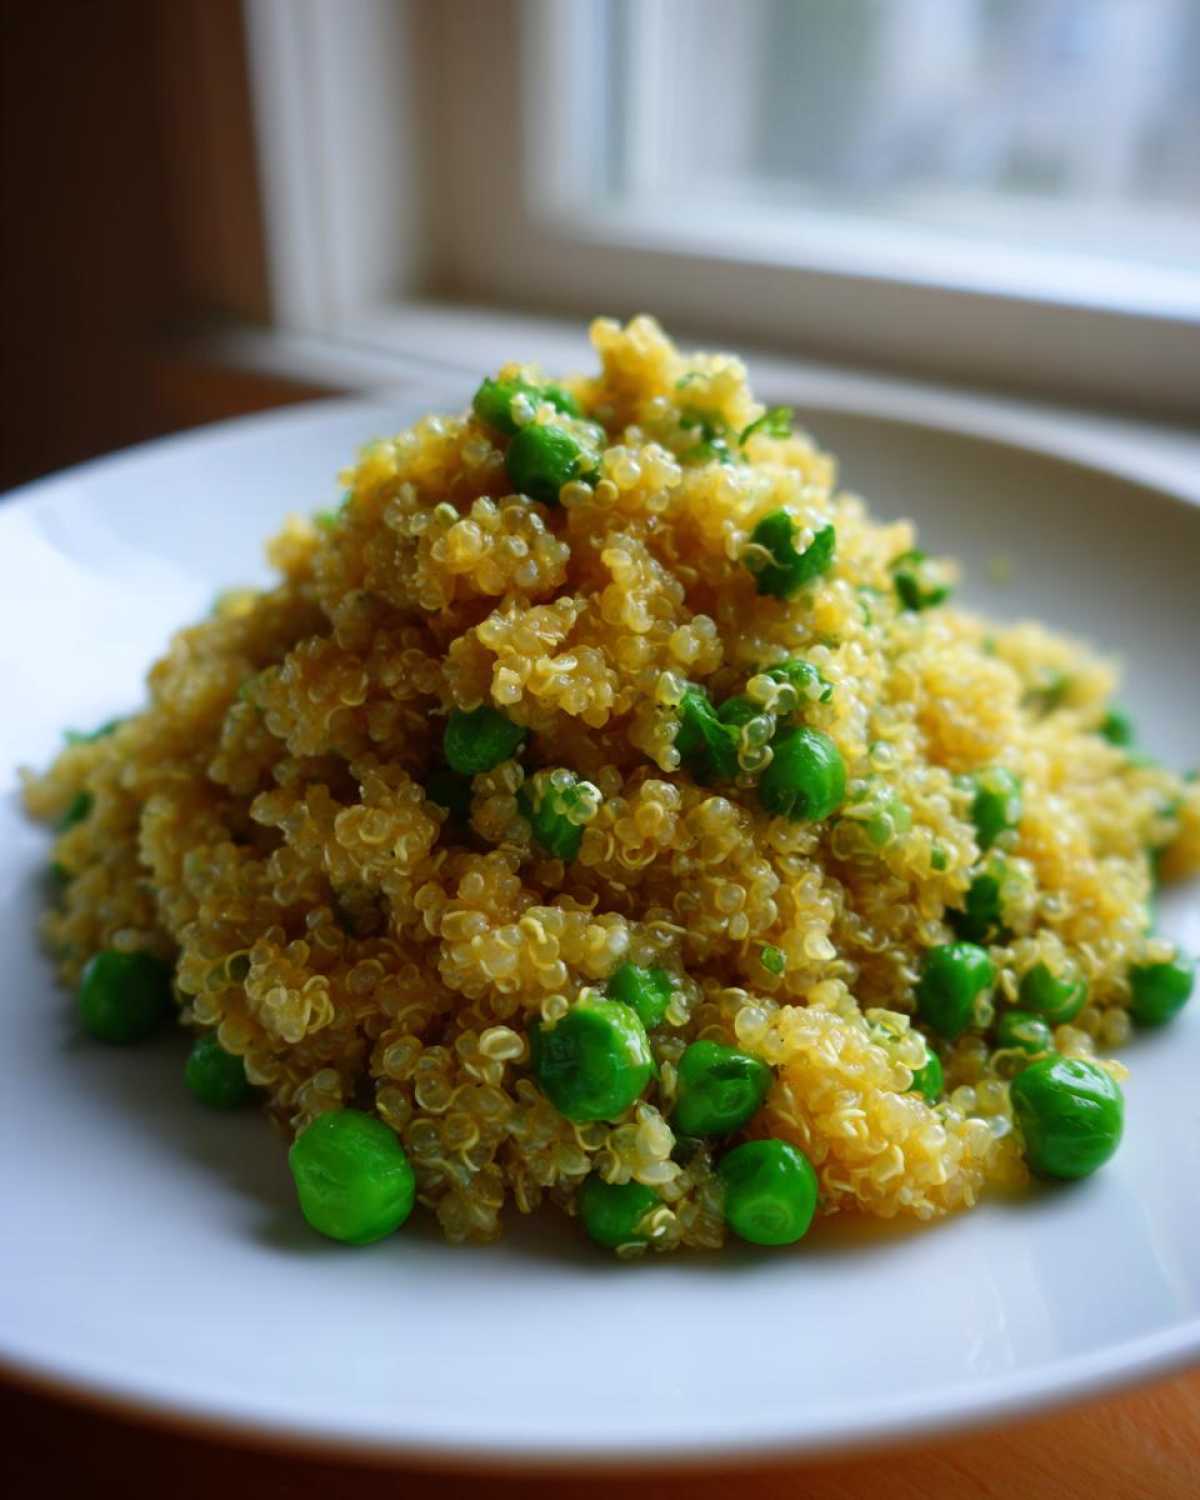
When I first started cooking with quinoa, it was always a hit-or-miss disaster. Sometimes it was fluffy perfection; other times it was a sticky, slightly bitter mess. Yuck. But after years of trial and error, I finally nailed the trick for perfectly fluffy grains every single time, and it makes all the difference here. This simple stovetop preparation is what elevates this recipe from good to seriously addictive!
Why You’ll Love This Garlic Butter Quinoa Green Peas Recipe
Honestly, this side dish is a lifesaver! If you need flavor fast with almost zero fuss, this is your ticket. You’re going to adore it because:
- It’s lightning quick! We’re talking under 30 minutes total, which is perfect for weeknights.
- The flavor payoff is massive—that nutty, tender quinoa smothered in real butter and garlic is unbeatable.
- It’s so versatile. You can dress it up or down depending on what you’re serving for dinner.
- It’s just so satisfyingly savory; you might actually convince your picky eaters to eat grains! Everyone loves these Garlic Butter Quinoa Green Peas.
Essential Ingredients for Flavorful Garlic Butter Quinoa Green Peas
You don’t need a huge shopping list for this one, which is exactly why I keep it ready to go! What matters most here is the quality of your few core ingredients, especially that glorious fat and the aromatic stuff. When you are working with such simple flavors, every ingredient has to pull its weight. Don’t skimp on the garlic!
For the best possible result, here is what you’ll need:
- 1 cup quinoa, and listen to me—you have to rinse it! I know it’s a pain, but rinsing off the bitter saponin coating is non-negotiable for a sweet, nutty taste.
- 2 cups vegetable broth or water. If you use broth, you instantly level up the savory notes. If you grab my recipe for homemade garlic butter, you can skip this step entirely if you want to go straight for richness!
- 2 tablespoons unsalted butter. Real butter, always. It carries the garlic flavor so perfectly.
- 3 cloves garlic, minced super fine. If you can mince them small enough that they melt away slightly into the butter, you’re doing great.
- 1 cup frozen green peas. No need to thaw; they go right into the pan!
- 1/4 teaspoon salt and 1/4 teaspoon black pepper for basic seasoning control.
- 1 tablespoon fresh parsley, chopped if you want that final pop of color and freshness.
That’s it! See? Simple, right? But those tiny details—especially the rinsing—are what make the difference between just okay quinoa and the star side dish of your meal.
Equipment Needed for Your Quick Quinoa Pea Medley
You don’t need a huge gadget collection for this recipe, which is another win in my book! Having the right tools just makes the process smoother so you aren’t scrambling mid-cook. For this simple side dish, you really only need three things, and I bet you have them sitting on your counter right now!
Make sure you have these items ready to go before you start rinsing that quinoa:
- A medium saucepan with a tight-fitting lid. This is essential for the simmering and resting phase so you trap all that steam to get perfectly fluffy grains.
- A separate small skillet. This is where the magic happens—sautéing that fragrant garlic butter and heating up the peas. It keeps your garlic timing perfect so it doesn’t burn while the quinoa is cooking separately.
- A fine-mesh sieve or strainer. Seriously, this is the secret weapon for rinsing grains properly. You want the water to run clear, and a regular colander just lets the small seeds escape down the drain. Don’t lose your precious quinoa!
Step-by-Step Guide: How to Make Perfect Garlic Butter Quinoa Green Peas
This recipe comes together in two simultaneous tracks, which keeps the total time low. Track one is getting that quinoa tender and fluffy. Track two is building the incredible flavor base with the garlic and butter. Don’t rush the quinoa resting phase—that’s my biggest piece of advice for texture!
- First things first, you absolutely must rinse your quinoa. I mean *really* rinse it. Put that 1 cup in a fine-mesh sieve and run cold water over it until the water running out underneath is totally clear. This gets rid of that bitter coating, which is crucial for a clean flavor.
- Next, dump the rinsed quinoa and your 2 cups of broth (or water) into your medium saucepan. Crank the heat up to medium-high and bring it to a rolling boil.
- Once it’s boiling hard, immediately drop the heat down to the lowest setting—like, barely a simmer—put the lid on tight, and let it cook for exactly 15 minutes. Don’t peek! Let that steam do its job until every drop of liquid is absorbed.
- When the 15 minutes are up, yank the pan off the stove entirely. Keep that lid on tight and just let it sit there for 5 more minutes. It steams itself perfectly during this rest period. This is how you get that gorgeous, separate texture! After resting, finally fluff it gently with a fork.
- While the quinoa is resting, switch gears to your flavor skillet. Melt your 2 tablespoons of butter over medium heat.
- Toss in your minced garlic. This is a quick moment! You only want to sauté it for about 60 seconds until you can really smell that punchy garlic aroma. Stop right there! If it browns, it gets bitter, and we’re aiming for fragrant, not burnt.
- Toss in your cup of frozen peas right into that fragrant garlic butter. Stir them around for about 3 to 4 minutes until they look bright green and are piping hot all the way through.
- Now, merge them! Tip your fluffy, cooked quinoa right into the skillet with the peas and garlic butter. Use a spatula to gently fold everything together so every grain gets coated in that amazing flavor.
- Finally, season it up with your salt and pepper. If you’re using that fresh parsley, sprinkle it in now and give it one last gentle stir. Serve it up right away while it’s hot! If you need extra inspiration for side dishes in general, I’ve listed some great rice pilaf recipes that can give you ideas.
Preparing the Quinoa Base: How to Cook Fluffy Quinoa
I can’t stress the rinsing enough—it’s the absolute difference-maker between a salad topping and a creamy, slightly sticky mess that clumps together like glue. That dusty coating (saponin) actively repels water, which is why sometimes your quinoa tastes faintly soapy or just harsh on the palate.
After rinsing under the tap until the water is perfectly clear, simmering it in broth rather than plain water adds a huge boost of background savory flavor. Then, the most important part, which so many people skip, is the 5-minute resting period *off the heat*. That retained steam finishes cooking the center of the grain without evaporating the moisture, guaranteeing you perfect, separate flakes every time. Never skip that covering and resting step!
Creating the Signature Garlic Butter Quinoa Green Peas Flavor
This is where the payoff happens! You want a small skillet because you need higher, more direct heat for a quick sauté of the garlic. Remember, we are building the flavor of the **Garlic Butter Quinoa Green Peas**, not burning the foundation!
Melt your butter until it starts to look a little shimmery. Add the garlic and keep your eye on it. Seriously, count to sixty slowly. The second your kitchen smells intensely garlicky and wonderful, you need to drop those frozen peas in ASAP. The cold peas instantly lower the temperature, protecting the garlic from turning brown. Cooking the peas in the butter ensures they absorb all that wonderful garlic essence before you mix them into the mild quinoa base!
Tips for Success with Your Garlic Butter Quinoa Green Peas
Look, I’ve made mistakes so you don’t have to! The biggest disaster I ever had was when I got distracted answering the door and let my garlic turn dark brown. The kitchen smelled… sad. When I mixed it in, the whole batch tasted like ash! The fix? I tossed it out and started over, being more mindful of the heat.
To nail this recipe, remember two things: liquid ratio and heat control. Stick strictly to that 2 cups of liquid for every 1 cup of dry quinoa. If you feel like it’s too dry during the simmer, don’t lift the lid and add more water—that just lets the steam escape. Instead, let it rest longer off the heat; the residual steam usually finishes the job.
Seasoning is key too! Since you’re using broth instead of water, you might need less salt than you think. Taste before you finalize those **Garlic Butter Quinoa Green Peas** and adjust the pepper, too. A tiny pinch of red pepper flakes right when you add the garlic makes this amazing!
Ingredient Notes and Substitutions for Garlic Butter Quinoa
One of the greatest things about this recipe is how forgiving it is! Sometimes you’re out of butter, or maybe you’re watching your dairy intake, and that’s totally fine. This isn’t a fussy recipe, but knowing your options helps you get great results even when you have to swap things around. We’re aiming for maximum flavor here, no matter what you use.
Let’s talk about fat first. If you’re out of butter, or if you’re aiming for a lighter touch, you can absolutely substitute olive oil for half or even all of the butter. If you use all oil, you lose some of that classic *butter* richness, so to compensate, I love adding a tiny sprinkle of nutritional yeast at the end for a cheese-like depth. If you want a really decadent sauce, check out my tips on making a quick creamy garlic sauce to drizzle over the top!
Another small change that gives you a huge flavor boost, especially if you’re serving this with grilled fish or chicken, is adding acidity. Right after you stir everything together, squeeze in about a teaspoon of fresh lemon juice. It brightens up the whole dish immediately. It’s fantastic!
Now, about those peas. I almost always use frozen peas because they are perfectly cooked, retain their brightness, and you don’t have to worry about them getting mushy. If you reach into the pantry and only find canned peas, that’s okay! Just make sure you drain them *extremely* well—like, shake them dry in the colander—before you toss them into the skillet with the garlic butter. Canned peas have extra moisture, and we don’t want that watering down our precious garlic butter base.
Using broth vs. water is another easy win for this Easy Savory Quinoa Side Dish. If you use water, it tastes exactly like what it is: water-cooked quinoa. If you use veggie broth, it adds that savory foundation to every single grain, which makes a gigantic difference in the final result.
Serving Suggestions for This Easy Savory Quinoa Side Dish
This little gem of a side dish is truly a chameleon! It has enough flavor to stand up to richer mains, but it’s mild enough when you need it to just be a supportive player. I try to keep a batch of plain, cooked quinoa on hand in the fridge for this very reason—it takes five minutes to turn it into a complete side for almost any dinner plate.
If you’re planning a big Sunday dinner or just serving up a simple protein mid-week, here are my favorite pairings for this buttery, herby grain:
- Roasted Chicken or Turkey Breast: The nutty flavor of the quinoa and the sweetness of the peas are a classic match for roasted poultry. The butter in the dish keeps the whole plate feeling cohesive and comforting. You can find some great roasting ideas over on my dinner category page!
- Simple Baked or Pan-Seared Fish: White fish like cod, halibut, or even salmon works beautifully. The green peas add a lovely pop of color against the flaky fish, and if you remember my tip about adding that squeeze of fresh lemon juice to the quinoa, the acidity pairs perfectly with seafood.
- Pork Chops or Tenderloin: We often forget pork needs a good side, but it loves this! Whether you’re grilling a pork chop or baking a tenderloin, this dish brings that fresh, almost springtime lightness that balances the richness of the meat without feeling heavy like mashed potatoes can sometimes feel.
Honestly, my kids will eat this plain with a fork if I let them, but pairing it with a solid main course makes for a complete, balanced meal that comes together in a flash!
Storage and Reheating Instructions for Leftover Garlic Butter Quinoa Green Peas
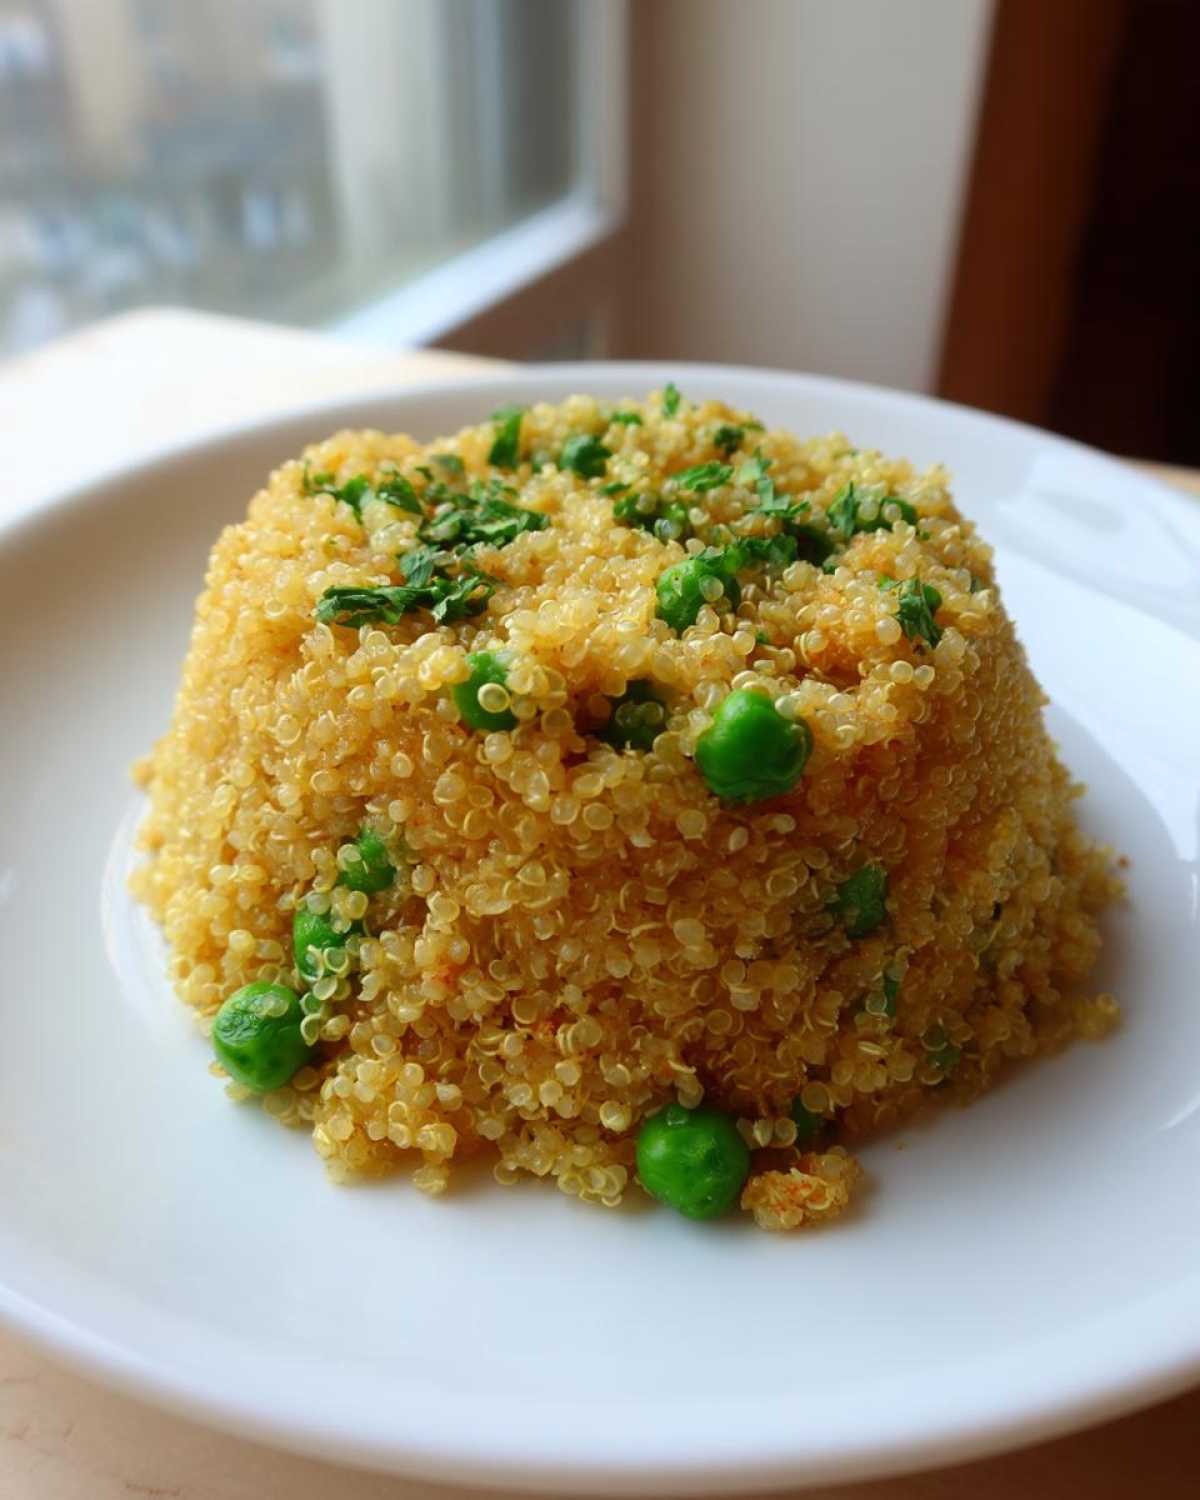
Don’t you hate wasting food? I always make a bigger batch than we need just so I can have this for lunch the next day. Luckily, this **Garlic Butter Quinoa Green Peas** recipe reheats like a dream, provided you store it correctly! It’s way better than trying to eat leftover plain, dry grains from the night before, let me tell you.
For the fridge, you want an airtight container, obviously. Make sure the quinoa has cooled down completely before you seal it up—putting hot food into a sealed container traps condensation and can make things soggy quickly. If you stick to this rule, your leftovers should stay delicious and fresh for about 3 to 4 days. Any longer than that, and the butter starts to taste a little heavy, in my opinion.
If you are thinking long-term, yes, you can absolutely freeze these! But there’s a catch with freezing grains mixed with butter. You need to use a freezer-safe bag or container and press out all the air. Try to eat the frozen stuff within two months for the best texture quality.
How to Reheat Without Drying It Out
This is the most important part if you want that second serving to taste homemade! You cannot just microwave straight quinoa; it turns into little hard pebbles, and we don’t want that!
When reheating on the stovetop (which is my favorite way), you need to introduce moisture back in. For every cup of leftover **Garlic Butter Quinoa Green Peas** you plan to eat, melt about half a teaspoon of butter or drop in a teaspoon of water or broth into your skillet before adding the grains.
Heat it over medium-low heat and stir constantly until it’s steaming hot all the way through. That added fat or liquid gets absorbed by the drier grains right away. If you need to use the microwave, put a tiny splash of water on top of your portion, cover it with a damp paper towel, and heat it in short bursts, stirring between each blast. Seriously, that damp towel traps just enough steam to keep everything fluffy and tender!
Frequently Asked Questions About Butter Garlic Grains
It’s funny—once you make something this simple, people start asking about every tiny variation! I always love hearing how you all adapt my base recipes, so here are the questions I get most often about this **Butter Garlic Grains** dish. I hope these help you customize it for your own dinner table!
Can I make the Garlic Butter Quinoa Green Peas vegan?
Absolutely, yes! This is such an easy switch. Since the recipe relies heavily on the flavor infusion from butter and garlic, you just need a good substitute for that dairy fat. I recommend using a high-quality vegan butter spread, as they often have a texture closer to dairy butter and carry flavor really well.
Alternatively, you can swap the 2 tablespoons of butter for 2 tablespoons of good quality olive oil. If you go the olive oil route, you might want to stir in just a dash of smoked paprika along with the garlic to give it back some of that depth you miss from browning butter. It works fantastic!
What is the best way to add protein to this side dish?
Oh, that’s a great idea for turning this side dish into a full, light lunch! Since the flavor profile is so savory and simple, it really welcomes almost any protein addition. If you want to keep it vegetarian, tossing in a can of rinsed and drained chickpeas when you add the peas is perfection. They crisp up just slightly in the hot garlic butter and soak up all that flavor.
If you’re serving this alongside something else, shredded rotisserie chicken is a fantastic way to bulk it up—just add the shredded chicken right at the end when you incorporate the quinoa, folding gently until it’s heated through evenly. Or, if you have some black beans handy, they mix in just as easily as the chickpeas!
If you’ve got questions about other substitutions or need help troubleshooting a dish you made, don’t hesitate to reach out via my contact page! I love hearing from fellow cooks!
PrintGarlic Butter Quinoa with Green Peas
A simple recipe for fluffy quinoa cooked with garlic and butter, mixed with green peas for a flavorful side dish.
- Prep Time: 5 min
- Cook Time: 25 min
- Total Time: 30 min
- Yield: 4 servings
- Category: Side Dish
- Method: Stovetop
- Cuisine: American
- Diet: Vegetarian
Ingredients
- 1 cup quinoa, rinsed
- 2 cups vegetable broth or water
- 2 tablespoons unsalted butter
- 3 cloves garlic, minced
- 1 cup frozen green peas
- 1/4 teaspoon salt, or to taste
- 1/4 teaspoon black pepper
- 1 tablespoon fresh parsley, chopped (optional)
Instructions
- Rinse the quinoa thoroughly under cold running water using a fine-mesh sieve until the water runs clear.
- Combine the rinsed quinoa and vegetable broth (or water) in a medium saucepan. Bring the mixture to a boil over medium-high heat.
- Once boiling, reduce the heat to low, cover the saucepan, and simmer for 15 minutes, or until all the liquid is absorbed.
- Remove the saucepan from the heat and let it stand, covered, for 5 minutes. Fluff the quinoa gently with a fork.
- While the quinoa rests, melt the butter in a separate small skillet over medium heat.
- Add the minced garlic to the melted butter and sauté for about 1 minute until fragrant. Do not let the garlic brown.
- Add the frozen green peas to the skillet with the garlic butter. Cook for 3 to 4 minutes, stirring occasionally, until the peas are heated through.
- Add the cooked, fluffed quinoa to the skillet with the peas and garlic butter. Stir gently to combine everything evenly.
- Season with salt and pepper. Stir in the chopped parsley, if using.
- Serve immediately as a side dish.
Notes
- For a richer flavor, substitute half the butter with olive oil.
- If you prefer a tangier taste, add a squeeze of fresh lemon juice after mixing all ingredients.
- You can substitute frozen peas with canned peas, but drain them well before adding them in step 6.
Nutrition
- Serving Size: 1 cup cooked
- Calories: 250
- Sugar: 2
- Sodium: 350
- Fat: 10
- Saturated Fat: 5
- Unsaturated Fat: 5
- Trans Fat: 0
- Carbohydrates: 35
- Fiber: 5
- Protein: 9
- Cholesterol: 15