

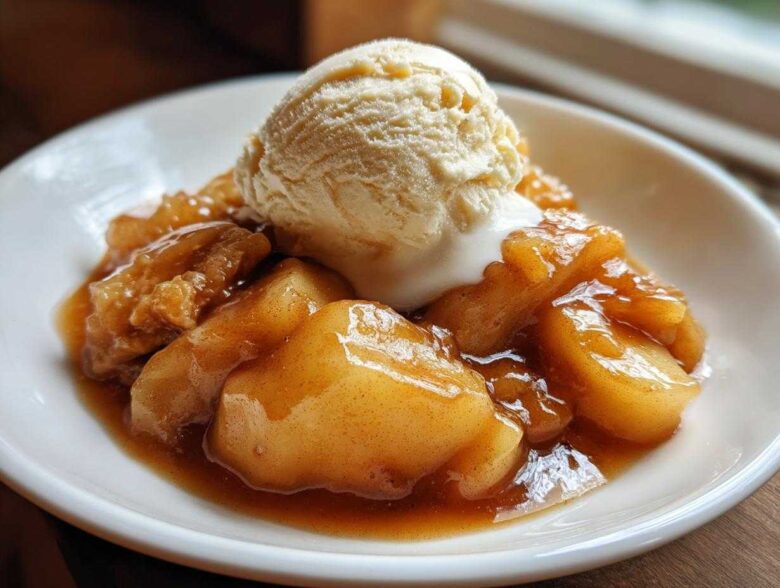
Forget those sad, watery jars of canned filling you have to scrape into your pie dough! Now, I know baking from scratch sounds like a whole weekend commitment, but hold on just one minute. I cracked the code on the **best apple pie filling** that is ready in under 25 minutes using just your stovetop. Trust me, this Quick Stovetop Apple Pie Filling is my secret weapon for those weeknight cravings. My biggest frustration used to be that soupy mess at the bottom of the crust, but I tamed the liquid! This method ensures you get that perfect, thick, spiced goodness every single time.
If you want to see the full story on how this little blog got started, you can always check out my little corner here.
Why This Quick Stovetop Apple Pie Filling Shines
Honestly, I used to toss apples with a bit of sugar and call it a day until the filling turned into watery soup inside my pie crust. No more! This stovetop method is a game-changer because it gets you that gorgeous, rich **apple pie filling** flavor without waiting hours.
We are looking at a total time commitment of under 25 minutes, which is fantastic for any impromptu baking session. This recipe isn’t just fast; it’s versatile enough that I always make a double batch just to have on hand!
- It comes together faster than preheating your oven sometimes!
- The spice blend—cinnamon, nutmeg, and allspice—is perfectly cozy.
- It sets up beautifully, exactly how a proper **apple pie filling** should.
- It works just as well spooned over ice cream as it does baked in a pie! You can check out my recipe for amazing blueberry muffins, which sometimes get this filling as a surprise topping, right here.
Achieving the Thick Apple Pie Filling Consistency
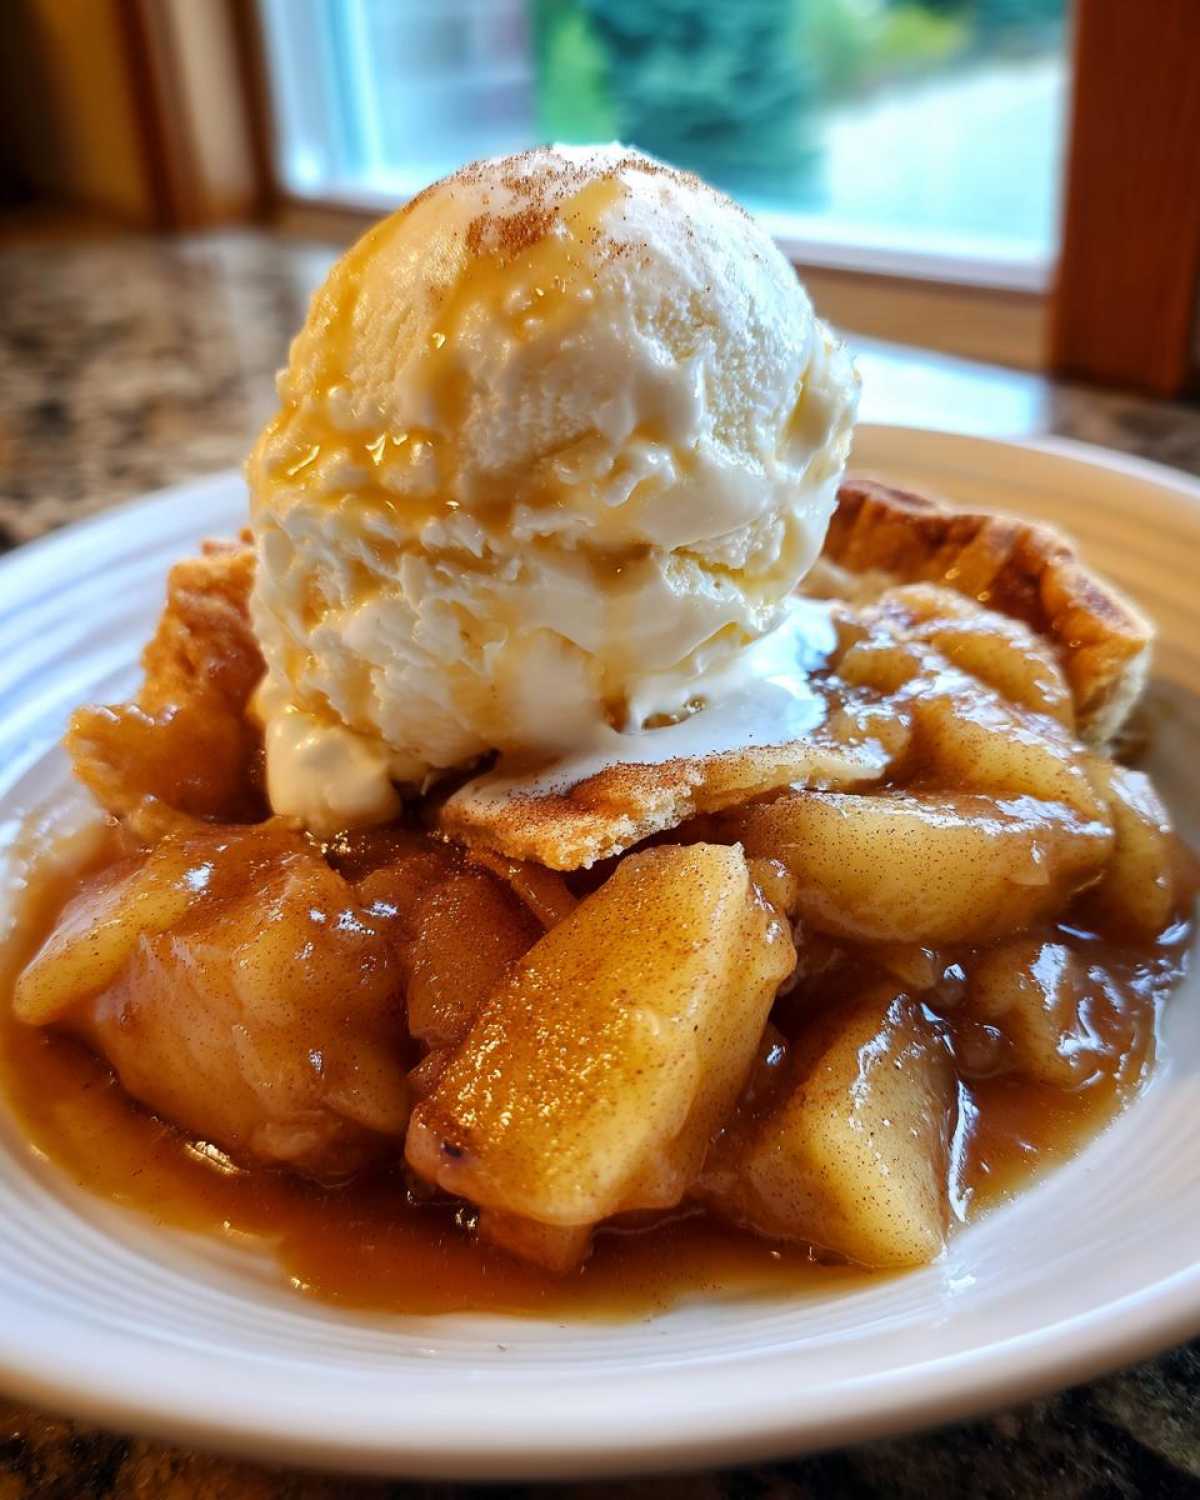
The absolute best part, in my opinion, is how we avoid that dreaded puddle at the bottom of your pie pan. We use just the right amount of flour mixed right in with the sugar and spices. This isn’t a cornstarch slurry added later; this is coating the apples first! That little bit of flour grabs all the liquid released by the apples as they cook on the stove, guaranteeing you a thick, luscious, and non-watery result right out of the pot.
Gathering Ingredients for Homemade Apple Pie Filling
Okay, let’s get our mise en place ready! Because this is a stovetop recipe, we want everything chopped and measured before we even turn on the heat, trust me. We’re aiming for about 4 cups of filling, perfect for a standard 9-inch bottom crust.
Here is exactly what you need on your counter:
- 6 medium apples (like Granny Smith or Honeycrisp), peeled, cored, and sliced 1/4 inch thick
- 3/4 cup granulated sugar – measure this out precisely!
- 2 tablespoons all-purpose flour – this is our secret weapon for thickness!
- 1 teaspoon ground cinnamon – don’t skimp here, this is the heart of that classic flavor.
- 1/4 teaspoon ground nutmeg
- 1/8 teaspoon ground allspice – just a pinch makes a difference.
- 1 tablespoon lemon juice – we need this to keep those apples looking bright!
- 1/4 cup water
- 2 tablespoons unsalted butter – this goes in at the very end for shine and richness.
Ingredient Notes and Substitutions
When it comes to apples, my absolute favorite flavor balance comes from using half tart apples, like Granny Smith, and half sweeter ones, like Honeycrisp. That mix stops the filling from tasting flat! We have to get the flavor balance right, just like in my best blueberry muffins!
Now, about that flour, which is key to keeping your **apple pie filling** nice and thick? If you happen to be baking gluten-free, you can easily swap that 2 tablespoons of all-purpose flour for 1 tablespoon of cornstarch. The cornstarch works just as well to thicken everything up beautifully on the stove, so no worries there!
Step-by-Step Instructions for Quick Apple Pie Filling Stovetop
It is time to cook! Since everything is already chopped, this moves really fast. We aren’t baking them till they turn to mush; we are just softening them up right on the stove. Keep your heat near medium for the first part—we want action, but we don’t want burning!
First, toss all your sliced apples straight into a nice big saucepan. Now, sprinkle over the sugar, flour, and all those glorious spices—cinnamon, nutmeg, and that tiny bit of allspice. Mix this really gently with a rubber spatula until every single apple slice is dusted evenly. Don’t skip coating them first!
Next, add your lemon juice (to keep things bright!) and that small amount of water. Now, place this over medium heat. You’ll cook this, stirring every so often so nothing sticks to the bottom, for about 8 to 10 minutes. This is where the apples start to get just tender enough for a pie.
Once you see it starting to bubble up nicely, turn the heat right down low. Keep going for another 5 minutes, stirring frequently. This long low simmer is crucial because it gives that flour time to work its magic and thicken everything up beautifully. You’ll see the sauce clinging to the apples instead of splashing thinly around the bottom of the pan. If you want to see how I do a similar simmering technique for my apple Bundt cake, check that out here.
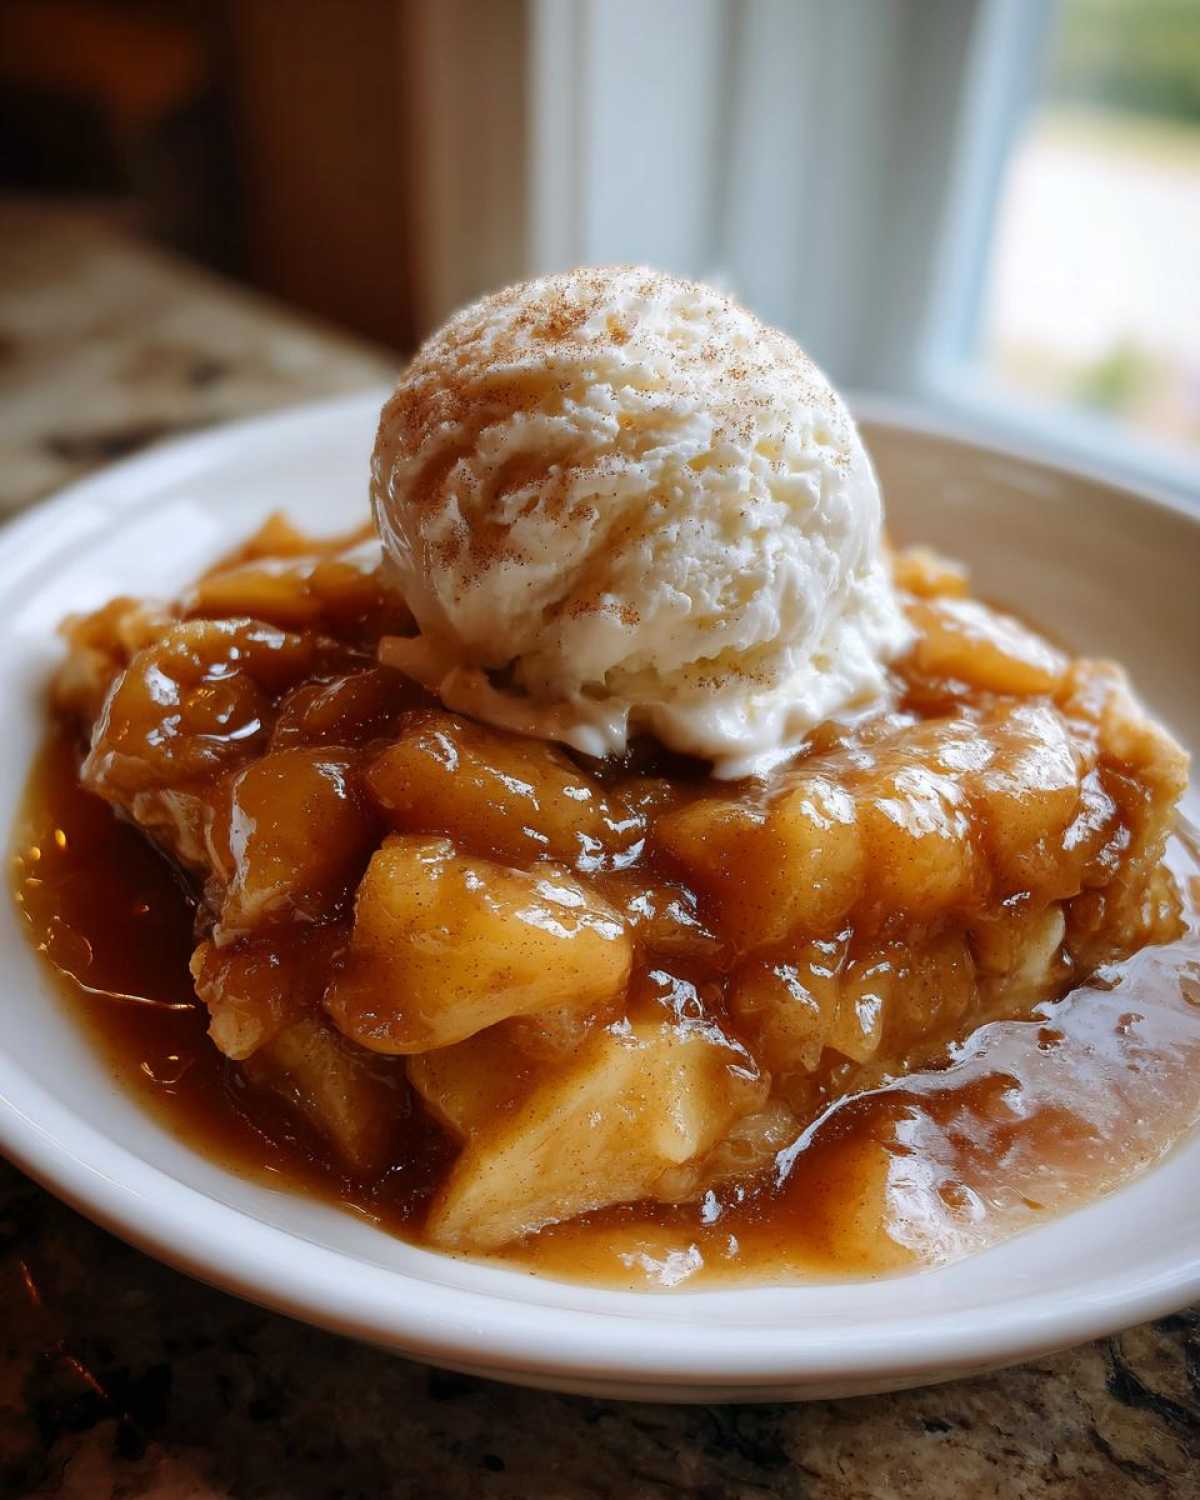
When the sauce looks glossy and thick, take the whole pan off the burner. Stir in those last 2 tablespoons of cold butter—just let it melt in all by itself. That’s the finishing touch! Let it cool a little before you use it, otherwise you’ll melt your pie crust!
The Secret to No Watery Pie Filling Secret Activation
This step right here, between adding the dry ingredients and the water, is what separates the good fillings from the great ones! See how we mixed the flour and sugar coating directly onto the raw apples before adding any real liquid (the 1/4 cup of water)? That’s the trick! The dry starch is essentially suspended around the fruit pieces right away.
When you start cooking, the apples immediately start bleeding their juice out. Since the flour is already attached to them, it grabs that initial moisture right away. This pre-coating process gelatinizes the starch slightly even before the big boil happens, meaning when you finally add the water, you’ve already got a head start on creating that thick, glorious sauce for your **apple pie filling**. It just skips the runny stage entirely!
Tips for the Best Ever Apple Pie Filling
Now that you’ve mastered the stovetop method, let’s talk tweaks. This recipe nails the classic taste, but you know me—I love making things exactly how *I* like them!
If you find your apples are naturally super sweet, maybe you used only Fuji or Gala, go ahead and boost that lemon juice to 1 1/2 tablespoons. It brightens everything up. Conversely, if you want it sweeter or richer, remember that little note in the recipe card: you can increase the flour to 3 tablespoons instead of 2. That will make the sauce cling even tighter, giving you an extra-thick **apple pie filling**.
My professional baker tip? Never, ever try to pour hot filling into an unbaked pie crust. You need to let this cool down somewhat—maybe until it’s just warm to the touch—before it goes into your bottom crust. This ensures the heat doesn’t immediately melt your butter in the dough. For more great tips on perfect baking bases, you should check out how I keep my snickerdoodles soft for days; the concept of temperature control is similar!
Also, remember that mix-and-match apple strategy I mentioned? Using both tart and sweet is what makes this truly the **best ever apple pie filling**.
Versatile Uses for Your Spiced Apple Filling for Baking
I honestly think making this **apple pie filling** and only using it for pies is a huge waste of its potential! Seriously, don’t let leftover filling go to waste; use it the next morning! Since we nailed that thick, non-watery consistency, this spiced mixture is perfect for topping just about anything warm and delicious. It’s part of what makes this recipe one of my go-to easy dessert recipes!
Here are a few ways I use up any extras after pie night:
- The Crisp Base: Take about 2 cups of this filling and pop it into a small baking dish. Top it with my favorite oat crumble—you can find my easy recipe for an Apple Crisp Topping Recipe mentioned in my muffin guide—and bake until bubbly. Instant crisp!
- Breakfast Treat: Spoon a generous amount right over my fluffy buttermilk pancakes. It’s basically a shortcut to a gourmet brunch! You can see how I make those flapjacks here.
- Oatmeal Upgrade: Stir half a cup into your morning bowl of oatmeal along with a dollop of yogurt. It tastes like dessert for breakfast, which is always a win.
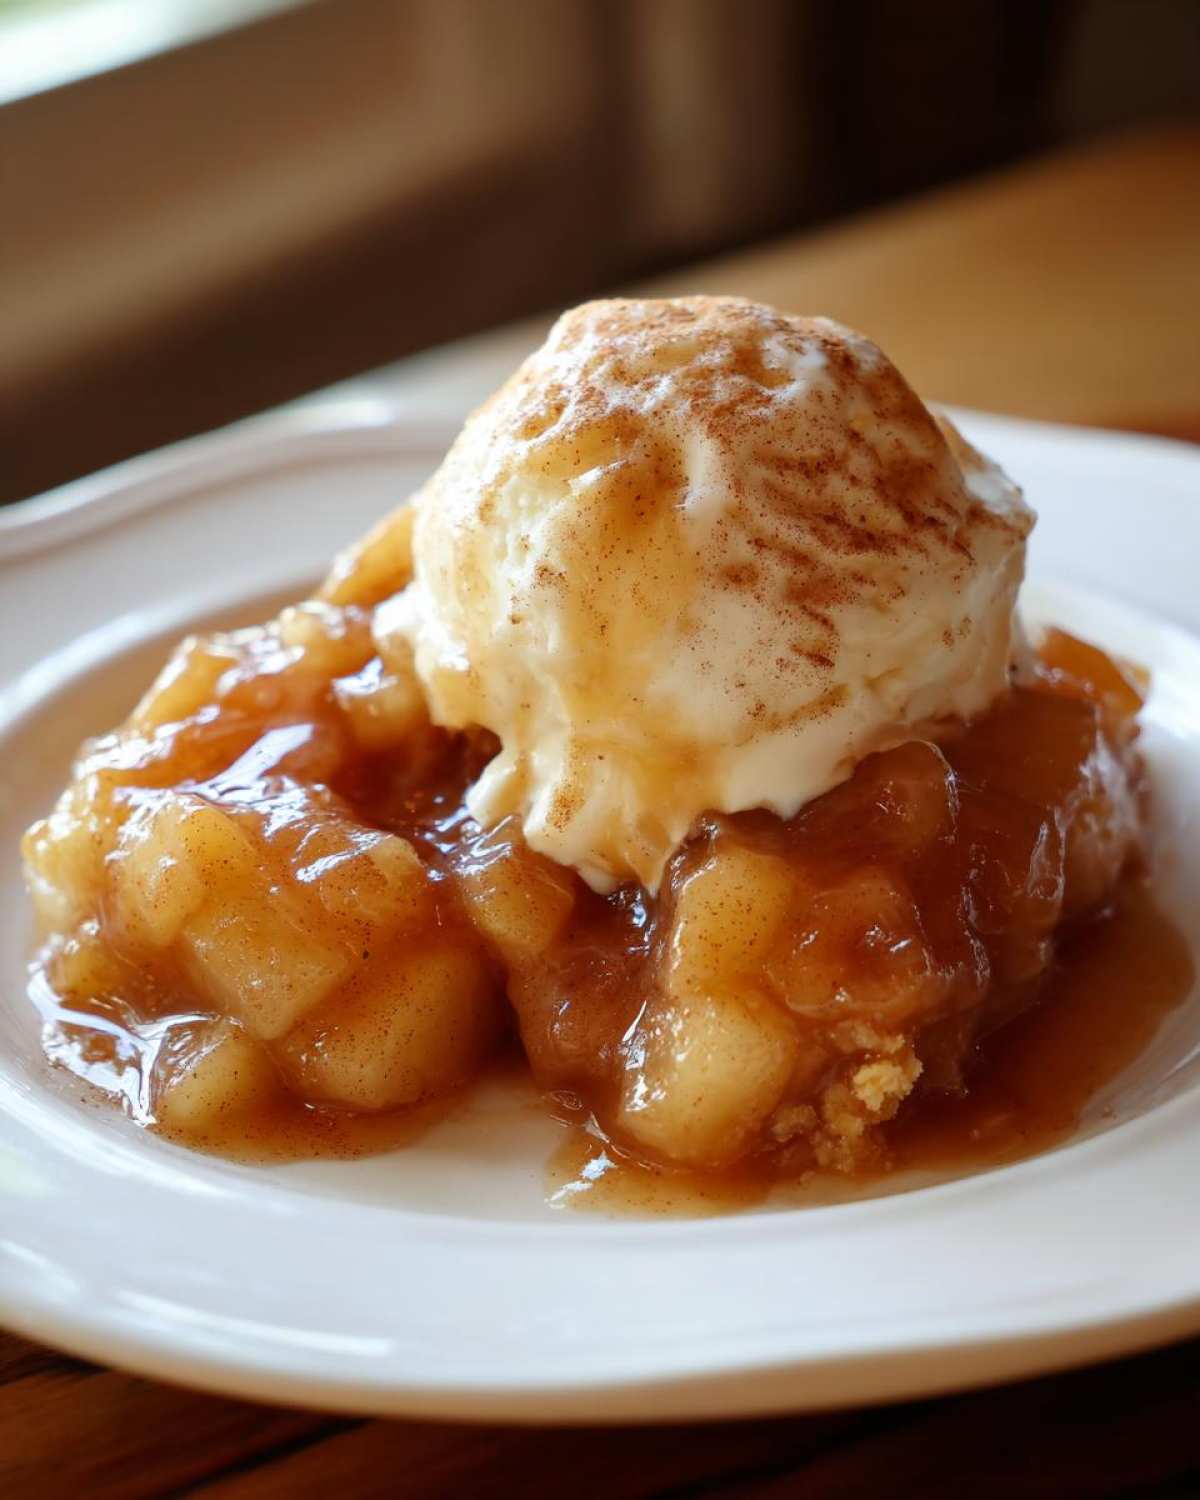
See? It’s not just for the crust; it’s a flavor powerhouse that makes any simple treat feel special!
Storage and Reheating Your Cinnamon Apple Filling Recipe
Luckily for us, because we worked so hard to get that **apple pie filling** perfectly thick and not watery, it stores like an absolute dream! You don’t want to pour piping hot filling into a storage container; you want to let it cool down on the counter until it’s just warm before you seal it up. That stops condensation from forming, which is the enemy of good leftovers!
I usually keep my leftover **Cinnamon Apple Filling Recipe** in an airtight container right in the fridge. Honestly, thanks to that right amount of sugar and proper cooking, it stays wonderfully fresh for about a solid week. I’ve even used leftovers made on Sunday for pie next Saturday, and it tasted just as good!
Looking to make a huge batch for the holidays? This stuff freezes like a charm! I transfer the cooled filling into a heavy-duty freezer bag, making sure to press out as much air as humanly possible before sealing it. You can lay those bags flat on a baking sheet in the freezer until they are solid—this makes storage so much easier. Once frozen hard, you can stack them up nicely. It lasts great in the freezer for up to three months.
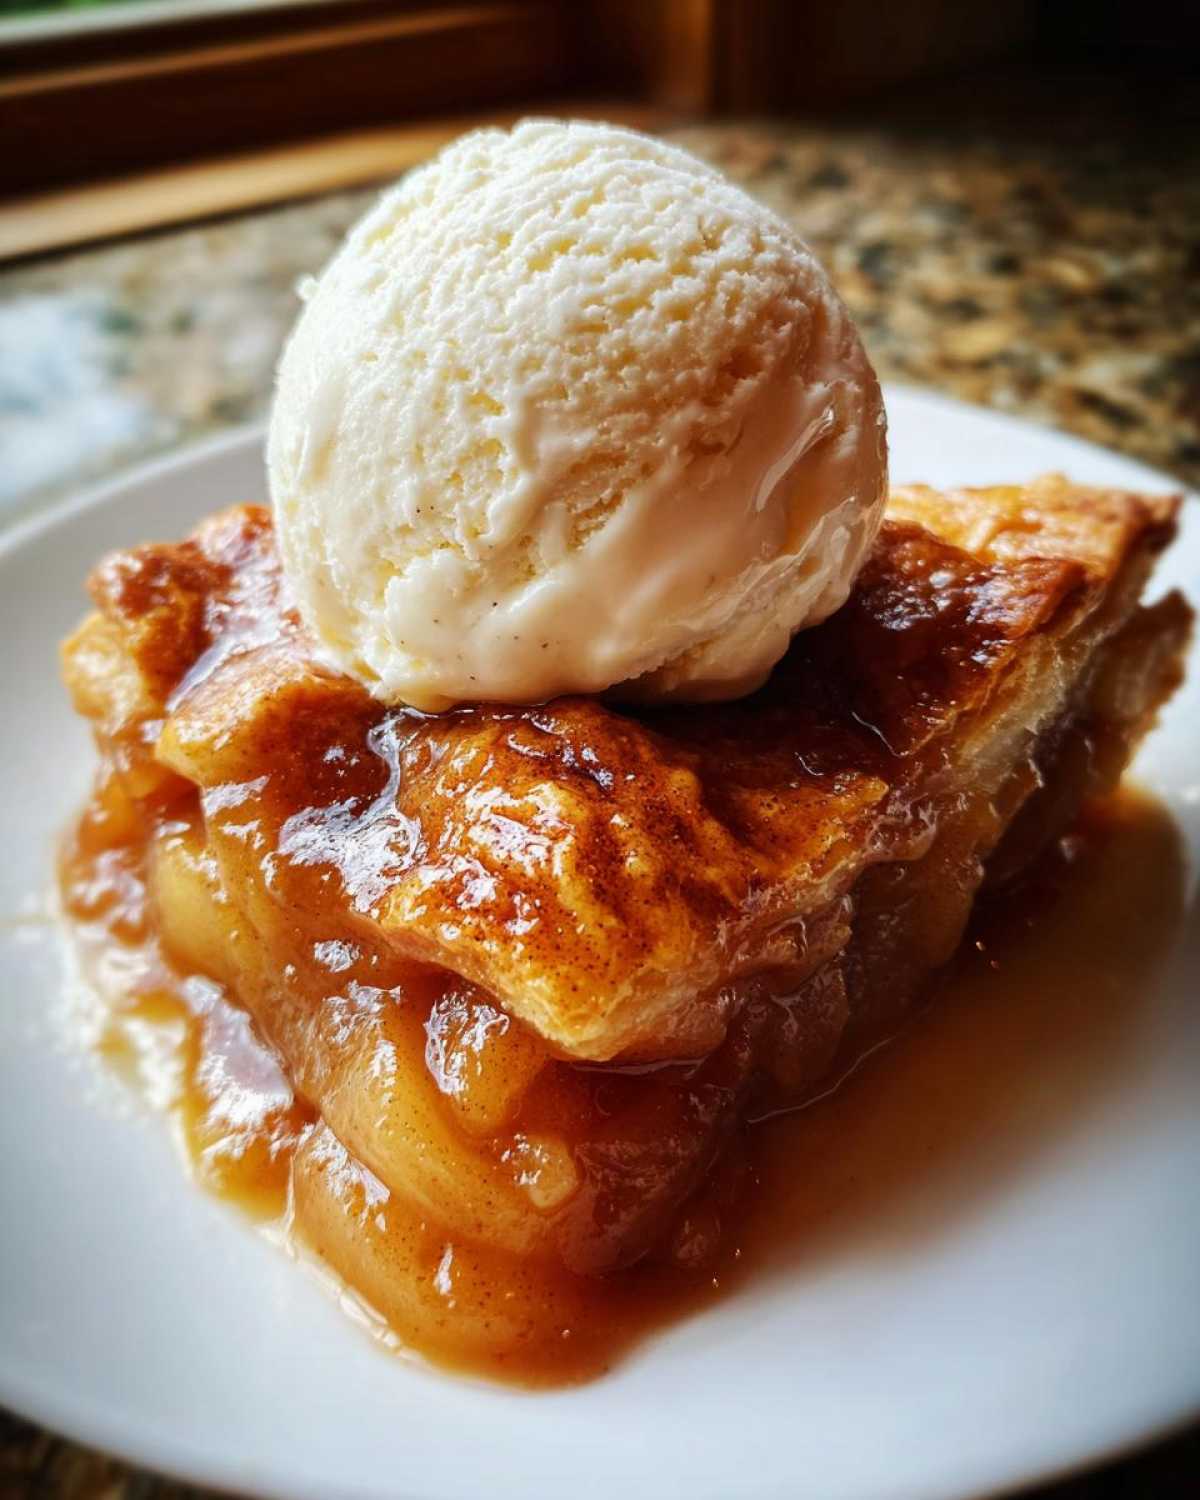
When you’re ready to reheat, just transfer the amount you need into a small saucepan—no need to thaw the whole bag if you don’t want to! Heat it gently over low to medium-low heat, stirring often. It should come back to life beautifully in about 5 to 8 minutes. If you feel like it thickened up a little *too* much in the fridge, just splash in a teaspoon of water or apple juice while it’s heating. You want it smooth and glossy before pouring it into your next pie, crisp, or oatmeal bowl. If you’re into making other preserves, you might enjoy my easy jam recipe, which has similar storage rules!
Frequently Asked Questions About Making From Scratch Apple Pie Filling
I get so many emails weekly asking similar things about this stovetop method, which is great! It means you’re getting ready to make some amazing things. Here are the most common questions I hear when folks are trying to whip up their first batch of **from scratch apple pie filling**.
Can I use a bag of pre-cut apples to save time?
Oof, I really caution against that slightly! While this recipe is designed to be fast, those pre-cut apples are already losing moisture and can get mushy fast on the stove. For this recipe where we are using a little flour, you really need the control you get from slicing your own fruit—about 1/4-inch thick! That fresh, firm slice is what holds up best during the cooking process.
How do I make this gluten-free?
It’s super easy to adapt this **easy apple pie filling recipe**! As I mentioned earlier, the flour is just there to thicken the juices. Just swap the 2 tablespoons of all-purpose flour for 1 tablespoon of cornstarch. That works perfectly and keeps the final sauce silky smooth without any gluten!
What do I do if my apples still seem too firm after the cooking time?
Don’t panic! This happens sometimes depending on how crisp your apples were to start. If they aren’t quite tender after the 10 minutes on medium heat, just turn the burner down to the lowest setting, put a lid on the pan, and let them steam gently for another 3 to 5 minutes. They’ll soften right up, and you still won’t have a watery filling because the lid traps humidity, forcing the apples to release their internal moisture sooner.
If you are loving learning how to do things completely from scratch, you might enjoy my guide on starting a sourdough starter—it’s a completely different skill but follows the same patience principle!
Can I use this to make an Apple Crisp Topping Recipe?
Absolutely! This is a perfect base for a crisp topping—it’s already spiced! You just need to make sure you add a thick layer of streusel or crumble topping over the warm filling before baking it. The filling itself is what makes the juicy part of the crisp, so yes, it’s perfect for that!
Nutritional Estimates for This Apple Pie Filling
Okay, so while this **apple pie filling** is clearly a spectacular treat and not exactly diet food—it is made with butter and sugar, after all—I always like to give you a rough idea of what you’re looking at nutritionally. Since we are using simple ingredients, it’s much better than those pre-made fillings loaded with weird stabilizers!
These numbers are estimates based on using the exact measurements in the recipe above, split into about 8 servings (or 1/2 cup servings). Remember, every brand of sugar or butter will change things slightly, so take these figures as a helpful guideline rather than gospel!
Here’s the quick snapshot based on a 1/2 cup serving:
- Calories: Around 240
- Sugar: About 35 grams (That’s mostly from the apples and added sugar, naturally!)
- Fat: Only about 3 grams, thanks to using just 2 tablespoons of butter total.
- Carbohydrates: Coming in around 55 grams.
- Protein: Very low, around 0 grams.
- Fiber: A nice little boost of 3 grams from those delicious cooked apples!
It’s certainly a sweet treat! If you’re watching your sugar intake, you can use a sugar substitute, but remember that sugar helps with the texture and preservation, so you might need to slightly adjust the flour amount if you swap it out. You can always read my standard site disclaimer regarding nutrition reports right here, just to keep things transparent!
Share Your Thoughts on This Easy Apple Pie Filling Recipe
Well, that’s it! You’ve got the secrets to making the **thicking apple pie filling** that will knock Martha Stewart’s socks off, all in under 25 minutes. Now, it’s your turn in the kitchen!
I absolutely live to hear how things turn out in your home. Did you use Granny Smiths or Honeycrisp? Did your filling set up perfectly thick, or did you need that extra half-teaspoon of flour? Please, please tell me! Leave a rating for this **Easy Apple Pie Filling Recipe** below so other bakers know it’s a keeper.
And if you took a beautiful picture of your finished pie, or maybe you used the leftover **apple pie filling** over pancakes like I suggested, I insist you tag me on social media. I love seeing my recipes come to life in your kitchens!
If you have any questions or just want to share a quick note, feel free to reach out to me through my contact page. Happy baking, friends! I’ll be waiting to read all about your success with this quick stovetop method!
PrintQuick Stovetop Apple Pie Filling

Make a thick, spiced apple pie filling on the stovetop in under 20 minutes. This recipe prevents watery results and works well for pies, crisps, or as a topping.
- Prep Time: 10 min
- Cook Time: 15 min
- Total Time: 25 min
- Yield: About 4 cups
- Category: Dessert
- Method: Stovetop Cooking
- Cuisine: American
- Diet: Vegetarian
Ingredients
- 6 medium apples (like Granny Smith or Honeycrisp), peeled, cored, and sliced 1/4 inch thick
- 3/4 cup granulated sugar
- 2 tablespoons all-purpose flour
- 1 teaspoon ground cinnamon
- 1/4 teaspoon ground nutmeg
- 1/8 teaspoon ground allspice
- 1 tablespoon lemon juice
- 1/4 cup water
- 2 tablespoons unsalted butter
Instructions
- Combine the sliced apples, sugar, flour, cinnamon, nutmeg, and allspice in a large saucepan. Toss gently to coat the apples evenly.
- Add the lemon juice and water to the saucepan.
- Place the saucepan over medium heat. Cook, stirring occasionally, until the mixture begins to bubble and the apples soften slightly, about 8 to 10 minutes.
- Reduce the heat to low. Continue to cook, stirring often, for another 5 minutes, or until the sauce has thickened to your liking. The flour helps prevent a watery filling.
- Remove the pan from the heat. Stir in the butter until it melts completely.
- Let the filling cool slightly before using it in a pie crust or as a topping.
Notes
- For a thicker filling, increase the flour to 3 tablespoons.
- Use a mix of tart and sweet apples for the best flavor balance.
- This filling is excellent spooned over pancakes or oatmeal.
Nutrition
- Serving Size: 1/2 cup
- Calories: 240
- Sugar: 35
- Sodium: 5
- Fat: 3
- Saturated Fat: 2
- Unsaturated Fat: 1
- Trans Fat: 0
- Carbohydrates: 55
- Fiber: 3
- Protein: 0
- Cholesterol: 8