

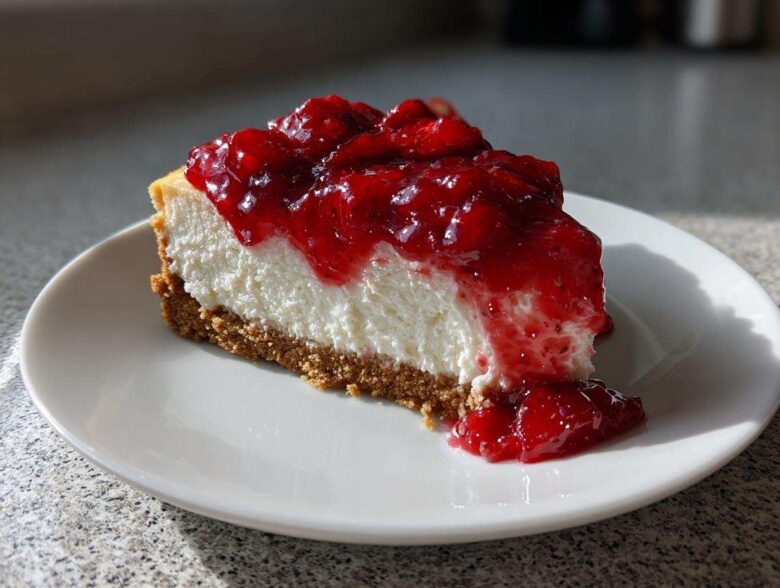
Oh my gosh, can we talk about creamy desserts for just a second? Nothing, and I mean *nothing*, beats that perfect, luxurious texture you get when you slice into a cheesecake that’s just right. I’ve had my fair share of cracked tops and watery fillings over the years, believe me! But after tons of testing, I finally nailed the secret to the Classic Baked New York Style Strawberry Cheesecake. This isn’t just any recipe you find online; this is the one that actually works every single time. Seriously, if you’re hunting for that rich, dense, melt-in-your-mouth goodness in a strawberry cheesecake, you’ve absolutely come to the right place. Forget the store-bought stuff—we’re making magic today.
Why This Classic Baked Strawberry Cheesecake Recipe Works
When you look at recipes for the strawberry cheesecake, you see a million variations. But this one stands out because it respects the rules of a true New York style bake. That means thickness, density, and that pure, unadulterated cream cheese flavor are front and center. The method isn’t hard, but it requires a little respect for the physics of baking!
- We rely on the water bath, which is non-negotiable! It creates a steamy little environment in your oven so the edges don’t bake faster than the center.
- This recipe uses the proper ratio of cream cheese to sugar and eggs, giving it that beautiful, rich height.
- We slow-cool the cake right inside the oven, which is the single biggest trick to avoiding sad, ugly cracks on the top.
If you follow these steps, you’ll get that gorgeous, creamy texture that lets you know you’ve made something truly special. Check out my main cheesecake recipe overview if you want to dive deep into textures!
Achieving the Creamy Strawberry Cheesecake Filling
The secret to that incredibly rich and creamy filling isn’t just the product quality; it’s the temperature! Everything—and I mean *everything*—needs to be completely at room temperature before it even thinks about hitting the bowl. If your cream cheese is cold, you’ll end up beating it too hard trying to smooth out the lumps, and that incorporates too much air.
Too much air equals bubbles, and bubbles lead to cracks! For the best results, make sure your filling ingredients are soft enough to mash with a fork easily. Mix slowly, start low, and only mix until you just don’t see streaks anymore. Trust me on this temperature tip!
Essential Ingredients for Your Strawberry Cheesecake
Okay, you know I love that cheesecake filling, but even the best technique can’t save you if you use sub-par ingredients. Since this is a classic baked dessert, we need quality coming straight out of the gate! Getting these proportions right is how we build trust with the ingredients—it guarantees the structure we need, especially for the water bath bake. Don’t skip rounding up everything before you start mixing, it keeps the flow moving smoothly!
We need three main groups: the simple, sturdy crust; that gorgeous, tangy filling; and finally, the bright, fresh sauce to crown the whole thing. You can check out how I handle ingredient lists for other recipes, like my famous pumpkin cheesecake recipe, but this one is streamlined for perfection.
Ingredients for the Graham Cracker Crust
- 1 1/2 cups graham cracker crumbs
- 1/4 cup granulated sugar (for crust)
- 6 tablespoons unsalted butter, melted
That melted butter is crucial here; it’s what binds those crumbs together so your crust doesn’t crumble away when you try to slice it later!
Ingredients for the Creamy Strawberry Cheesecake Filling
- 3 (8 ounce) packages cream cheese, softened
- 1 1/2 cups granulated sugar (for filling)
- 1 teaspoon vanilla extract
- 1/4 cup heavy cream
- 4 large eggs
- 1 tablespoon lemon juice
Remember the rule: fully softened cream cheese is your best friend for getting that lump-free, creamy result!
Ingredients for the Fresh Strawberry Topping
- 1 pound fresh strawberries, hulled and sliced
- 1/4 cup granulated sugar (for topping)
- 1 tablespoon cornstarch
- 2 tablespoons water
The cornstarch might seem like a cheat, but it’s what makes sure our beautiful strawberry sauce thickens up nicely instead of just running everywhere once it hits that cool cheesecake.
Step-by-Step Instructions for Perfect Strawberry Cheesecake
This is where the magic happens! Don’t rush this part, sweetie. Getting the timing right on the bake and the cooling is the difference between a professional-looking strawberry cheesecake and one that looks like it survived a minor earthquake. I’ve found that having your classic baked cheesecake directions handy helps immensely!
Preparing the Crust and Setting up the Water Bath
First things first: Preheat that oven to 325\u00b0F (160\u00b0C). Now, take that 9-inch springform pan and wrap the outside of it. I mean *really* wrap it. Use heavy-duty foil and go around at least three times. This foil shield is what protects the crust from water when we set up the water bath later. Once wrapped, mix your crust ingredients—crumbs, sugar, and melted butter—and press that mixture down firmly into the bottom of the pan. Pop that into the oven for 10 minutes, then let it cool down completely while you make the filling. That pre-bake sets the base!
Mixing the Light and Fluffy Strawberry Cheesecake Filling
Grab your now-softened cream cheese. Beat it until it’s absolutely lump-free—this is important! Once it’s smooth, gently beat in the rest of the sugar, the vanilla, and the heavy cream. We are aiming for a light and fluffy strawberry cheesecake texture, so don’t go whipping it on high speed! Now, add the eggs, but you have to do them one by one. Seriously, just until you see the yellow disappear before adding the next one. Mix in that lemon juice last, then pour this liquid gold over your cooled crust. If you want a gorgeous swirl effect, check out this strawberry swirl cheesecake recipe idea!
Baking and Slow Cooling the Baked Strawberry Cheesecake
Time for the water bath! Place your foil-wrapped springform pan inside a larger roasting pan. Carefully pour hot water into the big pan until it’s halfway up the sides of the cheesecake pan. Slide it all into the oven and bake for about 60 to 75 minutes. The edges should look set, but the center needs that little jiggle—that’s a good sign! When it’s done, turn the oven OFF. Crack the door open a tiny bit and let it sit in that residual heat for a full hour. This slow cooling step is the secret weapon against cracks!
After that slow cool, take it out, remove the foil and set it on a rack to cool to room temperature. Then, cover it and chill it for at least six hours, but honestly, overnight is how you get the best texture. Right before serving, whip up that simple strawberry sauce we talked about!
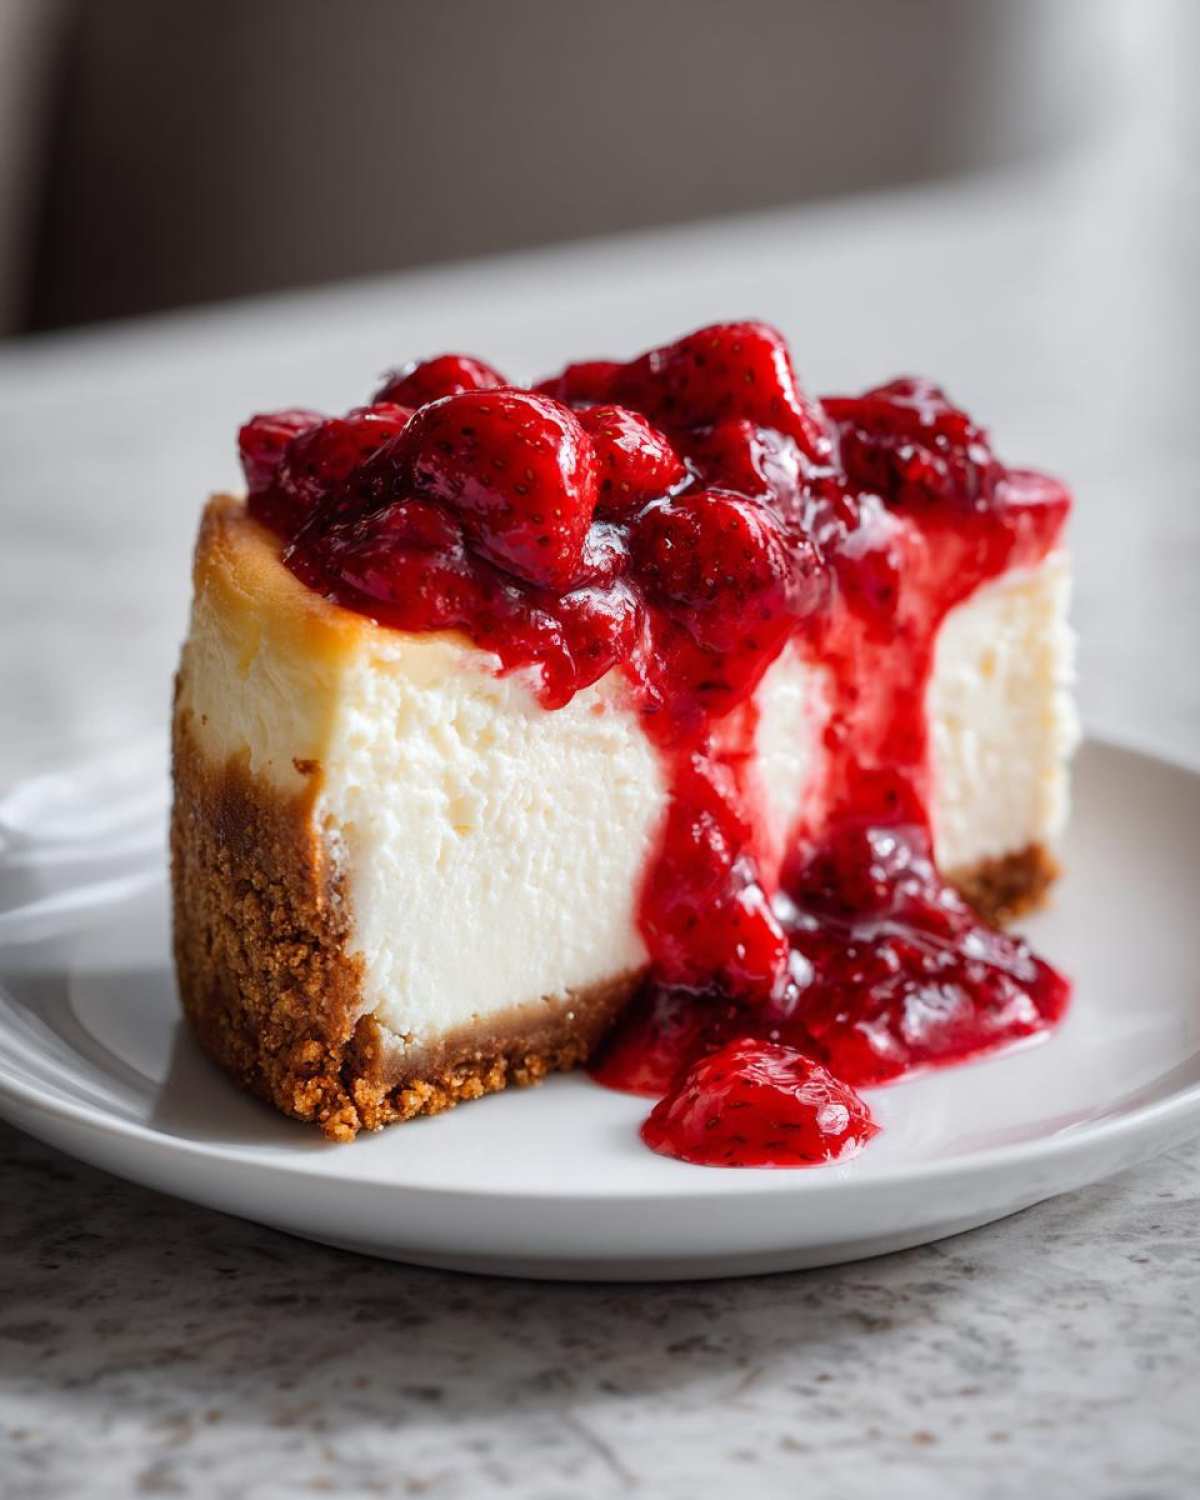
Tips for Success with Your Homemade Strawberry Cheesecake
You’ve baked it, you’ve cooled it patiently (I hope!), and now you’re just waiting for that glorious moment when you can finally slice into your strawberry cheesecake. I know it’s hard, but the chilling stage is just as important as the baking itself! These final few tips are the ones I swore by when I finally perfected my technique and stopped fighting with my dessert every time.
We want that incredibly dense, smooth mouthfeel New York style is known for, and chilling locks everything in place. If you ever want to explore a totally different, no-bake version, check out my turtle cheesecake recipe guide, but for this baked beauty, patience is key!
Chilling Guide for the Perfect Strawberry Cheesecake Set
Listen, if you slice into this cheesecake while it’s warm, you’re going to end up with a big, creamy puddle. We’re aiming for structural integrity here! The minimum time this needs in the fridge is six hours. I’m serious, set a timer! But if you can hold out until the next day—overnight is best—the flavors actually marry together, the texture firms up beautifully, and everything just tastes richer.
When you finally take it out, make sure it sits on the counter for about 30 minutes before you try to release the springform ring. If it’s ice cold, trying to cut it or remove the sides can cause the edges to break away. A little warming up helps everything release cleanly!
Strawberry Cheesecake Crust Ideas and Variations
So, while the graham cracker crust is classic for a reason—it’s sturdy, buttery, and that slight honey flavor is perfect—I totally get it if you want to switch things up! Not everyone keeps graham crackers stocked, or maybe you just want something a little crunchier or saltier for your strawberry cheesecake. I’ve played around with so many different bases, and I highly recommend branching out!
Don’t be afraid to experiment with your strawberry cheesecake crust ideas; just make sure whatever you choose binds together well! You need that solid foundation to hold all that delicious creamy filling.
Here are a few of my favorites that work beautifully when you bake them for that 10-minute set:
- Shortbread Cookies: Swap the graham crackers for crushed shortbread cookies. This gives you a much softer, almost buttery shortbread base that pairs wonderfully with the fresh strawberries on top. Use the same amount of crumbs and melted butter!
- Vanilla Wafers: These offer a slightly different sweetness. Crush them finely, mix with butter, and press. They create a very delicate crust that almost melts into the bottom layer of the filling.
- Pretzel Crust (My Secret Weapon!): Yes, pretzels! Crush about 1 1/2 cups of plain, salted pretzels and treat them exactly like the graham crackers—mix with butter and a little bit of brown sugar this time. The saltiness cuts through the richness of the cheesecake filling so perfectly. It’s unexpected, delicious, and totally gourmet!
Whatever you pick, remember that pre-baking it for those 10 minutes is what keeps the crust from getting soggy when the water bath starts working its steam magic!
Serving Suggestions for this Rich Dessert Recipe Strawberry
Once that beautiful creation is chilled and set, the final presentation is everything! When you finally slice into that thick layer of cheesecake, you want the topping placed just so. I suggest spooning the cooled strawberry sauce over each slice individually right before serving, rather than coating the whole top beforehand. This keeps the cheesecake itself looking clean and pristine.
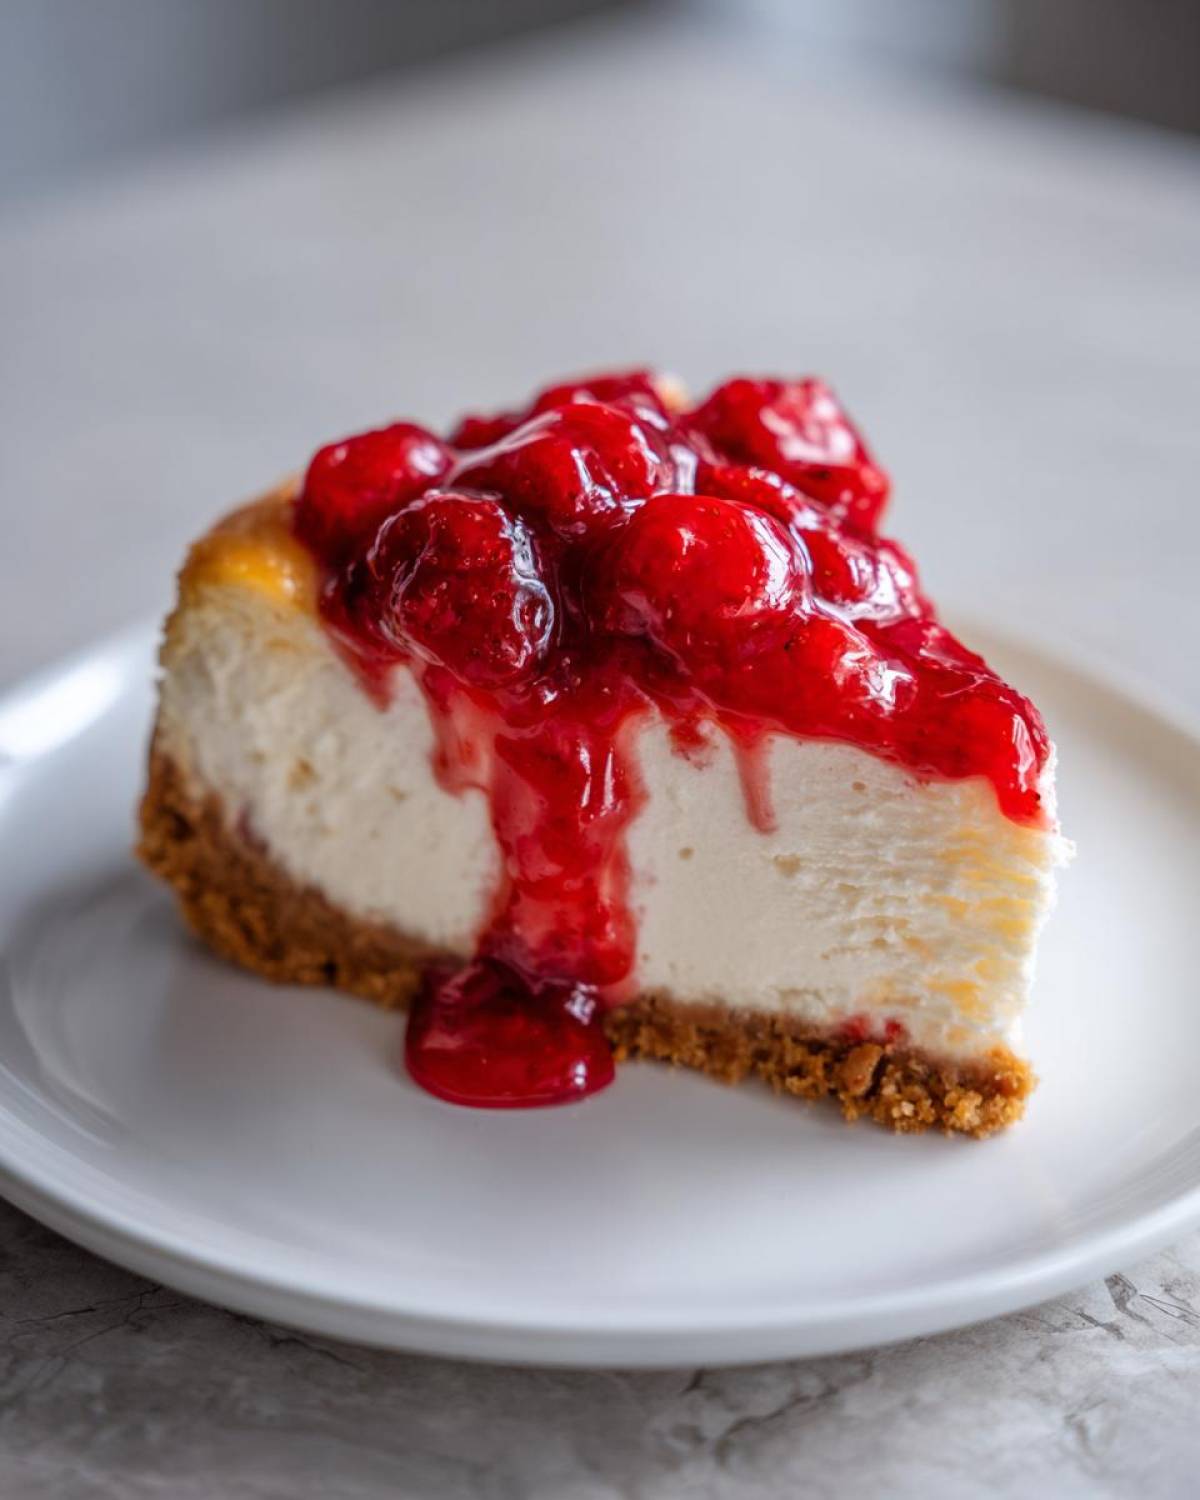
To cut through the richness of this dessert, skip heavy drinks and go for something bright. A cup of simple, hot coffee, maybe even my wonderful morning coffee smoothie recipe served on the side, makes a divine pairing. A light herbal tea also works wonders!
Storage and Reheating Instructions for Strawberry Cheesecake
Okay, so you’ve managed to resist eating the entire thing in one sitting—kudos to you! Now we need to talk about keeping this beauty perfect until you get to the next slice. Since this is a rich dessert, we want to protect that creamy filling from drying out or picking up any funky fridge smells.
The absolute best way to store your leftovers is right in that springform pan, but you need to be careful with the topping. If you drizzled the fresh strawberry sauce over the top before chilling, that sauce might start weeping or getting a little too liquidy overnight.
Here’s my trick: If you have extra cheesecake slices without sauce, cover the cut edges tightly with plastic wrap—that means pressing the wrap right up against the exposed filling. Then, keep the whole thing covered loosely in the pan (or transferred to an airtight container) in the refrigerator. It keeps beautifully for about four to five days.
Now, reheating? Don’t even bother! A baked cheesecake is designed to be served cold or slightly cooler than room temperature. Heating it up will just break down the structure and make it soupy again. The best way to enjoy day two leftovers is to let a slice sit on the counter for maybe 20 minutes before digging in. If you want to add fresh strawberry topping, wait until the slice is softened slightly!
Frequently Asked Questions about Making Strawberry Cheesecake
I know you might have questions bubbling up—it happens every time I make a classic baked dessert! Dealing with a big, beautiful item like a strawberry cheesecake can feel intimidating, but honestly, most issues come down to a few simple timing or temperature mistakes. I’ve gathered the most common things people ask me about when they try this recipe for the first time.
Can I make this Strawberry Cheesecake without a water bath?
Oh, I really wish I could tell you no, but you really shouldn’t skip the water bath for this New York style recipe. If you leave it out, the dry heat of the oven will cause the edges to cook way faster than the center. That almost guarantees your beautiful filling will bake unevenly, resulting in a dry edge and a jiggly, cracked middle. The water bath keeps everything gentle and steamy. If you’re looking for something zero-stress, check out my no bake strawberry cheesecake tutorial instead!
What is the best way to prevent my cheesecake from cracking?
Preventing cracks comes down to two main tactics we discussed! First, never, ever overmix the filling once the eggs are in; we want smooth, but not aerated! Second, and this is the most important one, you must cool it slowly. Turn the oven off, crack the door, and leave it in that warm environment for a full hour. Rushing the temperature change is what shocks the filling and causes those terrible fissures to appear. Patience equals perfection with baked cheesecake!
Can I use frozen strawberries for the topping instead?
You can, but I strongly advise against it if you can swing it! Fresh is always superior for that bright, summery flavor we want on top of our rich strawberry cheesecake. Frozen berries release way more water when they cook down, and no matter how much cornstarch you add, the sauce ends up being runnier. If you absolutely must use frozen, let them thaw completely first and strain off any excess liquid before mixing them with the sugar and cornstarch.
My crust shrank away from the sides. What happened?
That’s usually because the crust wasn’t pressed down firmly enough, or you didn’t pre-bake it long enough to set that butter! When you press crumbs into the bottom, really use the flat bottom of a measuring cup to compact it tightly into the springform pan. If it’s loose, it shrinks away from the metal as it bakes and heats up. Make sure you pack it right up against the sides slightly, too, just for looks!
Share Your Perfect Strawberry Cheesecake Creation
That’s it! You’ve navigated the water bath, you’ve slowed the cool down, and now you have the most beautiful, rich strawberry cheesecake sitting in your fridge! I truly hope this recipe makes your day a little bit sweeter. When you finally slice into it, please come back and tell me how it went! Rate the recipe below and share a photo of your masterpiece (especially that glorious strawberry topping!) over on my blog share page. I can’t wait to see the perfect results!
PrintClassic Baked New York Style Strawberry Cheesecake with Fresh Berry Topping
Follow these steps to create a rich, creamy, New York style baked cheesecake topped with a bright, fresh strawberry sauce.
- Prep Time: 30 min
- Cook Time: 75 min
- Total Time: 8 hours 45 min
- Yield: 12 servings
- Category: Dessert
- Method: Baking
- Cuisine: American
- Diet: Vegetarian
Ingredients
- 1 1/2 cups graham cracker crumbs
- 1/4 cup granulated sugar (for crust)
- 6 tablespoons unsalted butter, melted
- 3 (8 ounce) packages cream cheese, softened
- 1 1/2 cups granulated sugar (for filling)
- 1 teaspoon vanilla extract
- 1/4 cup heavy cream
- 4 large eggs
- 1 tablespoon lemon juice
- 1 pound fresh strawberries, hulled and sliced (for topping)
- 1/4 cup granulated sugar (for topping)
- 1 tablespoon cornstarch
- 2 tablespoons water
Instructions
- Preheat your oven to 325°F (160°C). Wrap the outside of a 9-inch springform pan tightly with heavy-duty aluminum foil.
- Prepare the crust: Combine graham cracker crumbs, 1/4 cup sugar, and melted butter. Press the mixture firmly into the bottom of the prepared springform pan. Bake for 10 minutes. Let cool completely.
- Prepare the filling: In a large bowl, beat the softened cream cheese until smooth. Gradually beat in 1 1/2 cups sugar, vanilla extract, and heavy cream until just combined. Do not overmix.
- Beat in the eggs one at a time, mixing only until each egg is incorporated. Stir in the lemon juice. Pour the filling over the cooled crust.
- Create a water bath: Place the foil-wrapped springform pan inside a larger roasting pan. Carefully pour hot water into the roasting pan until it reaches halfway up the sides of the springform pan.
- Bake for 60 to 75 minutes. The edges should look set, but the center should still have a slight jiggle.
- Turn off the oven, crack the oven door open slightly, and let the cheesecake cool inside the oven for 1 hour. This slow cooling prevents cracking.
- Remove the cheesecake from the water bath and foil. Cool completely on a wire rack, then chill in the refrigerator for at least 6 hours, preferably overnight.
- Prepare the topping: In a small saucepan, combine sliced strawberries, 1/4 cup sugar, cornstarch, and water. Cook over medium heat, stirring constantly, until the sauce thickens and bubbles, about 5 minutes. Let the sauce cool completely before serving.
- To serve, run a thin knife around the edge of the cheesecake before releasing the springform side. Top with the cooled strawberry sauce.
Notes
- For the smoothest filling, ensure your cream cheese is fully at room temperature before mixing.
- To prevent the foil from tearing in the water bath, use two layers of heavy-duty foil wrapped securely around the pan bottom and sides.
- If you prefer a swirl, reserve 1/3 of the filling, mix 1/2 cup of strawberry puree into the remaining 2/3, then layer the plain and strawberry fillings before baking.
Nutrition
- Serving Size: 1 slice
- Calories: 450
- Sugar: 35g
- Sodium: 300mg
- Fat: 28g
- Saturated Fat: 17g
- Unsaturated Fat: 11g
- Trans Fat: 0.5g
- Carbohydrates: 42g
- Fiber: 1g
- Protein: 8g
- Cholesterol: 110mg