

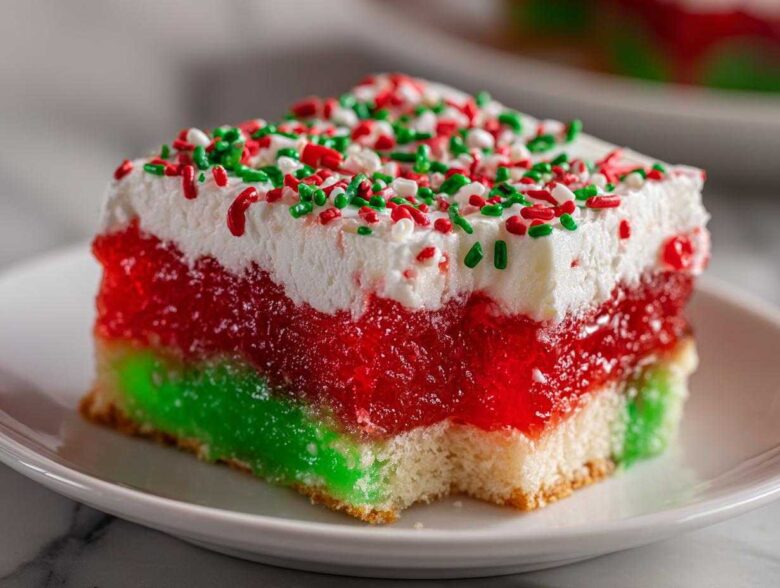
Oh my goodness, are you ready for the easiest thing you’ll bring to a holiday party this year? I’m so excited to share this because honestly, when the holiday schedule gets hectic, I need desserts that look like they took hours but actually took minutes. This **Christmas Poke Cake** is IT! It’s vibrant, it’s ridiculously moist thanks to all that Jello soaking in, and those bright red and green layers just scream ‘We’re celebrating!’
I’ve found that the secret to surviving Christmas potlucks is always bringing something that’s stable and requires zero fuss right before serving. I whipped this up last year for my neighbor’s open house, and everyone asked for the recipe immediately. Seriously, it’s practically foolproof, and you won’t believe how pretty the cross-section looks when you slice into it. You absolutely have to try this German Chocolate Poke Cake variation next year, but for now, let’s get our festive fix!
Why This Christmas Poke Cake is Your Must-Make Festive Dessert
Look, holidays are stressful enough without needing a complicated bake. This recipe is my go-to because it ticks all the boxes for a perfect **Easy Holiday Cake Recipe**.
- The red and green Jello infusion gives you instant, vibrant holiday cheer—it’s practically decorated itself!
- It’s such a **Quick Festive Dessert**; once the cake is baked, the assembly flies by.
- That Jello bath keeps the cake impossibly moist for days. Honestly, it tastes better the second day!
- It’s ideal for big crowds and always disappears first at holiday parties. You want to try this Chocolate Eclair Cake next, too!
Essential Ingredients for the Festive Christmas Poke Cake
You won’t need any fancy equipment for this, which is the joy of a great **Christmas Poke Cake**! We’re relying on standard pantry staples that do all the heavy lifting for us. Everything works together here to make sure that cake stays as moist as possible.
Here is what you’ll need for the full assembly:
- You start with one box of white cake mix, plus whatever the box tells you to add (usually eggs, oil, and water). Trust me on the white cake mix base; it’s porous and light, which lets the Jello soak in way better than a dark chocolate cake would!
- We need one cup of boiling water, specifically for dissolving the gelatin.
- Then, you grab two separate 3 oz packages of Jello—one red and one green. This is where the magic holiday coloring comes from!
- You’ll also need one cup of cold water, split between the two Jello mixtures.
- For the unbelievable creamy topping, you need one container (8 oz) of frozen whipped topping, thawed.
- Plus, a small drizzle of sweetened condensed milk to sweeten and stabilize that topping.
- And of course, grab your favorite jar of red and green sprinkles for that final festive sparkle!
If you happen to have a really high-quality white cake mix on hand, consider using it! The better the base, the fluffier and more receptive it is to soaking up all that amazing Jello flavor. Check out this Cranberry Orange Cake Recipe if you want another easy holiday flavor!
Step-by-Step Instructions for Your Red and Green Christmas Poke Cake
Okay, let’s get baking! This timeline is what separates a good poke cake from an absolutely stunning, moist holiday centerpiece. You’ll need to plan for cooling time because rushing this part is what leads to a soggy mess. I always start the baking process first thing in the morning!
Baking the Base and Preparing the Jello Infusion
First things first, prepare your white cake mix according to the box directions and get it baked up in your 9×13 inch pan. Don’t try to get fancy here; a standard oven mix works perfectly. Once it’s baked, let that cake cool down completely on a wire rack. If you try to poke a warm cake—trust me—the holes will just turn into one giant ripped mess!
While it’s cooling, you handle the festive colors. In two separate bowls, mix the red gelatin with 1/2 cup of boiling water each, stirring until it dissolves nicely. After two minutes, stir 1/2 cup of cold water into each bowl. Now, here is the super important housekeeping tip for your **Christmas Poke Cake**: set those bowls aside to cool down to room temperature. If you pour hot Jello onto your cake, it will melt right through the structure!
Poking and Setting the Layers for a Moist Holiday Treat
Once your cake is totally cool and your gelatin is room temperature, grab the handle of a wooden spoon—that’s my preferred tool, or you can use a big fork—and start poking holes all over the surface. I aim for holes about an inch apart. You need to cover the whole surface so the color spreads nicely!
Now, pour the cooled red gelatin evenly over exactly half of the cake’s surface. Be gentle; let gravity do the work as the liquid sinks into those little holes you made. Then, repeat the process on the other half with the green gelatin. Smooth it out so you have two distinct, beautiful halves.
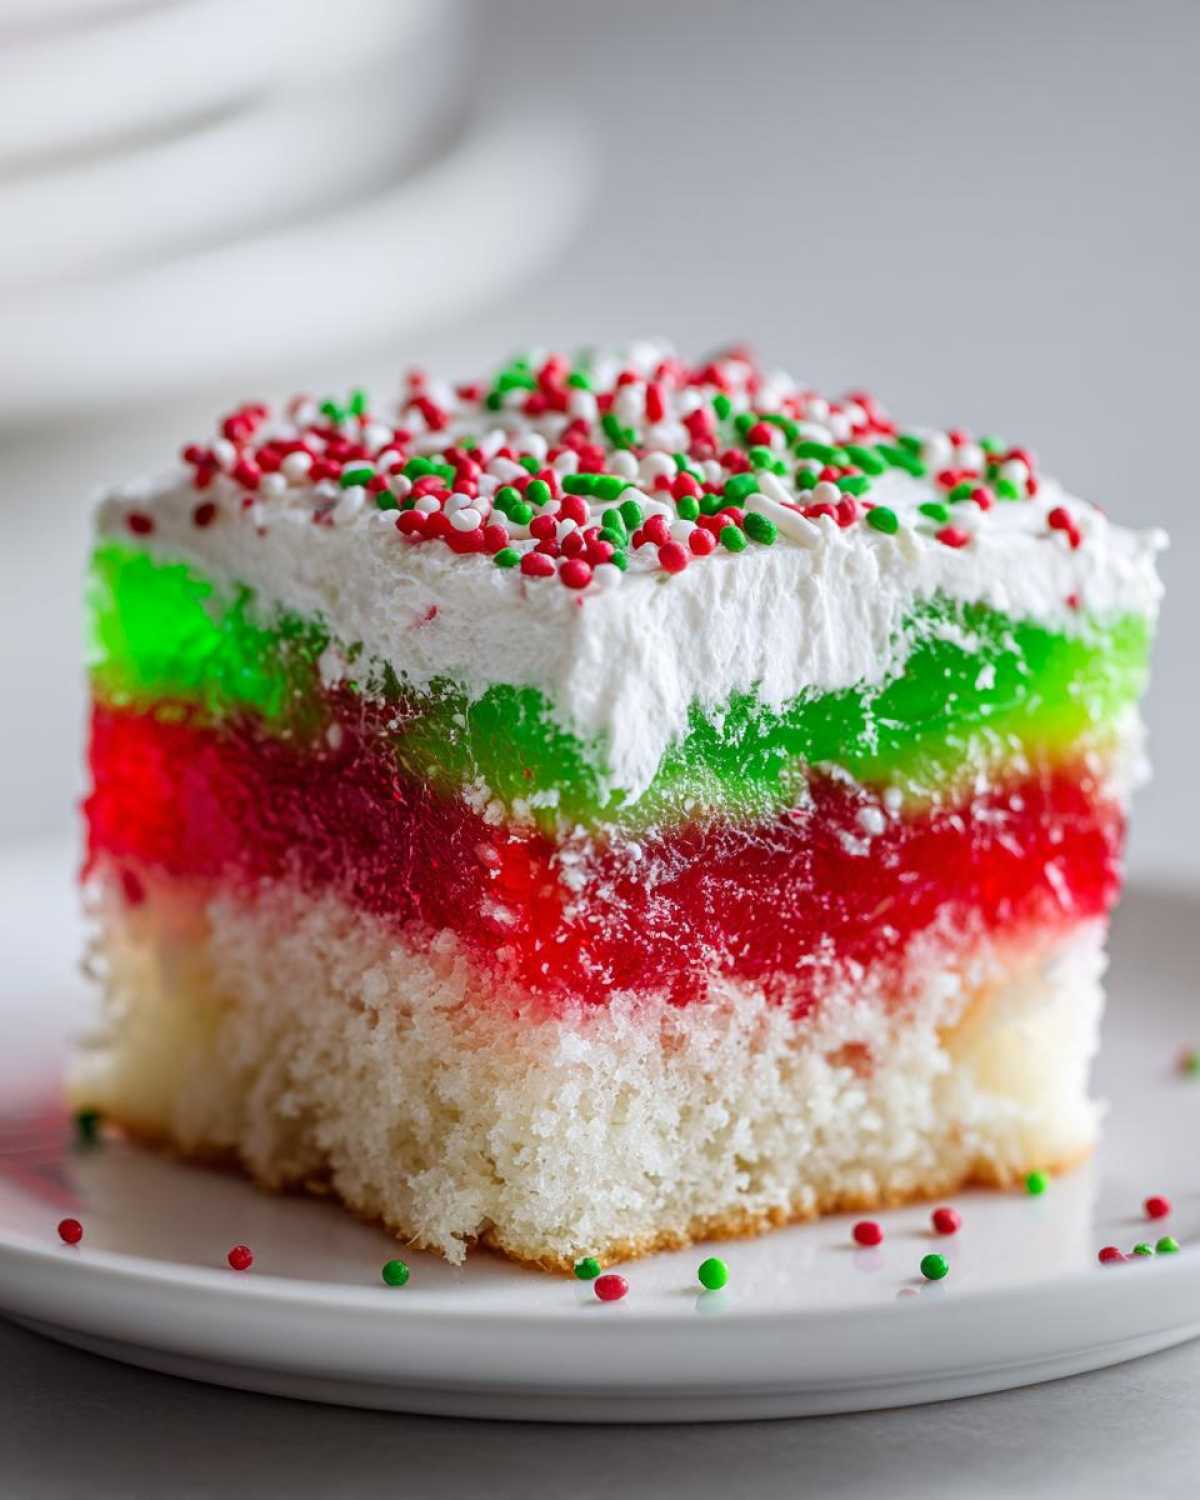
This next step is where patience pays off for that perfect **Moist Holiday Treat** texture. Cover the whole pan and pop it into the refrigerator for at least three hours. You need that gelatin to be completely, firmly set before you even *think* about putting the topping on. If it wiggles, it waits!
Finishing the Christmas Poke Cake with Topping and Sprinkles
Once the layers are firm, it’s time for the creamy finish! In a small bowl, I whisk together the thawed container of whipped topping with the sweetened condensed milk until it’s smooth and dreamy. That condensed milk really adds a nice, subtle depth compared to plain whipped cream.
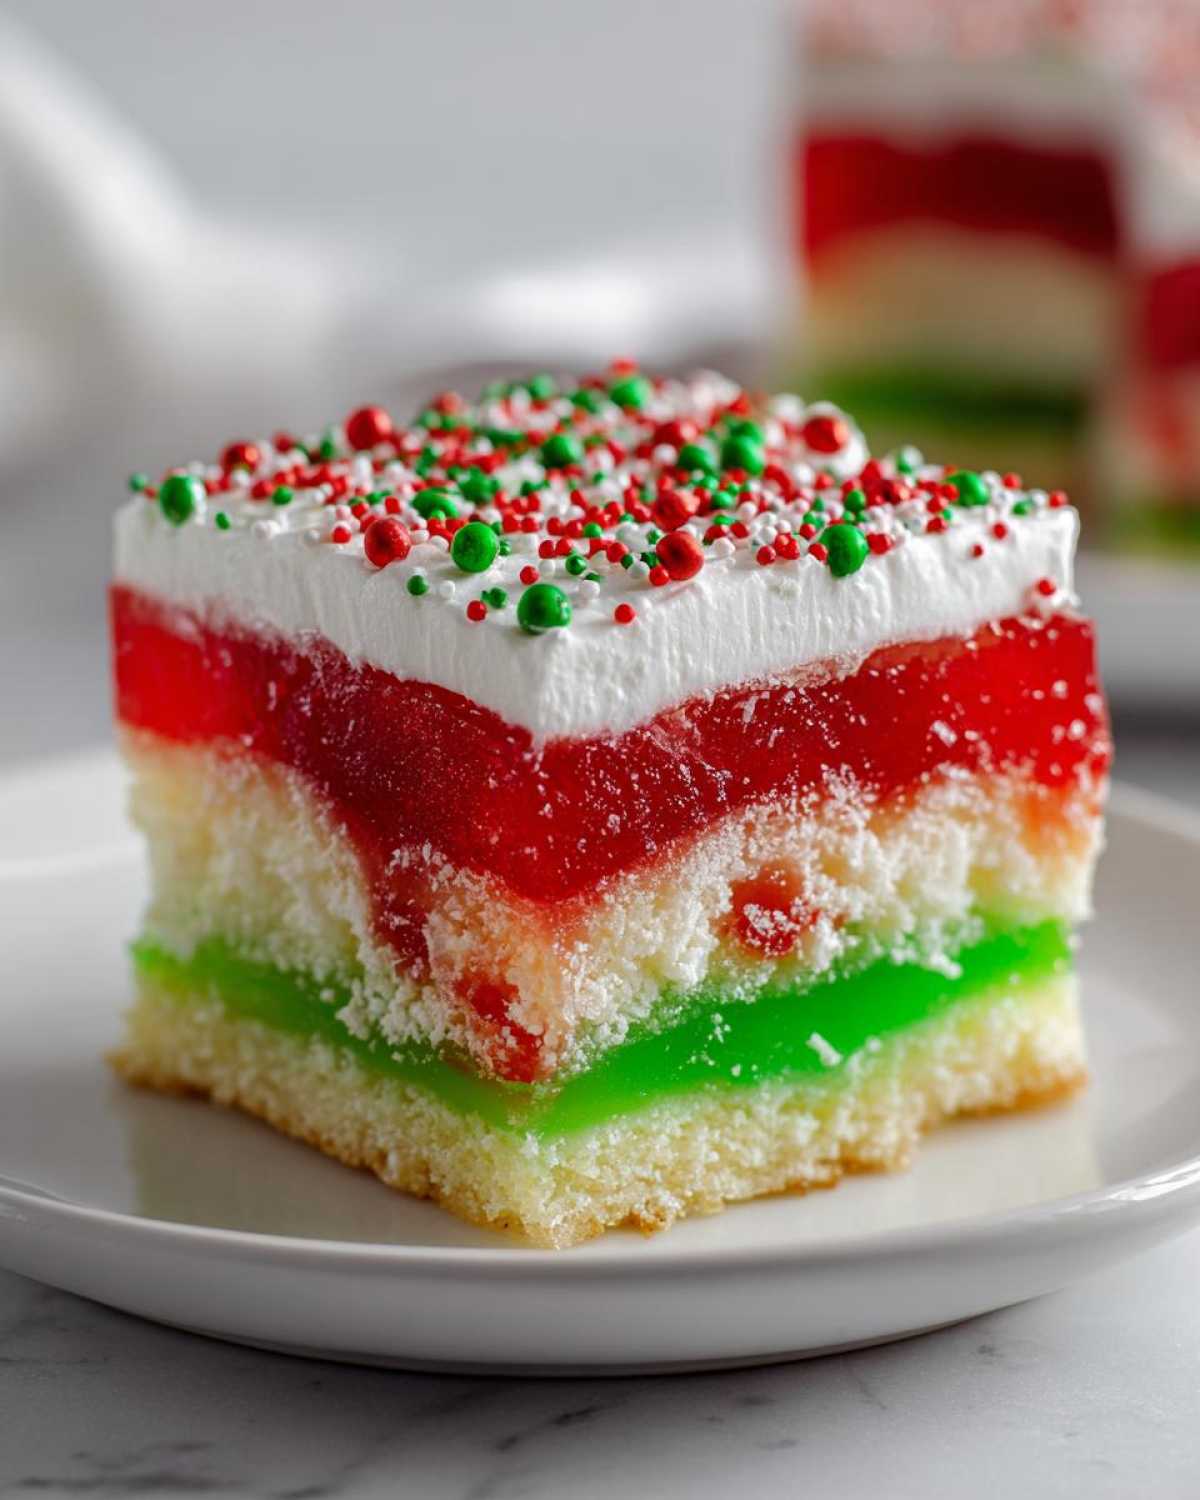
Carefully spread that wonderful mixture evenly over the top of your now set, colorful gelatin layers. Don’t worry about making it perfectly smooth; a slightly rustic look is charming for the holidays!
Finally, the fun part! Immediately decorate the whole thing with generous amounts of red and green sprinkles. This seals the deal and makes it the prettiest **Red and Green Cake** on the table!
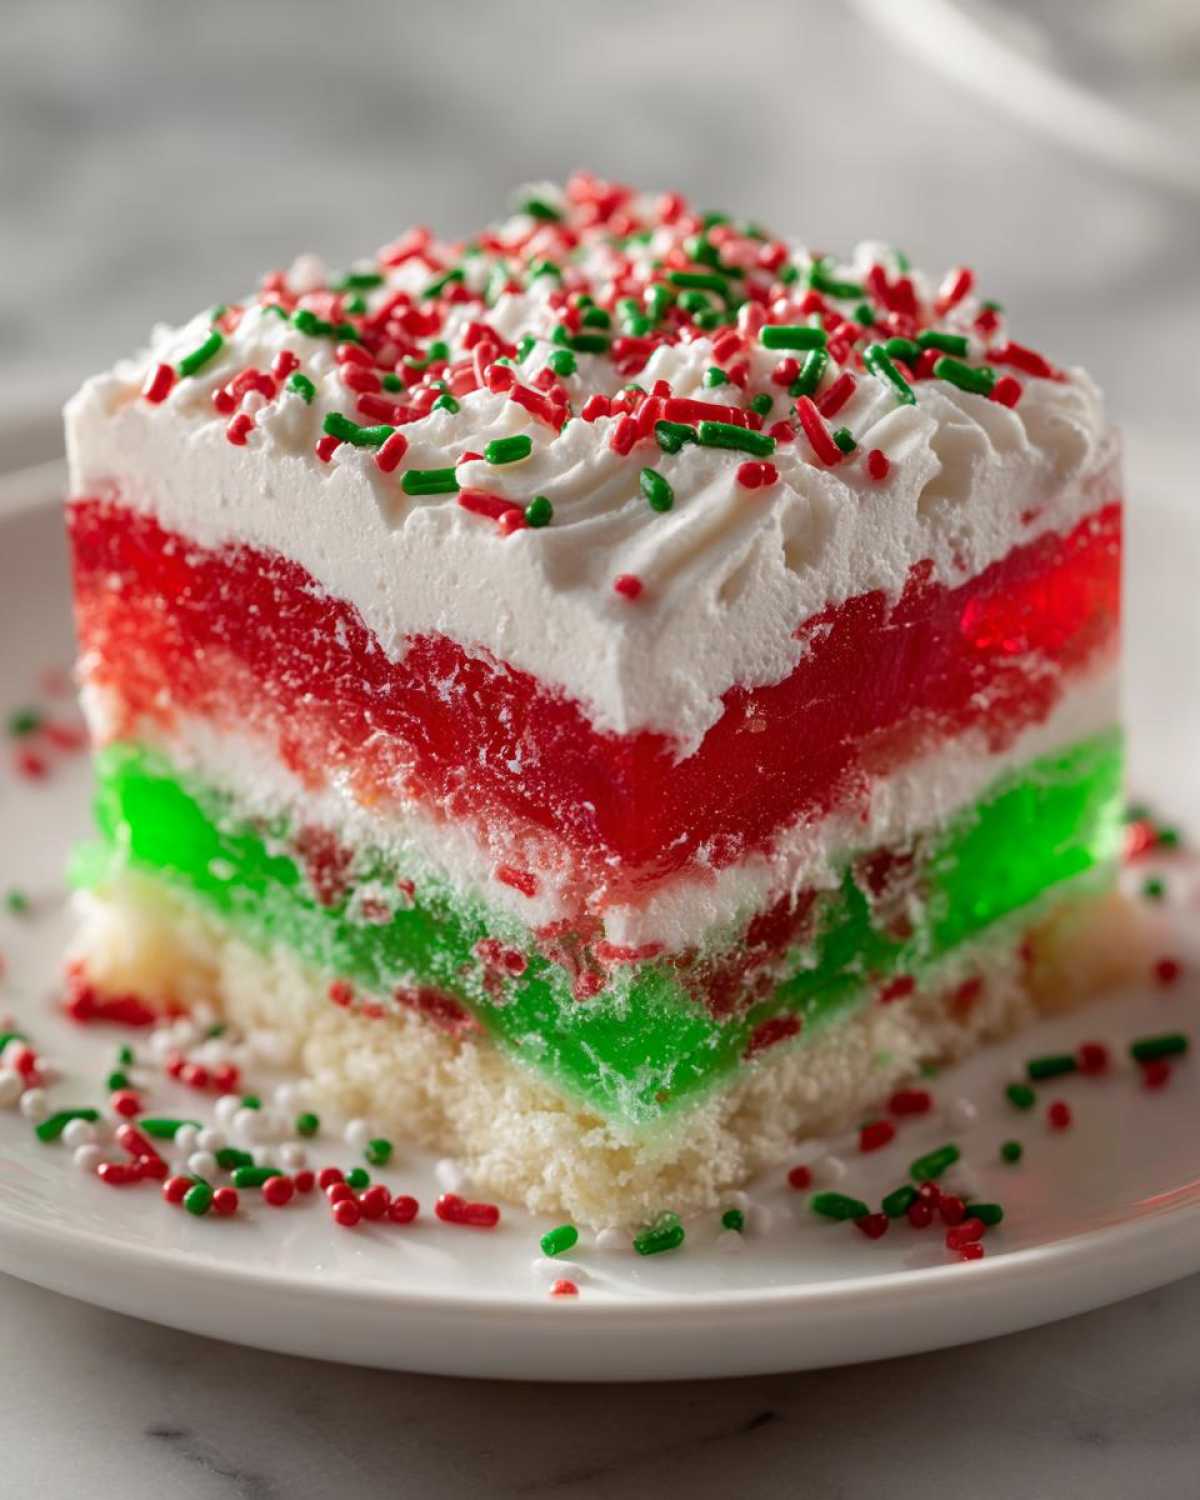
You can check out how I make a similar layered look with my Coconut Poke Cake while you wait for your Jello to set!
Tips for the Perfect Christmas Poke Cake Texture and Look
Getting this **Christmas Poke Cake** just right is all about timing and temperature control; it’s not hard, it just needs a little respect for the cooling times! If you are worried about runny gelatin, remember my number one rule: your Jello *must* cool down to room temperature before it ever touches the cake. If it’s warm, it melts those beautiful white cake crumbs instead of sinking neatly in.
Another big tip, especially if you are making this for a big party, is to absolutely make it the day before. I know the recipe notes mention this, but I cannot stress it enough! Chilling overnight lets the cake absorb the full flavor of the Jello, and the topping firms up perfectly. This makes it one of the best **Layered Poke Cake Ideas** because it travels like a dream.
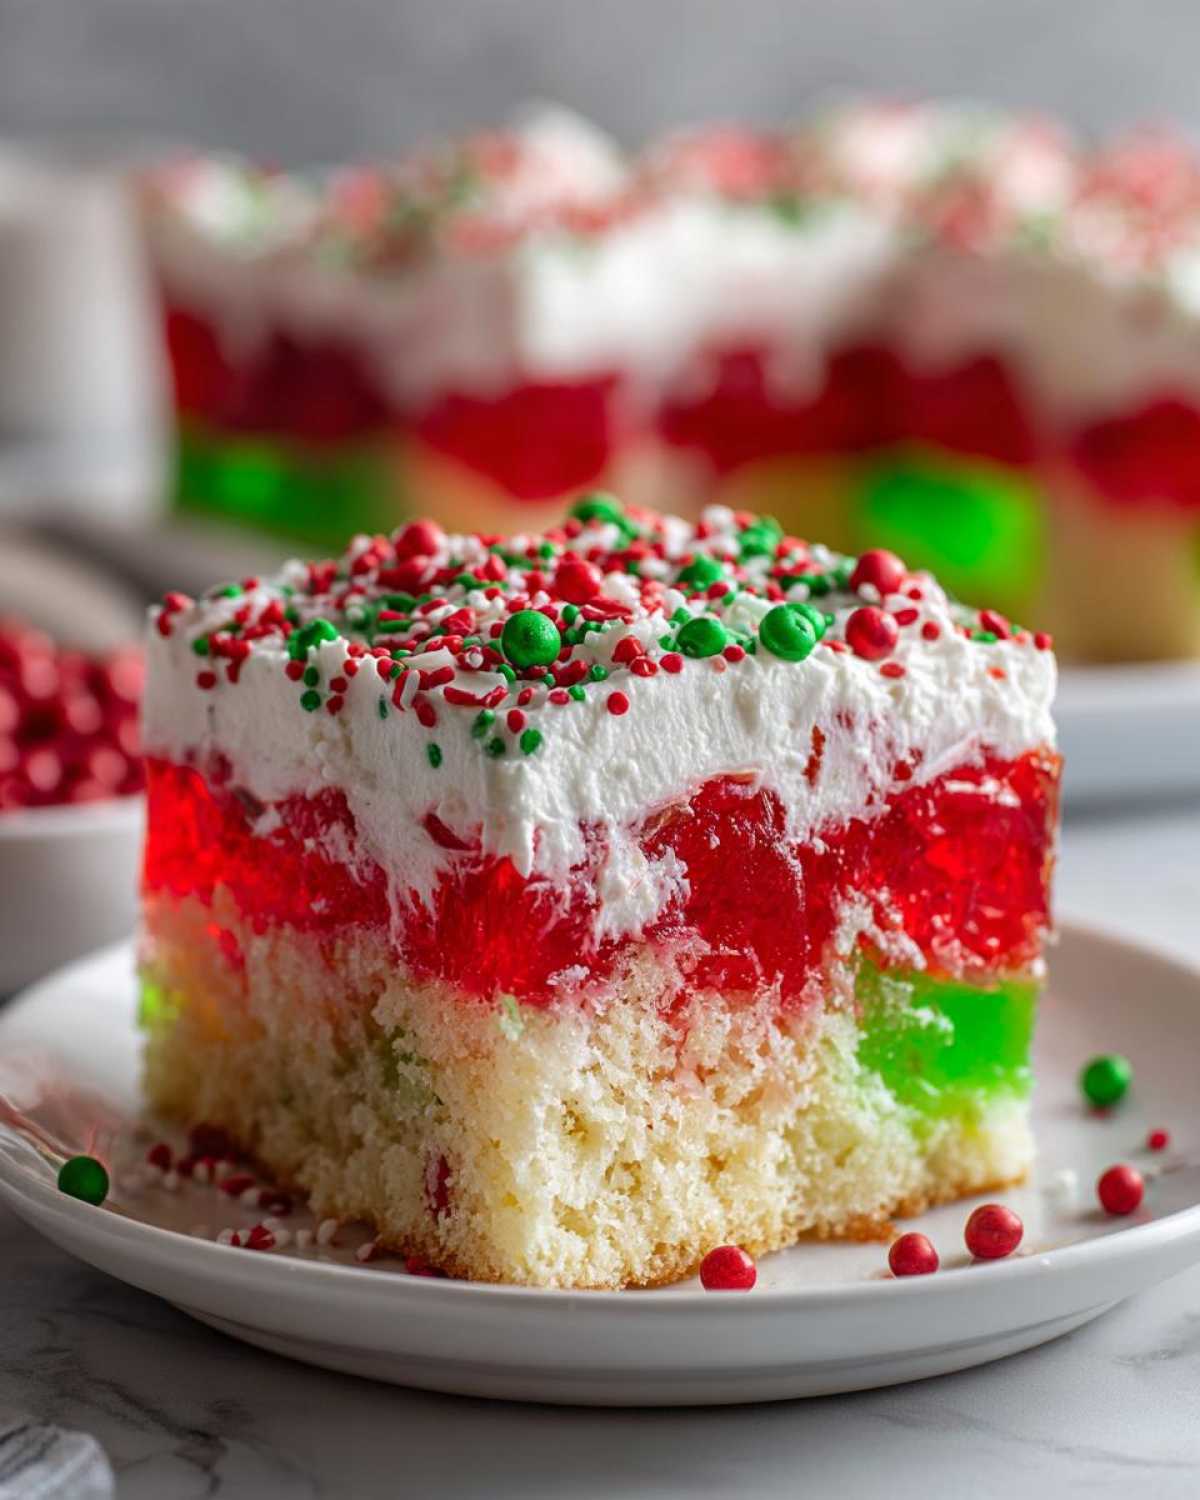
When you pull it out of the fridge the next day, give it a quick once-over. Sometimes the whipped topping dulls a bit, so a fresh, final dusting of sprinkles right before serving makes it look like you just finished it. This simple trick keeps that **Festive Christmas Dessert** looking vibrant and fresh, even if it’s been chilling since Christmas Eve!
If you love that deep, rich flavor, you might try adapting this into a Red Velvet Bundt Cake flavor profile next time, but for now, stick to the cold set for this amazing Jello infusion.
Ingredient Substitutions for Your Christmas Poke Cake
I know sometimes you’re running to the store, and they are totally out of *that* exact one thing you need, or maybe you just don’t like whipped topping plain. Don’t sweat it! This recipe is wonderfully forgiving, even when creating the ultimate **Christmas Poke Cake**.
The base cake mix is the one thing I beg you not to swap out. That white cake mix is porous, and it’s designed to soak up the Jello like a giant, fluffy sponge for that signature **Moist Holiday Treat** texture. If you swap that, you’re changing the whole game!
Swapping Out the Whipped Topping
The sweetened condensed milk and whipped topping create a light, subtly sweet layer that lets the Jello colors shine through. But if you happen to prefer something a little tangier or richer, you can totally swap it out. My favorite alternative is a simple, slightly softened cream cheese frosting! Just whip up any standard cream cheese frosting recipe, maybe thinning it just a tiny bit with a splash of milk or cream if it seems too stiff.
This makes it feel a little more decadent, perfect for a smaller family gathering instead of a big potluck. It still spreads beautifully over the set gelatin. If you want to try something different next time, have you looked at this Pistachio Muffins Recipe? That green hue might inspire another holiday flavor!
Keeping the Red and Green Colors Festive
If you can’t find standard red and green Jello flavors—maybe they only have lime and cherry—that’s fine! The color is the most important thing here for that festive look. If you can only find strawberry (red) and lemon (yellow), you might end up with a slightly odd shade when you pour them over the cake, or you might just have to embrace your new Gold and Red Christmas!
If you are truly stuck on the colors, you can slightly tint vanilla pudding instead of using Jello entirely. For the red, mix in a few drops of red gel food coloring. For the green, use a touch of green gel coloring. Remember, liquid food coloring is less concentrated, so you might need more drops than you think to get that bright, happy holiday hue we want under our topping!
Serving Suggestions for This Festive Christmas Dessert
Since this **Christmas Poke Cake** is so light, sweet, and totally ready-to-serve, I usually don’t bother with heavy sides. It’s truly the star of the show on any dessert tray. It’s exactly what you want when you are bringing **Holiday Potluck Cakes** because zero heating or last-minute assembly is required!
Because the cake itself is quite sweet from the Jello and the topping, I love serving it alongside something slightly tart or strong to cut through the sugar. A simple bowl of fresh, slightly tart raspberries or cranberries (maybe tossed with a tiny bit of sugar) is always gorgeous next to the red and green slices. It adds a beautiful, natural contrast.
If you’re serving this for dessert after a big meal, skip the heavy sauces! Instead, I always have a big pitcher of cold milk nearby. Kids absolutely love it for that reason. For the adults, I think pairing it with a good, strong coffee truly highlights the sweetness of the cake without making it overwhelming.
Need an amazing drink to go with it? You have to check out this recipe for a Non-Alcoholic Christmas Punch; it has so much fizz and festive fruit, and it pairs perfectly with the cool, smooth texture of the poke cake!
Storing Leftovers of Your Christmas Poke Cake
The best part about making this cake ahead of time is that the leftovers are just as good, if not better! Because the gelatin has already soaked deep into the cake, it stays miraculously moist. The absolute key here is to keep it snugly covered in the refrigerator. If you try to use plastic wrap directly on the topping, it sticks and pulls up the beautiful sprinkles and topping layer, which is just devastating on a **Christmas Poke Cake**!
I always store mine in the original 9×13 pan, covered tightly with foil. It holds up beautifully in the fridge for about three to four days. That sweet, chilled flavor is just perfect for a quick bite the next morning!
Now, can you freeze it? Honestly, I generally advise against freezing this one. While the cake base itself freezes okay, the gelatin layers don’t handle the freeze/thaw cycle gracefully. They tend to weep a bit, and that can make the bottom of your cake soggy once it thaws. For the best results, just plan to share it all before the week is out! If you love refrigerator desserts, you should really try my Brownie Refrigerator Cake recipe sometime, though!
Frequently Asked Questions About Making a Jello Infused Cake
I get asked a ton of questions whenever I bring this type of dessert to a party, so I figured I’d tackle the biggest ones right here! These little tweaks help you guarantee a perfect **Festive Christmas Dessert** every single time.
Can I use different colored Jello for a different look?
Absolutely! This is where you can get creative throughout the whole winter season. If you’re past the red and green theme, go for blue and white for a winter wonderland look! Or maybe you want a **Layered Poke Cake Idea** using yellow and pink for a spring party.
The only thing I gently warn about when swapping colors is avoiding very dark shades if you are using a white cake base. Think dark grape or a very deep chocolate Jello (if you were even making that kind of infusion). Dark colors can sometimes bleed into the white crumb and make the whole cake look a bit muddy instead of bright and clean. Stick to brighter flavors if you’re aiming for that postcard-perfect look!
How long before serving should I make this cake?
This is the great thing about this kind of **No Bake Christmas Dessert**—it loves to be made ahead! For the absolute best flavor integration, you need a decent chill time. I say the bare minimum chilling time is three hours, just so that Jello is firm enough to hold its shape when you slice it.
However, if you want that truly phenomenal, soft, **Moist Holiday Treat** texture where the cake is totally saturated? Make it the day before, cover it tightly, and let it sit in the fridge overnight. That longer chill lets the moisture really penetrate the cake layer beautifully, making it so tender. It’s the ultimate party secret, making your day-of cooking so much lighter!
If you’re curious about other make-ahead treats, this Chocolate Cake Recipe works really well when assembled ahead of time, too!
Estimated Nutritional Information for This Simple Christmas Baking Recipe
Alright, so while this cake is definitely a treat and not an everyday health food, I promised to give you the rundown on what you’re pouring into your party guests! Keep in mind, because we are starting with a boxed mix and adding Jello and whipped topping, these numbers are just my best guess based on standard serving sizes.
If you use a lower-sugar cake mix or swap the topping, these values will change, so just use this as a general guideline for your holiday planning when you serve this up! This isn’t my caramelized onion dip, that’s for sure!
Here is an estimate for one generous slice, assuming 12 servings from the whole 9×13 pan:
- Serving Size: 1 slice
- Calories: Around 280 per slice
- Total Fat: Roughly 7 grams (with about 4 grams coming from saturated fat)
- Carbohydrates: About 52 grams (that’s the sugar and cake mix talking!)
- Protein: A light 3 grams
It’s relatively low in sodium compared to other heavy, frosted desserts, which is a nice little bonus! Just remember, this is a fun centerpiece dessert, not a main course, so enjoy every festive, jiggly bite!
PrintEasy Christmas Jello Poke Cake

Make this simple, moist poke cake featuring festive red and green Jello layers perfect for your holiday gathering.
- Prep Time: 20 min
- Cook Time: 35 min
- Total Time: 2 hours 55 min
- Yield: 12 servings
- Category: Dessert
- Method: Baking and Chilling
- Cuisine: American
- Diet: Vegetarian
Ingredients
- 1 box white cake mix (plus ingredients listed on box)
- 1 cup boiling water
- 1 package (3 oz) red gelatin (Jello)
- 1 package (3 oz) green gelatin (Jello)
- 1 cup cold water (for gelatin)
- 1 container (8 oz) frozen whipped topping, thawed
- 1/4 cup sweetened condensed milk
- Red and green sprinkles for topping
Instructions
- Prepare and bake the white cake according to the box directions in a 9×13 inch pan. Let the cake cool completely on a wire rack.
- While the cake cools, prepare the gelatin. In two separate bowls, dissolve the red gelatin in 1/2 cup boiling water each, stirring for two minutes. Then, stir 1/2 cup cold water into each bowl. Set aside to cool to room temperature.
- Once the cake is cool, use the handle of a wooden spoon or a large fork to poke holes about 1 inch apart all over the surface of the cake.
- Carefully pour the cooled red gelatin mixture evenly over half of the cake surface, allowing it to soak into the holes.
- Repeat the process, pouring the green gelatin mixture over the remaining half of the cake.
- Refrigerate the cake for at least 3 hours, or until the gelatin is completely set.
- In a small bowl, whisk together the thawed whipped topping and the sweetened condensed milk until smooth.
- Spread the whipped topping mixture evenly over the top of the set gelatin layers.
- Decorate immediately with red and green sprinkles before serving.
Notes
- For a firmer cake, you can chill the gelatin mixtures slightly before pouring them over the cake.
- You can substitute the whipped topping with your favorite cream cheese frosting if you prefer a richer topping.
- Make this cake the day before serving for the best flavor and texture.
Nutrition
- Serving Size: 1 slice
- Calories: 280
- Sugar: 38
- Sodium: 250
- Fat: 7
- Saturated Fat: 4
- Unsaturated Fat: 3
- Trans Fat: 0
- Carbohydrates: 52
- Fiber: 0
- Protein: 3
- Cholesterol: 15