

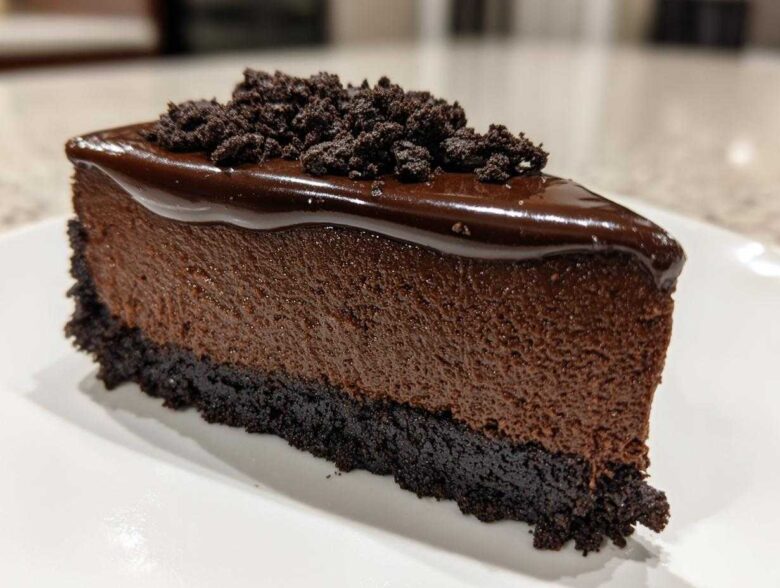
Stop whatever you’re doing right now, because I’m about to share the absolute pinnacle of indulgence. Forget complicated water baths and praying your springform pan doesn’t leak! This, my friends, is the Rich & Creamy No-Bake Chocolate Cheesecake, and seriously, it’s my go-to dessert when I need something truly show-stopping without burning a single thing.
I think the main reason this specific chocolate cheesecake recipe has taken over our family gatherings is simple: zero oven time! My mom first tried this on an insane July weekend when the A/C was already struggling, and honestly, she hasn’t looked back. It sets up so perfectly—totally thick and decadent—but you just let the fridge do all the hard work. Plus, that Oreo crust? It’s non-negotiable brilliance.
It’s the kind of dessert where people ask for the recipe before they even finish their first slice, and you just smile sweetly knowing you didn’t even have to preheat anything. If you’re looking for an amazing chocolate dessert that tastes like five-star luxury, this is it. Come join the no-bake revolution!
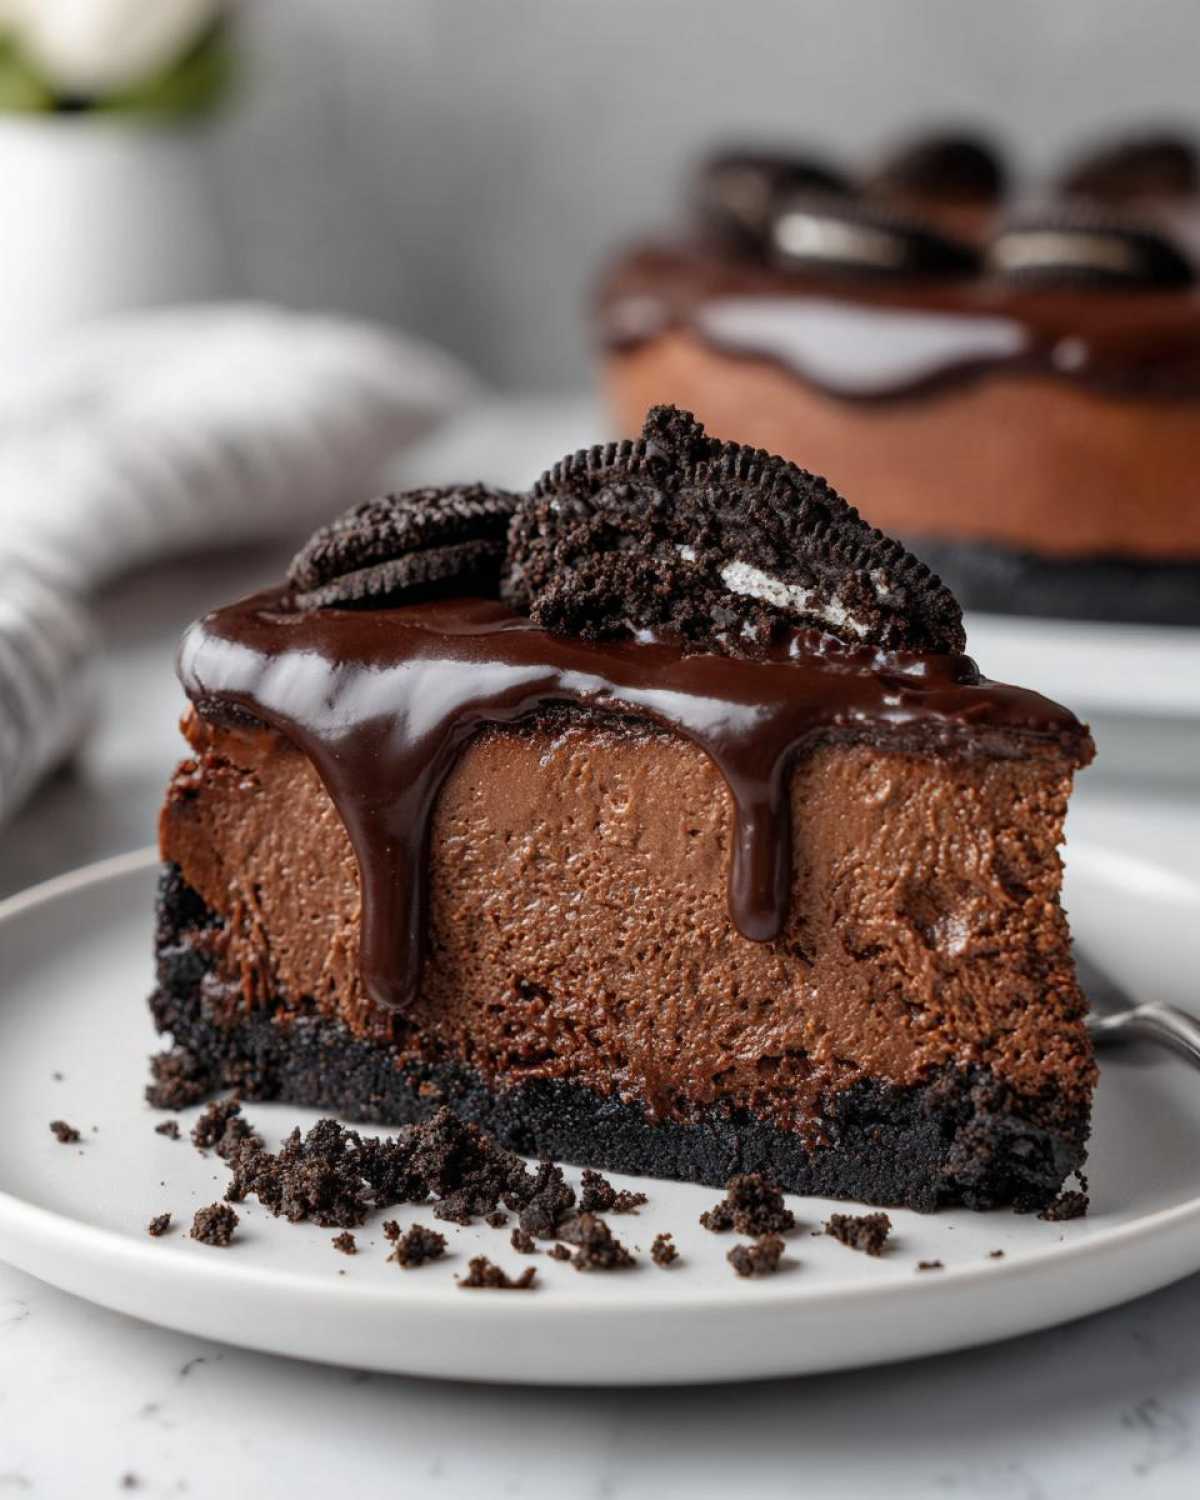
Why This No-Bake Chocolate Cheesecake Recipe Works (The Secret to Creamy Cheesecake)
Honestly, the best part about this whole operation is how simple the science is. When you’re aiming for a creamy cheesecake without the oven drama, you have to rely on stability from cold ingredients, not heat. That’s why this is one of my favorite easy dessert recipes around. People often try to make no-bake fillings using just cream cheese and powdered sugar, and it ends up sloppy, trust me.
We incorporate heavy whipping cream, and that’s the game-changer. It makes the entire filing so much lighter and airier than a traditional baked version, yet it still sets up beautifully firm just from the fridge. It’s that balance of structure and fluffiness that makes everyone think I spent hours slaving away.
Achieving the Ultimate Rich Chocolate Dessert Texture
The heavy cream has to be whipped completely separately until it hits stiff peaks. Think of it like making a cloud, but a slightly chocolatey cloud! When you fold that fluffy cream into the denser cream cheese and melted chocolate mix, you’re building microscopic pockets of air throughout the entire cheesecake. This prevents that dense, almost gummy texture you sometimes get in store-bought versions.
It’s this careful incorporation of air that gives you that rich mouthfeel you want in a truly rich chocolate dessert. If you dump the cream in and mix it hard, you deflate all that gorgeous volume we worked so hard to build. A gentle hand here makes all the difference!
If you want to read up on other incredible cheesecake recipes with high success rates, definitely check out that link, but for sheer holiday wow-factor with zero stress, this one wins every time.
Gathering Ingredients for Your Decadent Chocolate Cheesecake
Okay, gathering the supplies for this decadent cheesecake is almost as fun as eating it! Since this is a no-bake recipe, we need everything to be ready to go right when we mix it because things firm up fast once the chocolate is in. I always lay everything out assembly-line style before I even wipe down the counter. This keeps things moving smoothly so we don’t end up with lumps!
I’ve broken down the ingredient list into three simple sections: the crust, the filling, and that sneaky little topping that brings it all together. Make sure you have a 9-inch springform pan ready to go!
- For the Oreo Crust:
- 1 1/2 cups crushed Oreo cookies (that’s usually about 30 of those sandwich cookies—try not to eat too many while you crush them!).
- 6 tablespoons unsalted butter, melted until nicely runny.
- For the Creamy Filling:
- 16 ounces cream cheese, and this is important: it must be fully softened.
- 1 cup powdered sugar, since this dissolves better than granulated sugar in a no-bake mix.
- 1/2 cup unsweetened cocoa powder—use the dark stuff if you have it!
- 8 ounces semi-sweet chocolate, melted down and then let cool for just a few minutes.
- 1 teaspoon vanilla extract, the good stuff, please!
- 1 1/2 cups heavy whipping cream (we need this cold for whipping later).
- 1/2 cup chocolate chips, reserved just for sprinkling on top later.
- For the Simple Chocolate Ganache Topping:
- 2 tablespoons heavy whipping cream (just a splash more from this batch).
Ingredient Notes and Substitutions for Rich Chocolate Cheesecake
A few little secrets here that make this the best chocolate cheesecake you’ll ever make. First, the cocoa powder. If you splurge on a higher-quality dark cocoa, your flavor will deepen dramatically. It turns this from good to truly amazing!
Second, about that cream cheese. If it’s straight from the fridge, you will end up with little hard lumps of cheese no matter how long you beat it. I usually leave mine on the counter for a good two hours before I even think about starting. If you’re in a rush, microwave it for exactly 10 seconds on 50% power, but watch it like a hawk!
If, for some tragedy, you don’t have Oreos or just ran out, you can absolutely use Nilla Wafers or even finely crushed graham crackers for the crust instead. The flavor will change slightly to be less chocolate-forward, but it still makes a sturdy base. Just remember to slightly reduce the butter in that case, maybe using 5 tablespoons instead of 6 if you use graham crackers because they absorb moisture differently. You can always find great tips on baking substitutes over at this cocoa powder resource guide too!
Step-by-Step Instructions for the Easiest Chocolate Cheesecake
I know you’re itching to get mixing, so let’s not waste any time! Because this is a no-bake recipe, we need to be precise with our layering and chilling times so that everything sets up perfectly solid and creamy. Don’t worry about speed; focus on gently combining things. We aren’t whipping up a mug cake; we’re building architecture here!
Preparing the Oreo Crust Cheesecake Base
First things first: that crust needs backbone! In a bowl, combine those crushed Oreos with the melted butter. I like to use the flat bottom of a glass measuring cup to press this mixture down into the bottom of your 9-inch springform pan. Seriously press it hard; you want it dense so it doesn’t crumble when you cut the first slice later. Once you’ve got it packed down tight, pop that whole pan into the freezer while we start the filling. That 15 minutes of chill time is vital!
Making the Creamy Filling for Your Chocolate Cheesecake
Now for the star! Grab your big bowl and beat that softened cream cheese until it’s completely smooth—no lumps allowed, remember? Then slowly start beating in your powdered sugar and that rich cocoa powder. Keep mixing until it’s uniform. Next, pour in your semi-sweet chocolate that you already melted and let cool just a touch. Beat that till everything looks consistent and beautifully chocolatey. Here’s the crucial part for that creamy cheesecake texture: In a separate, clean bowl, whip up your 1 1/2 cups of heavy cream until stiff peaks form. You want that cloud-like stiffness!
Now, take your whipped cream and gently fold it into the chocolate base. I mean gently. Do it in two additions. You’re just trying to incorporate the air; if you mix hard, you lose all that fantastic volume we just created. Spoon this light, glorious filling right over your chilled crust and smooth the top with your spatula.
Setting and Applying the Chocolate Ganache Topping
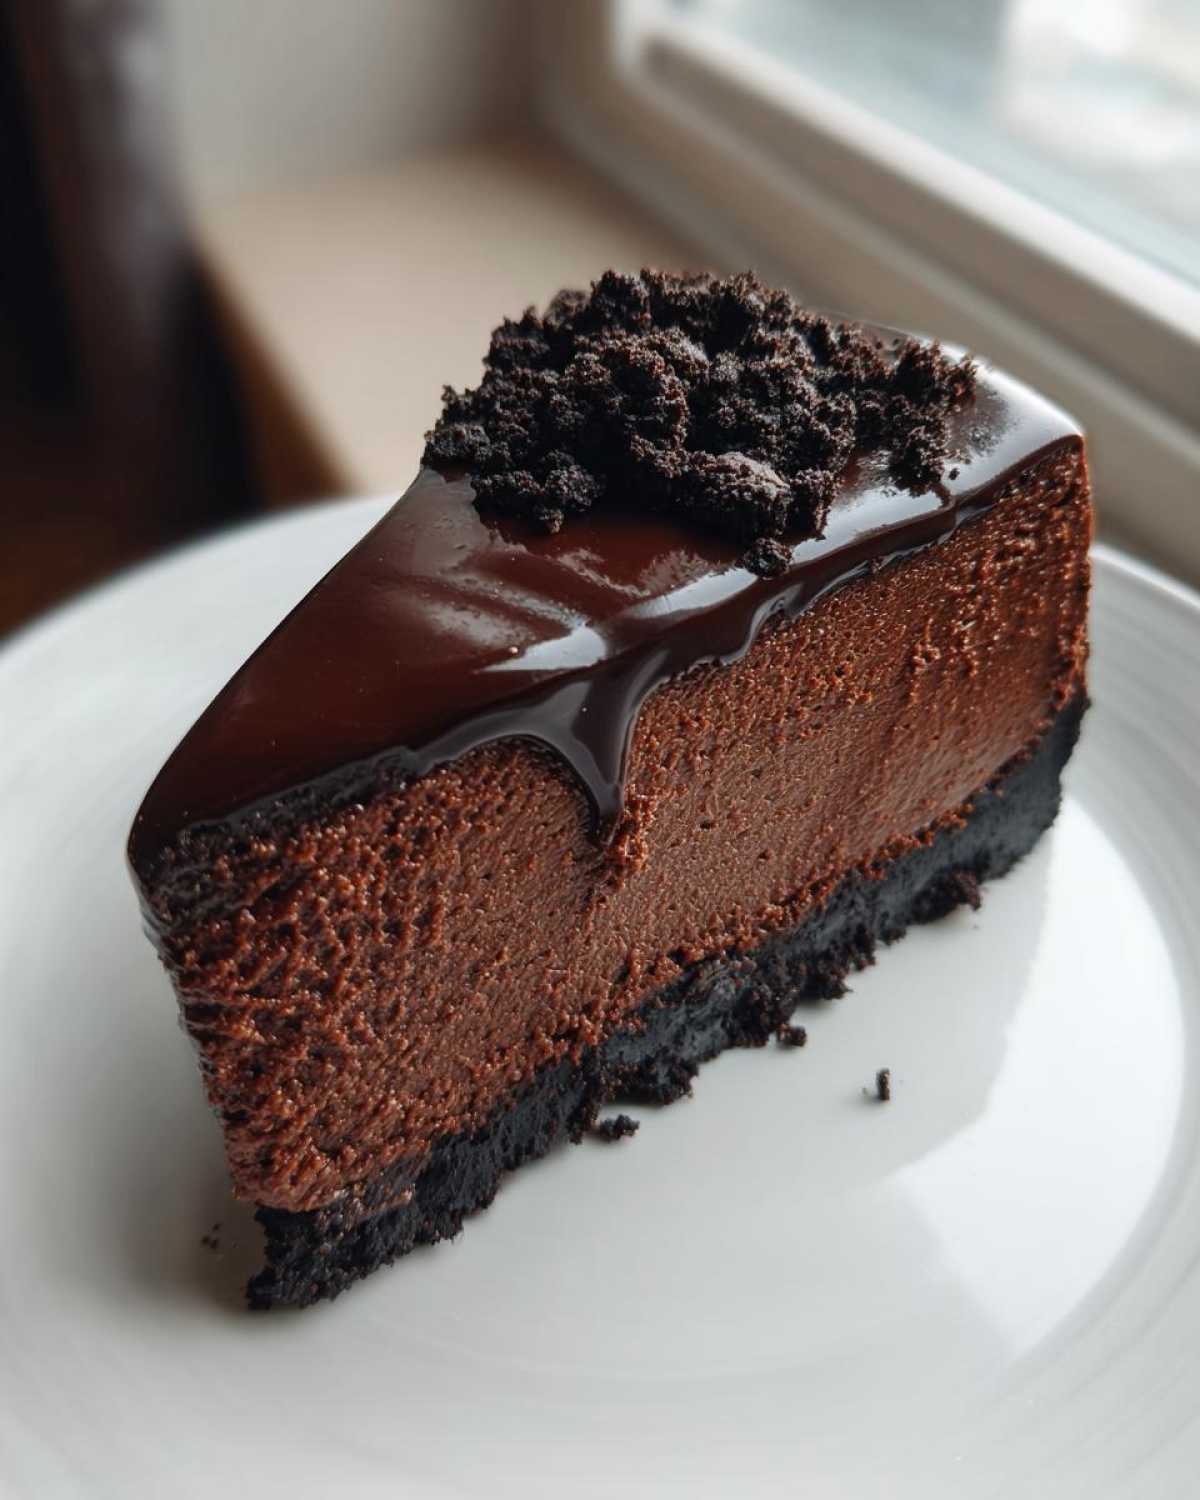
Place your assembled cheesecake back into the fridge. It needs a minimum of six hours to set firm, but when I make this for company, I always aim to let it chill overnight. That long nap ensures the best structure for slicing. When it’s rock solid, we tackle the topping. Heat up those last two tablespoons of heavy cream until it’s just simmering. Pour that hot cream over your reserved chocolate chips in a small bowl. Let it sit for five minutes without touching it, then stir it slowly until you have a smooth, glossy chocolate ganache topping.
Pour that ganache right over the set cheesecake top and spread it carefully to the edges. Then, pop it back in the fridge for just 30 more minutes so the ganache firms up enough to slice cleanly. That’s it—your ultimate chocolate cheesecake is ready when you are!
Tips for Success: Perfecting Your No Bake Chocolate Cheesecake
Even though this is meant to be an easy chocolate cheesecake, there are still a few little tricks I’ve learned over the years to make sure you get that perfect, melt-in-your-mouth texture every single time. Trust me, the difference between a good no-bake and an unbelievable one is usually just one small step!
My first big tip relates back to the cream cheese: make sure you aren’t impatient! I think lumps are the single scariest thing about this recipe, and they only happen when the cream cheese is too cold or you try to rush the mixing. Beat that cream cheese alone until it looks like smooth, fluffy frosting before you even introduce the sugar or cocoa powder. It should have zero resistance under your electric mixer paddle.
Next up is the whipping cream—don’t over-whip it! If you beat it too long, it starts turning into butter, which is definitely not what we want here. Aim for stiff peaks that hold their shape when you lift the whisk, but stop before they look grainy or separated. That perfect stiffness is what supports the whole structure.
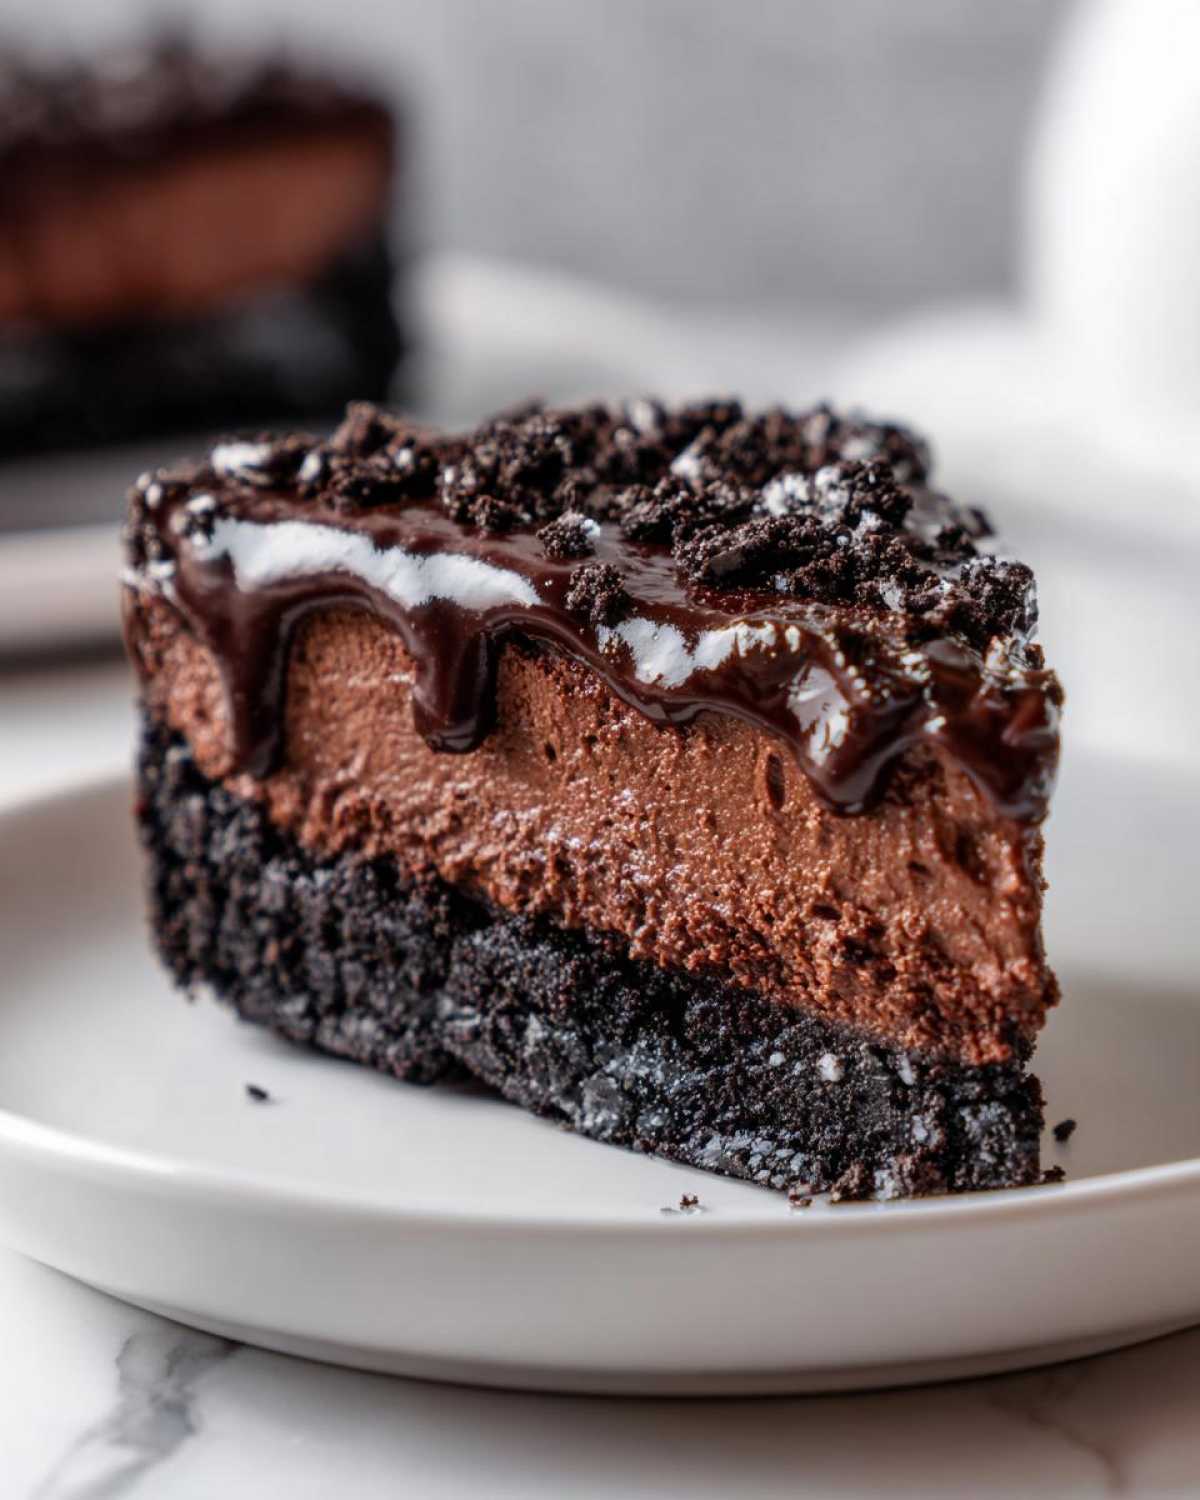
Finally, and this is non-negotiable: the setting time. Six hours is the minimum, but honestly, overnight is the secret sauce. When you chill it that long, the fats solidify properly, making the cheesecake firm enough to slice cleanly without dragging or squishing the filling. If you rush it, it’s going to look messy when you slice it, and nobody wants a sad-looking slice of chocolate dessert!
Variations on the Classic Chocolate Cheesecake Recipe
While I absolutely stand by this no-bake original—it’s foolproof, after all—I totally get it if you want to mix things up! Sometimes you need a slightly different flavor profile or maybe you just feel like baking. This recipe is such a fantastic base that you can twist it in so many fun ways to create something completely new for your guests.
If you find yourself craving something intensely rich, trying a dark chocolate cheesecake is a must. Swap out the semi-sweet chocolate in the filling for a good quality 70% or 80% bar. Wow, the complexity that adds! It cuts through the sweetness of the powdered sugar beautifully, making it an incredibly sophisticated treat. You could also sneak in a teaspoon of instant espresso powder when you mix the cocoa—it doesn’t make it taste like coffee, but it seriously deepens the overall chocolate flavor! It’s a neat trick I learned for making any chocolate recipe taste deeper.
If you are curious about switching gears entirely, remember that the Notes section mentioned adapting this for a baked version. If you want a true baked chocolate cheesecake, you’d ditch the whipped cream folding step and rely on baking! You would need to add an egg or two for structure and bake it low and slow around 325°F until just the edges are set. But honestly, for a summer gathering, stick to this chilled classic!
For even more decadent inspiration, you have to check out this amazing turtle cheesecake recipe if you’re looking to add caramel and pecans next time!
Creating a Triple Chocolate Cheesecake Experience
Now, if ‘chocolate’ isn’t quite enough for you, then buckle up, because we are going for the full triple chocolate cheesecake experience. This is about layering those chocolate textures and intensities, and it’s much easier than it sounds!
The primary filling is our rich semi-sweet backbone, right? To make it a triple threat, we swap out the little bit of heavy cream we used for the ganache and use it to melt about 4 ounces of white chocolate. Once that white chocolate is melted and slightly cooled, you fold it into about a third of your finished cheesecake filling base (before you add the whipped cream, or you can fold it into the whipped cream portion if you want it fluffier).
You’d layer them! Pour half of the dark/semi-sweet base into the crust, then gently spread the white chocolate mixture over the top. Crown that with the remaining dark base. When it sets, you get beautiful ribbons of light and dark chocolate throughout the whole slice. If you want to go truly crazy, you can fold milk chocolate chips into the remaining whipped cream before folding it all in. That way, you get every chocolate color and flavor profile in one bite!
Serving Suggestions for Your Rich Chocolate Dessert
This rich chocolate dessert is seriously intense all on its own, but sometimes you just need a little something extra to make it sing, especially when you’re serving it after a big heavy meal. I find that a little freshness really cuts through that deep, fudgy flavor beautifully.
You cannot go wrong with a handful of fresh raspberries or tart cherries scattered around the plate. Their tartness cleanses the palate perfectly! If you’re having this as an afternoon indulgence, it pairs miraculously well with a strong, dark cup of coffee. Seriously, try dipping a small corner of that creamy cheesecake into a hot cup of joe sometime—it’s heavenly.
For a truly sophisticated plate, a tiny drizzle of raspberry reduction sauce works like a charm, or you could even check out my recipe for a high-protein coffee smoothie if you want an afternoon pick-me-up alongside it instead of a hot drink. Keeping the sides light ensures the cheesecake remains the absolute focus.
Storing and Keeping Your Homemade Cheesecake Fresh
Since this is a no-bake beauty, storage is wonderfully simple, and we don’t need to worry about cracking or weird textures from cooling too fast, which is just another win for the easy chocolate cheesecake crowd! The main goal here is just locking in freshness and protecting that gorgeous ganache topping.
The absolute best way to store this is to leave it in the springform pan, but you have to cover it really well. I use plastic wrap, but you need two layers—one layer pressed right gently onto the surface of the ganache to prevent any condensation from making it sticky, and a second layer covering the whole pan. If you don’t have the springform ring on, wrap the whole thing snugly!
You want to keep this in the main body of the refrigerator—don’t stick it in the door where the temperature swings wildly. Ideally, you can keep this homemade cheesecake fresh and wonderfully creamy for about four to five days. That’s a solid week of dessert readiness, which is perfect for holiday stress!
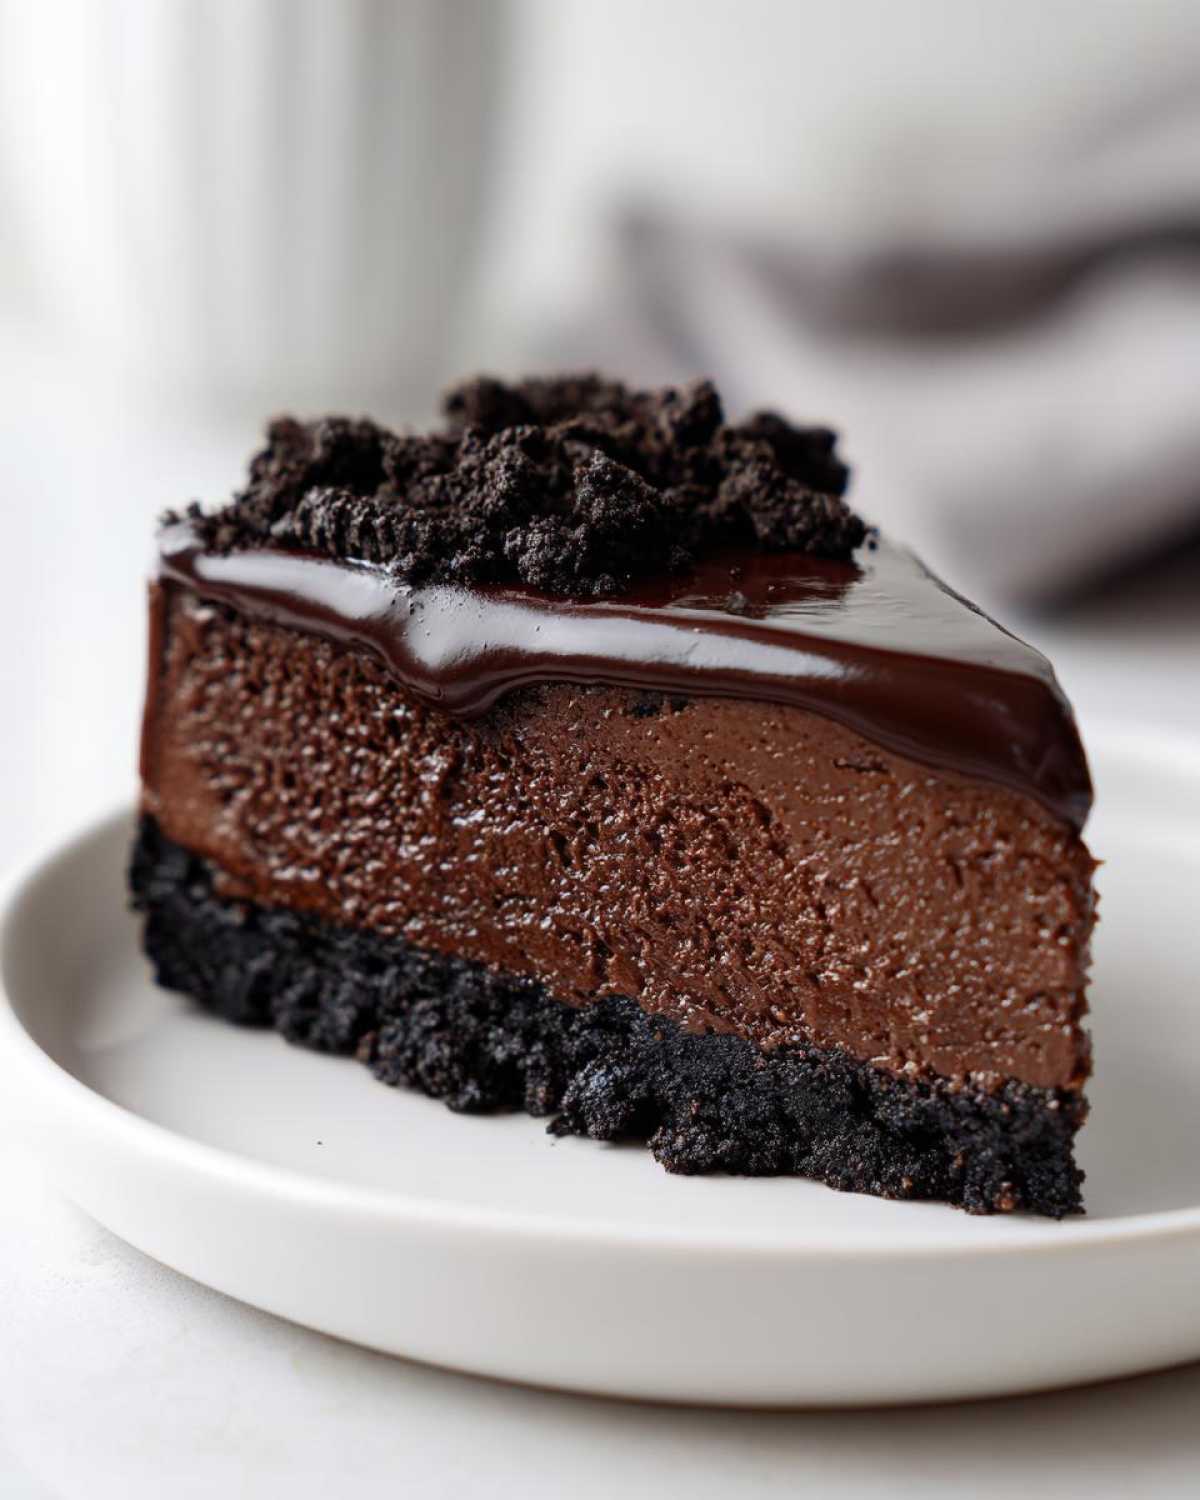
Now, if you happen to have leftovers after five days (which, honestly, is rare at my house), you should freeze it! I usually slice it first—that’s way easier than trying to cut a rock-hard frozen cheesecake later. Wrap each slice tightly in plastic wrap, and then slip those wrapped slices into a freezer-safe bag or container. It keeps well for about a month frozen. When you want to eat one, just let it thaw overnight in the fridge. It comes back to being perfectly creamy, just like magic!
If you’re looking for more make-ahead desserts that hang out nicely in the cold, you might want to check out my instructions for a brownie refrigerator cake. Some desserts just get better when they chill out!
Frequently Asked Questions About Chocolate Cheesecake
I always get so many questions when I post this recipe because it seems almost too good to be true—a rich, no-bake wonder that beats anything you can buy at the bakery! I’ve tried to answer the most common things I hear about making this chocolate cheesecake just right.
Can I use graham crackers instead of Oreos for the crust?
Oh, absolutely! While I am completely obsessed with the deep chocolate flavor the Oreo crust gives this specific cake, graham crackers are a fantastic substitute. If you use standard graham crackers, you might need slightly less butter since they’re naturally a bit drier than Oreos. You’ll get a slightly lighter, more sandy crust texture instead of the super chocolatey, solid foundation you get from the Oreos. It’s still delicious and works perfectly for this cheesecake recipe!
How long does this no-bake chocolate cheesecake really need to set?
This is vital for getting that smooth, creamy cheesecake slice! Six hours is the absolute minimum setting time if you’re in a pinch, but I always recommend chilling it overnight. When it sits for 8 to 12 hours, the fats in the filling really firm up completely, and that texture goes from slightly soft to perfectly sliceable and decadent. If you try to cut it too early, it will slump a bit when you remove the springform ring.
Can this homemade cheesecake be frozen?
Yes, and it freezes beautifully! Freezing is actually a great way to prep ahead for holidays, especially if you’re making a lot of holiday desserts. I always slice the entire cheesecake before wrapping each piece tightly in plastic wrap, then place the slices into an airtight container or freezer bag. It keeps wonderfully for up to a month. Thaw it slowly in the refrigerator overnight before serving, and it tastes almost exactly the same!
Why is my ganache topping getting hard and crackly instead of smooth?
That usually happens if the melted chocolate you used for the ganache was too hot when you poured it over the cream, or if the cream itself wasn’t warm enough. For that smooth, shiny finish, the ratio of chocolate to cream is everything in a simple ganache. If you find it got too hard, just gently warm up a tablespoon of milk or cream—don’t boil it—and stir that extra liquid into the ganache until it loosens back up. A little extra liquid will save a too-thick ganache every time!
Estimated Nutritional Data for This Chocolate Cheesecake
Now, I know none of us are making this rich chocolate dessert because we’re counting calories—it’s an indulgence, plain and simple! But for those of you who like to keep track globally, I always run the numbers for a standard slice to give you a general idea of what you’re digging into.
Please remember, this data is an estimate only. It’s based on standard measurements of the ingredients listed, and if you use super dark chocolate or extra butter in your crust (don’t hate me if you do!), things might shift a little. For the full official disclaimer about our nutritional estimates, you can always check out the details over here: regarding our nutrition policies.
Here is what a typical serving size of this decadent cheesecake breaks down to:
- Serving Size: 1 slice
- Calories: 450
- Sugar: 35g
- Sodium: 250mg
- Fat: 32g (Watch out for that saturated fat, folks!)
- Saturated Fat: 18g
- Unsaturated Fat: 10g
- Trans Fat: 0.5g
- Carbohydrates: 38g
- Fiber: 2g
- Protein: 6g
- Cholesterol: 95mg
It’s a treat, that’s for sure, but every single one of those 450 calories is worth it when you get that perfect bite of creamy cheesecake and crunchy Oreo!
PrintRich No-Bake Chocolate Cheesecake with Oreo Crust
Make a creamy, decadent chocolate cheesecake without turning on the oven. This recipe uses a simple Oreo crust and a smooth chocolate filling.
- Prep Time: 25 min
- Cook Time: 0 min
- Total Time: 6 hr 25 min
- Yield: 10 servings
- Category: Dessert
- Method: No-Bake
- Cuisine: American
- Diet: Vegetarian
Ingredients
- 1 1/2 cups crushed Oreo cookies (about 30 cookies)
- 6 tablespoons unsalted butter, melted
- 16 ounces cream cheese, softened
- 1 cup powdered sugar
- 1/2 cup unsweetened cocoa powder
- 8 ounces semi-sweet chocolate, melted and slightly cooled
- 1 teaspoon vanilla extract
- 1 1/2 cups heavy whipping cream
- 1/2 cup chocolate chips, for topping
- 2 tablespoons heavy whipping cream, for ganache
Instructions
- Mix the crushed Oreos and melted butter in a bowl. Press the mixture firmly into the bottom of a 9-inch springform pan. Chill the crust for 15 minutes.
- In a large bowl, beat the softened cream cheese until smooth. Gradually add the powdered sugar and cocoa powder, mixing until fully combined.
- Pour in the melted, cooled semi-sweet chocolate and vanilla extract. Beat until the mixture is uniform and creamy.
- In a separate bowl, whip the 1 1/2 cups of heavy whipping cream until stiff peaks form.
- Gently fold the whipped cream into the chocolate cream cheese mixture in two additions until just combined. Do not overmix.
- Spoon the filling over the chilled Oreo crust and smooth the top with a spatula.
- Refrigerate the cheesecake for at least 6 hours, or preferably overnight, until firm.
- To make the topping, heat the 2 tablespoons of heavy cream until simmering. Pour it over the 1/2 cup of chocolate chips in a small bowl. Let it sit for 5 minutes, then stir until smooth to create a simple ganache.
- Pour the ganache over the set cheesecake and spread evenly. Chill for another 30 minutes before slicing and serving.
Notes
- Use good quality cocoa powder for the best chocolate flavor.
- Ensure your cream cheese is fully softened to prevent lumps in the filling.
- If you prefer a baked version, bake at 325 degrees Fahrenheit for 50 to 60 minutes, then cool slowly.
Nutrition
- Serving Size: 1 slice
- Calories: 450
- Sugar: 35
- Sodium: 250
- Fat: 32
- Saturated Fat: 18
- Unsaturated Fat: 10
- Trans Fat: 0.5
- Carbohydrates: 38
- Fiber: 2
- Protein: 6
- Cholesterol: 95