

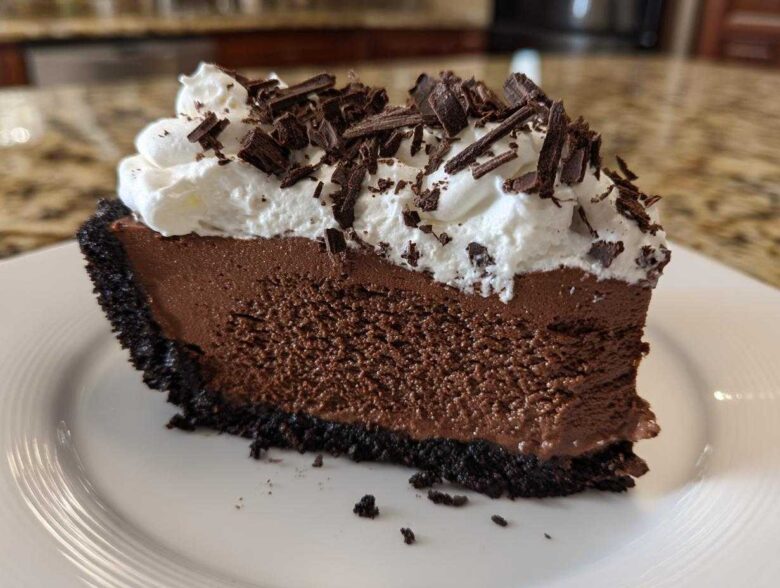
Oh my goodness, there are days when I crave something incredibly rich and utterly decadent, but the thought of turning on the oven when it’s already too hot (or when I just don’t have the time!) makes me want to cry. Does that sound familiar? That’s when I turn straight to my absolute favorite crowd-pleaser: the chocolate mousse pie.
We’re not messing around with gelatin or eggs here—this is the easiest, no-bake version you’ll ever see! It sets up perfectly in just a few hours in the fridge, giving you that stunning, professional look without stressing you out. Trust me, the combination of the dark, salty crust and that light, airy filling is pure magic for anyone who loves a silky chocolate filling. It’s my secret weapon for impressing guests without ruining my afternoon!
Why This Easy No-Bake Chocolate Mousse Pie Recipe Works
Seriously, if you need a show-stopper that doesn’t require you to navigate tricky oven hot spots, this is your winner. People look at this pie and they think I fussed over it for hours, but the truth is, it flies together so quickly. It truly is the perfect no bake mousse dessert when you’re short on time but high on expectations.
The secret to keeping things simple while still getting that amazing result is just knowing which ingredients to trust. You get that incredible, rich depth, but it remains surprisingly light—truly light and airy mousse territory, my friend!
Achieving the Ultimate Chocolate Dessert Texture
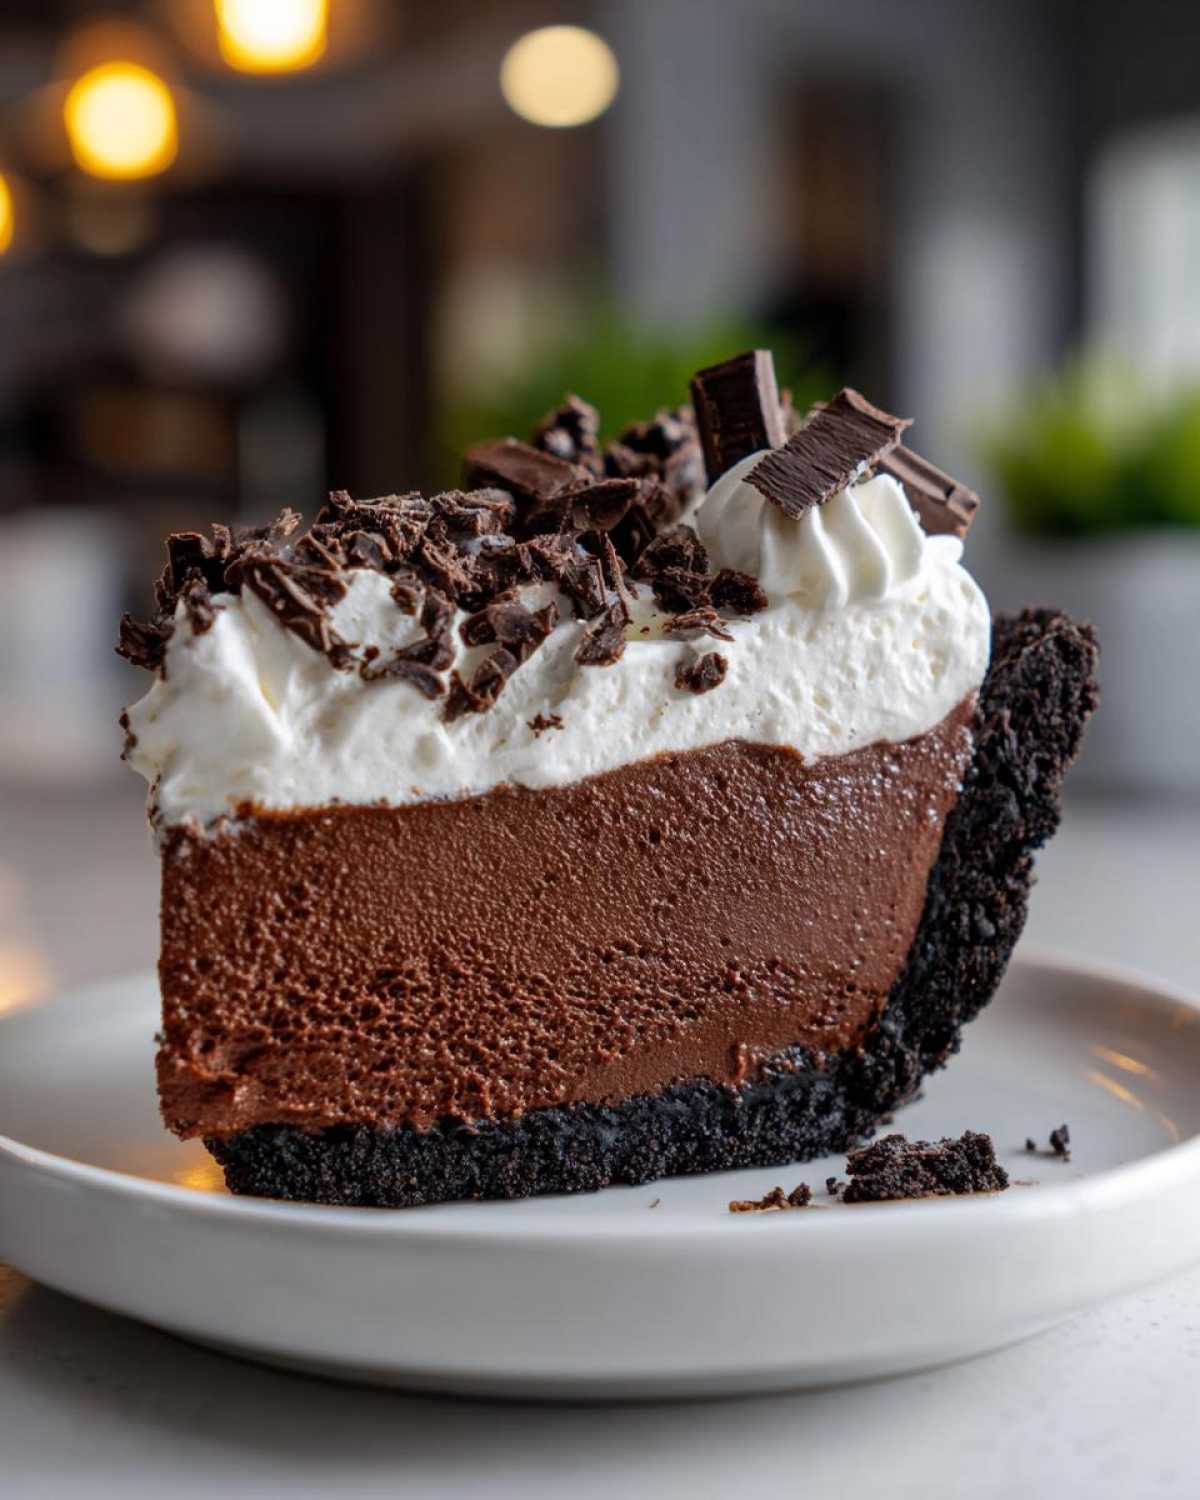
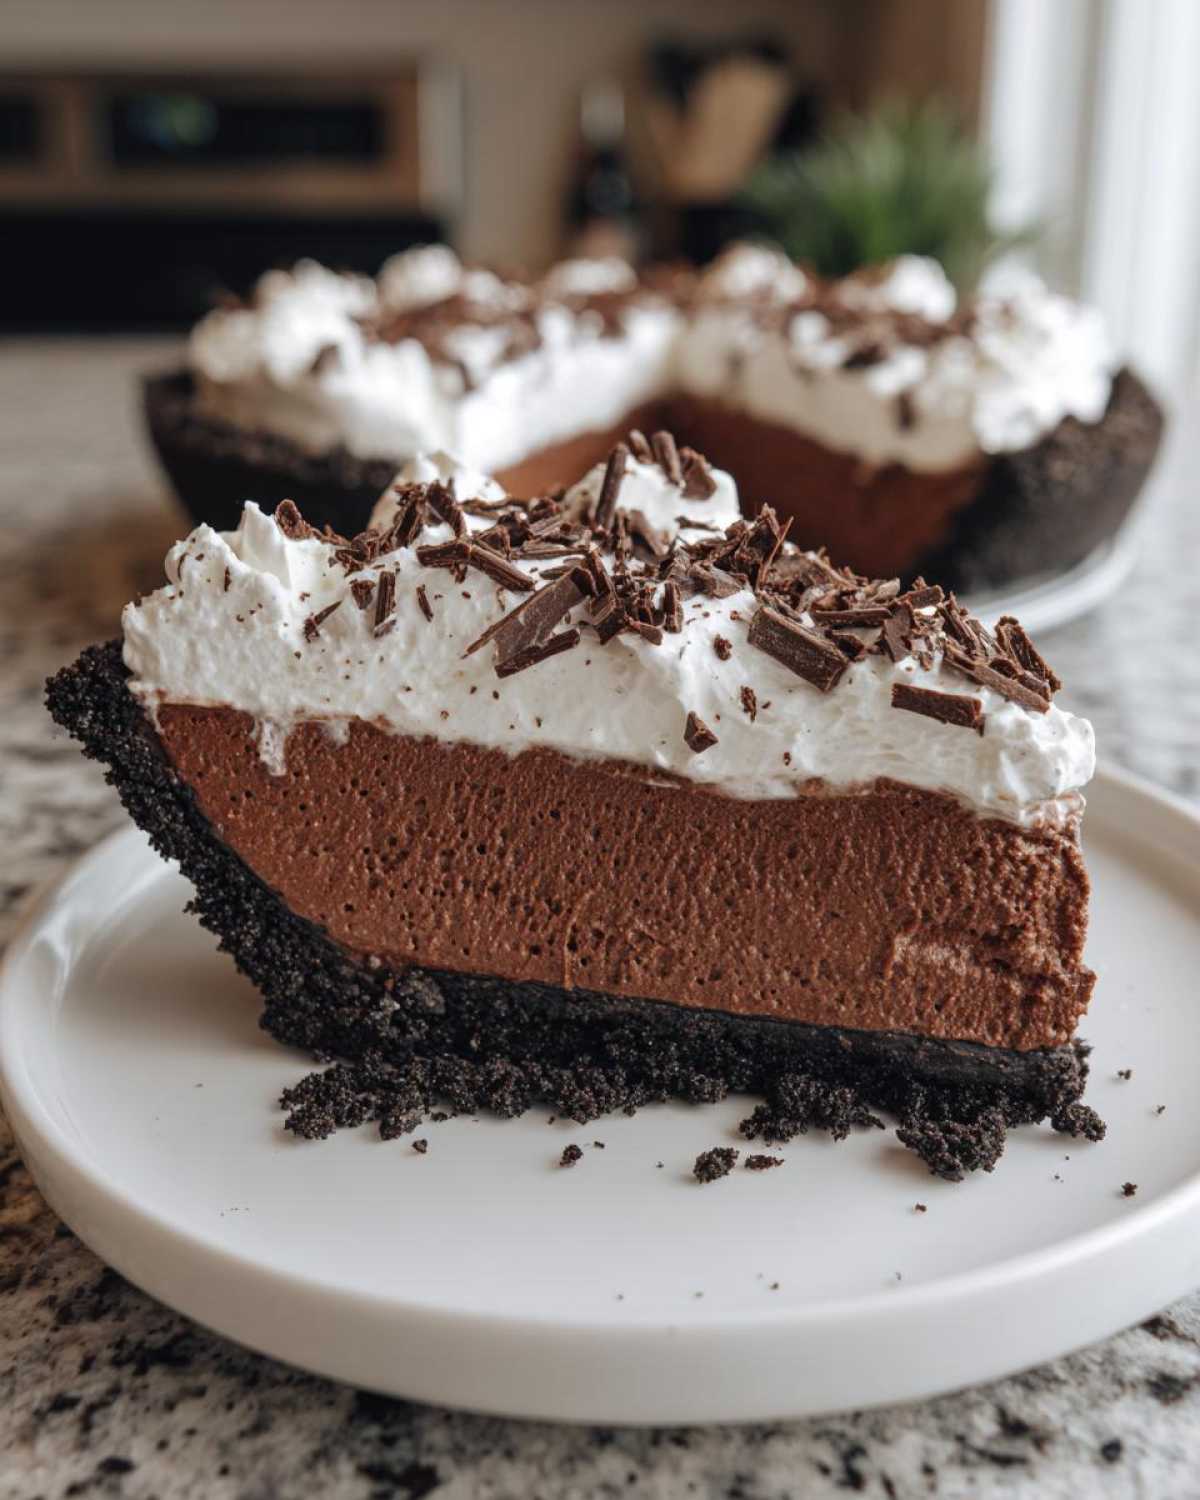
The magic that makes this texture so dreamy comes down to the combination of softened cream cheese and that fluffy homemade whipped cream. The cream cheese gives it body and structure, stopping it from melting into a puddle, while integrating the whipped cream keeps it from becoming rock-hard once chilled. It gives you a gorgeous, almost cloud-like texture that reminds me a little bit of super fancy French Silk Pie Style, but without needing the hours of work.
The Foolproof Oreo Crust for Your Chocolate Mousse Pie
You absolutely cannot go wrong with a crushed Oreo crust. It’s the foundation of my favorite Oreo Crust Pie recipes. You just mix crumbs and butter, press it into the plate, and freeze it! That’s it. If you run out of Oreos, don’t panic—you can easily swap to graham crackers and add a couple of tablespoons of sugar to the mix. It’s honestly the most foolproof base for a stunning chocolate mousse pie.
Ingredients Checklist for the Perfect Chocolate Mousse Pie Recipe
Okay, let’s talk ingredients! Because this is a no-bake recipe, the quality and prep of what you put in really matters to get that perfect, rich flavor in this chocolate mousse pie. It might look simple, but those little prep steps make all the difference in the final texture. I always lay everything out before I even turn on the mixer—it makes the process flow so much better!
Crust Component Ingredients
First up is the foundation for our Oreo crust pie. You need to crush those cookies until they are fine, almost like sand. Here’s the breakdown:
- 1 1/2 cups Oreo cookie crumbs (That’s about 30 cookies, if you’re crushing them by hand like me sometimes!)
- 6 tablespoons unsalted butter, and make sure it’s fully melted until it’s smooth.
Silky Chocolate Filling Ingredients
Now for the heart of the dessert! Remember, we need two separate lots of heavy whipping cream, so pay attention to the measurements below. Always bring that cream cheese out early so it’s fully softened to room temperature—that’s key for the smoothness!
- 1 cup heavy whipping cream, totally cold (This is the first batch for whipping peaks!)
- 8 ounces cream cheese, softened beautifully.
- 1 cup powdered sugar, and for heaven’s sake, sift it! Nobody wants lumps in their silky chocolate filling.
- 1 teaspoon vanilla extract.
- 4 ounces unsweetened chocolate, melted gently and then allowed to cool just slightly before we use it. It can’t be hot, or it’ll deflate the cream!
- 1/2 cup cold heavy whipping cream (This is our second batch for folding in at the end!)
- Whipped cream, for topping once it’s all set.
- Chocolate shavings, just because every good pie needs a fancy hat!
Step-by-Step Instructions for Your Chocolate Mousse Pie
Putting this chocolate mousse pie together is ridiculously straightforward, which is why I love it so much for busy weekdays when I still want something special. The key is that you need to respect the chilling time—this isn’t a quick-set dessert, you need patience for the setting phase! Just follow these steps exactly as written, and you’ll end up with the most gorgeous slice of creamy heaven.
Preparing and Chilling the Oreo Crust Pie Base
This part is super fast, which is why it’s fantastic for a make ahead dessert. You prep it, stick it in the freezer, and forget about it while you focus on that gorgeous filling.
- First things first, let’s get that crust ready. You need to combine your crushed Oreo cookie crumbs and the melted butter right in a medium bowl. Just mix it around with a fork until everything looks evenly moistened, like wet sand.
- Take your 9-inch pie plate and press that crumb mixture firmly and evenly into the bottom. Don’t just sprinkle it—really press it down—and make sure you push some up the sides too, to give yourself a nice pretty edge.
- Once that crust is packed tight, pop the whole plate into the freezer. It needs a good freeze to firm up while you tackle the filling, so don’t skip this chilling step!
Creating the Light and Airy Chocolate Mousse Filling
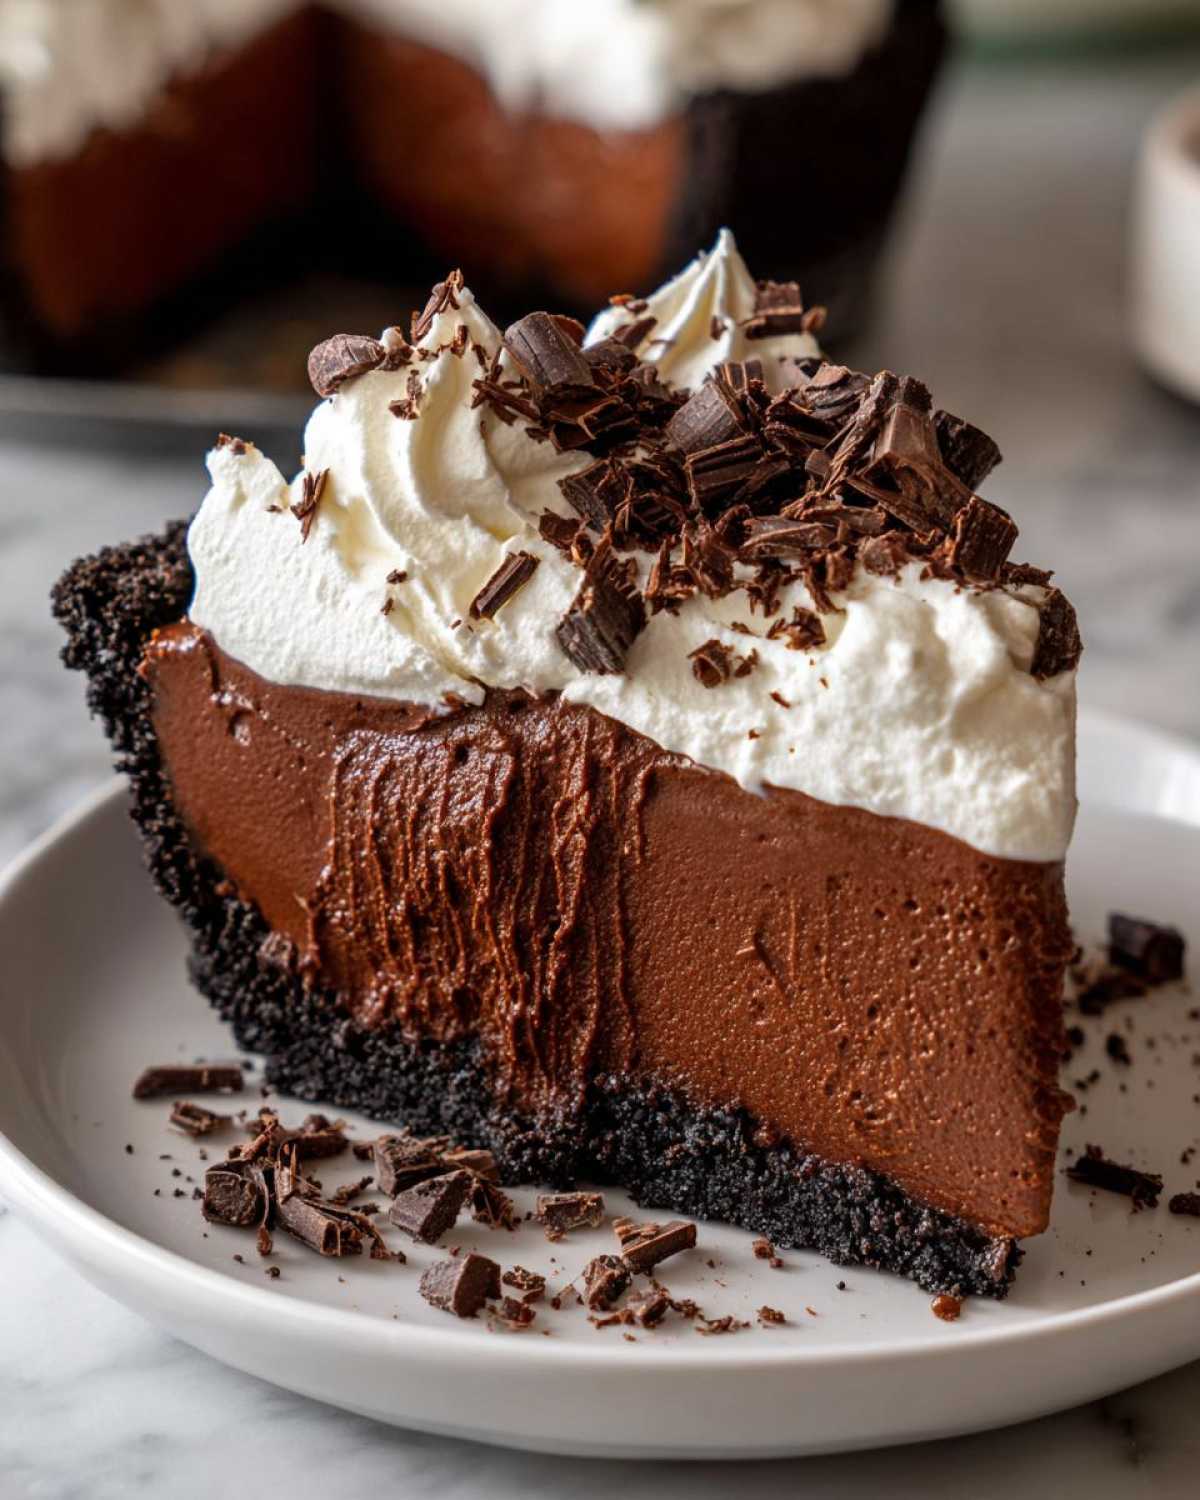
This is where the science of light texture comes in! We are whipping things separately so that when we finally combine them, we don’t knock out all the beautiful air we incorporated.
- Grab that first cup of cold heavy whipping cream. Whip it up in a clean bowl until you see stiff peaks form—you know, standing straight up when you lift the whisk out. Set this bowl aside carefully.
- In a completely separate, bigger bowl, beat your softened cream cheese until it’s super smooth and there are absolutely no lumps left. Now, slowly beat in that sifted powdered sugar and the vanilla extract until it is all creamy looking. This forms the stable base for our decadent filling.
- Now take your slightly cooled melted unsweetened chocolate—I stress *slightly cooled*! Pour that into the cream cheese mixture. Beat it until it’s just combined. If you overmix here, you might start cooking that chocolate too much, making the final product dense. We want creamy, not fudgy yet!
- This next part is vital for that light and airy finish: Take the reserved whipped cream you set aside earlier and gently fold it into the chocolate mixture. Do this in two additions using a rubber spatula, folding gently until you don’t see any more white streaks. You are combining, not stirring!
- Take your frozen crust out of the freezer. Pour that beautiful mousse filling right onto the chilled base. Use an offset spatula to smooth out the top so it looks professional.
- Now, the hardest part: waiting! You must stick this chocolate mousse pie back into the refrigerator for a minimum of 6 hours, but honestly, letting it go overnight is the best way to ensure it’s perfectly firm and ready to slice.
Expert Tips for a Perfect Chocolate Mousse Pie
Even though this is a no-bake chocolate mousse pie, there are still sneaky little things that can throw off the silky perfection we are after. I took notes straight from my own trial-and-error sessions (and, okay, a few frantic phone calls to my baker aunt!) to make sure your pie turns out flawlessly. These little details are what separate a good dessert from a show-stopping one.
The most important thing I learned is handling the chocolate correctly. You have to melt it gently, whether you use a double boiler or microwave it in short bursts. If the chocolate gets too hot, it seizes up or burns, and then you’re left with gritty mousse—we definitely don’t want that! Let it cool slightly before it ever meets the cream cheese mixture. Just let it sit on the counter for about ten minutes after melting.
Also, please, please make sure your cream cheese is actually softened when you start. If you try to whip hard cream cheese, you’ll end up with chunks in your filling, no matter how long you beat it. I usually leave mine out on the counter for a full hour before I even look at the recipe card. If you are in a HUGE rush, cut the block into small cubes; that helps it soften faster!
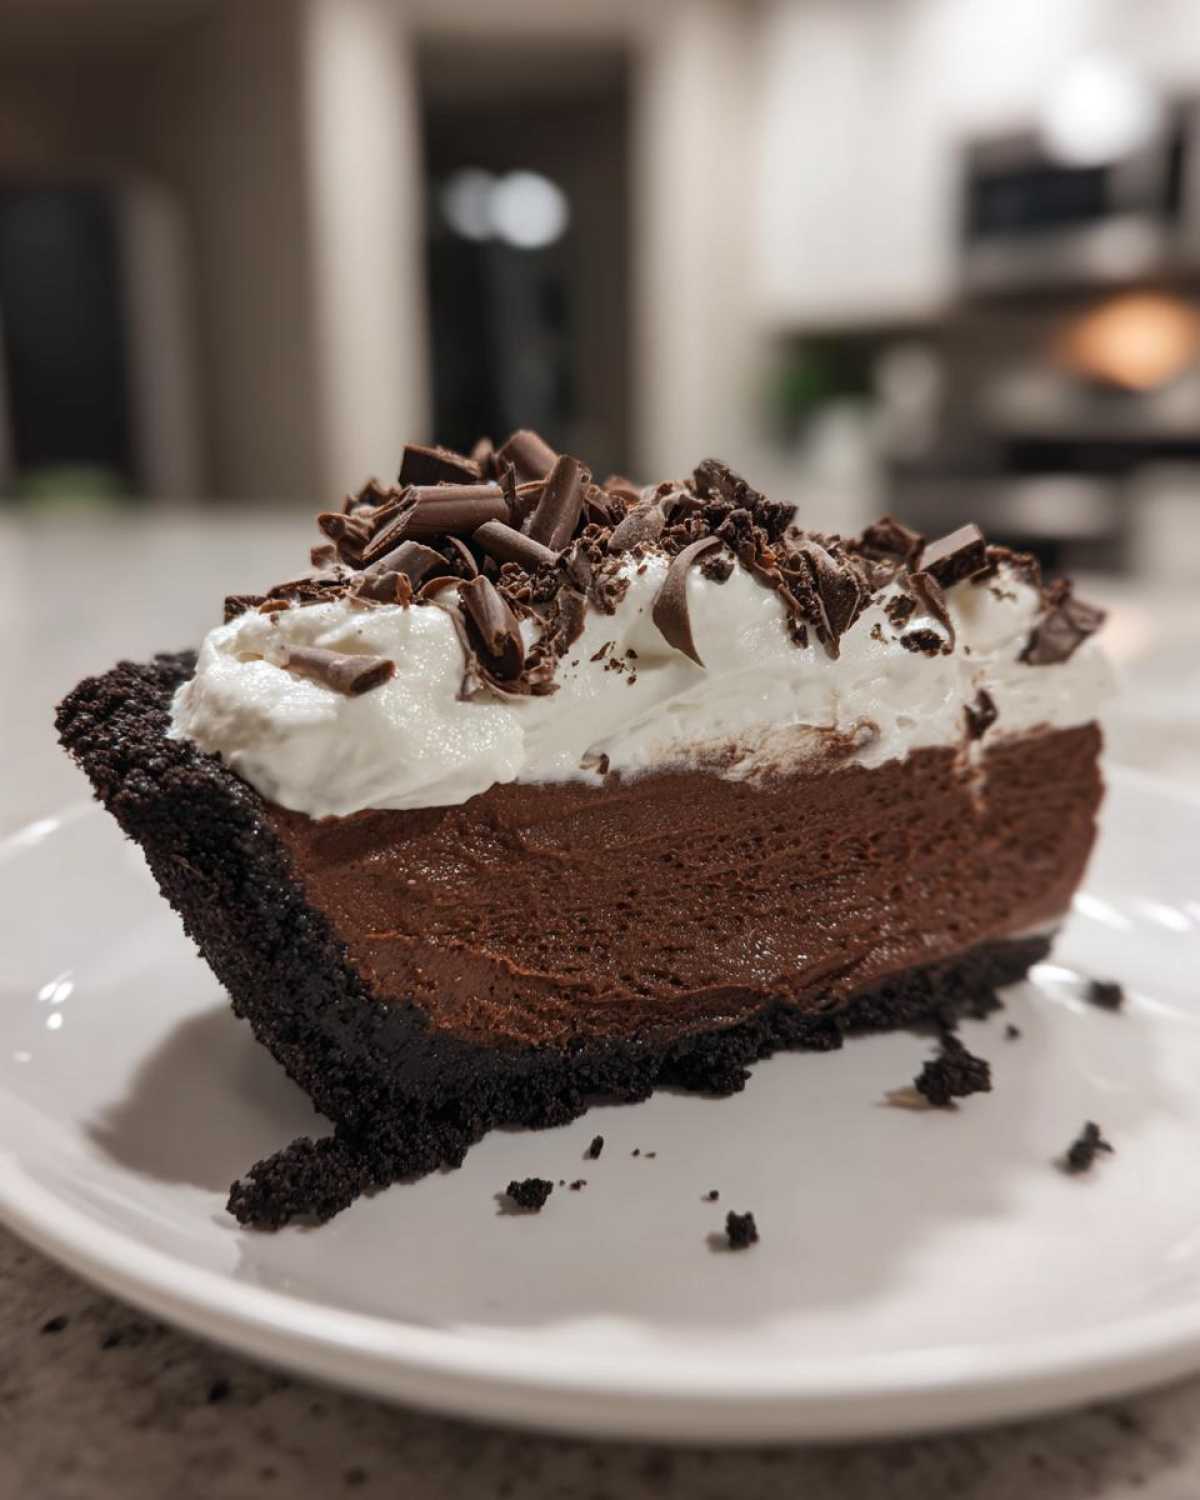
Finally, remember the substitution tip: if you’re out of Oreos for the crust, graham crackers work in a pinch! Just remember to add about 2 tablespoons of extra sugar to the crumbs because graham crackers aren’t as sweet and rich as the Oreo wafers are. This small adjustment keeps the flavor profile balanced in your final chocolate mousse pie.
Serving Suggestions for This Creamy Dessert Ideas
Once that beautiful chocolate mousse pie has set up overnight, it’s time for the grand finale: making it look as amazing as it tastes! The presentation really elevates this from a simple weeknight dessert to something worthy of a holiday table or a special celebration. We’ve talked about the silky filling, but now we focus on the toppings, which are crucial for that final pop of texture and flavor.
The standard, and my personal favorite, is a generous layer of homemade whipped cream. Seriously, don’t buy the canned stuff for this! Homemade is just fluffier and tastes like pure happiness. You want to swirl it high onto the pie—think peaks and valleys, not just a flat blanket. This is what makes it truly a Whipped Cream Topping Pie masterpiece.
If you want to spruce up that already gorgeous whipped cream, try folding in a teaspoon of good quality instant espresso powder right before you whip it. The subtle coffee note doesn’t make it taste like coffee; it just deepens and amplifies the dark chocolate flavor, making it taste richer. Wow! That pairing is unbeatable.
For some lovely contrast, especially if you are serving this during a rich Thanksgiving meal, a little bit of fresh fruit cuts through the richness perfectly. I love scattering some raspberries or thin slices of strawberry right around the edge before serving. Their tartness is the perfect foil to the intense sweetness of the filling and the crust. A final dusting of chocolate shavings over everything—and you’re done! It looks so professional.
Storage and Make Ahead Desserts for Your Chocolate Mousse Pie
One of the absolute best things about making this chocolate mousse pie is that it’s designed to be prepared in advance. If you’re hosting a big dinner, this is your new best friend! I’m rarely stressed on party day because I know this is one dessert that actually tastes *better* the more time it has to chill out.
Remember how I said you need at least 6 hours for it to set properly? That’s your absolute minimum window. If you’re planning on serving this for a weekend get-together, I promise you, making it Friday night and letting it chill right up until serving time Saturday afternoon will give you the most perfect, sliceable texture possible. It solidifies beautifully, and the flavors really meld together overnight.
You need to keep this pie covered tightly, though. Because it has that lovely, airy whipped topping and rich cream cheese base, you want to protect it from soaking up any weird fridge smells. I usually cover the entire pie loosely with plastic wrap, making sure the wrap isn’t touching the whipped cream peaks. If the whipped cream is already on top, be gentle when covering it, or use toothpicks poked around the edge to hold the plastic up so it doesn’t smash your beautiful swirl.
It keeps really well in the refrigerator, honestly. Because there are no eggs that have been baked, you’re not worried about spoilage in the same way you are with custard pies. I find that my chocolate mousse pie stays perfectly firm and delicious for three to four days when stored correctly in the fridge. After that, the crust starts to soften just a tiny bit too much for my liking, but it’s usually gone by then anyway because everyone begs for seconds!
This really locks it in as one of my go-to make ahead desserts. You won’t regret prepping this early!
Troubleshooting Common Chocolate Mousse Pie Issues
Even when we follow the recipe to the letter, sometimes things just don’t cooperate in the kitchen. Nobody wants to pull that chocolate mousse pie out of the fridge only to find it’s still way too sloppy! Don’t throw it away! Nine times out of ten, the fix is much simpler than you think, especially with a no-bake dessert like this.
Let’s tackle the most common disaster first: the filling is too runny. If you’ve only chilled it for, say, three hours, my honest advice is just to put the cover on it and walk away. Give it a few more hours, preferably overnight. This filling relies mostly on the firmness of the cream cheese and the stability of the chilled, set whipped cream; it needs that time to firm up, and rushing it is the enemy here.
If it’s been chilled overnight and it’s *still* sloppy, you probably had an issue during the folding stage. Did you manage to deflate all that gorgeous air you whipped into the cream? If you stirred too aggressively when combining the folded cream into the chocolate base, you knocked the air out, and you won’t get that light lift. Unfortunately, if this is the case, the fix is tricky because you can’t just whip it again once it’s mixed with the chocolate and cream cheese—that just makes strange textures. The best practical fix here is to spread it thinly in a smaller pie dish or even layer it in individual ramekins and serve it as a layered pudding dessert instead of a traditional sliced pie. It’ll still taste fantastic!
Now, let’s talk about the crust. If your Oreo crust pie is falling apart the second you try to cut it, it usually means you skimped slightly on the melted butter or you didn’t press it firmly enough against the sides of the pan when you first assembled it.
If the butter ratio was off, the crust won’t hold together properly once it warms slightly out of the freezer. If you notice yours crumbling when you try to slice it, try this: take the pie plate out. Then, gently press the sides of the crust back into place with the back of a spoon, almost like you’re patching a small hole. If the crumb is very dry, try carefully drizzling just one teaspoon of melted butter around the rim of the crust where the crumbs meet the edge of the plate—it acts like a small cement pour. Pop it back in the freezer for 30 minutes before attempting to slice again! Good luck, you’ve got this!
Frequently Asked Questions About Making Chocolate Mousse Pie
Sometimes after staring at a great recipe, you just have a couple of little nagging questions, right? I totally get it! I’ve collected a few things people ask me all the time about making this super popular chocolate mousse pie. Don’t worry if you’re new to homemade chocolate pie—we get the tricky parts sorted out right here!
Can I use a different cookie crust besides Oreos in this chocolate mousse pie?
Yes, absolutely, you can! While nothing beats the rich, dark flavor of an Oreo crust for this chocolate mousse pie, if you don’t have them, you can totally use graham crackers instead. When you do that swap, you just need to sweeten things up a little bit because graham crackers are a bit milder. So, mix your graham cracker crumbs with the melted butter as usual, but make sure you toss in about 2 tablespoons of extra granulated sugar to keep that crust flavor nice and strong!
How do I ensure my chocolate mousse filling is truly light and airy?
This is the key to success if you want that perfect, cloud-like texture! It all comes down to how you treat your whipped cream and your chocolate. First, make sure that chocolate you melt down is significantly cooled—I mean, barely warm to the touch—before you add it to the cream cheese base. If it’s hot, it will deflate those air bubbles you worked hard to create. Second, and this is crucial: when you finally fold that fully whipped cream into the chocolate base, use a spatula and be gentle! Scoop from the bottom and gently sweep over the top. You want just enough mixing so that you don’t see white streaks anymore, but you stop immediately after that. That’s how you keep that light and airy quality in your filling!
Nutritional Estimate for This Decadent Chocolate Dessert
Now, I’m no nutritionist here, okay? I’m just a home cook who loves to feed people delicious things! So please take these numbers with a huge grain of salt, because they are just an estimate based on the ingredients I used in my version of this chocolate mousse pie. If you’re counting every single calorie, you know you need to adjust based on the specific brands of cream cheese or chocolate you use.
That said, this pie is definitely rich—it’s chocolate, after all! But because it’s no-bake and uses a lot of airy whipped cream, it’s lighter than some of those heavy baked cheesecakes out there. These figures are based on dividing the whole pie into 8 generous slices, which is what I always aim for when serving this beauty.
Here is a rough idea of what you’re looking at per slice:
- Calories: Around 450 (Worth every single one of them, I promise!)
- Fat: About 32 grams (That’s where the creamy flavor comes from, thanks, butter and cream cheese!)
- Carbohydrates: Roughly 38 grams
- Protein: About 5 grams
Keep in mind the sugar content is a bit higher, around 35 grams, because of the powdered sugar and the cookies in the crust. But listen, when you’re making a truly decadent chocolate dessert like this chocolate mousse pie for a special occasion, we enjoy it, we savor it, and we move on! It’s all about balance, right?
PrintEasy No-Bake Ultra Creamy Chocolate Mousse Pie with Oreo Crust

Make a stunning, silky chocolate mousse pie without turning on your oven. This recipe uses a simple Oreo cookie crust and a light, airy chocolate filling perfect for any special occasion.
- Prep Time: 25 min
- Cook Time: 0 min
- Total Time: 6 hr 25 min
- Yield: 8 servings
- Category: Dessert
- Method: No-Bake
- Cuisine: American
- Diet: Vegetarian
Ingredients
- 1 1/2 cups Oreo cookie crumbs (about 30 cookies)
- 6 tablespoons unsalted butter, melted
- 1 cup heavy whipping cream, cold
- 8 ounces cream cheese, softened
- 1 cup powdered sugar, sifted
- 1 teaspoon vanilla extract
- 4 ounces unsweetened chocolate, melted and slightly cooled
- 1/2 cup cold heavy whipping cream (for folding)
- Whipped cream, for topping
- Chocolate shavings, for garnish
Instructions
- Prepare the crust: Combine the Oreo cookie crumbs and melted butter in a medium bowl. Press the mixture firmly and evenly into the bottom and up the sides of a 9-inch pie plate. Place the crust in the freezer while you prepare the filling.
- Make the base filling: In a large bowl, beat 1 cup of cold heavy whipping cream until stiff peaks form. Set aside.
- In a separate bowl, beat the softened cream cheese until smooth. Gradually beat in the sifted powdered sugar and vanilla extract until fully combined and creamy.
- Pour the slightly cooled melted unsweetened chocolate into the cream cheese mixture. Beat until just combined. Do not overmix.
- Gently fold the reserved whipped cream into the chocolate mixture in two additions using a rubber spatula until no white streaks remain. The mixture should be light and airy.
- Pour the chocolate mousse filling into the chilled Oreo crust, smoothing the top with an offset spatula.
- Chill the pie in the refrigerator for at least 6 hours, or preferably overnight, until the filling is firm.
- Before serving, top the pie generously with whipped cream and garnish with chocolate shavings. Slice and serve cold.
Notes
- For the smoothest filling, ensure your cream cheese is fully softened to room temperature.
- Melt the chocolate gently in a double boiler or in short bursts in the microwave to prevent scorching.
- If you do not have Oreo cookies, you can substitute with graham crackers and add 2 tablespoons of sugar to the crust mixture.
Nutrition
- Serving Size: 1 slice
- Calories: 450
- Sugar: 35
- Sodium: 280
- Fat: 32
- Saturated Fat: 18
- Unsaturated Fat: 14
- Trans Fat: 0
- Carbohydrates: 38
- Fiber: 2
- Protein: 5
- Cholesterol: 95