

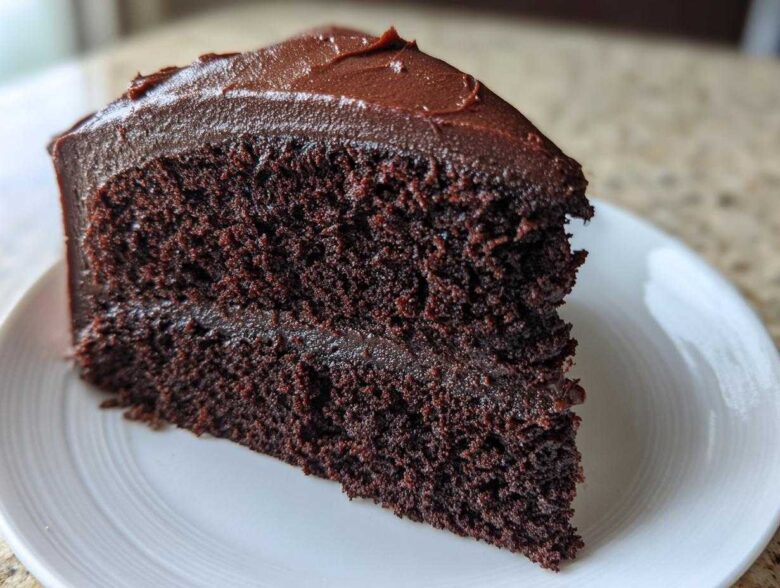
If there’s one thing I cannot stand in life, it’s a dry cake. Seriously, it’s a criminal waste of good cocoa powder! I have spent years chasing that elusive, perfectly soft, deeply satisfying bite, and I finally nailed it. Forget all those recipes that promise the world and deliver dusty crumbs; this one is different. This is The Ultimate Ultra Moist Chocolate Layer Cake with Rich Chocolate Buttercream, and I swear on my favorite whisk, this recipe guarantees a deeply flavored and incredibly moist chocolate cake using techniques that feel almost like cheating. I highly recommend checking out my main recipe page for the moist chocolate cake recipe if you need a quick reference!
Trust me, you think you’ve had good chocolate cake, but you haven’t had this one yet. Over time, tweaking the liquids and playing with brewing temperatures, I stumbled upon the perfect combination that keeps this cake velvety soft days after you bake it. It’s become my go-to for every single birthday and celebration, and now I’m finally handing that secret over to you!
We’re not messing around with complicated steps here, but we are being smart about our ingredients—especially that secret weapon that gives us that lush texture. Get ready to see why this is becoming the best homemade chocolate cake people talk about.
Why This Is the Ultimate Moist Chocolate Cake Recipe
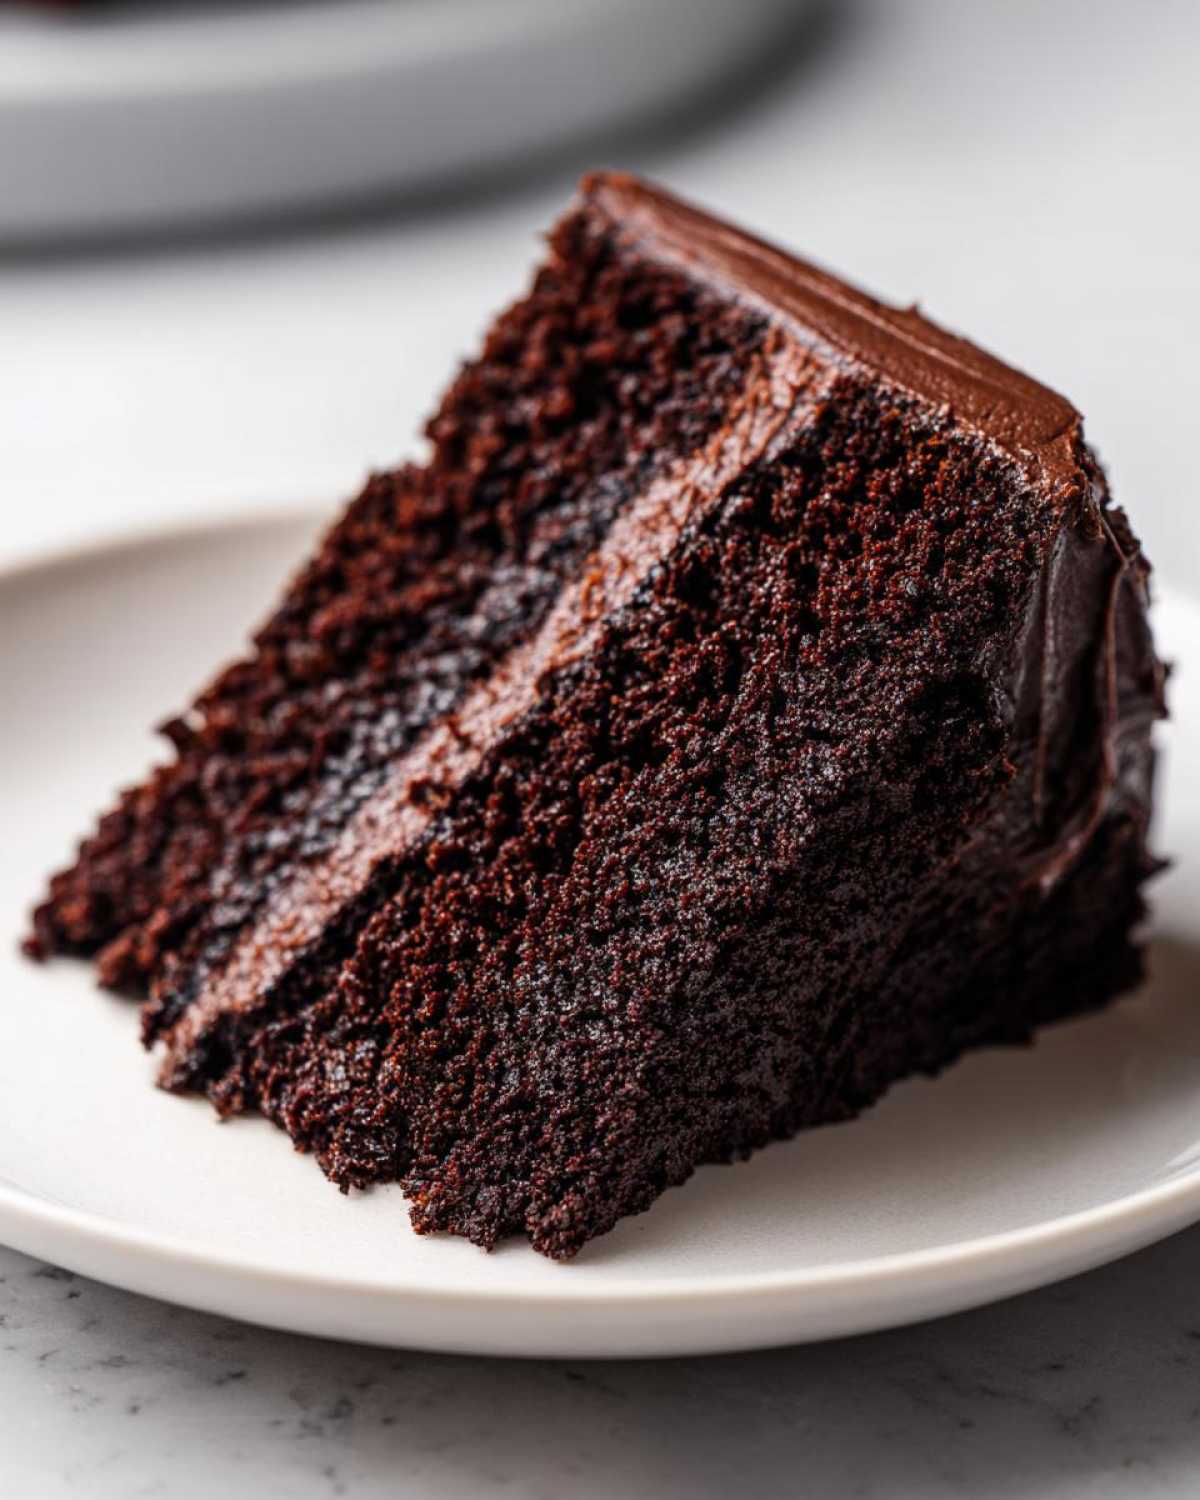
What makes this my ultimate chocolate cake? It’s all about the layers of moisture, not just the thick frosting! This recipe flies through the oven in about 55 minutes total, yet it tastes like you spent all day fussing over it. It’s an absolute showstopper and honestly the best rich chocolate dessert you’ll ever serve. I think people are nervous about making layer cakes, but this batter is so forgiving, it almost guarantees you’ll end up with a magnificent, deep-flavored cake.
The secret to that unbelievable softness isn’t just one thing; it’s the way the ingredients talk to each other beautifully. When you see the final slice, you understand what a real tender crumb chocolate cake should feel like. If you need a great reference for general cake baking, check out my main chocolate cake recipe hub for more inspiration!
Key Factors for a Tender Crumb Chocolate Cake
- The buttermilk is essential! Its acidity tenderizes the gluten in the flour, which is key for that soft, non-chewy texture.
- We use oil instead of butter for the main fat; oil stays liquid at room temperature, which keeps the cake feeling moist inside your mouth long after it cools down.
- That hot brewed coffee isn’t just for flavor—it actually ‘blooms’ the cocoa powder, intensifying the dark chocolate taste tremendously. I promise you won’t taste coffee!
- We don’t use much baking powder, relying instead on the baking soda reacting perfectly with the buttermilk for lift.
Ingredients for Your Moist Chocolate Cake
Alright, let’s talk about what goes into this masterpiece! The beauty of this moist chocolate cake recipe is that most of these items are probably already staring at you from your pantry right now. Seriously, stocking up has never been easier. Remember, successful baking relies on accurate measuring, so don’t eyeball these, especially the leavening agents!
If you’re gathering supplies for this recipe, you might also want to check out my favorite recipe for chocolate eclair cake while you’re grabbing your measuring cups!
For the Decadent Chocolate Layer Cake
- 2 cups all-purpose flour
- 2 cups granulated sugar
- 3/4 cup unsweetened cocoa powder (Use a good quality one—it makes all the difference!)
- 2 teaspoons baking soda
- 1 teaspoon baking powder
- 1 teaspoon salt
- 1 cup buttermilk, room temperature (This is crucial! Cold buttermilk throws off the texture.)
- 1/2 cup vegetable oil
- 2 large eggs, room temperature (Another non-negotiable for that smooth batter!)
- 1 teaspoon vanilla extract
- 1 cup hot brewed coffee (Make it strong, trust me!)
For the Rich Chocolate Buttercream Frosting
This frosting is so simple, but combining it with the dark cake layers makes it feel truly decadent and worthy of any fancy bakery!
- 1 cup powdered sugar (Make sure it’s sifted!), plus extra if needed
- 1/2 cup unsalted butter, softened (It should hold its shape but yield easily to a soft touch.)
- 1/4 cup unsweetened cocoa powder
- 1 teaspoon vanilla extract
- 2 tablespoons milk or heavy cream (Use cream if you want it a little richer!)
Step-by-Step Instructions to Make a Moist Chocolate Cake
Okay, let’s get baking! If you’ve ever wondered exactly how to make moist chocolate cake that doesn’t crumble when you try to stack it, follow these steps exactly. Baking is chemistry, and this formula is tried and true for that perfect chocolate croissant easy puff pastry recipe inspiration vibe, but way simpler!
Preparing the Cake Layers
First things first: get that oven preheated to 350 degrees F. You want things ready to go! Grab two 9-inch round cake pans. Don’t skip greasing them *and* flouring them, and then definitely line the bottoms with parchment paper. This is your insurance policy against sticking—it makes removal stress-free, I promise.
In a big bowl, just whisk together the flour, sugar, cocoa, baking soda, baking powder, and salt. Whisk them until they are just combined and look uniform. That’s it for step one. We don’t want to develop any gluten yet, so keep it light!
Mixing the Batter and Baking
Now for the fun bit! Add the room temperature buttermilk, the oil, the eggs, and vanilla right into those dry ingredients. Turn your mixer on medium and beat it for a good two minutes. The batter will look thick and strange at this point, but don’t panic—that’s normal for this recipe!
Next, very carefully stir in that cup of hot coffee. Watch out, it splatters a bit sometimes! The batter will instantly become very thin, almost soupy, but this thinness is what creates that famous moist chocolate cake crumb. Divide it evenly between your prepared pans.
Bake for 30 to 35 minutes. Always check with a wooden pick inserted in the center—it should come out clean, maybe with a few tiny moist crumbs clinging to it, but nothing wet. Let them cool in the pans for about 10 minutes. Then, invert them onto a wire rack and let them cool completely. Seriously, do not rush the cooling! Frosting a warm cake is a recipe for a messy disaster.
Creating the Simple Chocolate Frosting Recipe
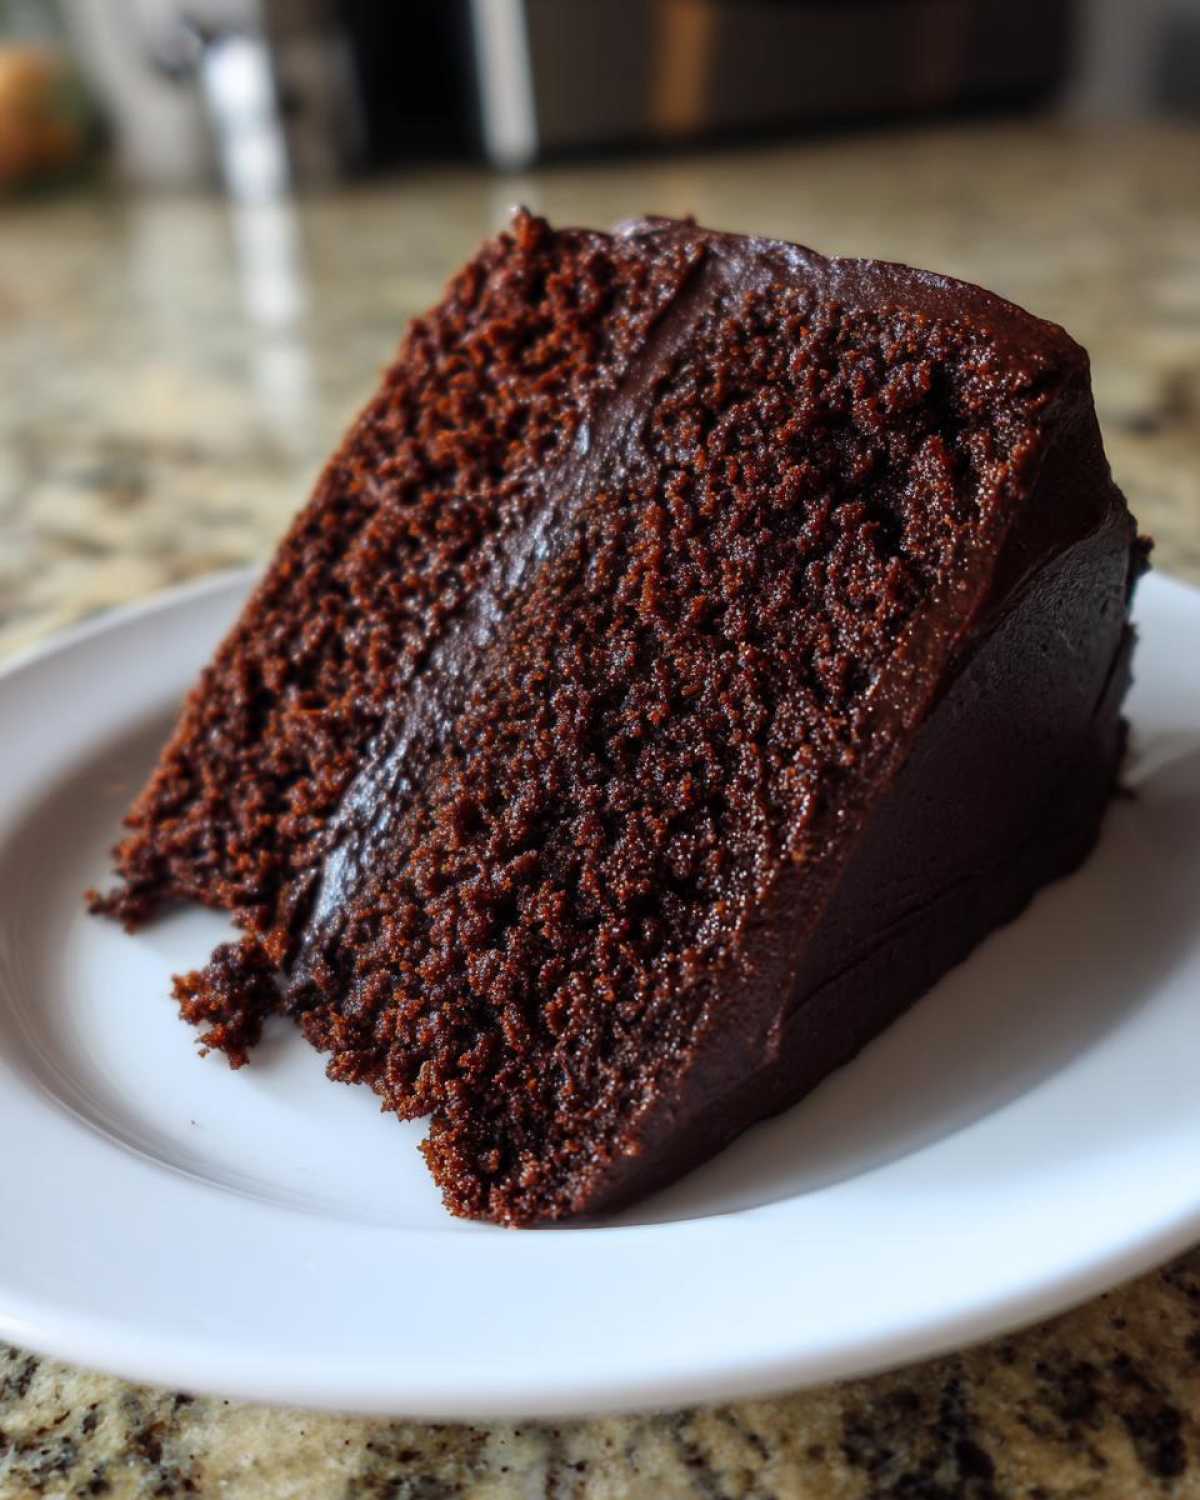
While the cakes cool, let’s whip up that glorious topping. Start by beating your softened butter until it looks creamy and light. Then, slowly start adding that powdered sugar and cocoa powder. You want to add them gradually so they don’t puff up everywhere! Once it starts coming together, mix in the vanilla and the milk or cream, one tablespoon at a time. If it seems too stiff for frosting that decadent layer cake, add just a tiny bit more milk until it spreads like velvet. It should be light and fluffy—that’s the sign of a great, simple chocolate frosting recipe!
Tips for Success When Making Your Moist Chocolate Cake
Learning the little tricks is what moves you from just baking a chocolate cake to baking the absolute most moist chocolate cake in the neighborhood. These aren’t just my opinions; these are the gold-standard notes right off the recipe card itself. If you skip these, you risk losing just a little bit of that incredible texture we worked so hard to achieve!
I remember one disastrous time—oh, I must have been 16—when I tried to make this for my brother’s graduation party. I was rushing, grabbing the buttermilk right out of the fridge. Boy, did that batter look chunky! I almost dumped it all, but I remembered my mom telling me, “Give it time to warm up, honey.” I let the cold ingredients sit on the counter for about 20 minutes, and yep, it mixed up beautifully smooth the second time around. Room temperature ingredients are not just a suggestion; they’re the secret handshake for this recipe!
If you’re looking for more incredibly soft bakes, you have to try my pistachio muffins recipe easy and moist next; it uses a similar liquid logic!
Here are the non-negotiable things to keep in mind:
- Make sure your buttermilk and eggs are completely room temperature. This is the key to getting a smooth, uniform batter that bakes evenly and stays tender.
- When you finally add that hot coffee, stir it in gently until it’s *just* combined. Don’t stand there whipping it! The batter will look thinner than you expect, and that’s exactly what we want for a wonderfully tender crumb chocolate cake.
- Resist the urge to overmix once the flour goes in. Honestly, mix it until you see the streaks disappear, and then stop. Overmixing wakes up the gluten, and gluten means tough cake, which is the total opposite of what a moist dessert recipe should be!
- If you’re brewing the coffee, make it strong! A really bold cup of coffee acts like the ultimate cocoa enhancer, giving you that deep, dark chocolate satisfaction without tasting like a latte.
Variations for This Rich Chocolate Dessert
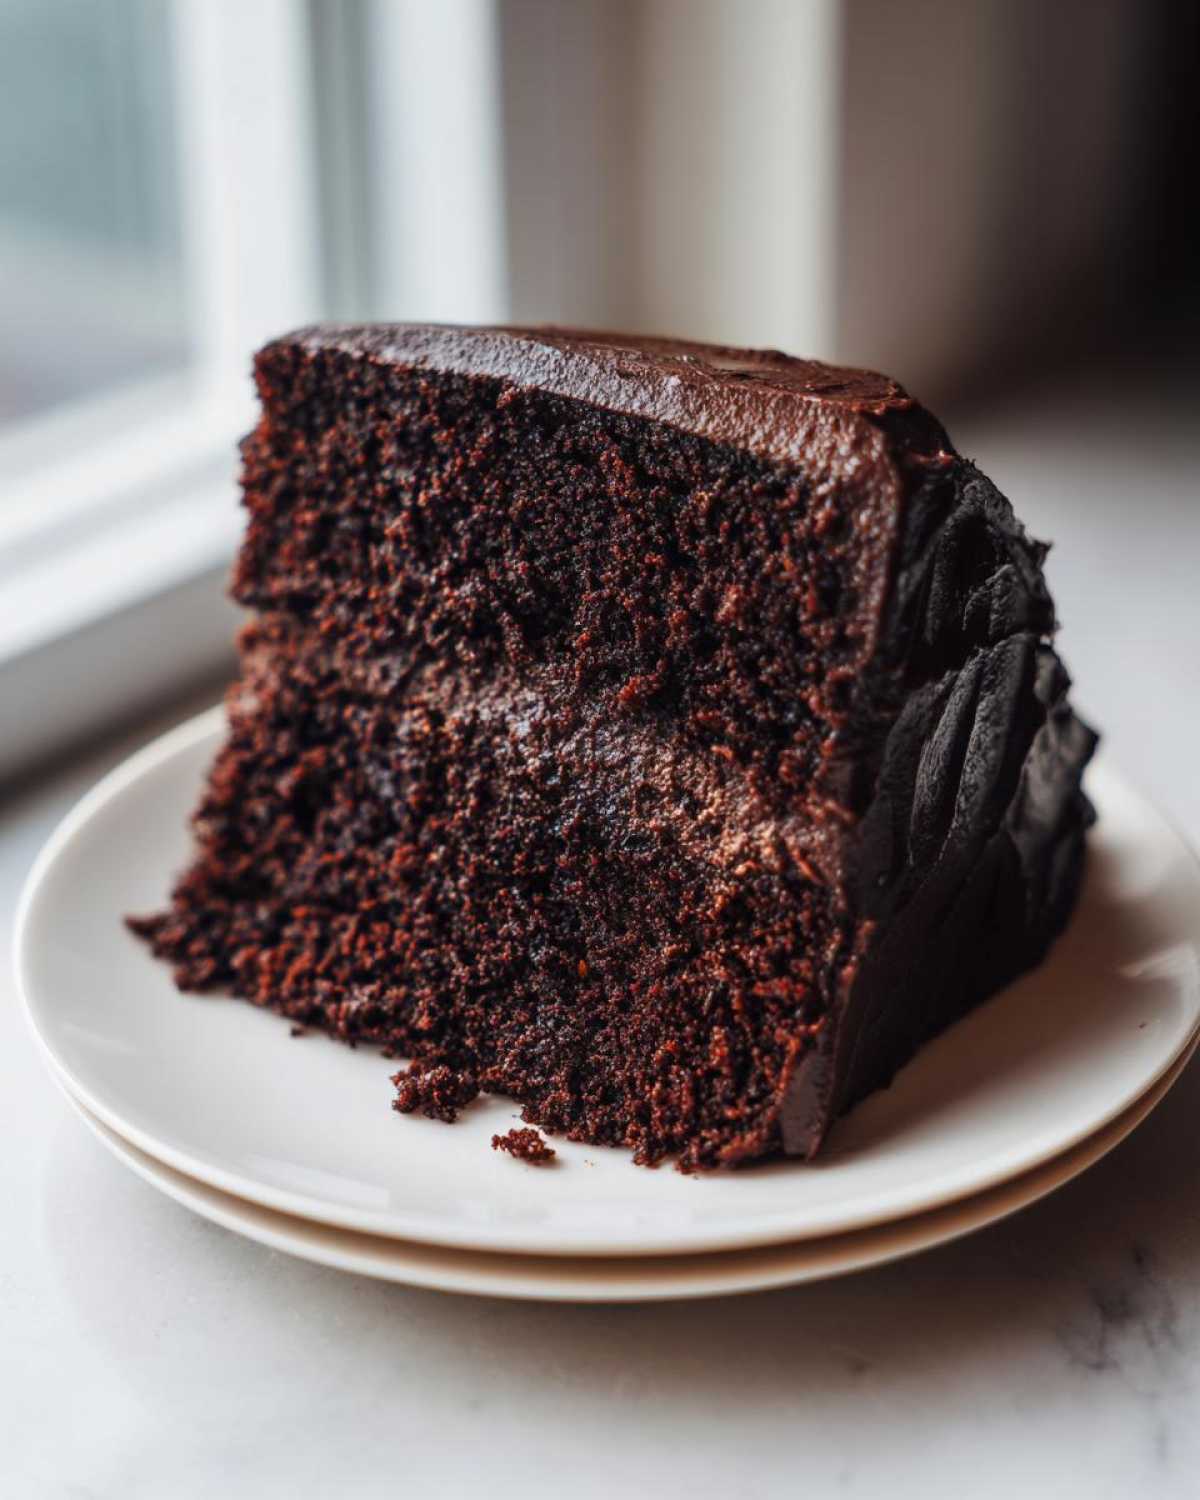
This cake is fantastic exactly as written, but why stop at fantastic when we can push it into legendary territory? Sometimes you want to veer slightly from the classic path, and this batter is so sturdy and flavorful that it takes well to a few fun tweaks. It’s perfect for when you’re craving something that feels like a true deep dark chocolate cake experience!
I’ve played around with this formula countless times when I’ve been trying to use up random things in my cupboard. If you’re feeling adventurous, here are a few easy adjustments that won’t mess up that crucial moistness you’ve come to expect from this recipe. If this cake inspires you, maybe you’ll be ready to tackle my red velvet bundt cake recipe moist drizzle next!
- Go Extra Dark: If you want that intense, almost black cake color and flavor, swap out half of the regular cocoa powder in the cake batter for Dutch-processed cocoa powder. This creates a much richer, less acidic flavor profile. It makes the whole thing feel even more decadent!
- The Espresso Boost: This is my favorite trick for any chocolate recipe! Before you brew your hot coffee, start by mixing 1 teaspoon of instant espresso powder directly into your dry ingredients with the cocoa. The espresso doesn’t add a coffee taste, but it really pushes the chocolate notes to the forefront. It makes it taste like it came from an expensive European bakery.
- Spice of Life: For a fall twist that warms everything up, add about 1/2 teaspoon of ground cinnamon and a generous pinch of cayenne pepper to the dry ingredients. It gives the cake an unexpected little kick on the finish, which balances the sweetness of the buttercream beautifully. Mix it right in with the cocoa!
- Buttermilk Substitution SOS: Oh, we’ve all been there—you realize you’re out of buttermilk when you need it most! If you have regular milk, just work some magic. For every cup of buttermilk called for, measure out 1 cup of regular milk and stir in 1 tablespoon of white vinegar or fresh lemon juice. Let it sit on the counter for 5 to 10 minutes until it looks slightly curdled. Then, use it just as you would the buttermilk. It works like a charm for maintaining that acidic structure!
Serving Suggestions for Your Decadent Chocolate Layer Cake
Now that you have this absolutely gorgeous, towering, and incredibly moist chocolate cake, the job isn’t quite done, right? Presentation is everything! You want to serve this stunner in a way that shows off all that hard work you put into keeping the layers soft and perfectly stacked. This cake is so rich and intense on its own, you don’t need a ton of fuss, which is what I love about it.
You know, even though I’m knee-deep in chocolate recipes lately—you can see what else I’ve been up to on my best homemade caramelized onion dip page, believe it or not!—this chocolate cake remains my top tier for sweetness. Here are the simple pairings that always make people gasp when I bring it to the table:
- Fresh Fruit Contrast: Because the cake is so deep and sweet, you need something bright to cut through it. I always scatter fresh raspberries or sliced strawberries around the base of the cake stand. The slight tartness is a perfect counterpoint.
- Simple Scoop: If you’re serving this warm (yes, you can gently microwave a slice!), a scoop of good quality vanilla bean ice cream is mandatory. That immediate temperature contrast between the warm, melting cake and the cold cream is just heaven.
- For the Purists: If the buttercream is already perfect, sometimes less is more. Save the presentation by dusting the top just before serving with extra unsweetened cocoa powder using a fine-mesh sieve. It looks professional, tastes intensely chocolatey, and is the easiest garnish in the world.
- Fancy Finish: If you made the frosting a little thicker (maybe you used the heavy cream), you can pipe some simple rosettes around the edge of the top layer. It looks incredibly bakery style chocolate cake without needing a piping bag tip wider than a pencil!
Storage and Reheating Instructions for Moist Chocolate Cake
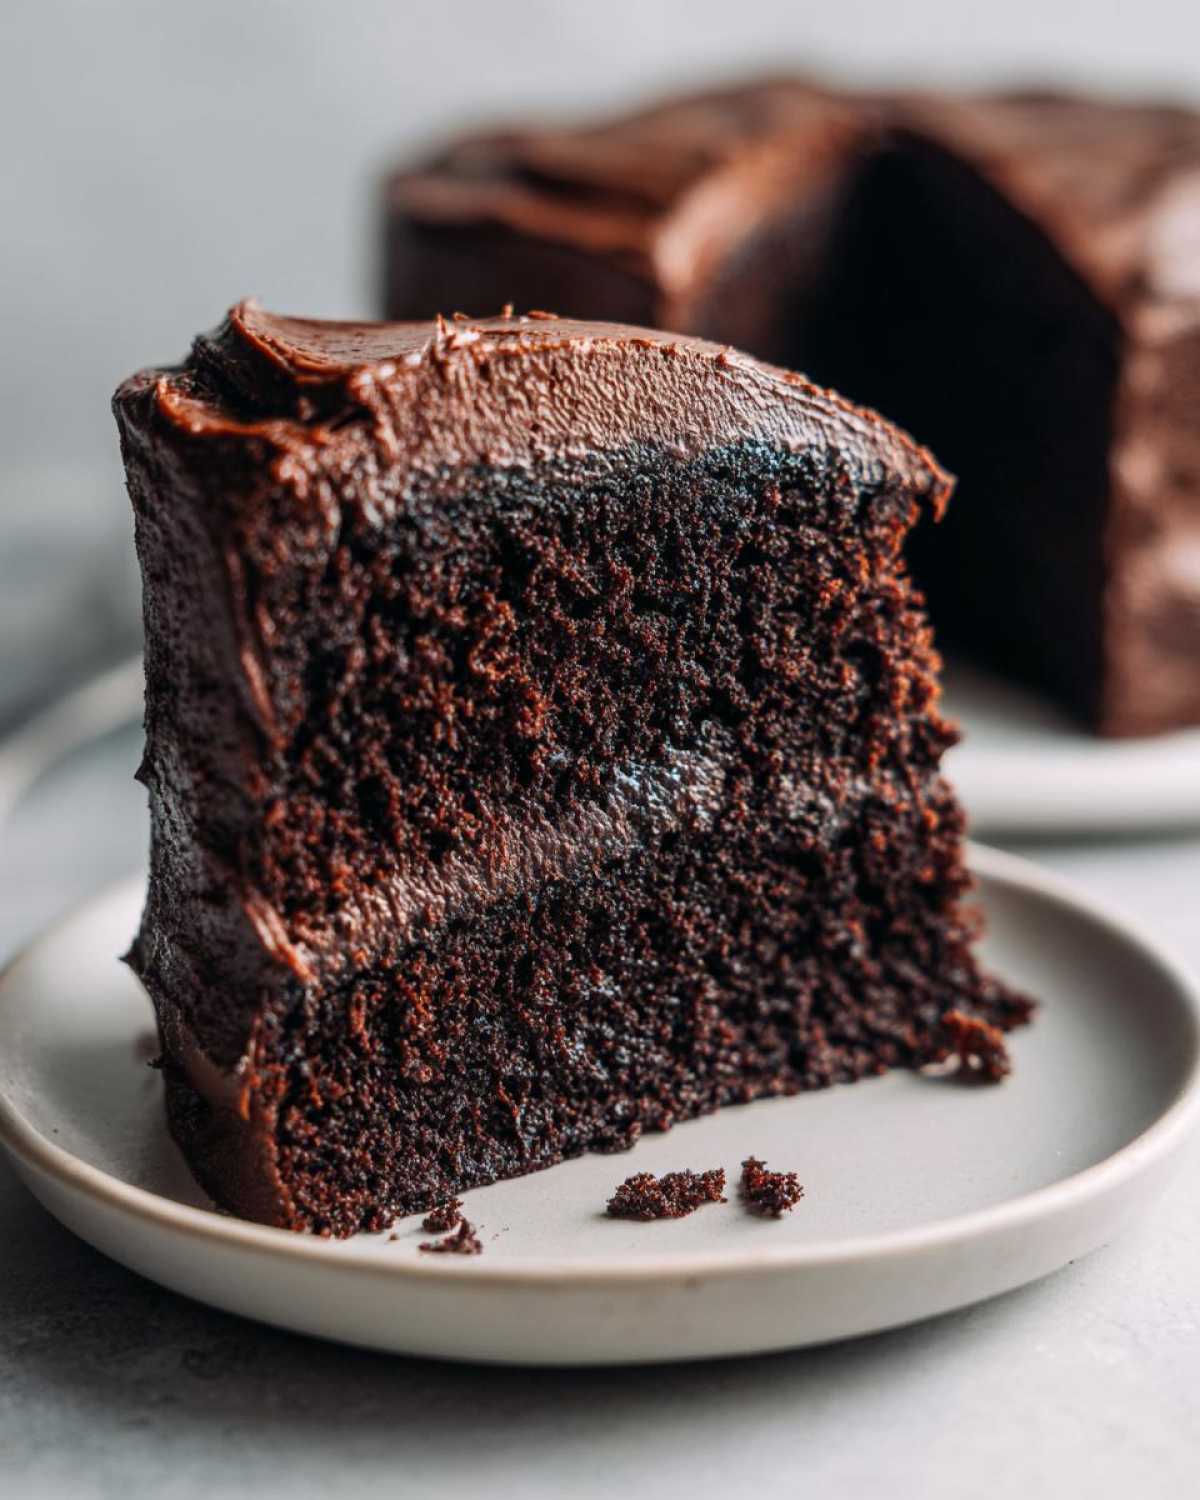
Now that you’ve baked the most glorious, moist chocolate cake, the big question is: how do we keep it that way? We want this rich chocolate dessert to taste as good on day three as it did on day one, right? Luckily, because we used oil and a very sugary frosting, this cake is quite resilient, but there are definitely right and wrong ways to store it.
If you’ve got leftovers (which, honestly, I doubt you will if my family gets near it!), the storage method depends on how long you need to keep it. If you just made it and plan to eat it within two days, keeping it on the counter is actually my preferred method. If you want to keep admiring its beauty for the full week, the fridge is safer, but we have to combat that drying effect!
Before you store it, make sure that cake is completely cool. Seriously, if you wrap it warm, you’re trapping steam, and that leads to soggy frosting and potentially weak layers. You can check out my tips on making brownie refrigerator cake for more thoughts on cold storage, but for this layer cake, here’s the breakdown:
- Room Temperature (Best for 1-2 Days): If your kitchen isn’t too hot or overly humid, keep the cake loosely covered on the serving plate. You can loosely tent some plastic wrap over it, making sure the wrap doesn’t touch the frosting too much, or use an actual cake dome. This keeps the natural moisture in that classic chocolate cake structure.
- Refrigeration (Good for up to 5 Days): If you need it to last longer—maybe you’re saving your chocolate cake for birthdays celebration until the weekend—then wrapping is essential. Cover the entire cake tightly with plastic wrap, sealing the edges as best you can, and refrigerate. The cold will firm up the buttercream nicely.
- Freezing Success: Yes, you can freeze this! Wrap the whole cake (or individual slices, which I highly recommend) super tightly in plastic wrap, and then wrap it again in a layer of aluminum foil. It keeps perfectly in the deep freeze for up to three months.
Tips to Restore That ‘Just Baked’ Moistness
When you pull this gorgeous cake out of the fridge or freezer, it’s going to be firm, maybe even a little dense feeling. Don’t panic! We can gently coax that moisture right back to the surface. This is the little trick that makes serving it feel like you just pulled it fresh from the oven, even if it’s day four.
My best tip for reheating a slice of this moist chocolate cake recipe is quick and easy: the microwave! But you have to be careful not to turn it into lava cake, haha. If you’re reheating a single slice, wrap it loosely in a slightly damp paper towel first. Yes, damp! This creates a little micro-steam environment around the cake as it heats.
Microwave it on 50% power for just 10 to 15 seconds, depending on your microwave’s strength. That little burst of warmth and steam rehydrates the crumb just enough, making it feel plush and unbelievably soft again. If you’re taking a whole frosted cake out of the fridge, let it sit on the counter for at least an hour before trying to slice it, but you can always try microwaving a small test slice first to check the recovery!
Frequently Asked Questions About This Moist Chocolate Cake Recipe
I get so many wonderful questions every time someone tries making this cake, and honestly, you guys are so detail-oriented! It’s great because understanding the little ‘why’ behind the steps is what turns a good baker into a great one. If I can help you avoid any potential confusion and make sure your cake turns out perfectly moist—just like mine—then I’ve done my job! People often ask me how this recipe stacks up against boxed mixes, and I can confidently say this is completely foolproof chocolate cake territory once you learn the ropes.
If you want to explore other quick chocolate bakes while you’re here, definitely check out my guide for the easy fudgy chocolate mug cake recipe!
Can I use milk instead of buttermilk for this moist chocolate cake recipe?
Oh, I totally get it; sometimes buttermilk isn’t on the shopping list! Yes, you absolutely can substitute it, but you have to help it along so you don’t lose the magic acidity that aids in tenderness. For every one cup of buttermilk the recipe calls for, use one cup of regular milk—whole milk works best—and stir in exactly one tablespoon of white vinegar or fresh lemon juice. Let that mixture sit on the counter for about five to ten minutes until it looks slightly curdled or ‘lumpy.’ That little bit of acid is what the recipe relies on to react with the baking soda and keep the texture soft and moist, so please don’t skip that substitution step!
How can I achieve a bakery style chocolate cake look?
I love giving my cakes that sharp, clean edge you see in high-end bakeries! The secret isn’t in the frosting recipe itself—which is already perfectly fine for spreading—but in the technique you use before the final coat. You need to apply a thin layer of frosting all over the cake first. This thin layer is called the ‘crumb coat.’ Its whole job is basically to trap any loose crumbs so they don’t fall into your gorgeous final layer of frosting. Chill the cake for about 20 minutes after the crumb coat freezes up a little bit.
Once it’s chilled, apply your final thick layer of frosting. Use a bench scraper or a long, clean offset spatula held right against the side of the cake, spin the cake stand (if you have one!), and use a gentle, consistent pressure. It smooths out everything beautifully and mimics that sharp, professional finish. It really elevates this from a simple homemade cake to a true bakery style chocolate cake!
Estimated Nutritional Data for This Classic Chocolate Cake
I know a lot of you who are baking this decadent layer cake are tracking things, or maybe you just want to know what you’re really digging into! While I try to keep things simple in the kitchen, I always make sure to run the final recipe through a tracker so you know the estimates. Honestly, if we’re eating this much deep, rich chocolate, we’re going to live a little, right?
Here are the estimated figures for one generous slice of this classic chocolate cake, frosted and ready to go. Keep in mind these numbers are based on the ingredients I use, so if you swap out the oil for something else or use a specialty dark cocoa, they might shift a little bit!
If you want to learn more about how I develop these recipes and manage my kitchen, you can always take a peek at my About Us page!
- Serving Size: 1 slice
- Calories: 450
- Sugar: 55g (Yes, it’s a treat, worth every grain!)
- Sodium: 300mg
- Fat: 24g
- Saturated Fat: 8g
- Unsaturated Fat: 16g
- Trans Fat: 0g
- Carbohydrates: 60g
- Fiber: 3g
- Protein: 5g
- Cholesterol: 55mg
Just a quick note, because I want to be totally upfront: these nutritional breakdowns are just estimates! They don’t account for how much cake you might sneak while frosting, or if you use heavy cream versus milk in your **rich chocolate frosting**. Use these figures as a general guideline rather than a hard-and-fast guarantee. But what I guarantee is that every single calorie of this ridiculously **moist chocolate cake** is worth it!
Share Your Experience with This Ultimate Chocolate Cake
Now that you’ve got your hands on this recipe for what I truly believe is the greatest moist chocolate cake out there, the next step is the best part: sharing it with the world! Or, you know, just sharing it with your family and watching them disappear into a sugar-fueled coma—either way works for me!
I absolutely live for hearing about your bakes! When you make this cake, please, please, please let me know how it turned out for you. Did it live up to the hype? Was that coffee really the secret weapon you needed? Knowing that this recipe is bringing joy (and incredible moisture) into your kitchens makes all my testing and tweaking worth it.
If you loved it and you think it deserves all the praise in the world, rate it with five stars right down below in the comments section! And if you snap a picture of that towering slice—especially showing off that tender crumb—tag me on social media! When you leave a comment, make sure you tell me honestly: Did you find this cake to be ultra moist? That’s the main thing I want to know!
If you have any specific questions about technique or substitutions while you’re baking, don’t hesitate to drop me a line via my contact page, and I’ll get back to you as soon as I put down my apron!
PrintThe Ultimate Ultra Moist Chocolate Layer Cake with Rich Chocolate Buttercream
This recipe yields a deeply flavored, tender chocolate layer cake that stays moist. It uses coffee to deepen the chocolate taste and buttermilk for a soft crumb.
- Prep Time: 20 min
- Cook Time: 35 min
- Total Time: 55 min
- Yield: 12 servings
- Category: Dessert
- Method: Baking
- Cuisine: American
- Diet: Vegetarian
Ingredients
- 2 cups all-purpose flour
- 2 cups granulated sugar
- 3/4 cup unsweetened cocoa powder
- 2 teaspoons baking soda
- 1 teaspoon baking powder
- 1 teaspoon salt
- 1 cup buttermilk, room temperature
- 1/2 cup vegetable oil
- 2 large eggs, room temperature
- 1 teaspoon vanilla extract
- 1 cup hot brewed coffee
- 1 cup powdered sugar (for frosting)
- 1/2 cup unsalted butter, softened (for frosting)
- 1/4 cup unsweetened cocoa powder (for frosting)
- 1 teaspoon vanilla extract (for frosting)
- 2 tablespoons milk or heavy cream (for frosting)
Instructions
- Preheat your oven to 350 degrees F. Grease and flour two 9-inch round cake pans. Line the bottoms with parchment paper.
- In a large bowl, whisk together the flour, sugar, cocoa powder, baking soda, baking powder, and salt.
- Add the buttermilk, oil, eggs, and vanilla extract to the dry ingredients. Beat with an electric mixer on medium speed for two minutes. The batter will be thick.
- Carefully stir in the hot coffee until the batter is smooth. The batter will be thin.
- Divide the batter evenly between the prepared cake pans.
- Bake for 30 to 35 minutes, or until a wooden pick inserted into the center comes out clean.
- Let the cakes cool in the pans for 10 minutes before inverting them onto a wire rack to cool completely.
- To make the frosting, beat the softened butter until creamy. Gradually add the powdered sugar and cocoa powder, beating until combined.
- Add the vanilla extract and milk or cream. Beat on high speed until the frosting is light and fluffy. Add more milk if needed to reach a spreadable consistency.
- Once the cakes are completely cool, place one layer on a serving plate. Spread about one-third of the frosting over the top. Place the second layer on top and frost the top and sides of the entire cake.
Notes
- Using room temperature buttermilk and eggs helps create a more uniform batter structure.
- Do not overmix the batter once the flour is added to maintain a tender crumb.
- Brewing the coffee strong will result in a deeper chocolate flavor in the final cake.
Nutrition
- Serving Size: 1 slice
- Calories: 450
- Sugar: 55g
- Sodium: 300mg
- Fat: 24g
- Saturated Fat: 8g
- Unsaturated Fat: 16g
- Trans Fat: 0g
- Carbohydrates: 60g
- Fiber: 3g
- Protein: 5g
- Cholesterol: 55mg