

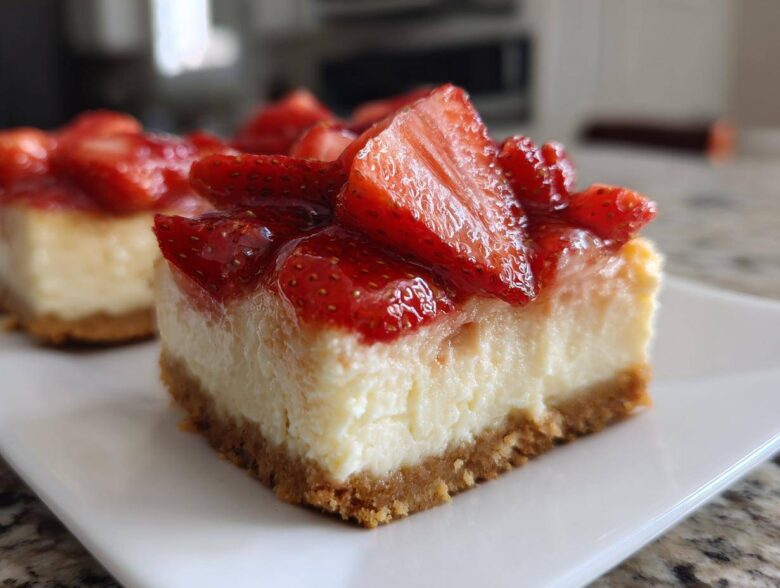
Oh, summer cooking! Isn’t it the best when the weather heats up and the last thing you want to do is hover over a hot oven? Me too! That’s why I live for recipes that keep the chill in the house. I finally cracked the code on the absolute perfect dessert for those scorching afternoons: these creamy, gloriously tart No-Bake Strawberry Lemon Cheesecake Bars. I first whipped these up when my AC decided to take a vacation mid-July, and honestly, I think they taste better because they never saw an oven!
Seriously, the combination of tangy lemon cutting through that rich, smooth cream cheese base is just heaven. Plus, nothing beats topping them with bright, fresh strawberries! They are the ultimate crowd-pleaser that requires zero baking skill, just a little bit of patience waiting for that chill setting time. You’re going to love how easy this quick cheesecake slices recipe is.
Why You Need These No-Bake Strawberry Lemon Cheesecake Bars
Listen, if you’re looking for a dessert that screams summer but doesn’t contribute to the heat wave in your kitchen, look no further. These bars are my secret weapon for backyard BBQs and last-minute potlucks. They are seriously one of the best easy no bake desserts I have ever created.
- Zero Oven Time: That’s right, we are keeping the oven off! This means you save energy, and your house stays cool. Perfect for those blazing hot days when you just can’t bear turning on the heat.
- Flavor Explosion: The tartness from the fresh lemon is unbelievably bright, and it complements the sweet creaminess so well. It’s a real palate-cleanser after a big meal!
- Make-Ahead Magic: You have to chill them anyway, so these are perfect for making the day before. Less stress on party day for you! They are fantastic summer cheesecake bars.
- Stunning Presentation: With that crisp graham crust, smooth yellow filling, and bright red strawberries on top, these slices look way fancier than the minimal effort they actually require.
- Foolproof Filling: Since there’s no egg tempering or worrying about cracking, the filling sets up perfectly smooth every single time. It’s virtually impossible to mess up!
Essential Ingredients for Perfect No-Bake Strawberry Lemon Cheesecake Bars
When you’re not baking, the quality of your raw ingredients becomes even more important, right? Since we rely on chilling to do the heavy lifting, we need everything to be spot-on. I’ve broken down exactly what you need for these gorgeous No Bake Strawberry Cheesecake Bars so you can get organized before you start mixing. Trust me, having everything measured out first makes the assembly go super fast!
For the Graham Cracker Crust
- 1 1/2 cups graham cracker crumbs (Make sure they are fine crumbs!)
- 1/4 cup granulated sugar (This just gives the crust a nice little crunch.)
- 6 tablespoons unsalted butter, melted (Don’t skimp here; it’s the glue!)
For the Creamy Lemon Filling
This is where the magic happens to get that amazing Lemon Cheesecake Bars Recipe flavor. The lemon zest is key for that authentic punch!
- 1 (8 ounce) package cream cheese, softened (It absolutely *must* be softened, or you’ll have lumps!)
- 1 (14 ounce) can sweetened condensed milk (This replaces the need for a ton of sugar and helps it set up beautifully.)
- 1/2 cup fresh lemon juice (Fresh squeezed is mandatory, my friend!)
- 1 teaspoon lemon zest
- 1 teaspoon vanilla extract
- 1 cup heavy whipping cream, cold (Make sure this is super cold for whipping!)
For the Fresh Strawberry Topping
We keep this simple to let those beautiful strawberries shine on top of our chilled bars.
- 1/4 cup powdered sugar (We use this right when we whip the cream for extra stability.)
- 1 cup fresh strawberries, sliced (Use the prettiest ones you can find!)
Step-by-Step Instructions for No-Bake Strawberry Lemon Cheesecake Bars
Okay, the ingredients are ready, and our tools are waiting! This is the fun part, assembling the layers. Since we are skipping the oven entirely, preparation is everything. If you follow these steps, you’ll have perfect, sliceable No Bake Lemon Bars without any fuss. It moves quickly, so have your bowls ready!
Preparing and Chilling the Crust
First things first, we need a solid base. Grab an 8×8 inch baking pan. This size is perfect for getting nice, thick bars. Line it with parchment paper first—make sure you leave some overhang on the sides. This is a lifesaver later when you need to lift the whole thing out in one piece!
In a bowl, mix up your graham cracker crumbs and that 1/4 cup of granulated sugar. Pour in the 6 tablespoons of melted butter and stir it until every crumb looks evenly damp. Do not let any dry patches hide! Press this mixture firmly and evenly into the bottom of your prepared pan. Use the bottom of a measuring cup to really pack it down tight. Pop this crust into the freezer while we tackle the filling. Gotta get it nice and hard!
Creating the Tart Lemon Cheesecake Filling
Now for the creamy part! Get out your mixer—handheld or stand, whatever you prefer. Make sure that 8-ounce block of cream cheese is really soft, almost room temperature. Beat the cream cheese by itself first until it’s totally smooth and there are zero lumps. This is a non-negotiable step for a creamy bite!
Once smoother than silk, slowly drizzle in that can of sweetened condensed milk while the mixer is running on low. After that’s happy and combined, add your fresh lemon juice, the zest, and the vanilla extract. Keep mixing gently; you’ll notice the mixture immediately starts to thicken up on its own thanks to the acid interacting with the milk. Perfect!
Whipping the Cream and Finishing the Filling
This step is what sets our recipe apart from those runny no-bake versions. You need separate bowls for this part! Take your cold heavy whipping cream and add the 1/4 cup of powdered sugar. Whip this on medium-high speed until you see stiff peaks. What does that mean? It means when you pull the whisk out, the cream stands straight up and holds its shape. Don’t overbeat it past this point, or you’ll end up with butter, oops!
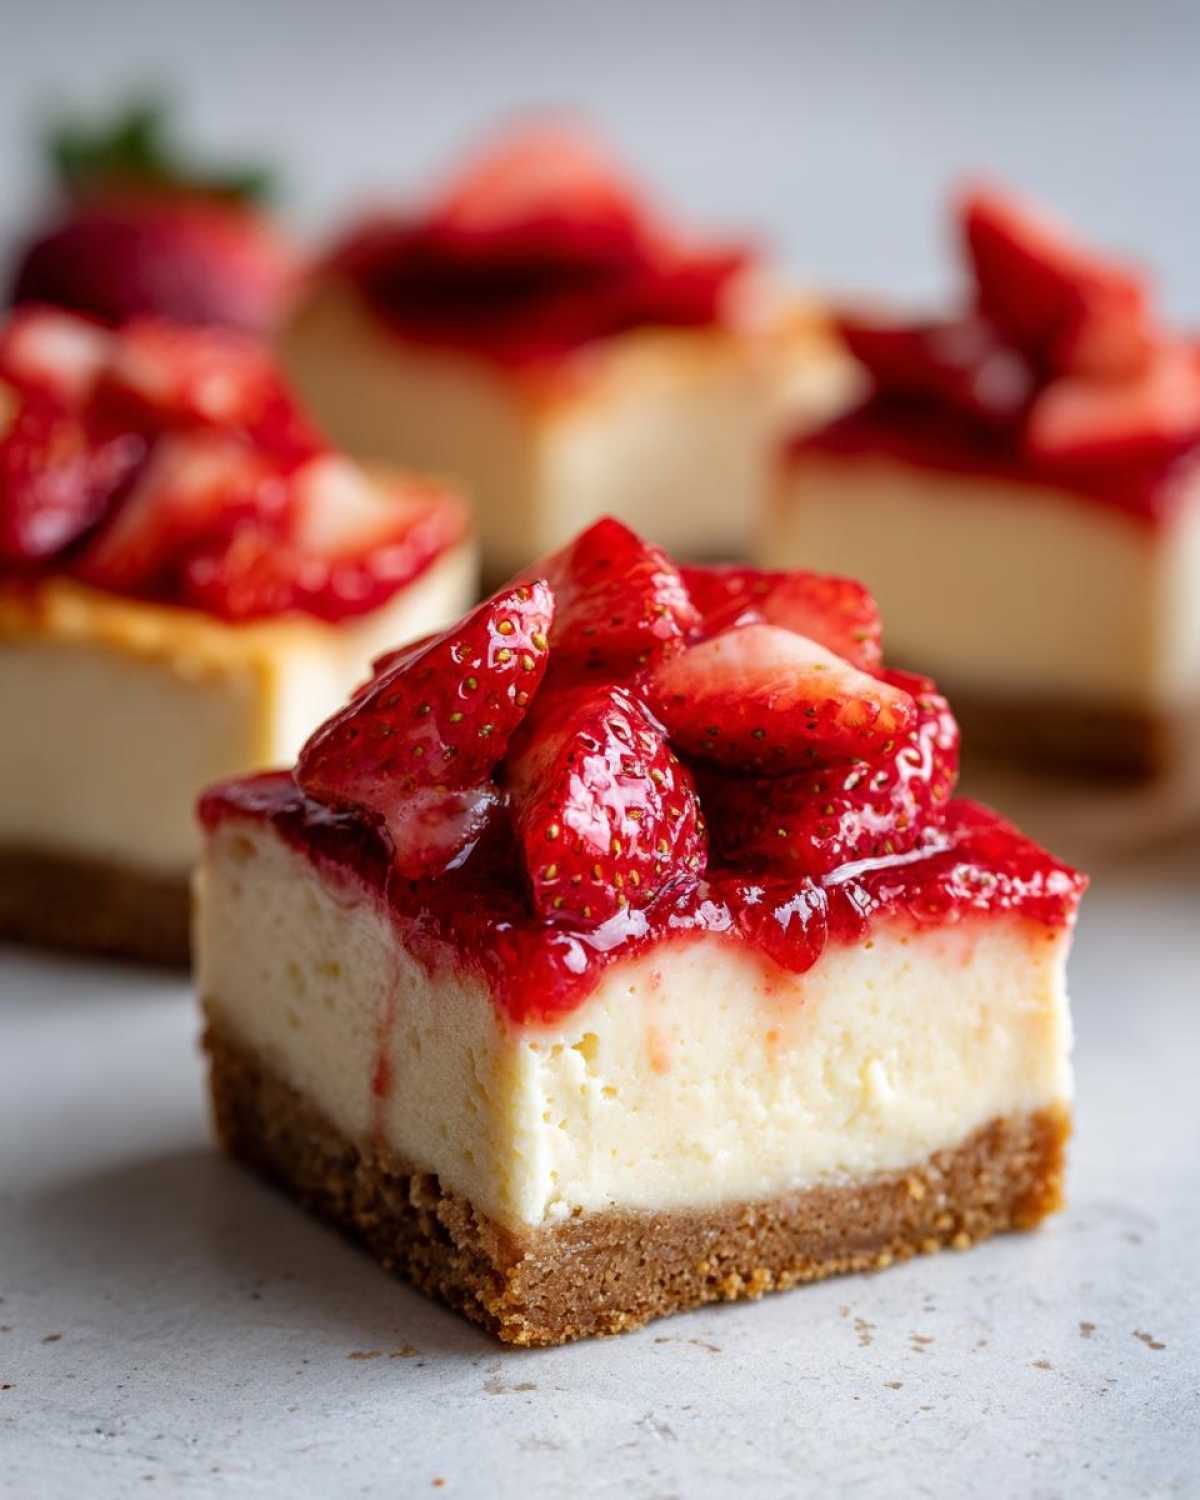
Now, take that lovely, fluffy whipped cream and gently fold it into your lemon cream cheese base. Use a rubber spatula and go slow—cutting down the middle and scooping up the sides. We are trying to keep all that airy volume we just whipped in! Stop stirring the second you don’t see white streaks anymore. Gently pour this airy filling over your chilled crust base and smooth the top out nice and neatly.
Setting and Serving Your No-Bake Strawberry Lemon Dessert Bars
This is the hardest part: waiting! Cover that pan snugly with plastic wrap and tuck it into the refrigerator. You *must* chill these **No-Bake Strawberry Lemon Cheesecake Bars** for a minimum of six hours, but honestly, overnight is where they really shine and firm up completely. That chilling time is crucial for these refrigerated dessert bars to set properly.
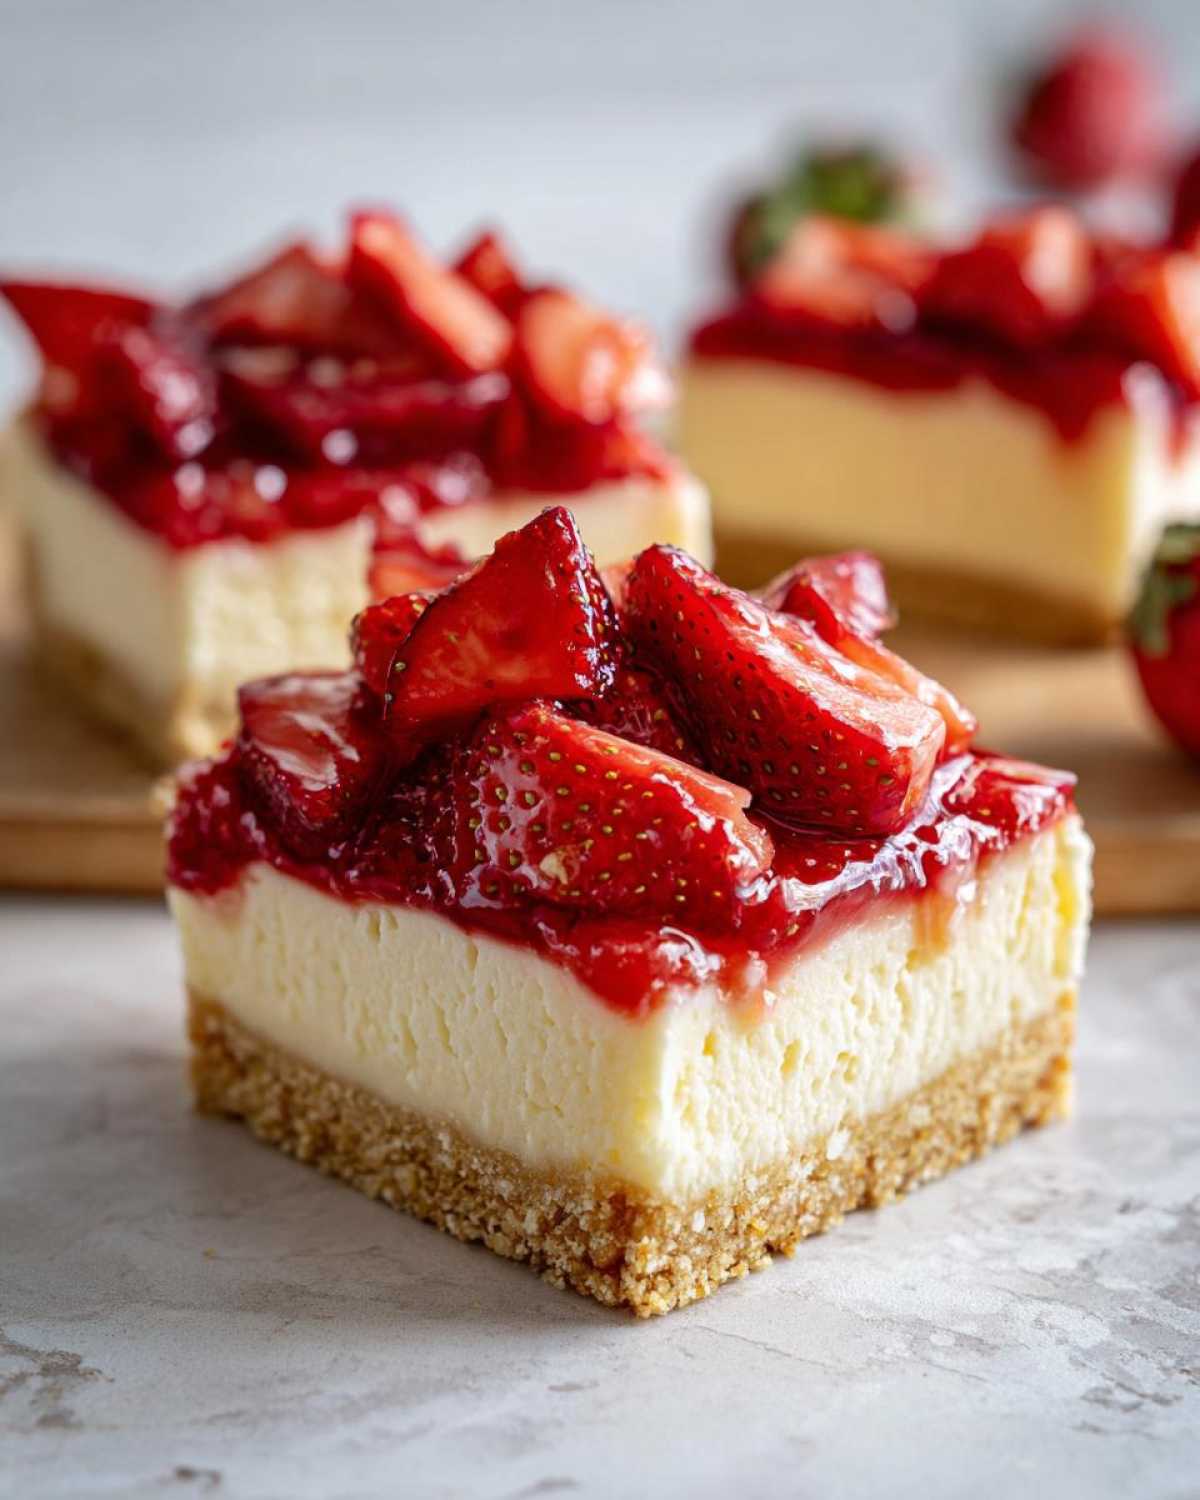
When you’re ready to serve, lift the whole thing out using the parchment paper overhang—easy peasy! Arrange your sliced fresh strawberries beautifully over the top. Remember that little tip I mentioned? For the cleanest presentation when you cut your quick cheesecake slices, run a sharp knife under very hot water, wipe it dry, and then cut. Wipe and repeat between every single slice! It slices through the crust and the creamy filling like butter.
Tips for Success Making No-Bake Strawberry Lemon Cheesecake Bars
I know that no-bake recipes sometimes make people nervous, especially when you’re aiming for that perfect slice. Texture is everything when you aren’t using an oven to set things, so let me give you my absolute top tricks for ensuring these turn out exactly right every time.
My number one, non-negotiable rule for any refrigerated dessert bars is simple: Stick to the Chill Time! Seriously, if the recipe says six hours, give it six hours. If it says overnight, plan ahead. That long, slow chill is what firms up the cream cheese and condensed milk mixture—it’s doing the work an oven usually would for a baked cheesecake.
When you’re whipping your cream, make sure both the heavy cream and your mixing bowl are cold. I actually pop my mixing attachments in the freezer for about ten minutes beforehand. Cold fat whips faster and holds its structure better, giving you those strong peaks we need for a voluminous, light-but-firm filling. This is key if you’re trying to get perfect quick cheesecake slices!
Also, don’t rush the lemon juice addition! Even though you are using condensed milk, the acid from the fresh lemon juice actually helps that filling coalesce and firm up as it sits. If you dump it all in too fast, it can curdle the mixture slightly. Add it slowly while the mixer is running on low speed, like you’re being really careful with a puppy.
A little trick for preventing sogginess in the crust? Make sure you press that graham cracker base down super, super firmly. If it’s loose, the moisture from the filling will seep down too quickly. Pack it like you mean it!
Ingredient Notes and Substitutions for Your Lemon Cheesecake Bars Recipe
Since we aren’t leaning on eggs or flour for structure here, every single ingredient in this Lemon Cheesecake Bars Recipe pulls double duty in taste and texture. Having made these dozens of times, I’ve learned what you absolutely can’t mess with, and where you have a little wiggle room if you’re missing something in the pantry.
Let’s talk lemon first. I swear by fresh lemons. They provide this bright, sharp tang that bottled juice just can’t replicate. If you absolutely, positively cannot get your hands on fresh lemons, bottled juice is okay, but only use about 1/3 cup instead of 1/2 cup, as the bottled stuff is usually way more concentrated and acidic. You’ll need to add a little extra zest to compensate for the flavor loss.
When it comes to the crust, graham crackers are classic for a reason; they give that comforting, slightly salty base that balances the sweet filling. However, if you’re out of them, don’t panic! You can use Nilla Wafers or even shortbread cookies instead. Just crush them up really well, and you might need to adjust the sugar slightly depending on how sweet the cookies are naturally. If you use vanilla wafers, you might want to cut that 1/4 cup of crust sugar down to just 2 tablespoons.
The cream cheese and condensed milk are non-negotiable if you want that classic “no-bake cheesecake” texture, so please don’t try to swap those out for low-fat substitutes. Low-fat cream cheese just doesn’t whip up the same way, and you’ll end up with a soupy disaster instead of those gorgeous creamy strawberry lemon dessert bars.
For the topping, while fresh strawberries are my favorite, if you need to make these ahead of time or strawberries are out of season, you have options! You can use a good quality lemon curd spooned over the top *after* the bars have set completely. Or, if you want a berry flavor, use frozen strawberries that have been thawed and drained very well, though the texture won’t be quite as vibrant as using fresh fruit.
Make Ahead & Storage for No-Bake Strawberry Lemon Cheesecake Bars
One of the main reasons I adore these Make Ahead Cheesecake Bars is that they practically demand you prepare them in advance! You can’t really rush the setting process, so making these the day before is truly the best plan. It takes all the pressure off serving something perfect right when your guests walk in the door.
The absolute best way to store the bars is right in that 8×8 pan they set in. Make sure you cover the top really well with plastic wrap, but here’s a tip: put a piece of wax paper or parchment paper right on top of the filling *before* you put the plastic wrap on. This stops the plastic wrap from touching the surface and creating those weird wrinkles or sticking to the lemon filling.
You will want to refrigerate these beauties for at least six hours, but like I said, overnight is my sweet spot. Once they are fully chilled and firm, lift them out using the parchment overhangs and slice them up. Once they are sliced, you can store them in an airtight container in the fridge. Try to eat them within three days for the best flavor and texture. That fresh lemon tang starts to fade just a tiny bit after day three, and we don’t want that!
Now, for the strawberries—this is where you have to be smart if you’re truly making things ahead. The fresh strawberry topping really needs to go on right before you serve them. If you put the fruit on and then store them overnight, the strawberries release moisture, and that moisture soaks into the top layer of the creamy filling, making it a little soft and watery. If you absolutely must slice them ahead of time, store the sliced strawberries separately in a container and then layer them on right before you slice the whole dessert and serve it up. Keep those beautiful colors bright!
Serving Suggestions for This Fresh Strawberry Dessert
These No Bake Strawberry Cheesecake Bars are really a showstopper all on their own, aren’t they? Honestly, you barely need to do anything to them once that beautiful layer of fresh strawberry slices is on top, but sometimes a little something extra just pushes it over the edge from “great” to “unforgettable.”
Because the lemon flavor is so bright and tart, I find that heavier toppings just weigh it down. Keep it light! If you decided against the powdered sugar dusting, a very light shower of it right before you bring them to the table looks wonderful, especially if the strawberries aren’t super glossy.
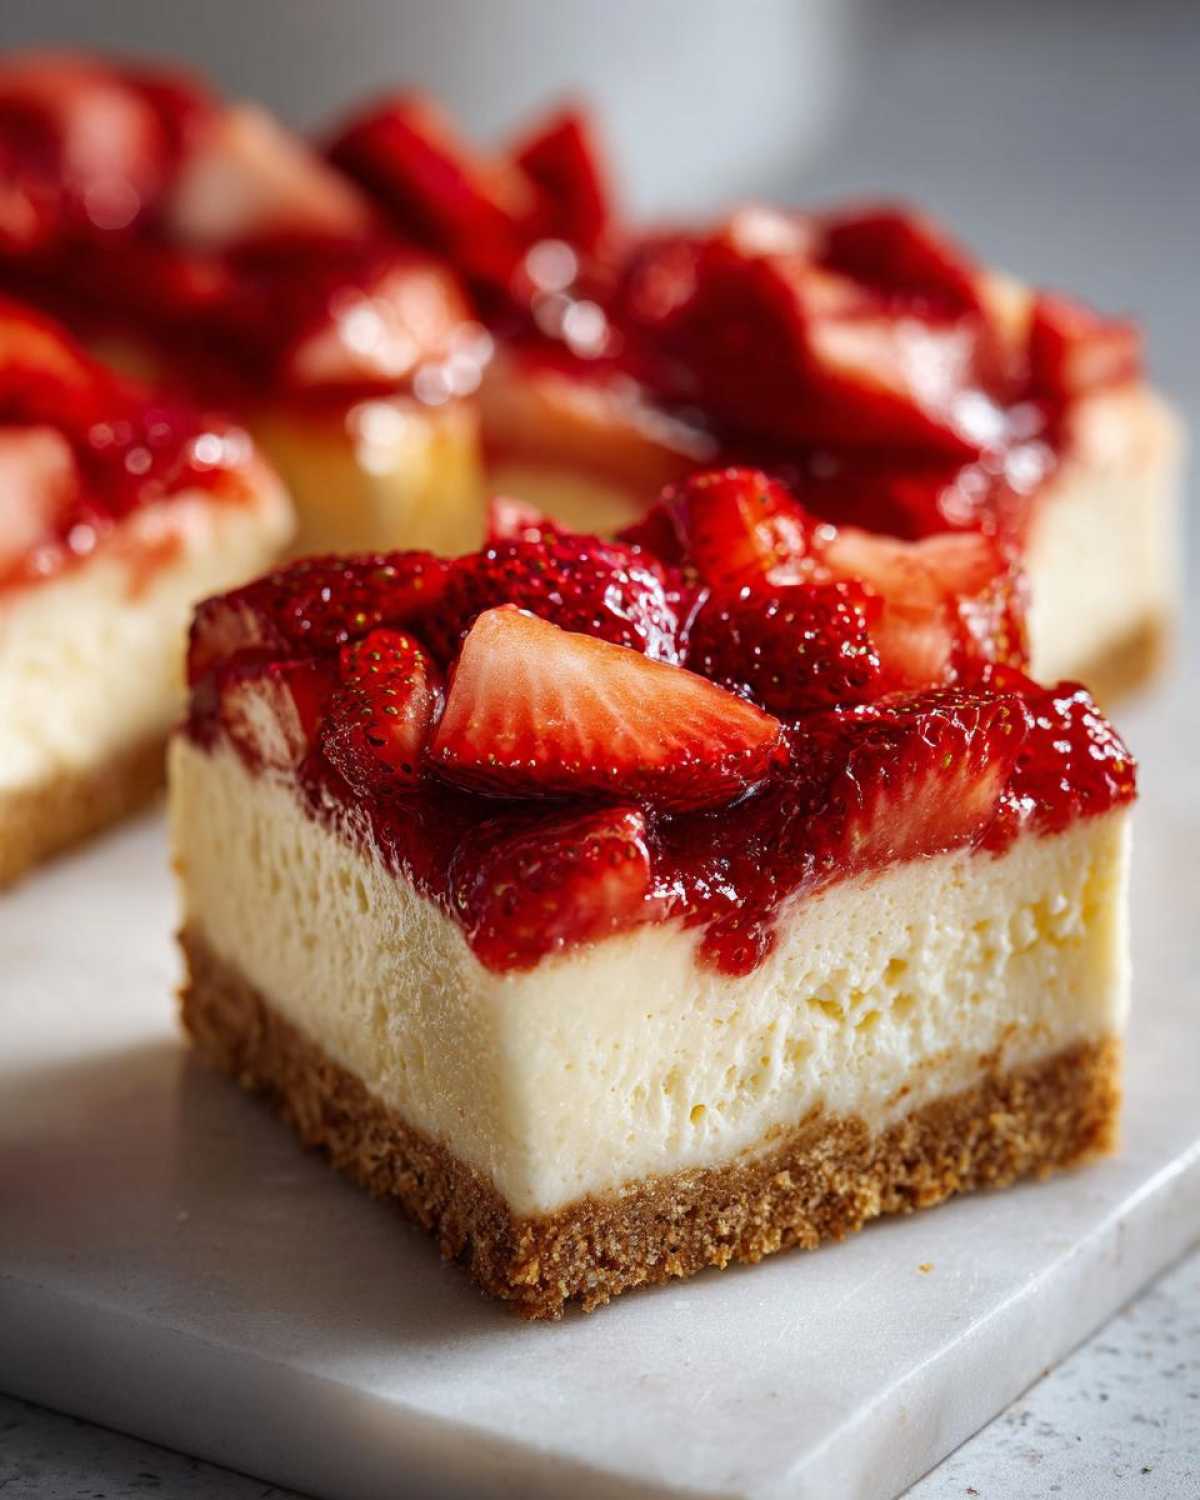
For color contrast, you can’t beat a tiny sprig of fresh mint placed right on top of each square. A little splash of green next to that red strawberry? Perfection! It smells amazing coming out of the fridge, too.
If you happen to be serving these to people who aren’t huge fans of the tartness, a drizzle of high-quality honey over the top just before serving adds a floral sweetness that pairs magically with the lemon and strawberry. It’s an easy way to customize without ruining that perfect creamy texture we worked so hard to achieve!
Frequently Asked Questions About No Bake Strawberry Lemon Cheesecake Bars
You know how it is—even with the clearest instructions, sometimes little questions pop up while you’re in the middle of cooking! I totally get it. Since these No bake desserts rely on chilling, setting issues are usually the biggest concern. Here are the things folks ask me most often about getting these perfect, creamy No Bake Strawberry Lemon Cheesecake Bars.
Can I use pre-made graham cracker crust for these No Bake Strawberry Lemon Cheesecake Bars?
Oh, convenience! I hear you. Yes, you absolutely can use a pre-made crust if you are really short on time. That’s the beauty of easy no bake desserts—we can take shortcuts! However, I always caution people that the flavor just isn’t as rich as when you mix your own butter in. Also, pre-made crusts are usually in a pie plate, which means you might get fewer, differently sized bars, and you’ll need to make sure you have enough crust mixture to fill the bottom of an 8×8 pan if you want the same thickness as my recipe.
How do I prevent my filling from being too soft if I need Quick Cheesecake Slices?
This is all about technique and patience, even when you need something fast! You can’t rush the chill time, so trying to serve them sooner than six hours is a recipe for soup! To ensure maximum firmness, the absolute most important thing is whipping that heavy cream. Make sure you get really stiff peaks—when you lift the whisk, the peaks should stand up stiffly without flopping over at all. That whipped cream is what gives the filling its body.
Also, don’t forget the power of the acid! The lemon juice really does help firm up the condensed milk mixture as it sits. So, if you’re aiming for firm quick cheesecake slices, don’t skimp on that full 1/2 cup of juice, and let it chill for the full recommended time, even if it seems set after four hours. Six hours minimum!
What is the best way to store leftovers of this Lemon Cheesecake Bars Recipe?
If you somehow manage to have leftovers of this Lemon Cheesecake Bars Recipe, you need to treat them gently. Once they are sliced, transfer them to an airtight container. Make sure you put down a layer of wax paper or parchment on the bottom of the container first, then arrange the bars in a single layer if you can. If you have to double stack, put another sheet of wax paper between the layers!
Back into the refrigerator they go! The main thing to remember when storing anything creamy like this is to make sure the container is sealed tight. Cream cheese is notorious for picking up strange smells from other things in your fridge, and we don’t want our beautiful lemon dessert tasting like last night’s onions! They are best within 48 hours, but definitely fine for 3 days.
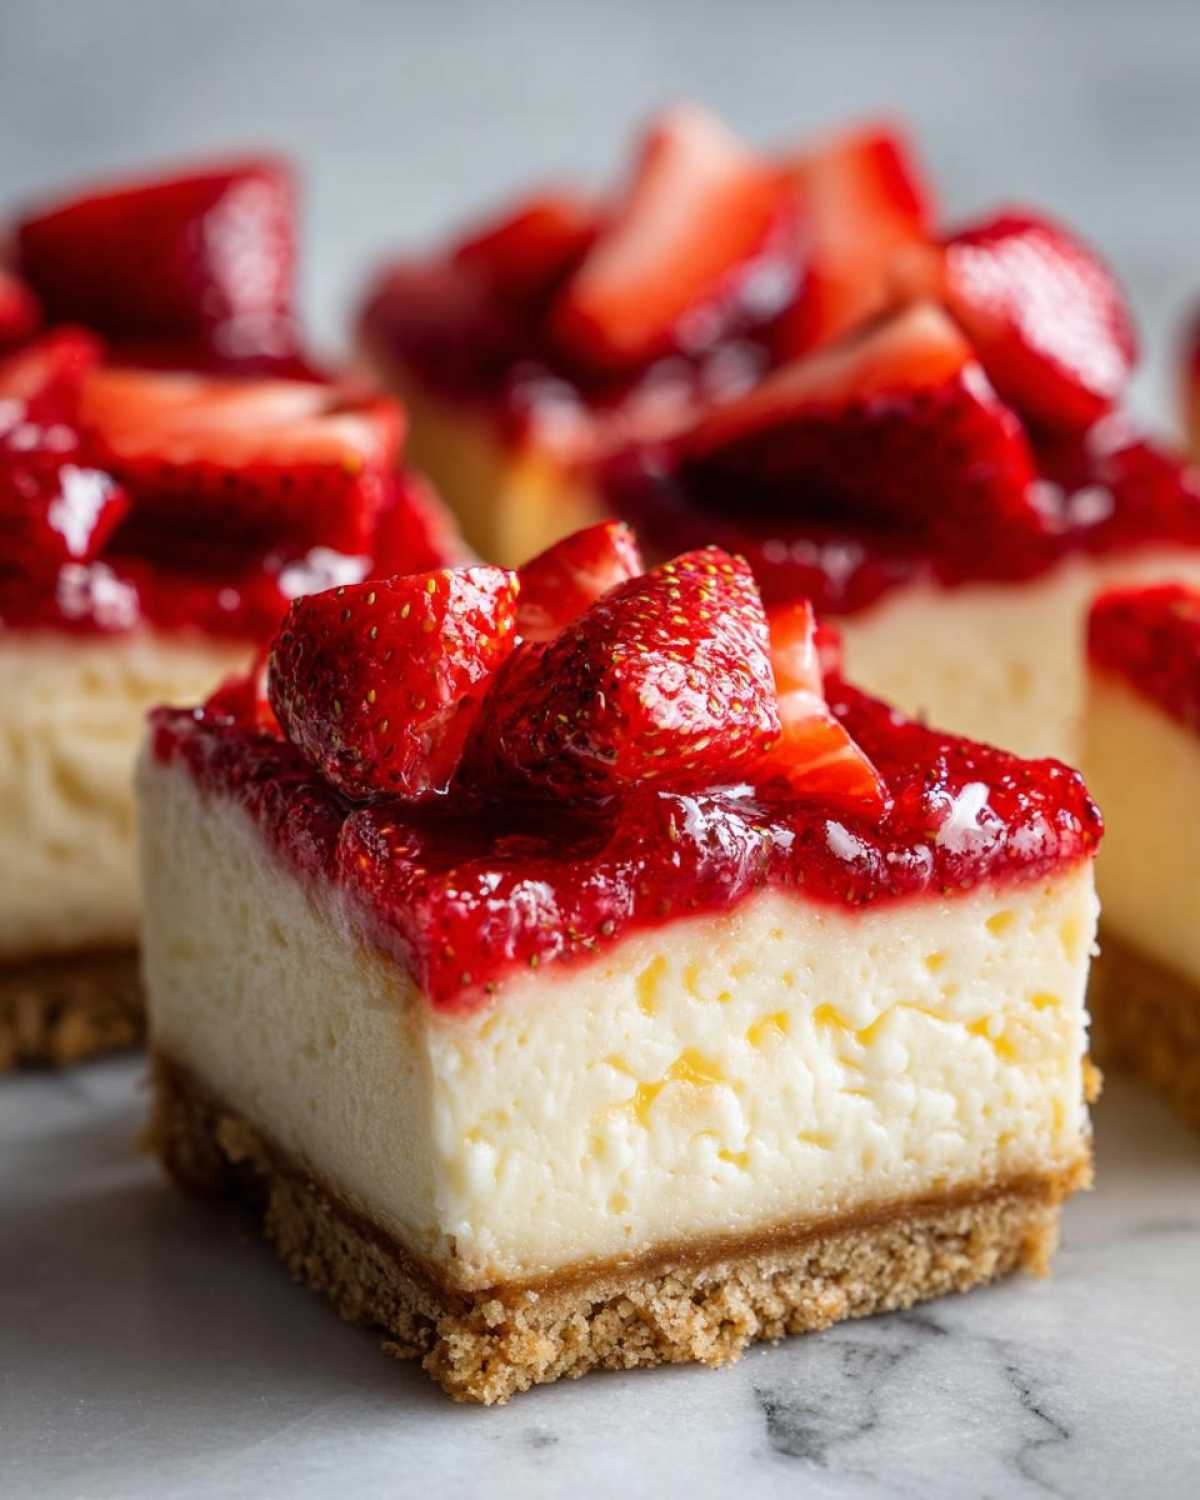
Estimated Nutritional Information for One Serving
Now, let’s talk numbers, because even though these No Bake Strawberry Lemon Cheesecake Bars are perfect for summer chills, we still like to know what we’re eating! Remember that since these are handmade, these values are only estimates based on standard ingredient brands and portioning. This recipe yields 16 bars when you slice them up neatly.
Here’s a general breakdown for one square of pure, chilled goodness:
- Serving Size: 1 bar
- Calories: 280
- Sugar: 25 grams (That’s the condensed milk and the fruit doing their job!)
- Fat: 16 grams
- Saturated Fat: 9 grams
- Carbohydrates: 30 grams
- Protein: 5 grams
- Cholesterol: 45 mg
- Sodium: 150 mg
It’s rich, it’s satisfying, and most importantly, it’s no-bake! Feel good about enjoying this slice of summer!
Share Your Experience with These No Bake Desserts
Whew! That’s all there is to it, my friends. You’ve made the most incredible, creamy, tart, and wonderfully easy No Bake Strawberry Lemon Cheesecake Bars. Now that you’ve had a chance to chill them and take that glorious first bite, I desperately want to hear what you thought!
Seriously, don’t just scroll away! Drop a rating below. Were they a five-star summer treat? Did the lemon balance perfectly with the strawberries for you? Every piece of feedback helps me, and it helps other readers feel confident jumping into this no-bake adventure.
And hey, if you’re shaking things up in the kitchen—maybe you tossed in some toasted pecans in the crust, or perhaps you swapped out those gorgeous fresh strawberries for raspberries—please tell me about it in the comments! I love seeing how you all adapt my recipes. Did you try the hot water knife trick for cutting? Was it the game-changer I said it would be?
If you made these creamy dessert bars and they were a hit at your house, please consider sharing a picture on social media and tagging me! It absolutely makes my day when I see my recipes popping up in someone else’s kitchen. Thanks so much for baking (or, you know, *chilling*) along with me today. Happy summer snacking!
PrintNo-Bake Strawberry Lemon Cheesecake Bars
Make these creamy, tart No-Bake Strawberry Lemon Cheesecake Bars. This recipe uses a simple graham cracker crust and a smooth, chilled filling topped with fresh strawberries.
- Prep Time: 25 min
- Cook Time: 0 min
- Total Time: 6 hr 25 min
- Yield: 16 bars
- Category: Dessert
- Method: Chilling
- Cuisine: American
- Diet: Vegetarian
Ingredients
- 1 1/2 cups graham cracker crumbs
- 1/4 cup granulated sugar (for crust)
- 6 tablespoons unsalted butter, melted
- 1 (8 ounce) package cream cheese, softened
- 1 (14 ounce) can sweetened condensed milk
- 1/2 cup fresh lemon juice
- 1 teaspoon lemon zest
- 1 teaspoon vanilla extract
- 1 cup heavy whipping cream, cold
- 1/4 cup powdered sugar (for topping)
- 1 cup fresh strawberries, sliced
Instructions
- Prepare the crust: Combine graham cracker crumbs and 1/4 cup granulated sugar in a medium bowl. Pour in melted butter and mix until the crumbs are evenly moistened. Press the mixture firmly and evenly into the bottom of an 8×8 inch baking pan lined with parchment paper, leaving an overhang for easy removal. Place the crust in the freezer while you prepare the filling.
- Make the filling: In a large bowl, beat the softened cream cheese until smooth. Gradually beat in the sweetened condensed milk until fully combined. Mix in the lemon juice, lemon zest, and vanilla extract until the mixture thickens slightly.
- Whip the cream: In a separate, clean bowl, beat the cold heavy whipping cream and powdered sugar until stiff peaks form.
- Fold the whipped cream into the cream cheese mixture gently until just combined. Do not overmix.
- Spread the filling evenly over the chilled crust. Cover the pan with plastic wrap and refrigerate for at least 6 hours, or preferably overnight, until completely set.
- Before serving, top the chilled bars with the sliced fresh strawberries. Lift the bars out of the pan using the parchment paper overhang, slice into squares, and serve immediately.
Notes
- For the cleanest slices, run a sharp knife under hot water and wipe it dry between each cut.
- If you prefer a stronger lemon flavor, add one more teaspoon of lemon zest to the filling.
- Chill the bars for a minimum of six hours; setting time is crucial for no-bake recipes.
Nutrition
- Serving Size: 1 bar
- Calories: 280
- Sugar: 25
- Sodium: 150
- Fat: 16
- Saturated Fat: 9
- Unsaturated Fat: 7
- Trans Fat: 0
- Carbohydrates: 30
- Fiber: 1
- Protein: 5
- Cholesterol: 45