

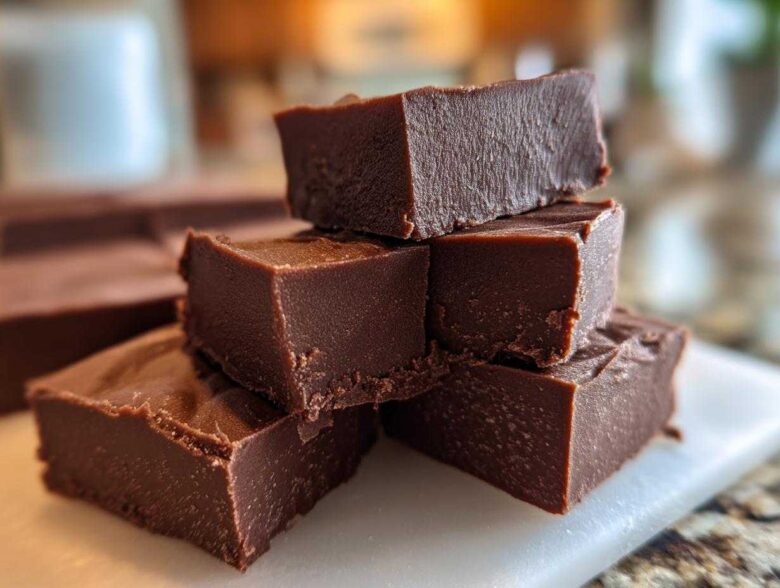
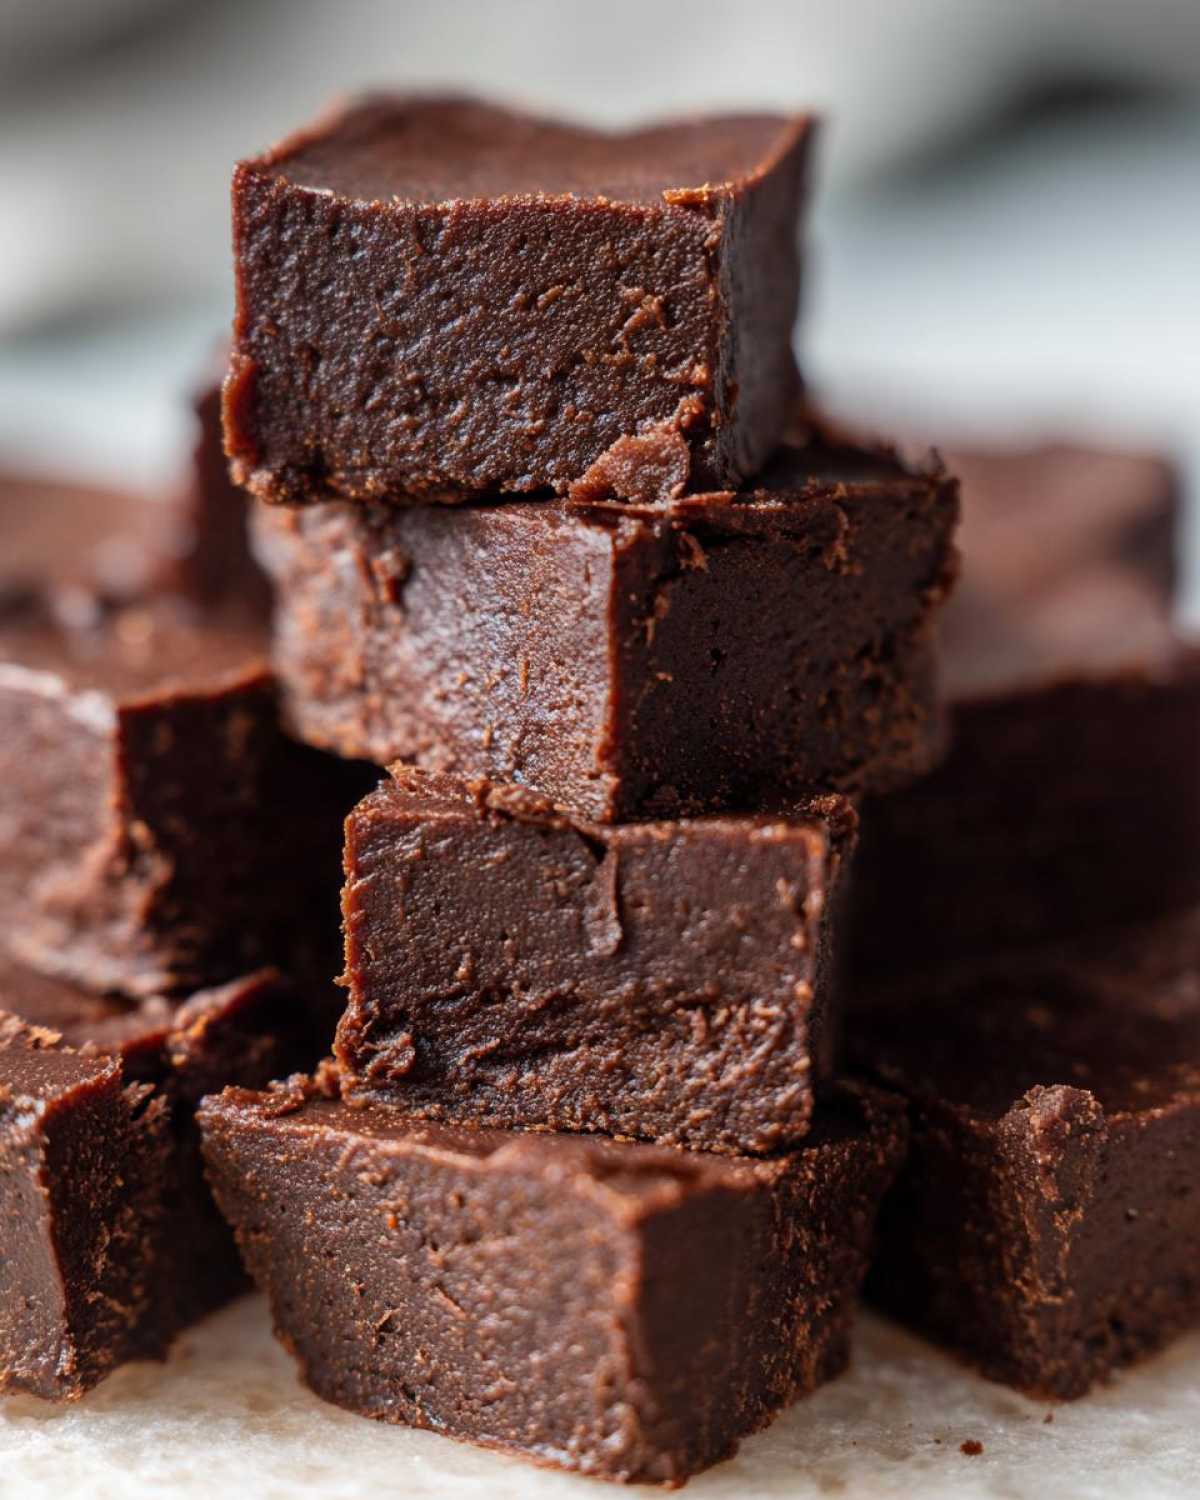
Oh my gosh, if you have that 3 PM craving—that desperate, deep, can’t-be-ignored chocolate desperation—stop what you’re doing! We need to talk about these No-Bake Espresso Chocolate Fudge Squares. Seriously, these are not your airy, crumbly candy bars; these are dense, they are rich, and they set up perfectly so you can cut them into neat little squares. I was so worried the first time I tried a no-bake fudge recipe that it would turn out sticky, but trust me, I nailed the texture right away. It’s all about keeping that mixture cool and patient during the melt!
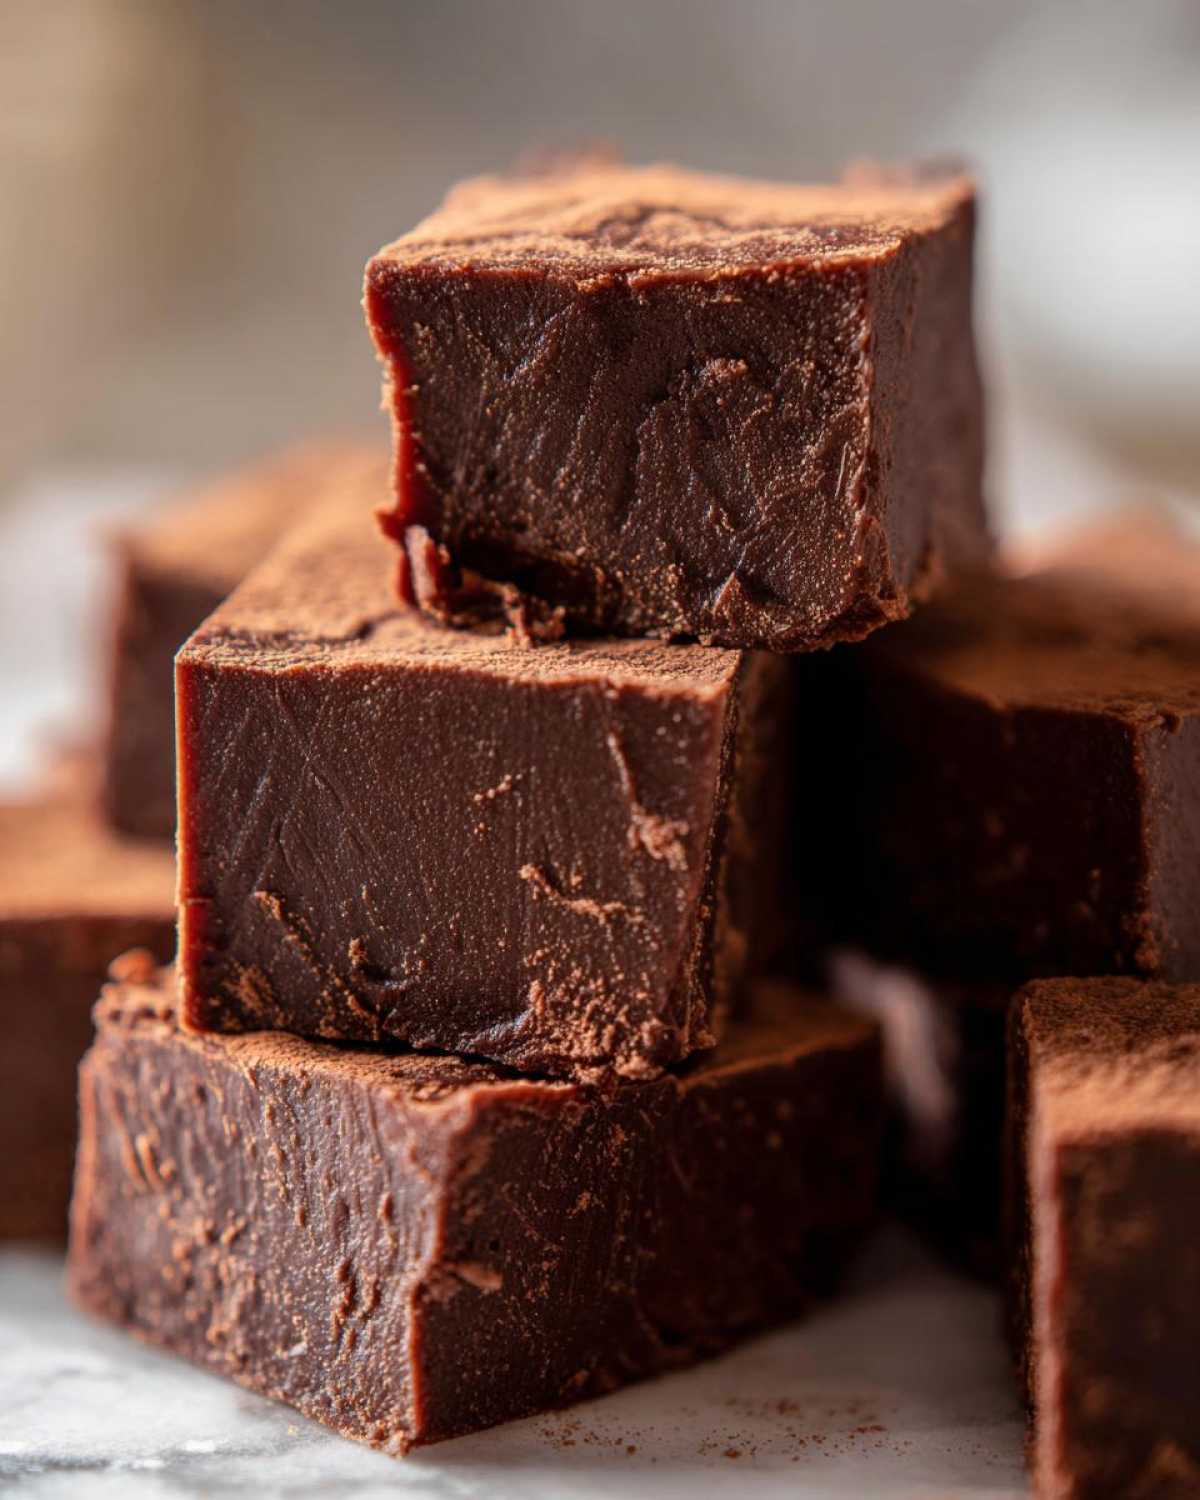
You can pair this recipe with my quick chocolate mug cake for when you need something even faster, like when the craving hits *right now*! Check out that recipe here if your sweet tooth just can’t wait for the chilling time.
Why You Will Make These No-Bake Espresso Chocolate Fudge Squares Again and Again
Honestly, once you see how fast these come together, they will become your go-to treat. Forget waiting around for an oven to preheat! These hit all the right notes: intense coffee, deep, dark chocolate, and that satisfying, thick texture we all love in fudge.
- Quick Chocolate Espresso Treats Preparation: You are only actively stirring for about 10 minutes total before it hits the pan. It’s pure magic how fast you get rich flavor!
- Truly Desserts Without Oven Required: Perfect for summer when you don’t want to heat up the kitchen, or just when you’re too impatient to bake anything. They set up beautifully chilling in the fridge.
Gathering Ingredients for Your No-Bake Espresso Chocolate Fudge Squares
Listen, the beauty of these squares is that the ingredient list is short, but those ingredients have to be good! We aren’t hiding anything behind flour or eggs here, so quality really counts, especially with our chocolate and coffee.
You need exactly:
- One 14 ounce can of sweetened condensed milk—yes, the whole can!
- One cup of semi-sweet chocolate chips, and one cup of dark chocolate chips mixed together. That combination is what gives us that deep, luxurious color.
- Half a cup of unsalted butter. Don’t skimp here; the fat content is crucial for that perfect dense fudge consistency!
- Two tablespoons of super strong brewed espresso, or—and this is my secret—two teaspoons of instant espresso powder dissolved in just one tablespoon of hot water.
- One teaspoon of vanilla extract and a pinch of salt to really make the mocha flavor pop.
- And then, if you want a little more texture, one cup, packed, of crushed graham crackers or vanilla wafers.
If you’re looking for a great substitute for the vanilla wafers, try making sure your crushed crackers are gluten-free if that’s what you need. The more intense your chocolate chips are, the fudgier the final texture will be. If you loved this chocolate combination, you have to try my three-ingredient chocolate mousse sometime soon!
Ingredient Notes and Substitutions for Rich Mocha Fudge Squares Recipe
Let’s clarify the coffee part because that’s where the magic happens. If you use brewed espresso, make it STRONG—like, espresso machine strong, not drip coffee strong. If you opt for the instant espresso powder, that is usually easier because the flavor concentrates better without adding too much extra water, which can throw off the set of the fudge. Remember, we want intense coffee flavor, not watery fudge!
About those crackers: they add a nice little bite, contrasting the smooth creaminess. If you leave them out, you get a truly pure, silkier version, which is fine too. Just make sure whatever you use is crushed finely so you don’t end up with huge chunks in your perfect square.
Step-by-Step Instructions for Perfect No-Bake Espresso Chocolate Fudge Squares
Okay, are you ready? This active part takes maybe 15 minutes of your time before it heads off for its long nap in the fridge, which is a total bargain for such decadent flavor. We are treating this mixture gently, so grab your medium saucepan and keep the heat super low.
First thing: prepare your 8×8 inch pan. You absolutely must line it with parchment paper, making sure you leave a little overhang on two sides. This overhang is your rescue rope later on when the fudge is rock solid! Lightly grease that paper too, just in case.
Melting and Flavoring the Fudge Base
Into your pot over low heat go the sweetened condensed milk, both bags of chocolate chips, and that butter. Remember what I said about patience? You have to stir this constantly! If you walk away, it scorches, and nobody wants grainy fudge. You are waiting until everything melts smooth—the butter disappears, the chips dissolve—but this is crucial: Do not let this mixture boil! Seriously, boiling screws up the set entirely.
Once it looks like thick, dark velvet, pull it right off the heat immediately. Now is the time for the flavor boosters: stir in your pre-brewed espresso or your dissolved espresso powder, the vanilla extract, and that tiny bit of salt. Mix until there are no streaks remaining. If you are adding crushed graham crackers for texture, fold those in last until they disappear into the dark liquid.
Setting and Cutting Your Easy No Bake Fudge Bars
Pour that glorious, thick mixture into your waiting pan and use a silicone spatula to coax it into an even layer. Smooth the top so it looks beautiful when it comes out.
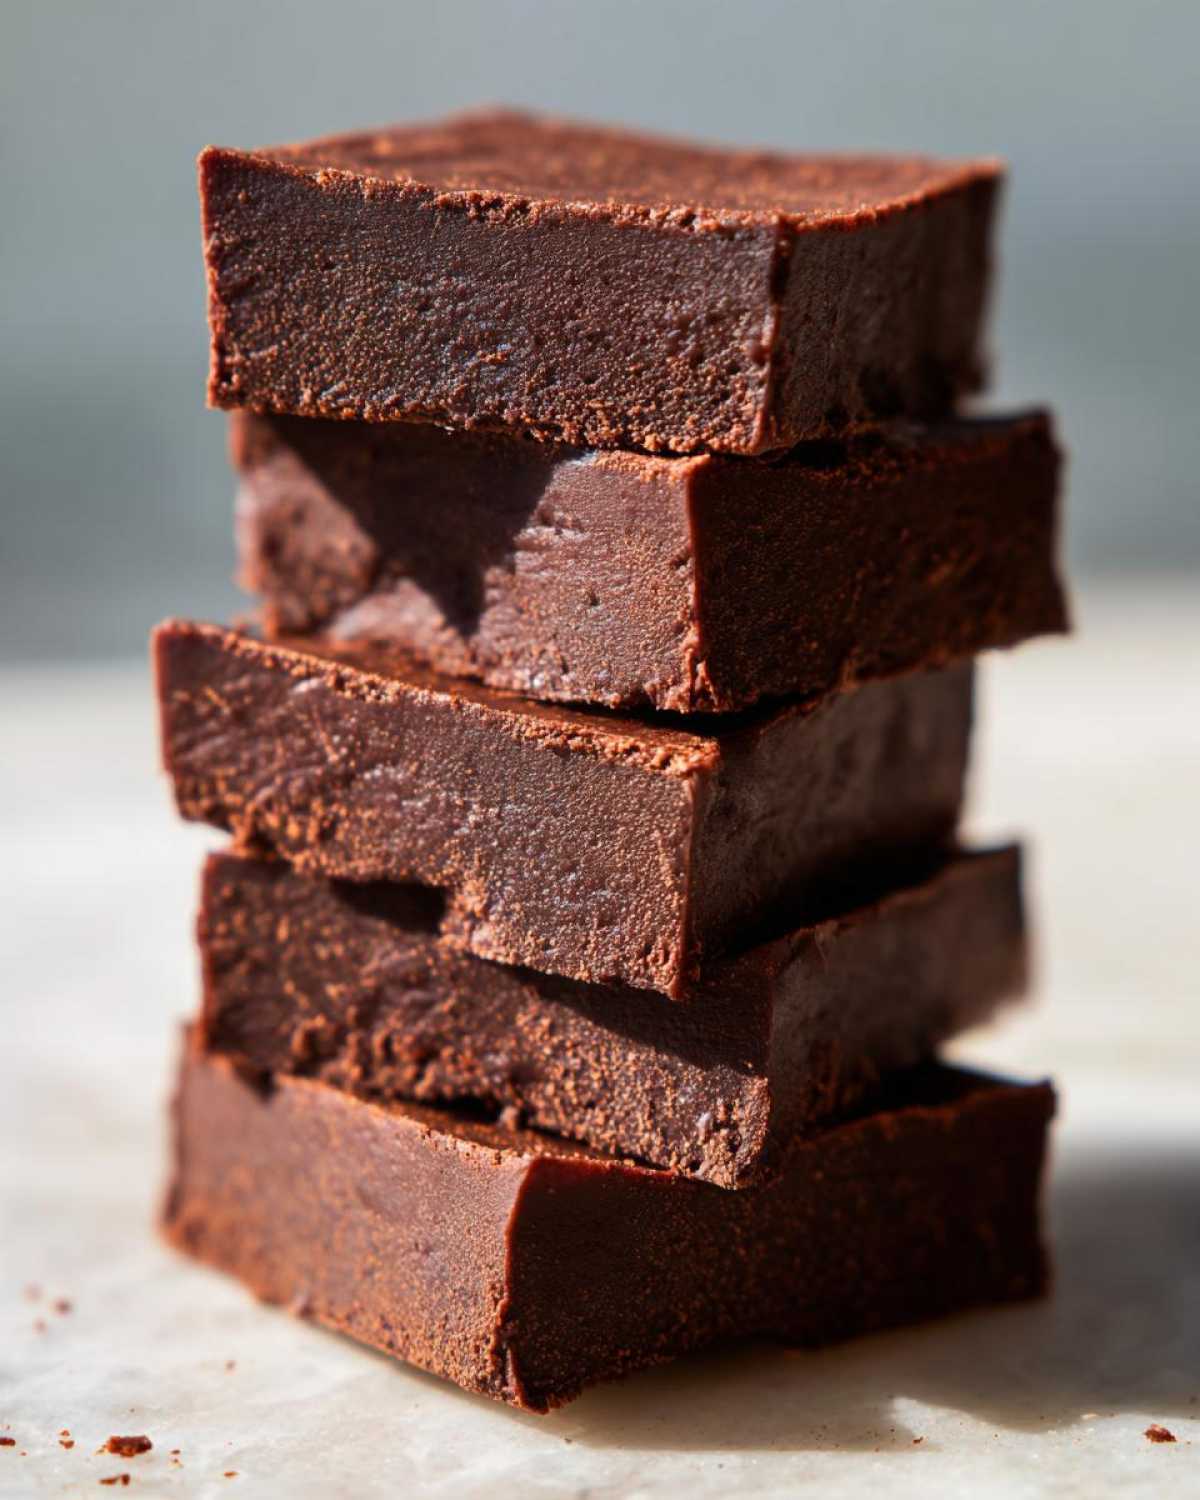
Now comes the hardest part: waiting! You need to chill these for a minimum of 4 hours, but honestly, letting them go overnight is even better. This firm setting time allows the fats and sugar to bind everything into that true, dense fudge texture we crave. When it’s firm, use those parchment overhangs to lift the whole slab out onto your cutting board. Slice it into 16 neat squares. You can check out how I do my refrigerator cake slicing technique here if you want more tips on getting sharp edges: My Refrigerator Cake Slicing Trick.
Tips for Success Making Condensed Milk Fudge Recipe
Getting that perfect, non-sticky fudge set is all about respecting the melt. My biggest tip, which I learned the hard way when I rushed things, involves temperature control. Keep your stove on the absolute lowest setting when melting the chocolate and milk. High heat boils off too much moisture, and that’s what makes fudge go grainy or sticky instead of smooth and firm.
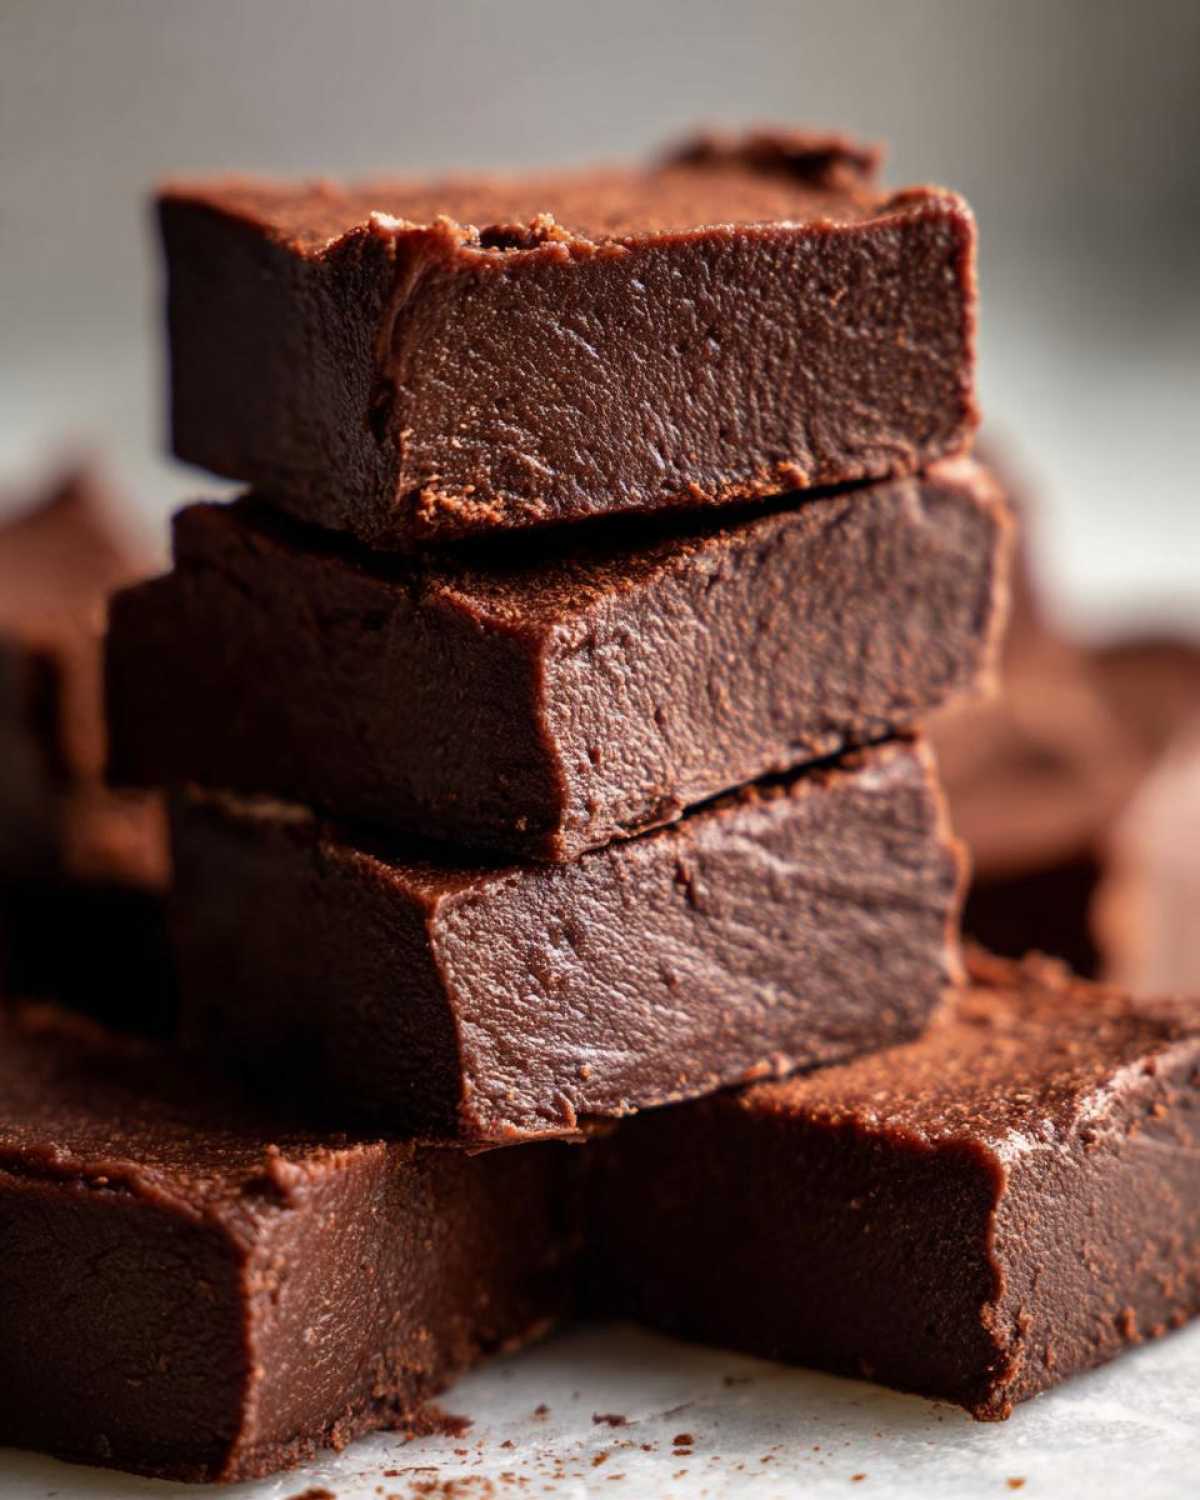
When you think the chocolate is just about melted, take the pan off the burner for 30 seconds and keep stirring. That residual heat usually finishes the job beautifully. Also, don’t skip the chilling time! Rushing the cooling phase means you cut into soft, messy bars that smear everywhere. A good four hours—or frankly, overnight—is essential for that classic, satisfying density. For more ideas on setting up firm confections, you might enjoy my tips on making easy maple fudge perfectly.
Storage and Serving Suggestions for Party Friendly Fudge Squares
Since these are so rich, they are absolutely the best kind of treat to have waiting in the fridge for guests! Because they rely on refrigeration to set properly, that’s where they need to stay. Keep your finished Party Friendly Fudge Squares stored in an airtight container. I find stacking them with tiny squares of wax paper between the layers works wonders so they don’t stick together.
They hold up great for about a week in the refrigerator, which makes them perfect for prepping ahead for the holidays or big gatherings. Before serving, I love to give them a light dusting of high-quality unsweetened cocoa powder—it makes them look so professional! If you’re looking for other great make-ahead recipes, check out how I manage large appetizer spreads with my cranberry pecan cheese ball recipe!
Frequently Asked Questions About No-Bake Espresso Chocolate Fudge Squares
I totally get it—when you find a recipe that sounds this good, you have a million little questions buzzing around in your head before you even grab the can opener! Don’t worry one bit; I’ve put together the things people ask me most often about getting these No-Bake Espresso Chocolate Fudge Squares just right.
Can I make these No-Bake Espresso Chocolate Fudge Squares ahead of time?
Yes, absolutely! In fact, I really *prefer* making them a day ahead of time. These are one of the best make ahead chocolate desserts because they actually need that chill time—at least four hours, but honestly, overnight lets them firm up perfectly. Plus, having these Holiday No Bake Desserts ready to go when company arrives is the best feeling ever. Just store them well-covered in the fridge!
How do I get an Intense Coffee Dessert flavor?
This is my favorite part! The absolute secret weapon for an Intense Coffee Dessert flavor is using the instant espresso powder, not just regular instant coffee granules. Instant espresso powder packs way more punch. If you only have brewed espresso, what you need to do is brew it extra strong and then make sure you only use two tablespoons, or maybe even a tiny bit less liquid overall, so you concentrate that coffee flavor into the melted chocolate base without watering down the fudge.
What if I want softer, Creamy No Bake Confectionery instead of firm squares?
That’s an easy fix! If you don’t use the optional crushed crackers or wafers, the fudge will naturally be silkier. But the real trick is reducing the chilling time. If you pull them out after only two or three hours, they will still be set enough to cut, but they’ll be much softer and creamier right away. Just be careful when cutting, as it can get a little messy!
Are these Simple 5 Ingredient Fudge Bars suitable for beginners?
Oh gosh, yes! If you are looking for Quick Dessert Recipes for Beginners, this is it. Seriously, the hardest step is remembering to stir constantly over low heat. If you can melt chocolate without burning it, you can nail this recipe. No fancy techniques or equipment needed—just a saucepan and a little patience while it chills!
Estimated Nutritional Data for Decadent Espresso Brownies Alternative
I always feel a tiny bit strange giving out strict numbers for homemade treats like these, because let’s be real—who measures exactly how much vanilla they spilled into the bowl? But for those of you who need the facts, here’s a breakdown of the general estimates based on the ingredients we used in this batch of No-Bake Espresso Chocolate Fudge Squares.
Remember, these are just estimated values! The type of chocolate chips you use (dark vs. semi-sweet) or whether you added those optional graham crackers can change the final tally, so this is just a guideline. I always trust my gut over the label!
- Serving Size: 1 square
- Calories: 250
- Sugar: 25g
- Sodium: 75mg
- Fat: 15g
- Saturated Fat: 9g
- Carbohydrates: 28g
- Protein: 4g
When you are making decadent squares like this, especially when comparing them to something like a baked brownie, you expect the numbers to be a bit higher, right? But since these are Desserts Without Oven and rely mostly on milk solids and fats, they come together so quickly. Eat one square, savor that intense coffee hit, and move on! That’s the beauty of a perfect bite.
Share Your Experience Making These Quick Chocolate Espresso Treats
Now that your kitchen smells like the best coffee shop in town, I really want to hear from you! Making these Quick Chocolate Espresso Treats is a rite of passage, and I’m dying to know how they turned out for you.
Did they set perfectly firm? Did you end up using the optional crushed wafers, or did you go for the purest, silkiest fudge possible? Tell me everything! Drop a rating for the recipe right here, and please, please leave a comment below describing that first perfect bite.
Honestly, seeing your photos of these gorgeous No-Bake Espresso Chocolate Fudge Squares is my favorite part of sharing these recipes. It shows me that you trusted my process and nailed that dense, rich mocha flavor. Head over to my main blog page if you want to see what else I’ve been baking (or, well, not baking!) this week. Happy fudging!
PrintNo-Bake Espresso Chocolate Fudge Squares
Make rich, dense chocolate fudge squares flavored with strong espresso. This recipe sets without baking and requires minimal preparation time.
- Prep Time: 15 min
- Cook Time: 10 min
- Total Time: 4 hours 25 min
- Yield: 16 servings
- Category: Dessert
- Method: No-Bake
- Cuisine: American
- Diet: Vegetarian
Ingredients
- 1 (14 ounce) can sweetened condensed milk
- 1 cup semi-sweet chocolate chips
- 1 cup dark chocolate chips
- 1/2 cup unsalted butter
- 2 tablespoons strong brewed espresso or 2 teaspoons instant espresso powder dissolved in 1 tablespoon hot water
- 1 teaspoon vanilla extract
- 1/4 teaspoon salt
- 1 cup crushed graham crackers or vanilla wafers (optional, for texture)
Instructions
- Line an 8×8 inch baking pan with parchment paper, leaving an overhang on two sides for easy removal. Lightly grease the paper.
- In a medium saucepan over low heat, combine the sweetened condensed milk, semi-sweet chocolate chips, dark chocolate chips, and butter.
- Stir constantly until the chocolate and butter are completely melted and the mixture is smooth. Do not let the mixture boil.
- Remove the saucepan from the heat. Stir in the prepared espresso (or dissolved espresso powder), vanilla extract, and salt until fully incorporated.
- If using, fold in the crushed graham crackers or wafers until evenly distributed.
- Pour the fudge mixture into the prepared pan and spread it evenly with a spatula.
- Refrigerate for at least 4 hours, or until the fudge is firm enough to cut.
- Use the parchment paper overhang to lift the fudge from the pan. Place it on a cutting board and cut into 16 squares.
Notes
- For the best coffee flavor, use high-quality instant espresso powder.
- If you prefer a smoother fudge without added texture, omit the crushed crackers.
- Store the finished squares in an airtight container in the refrigerator for up to one week.
Nutrition
- Serving Size: 1 square
- Calories: 250
- Sugar: 25
- Sodium: 75
- Fat: 15
- Saturated Fat: 9
- Unsaturated Fat: 6
- Trans Fat: 0
- Carbohydrates: 28
- Fiber: 1
- Protein: 4
- Cholesterol: 35